


Mikroelektronika d.o.o.
SKU: MIKROE-5720UART MUX 4 Click Board
UART MUX 4 Click Board
Couldn't load pickup availability
Key Features
- Fast turn-ON and turn-OFF times, two output UART interfaces, 3.3V and 5V operation, clamp diodes included on inputs, CMOS level, ESD protection, and more
- Based on the 74HC4066D - quad single-pole, single-throw analog switch from Nexperia
- Can be used for the development of a wide range of applications, from industrial and instrumentation to consumer, communications, data-acquisition systems, and many more
- mikroBUS: UART Interface
Unleash The Power Of Connectivity With The UART MUX 4 Click Board™
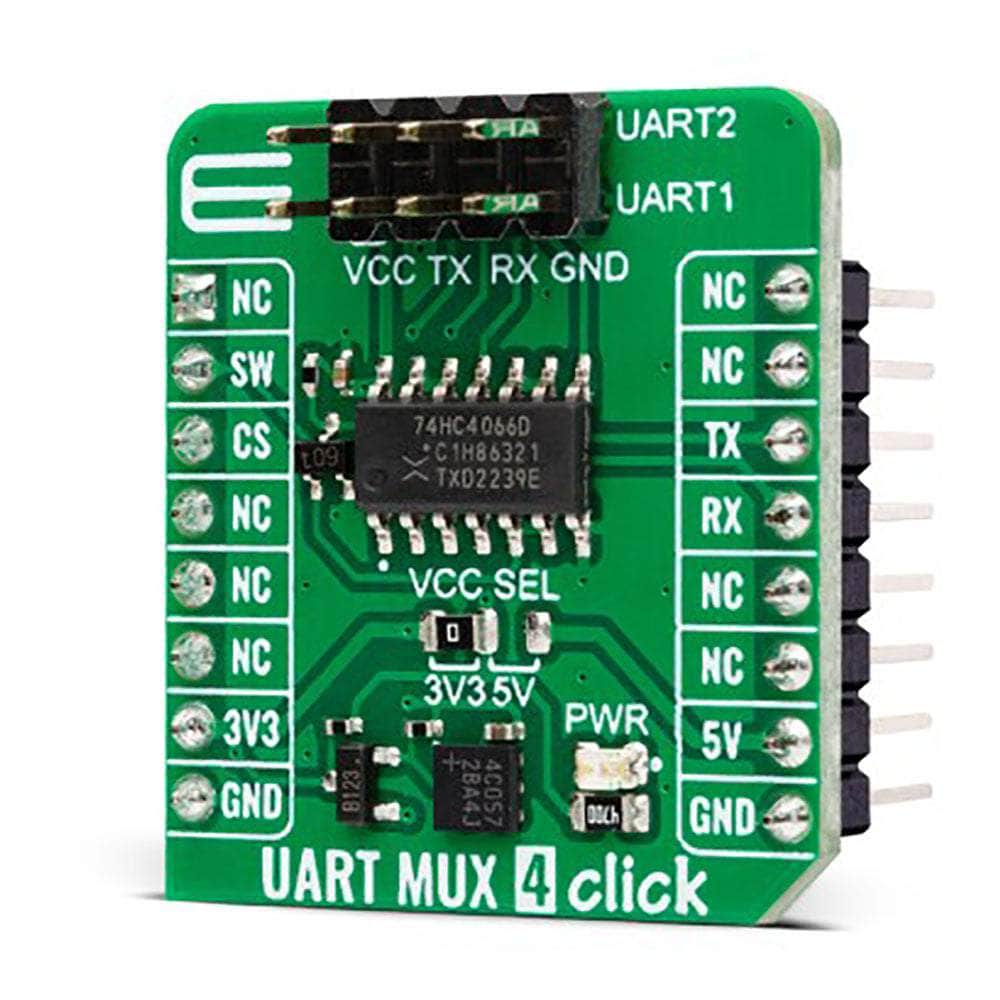
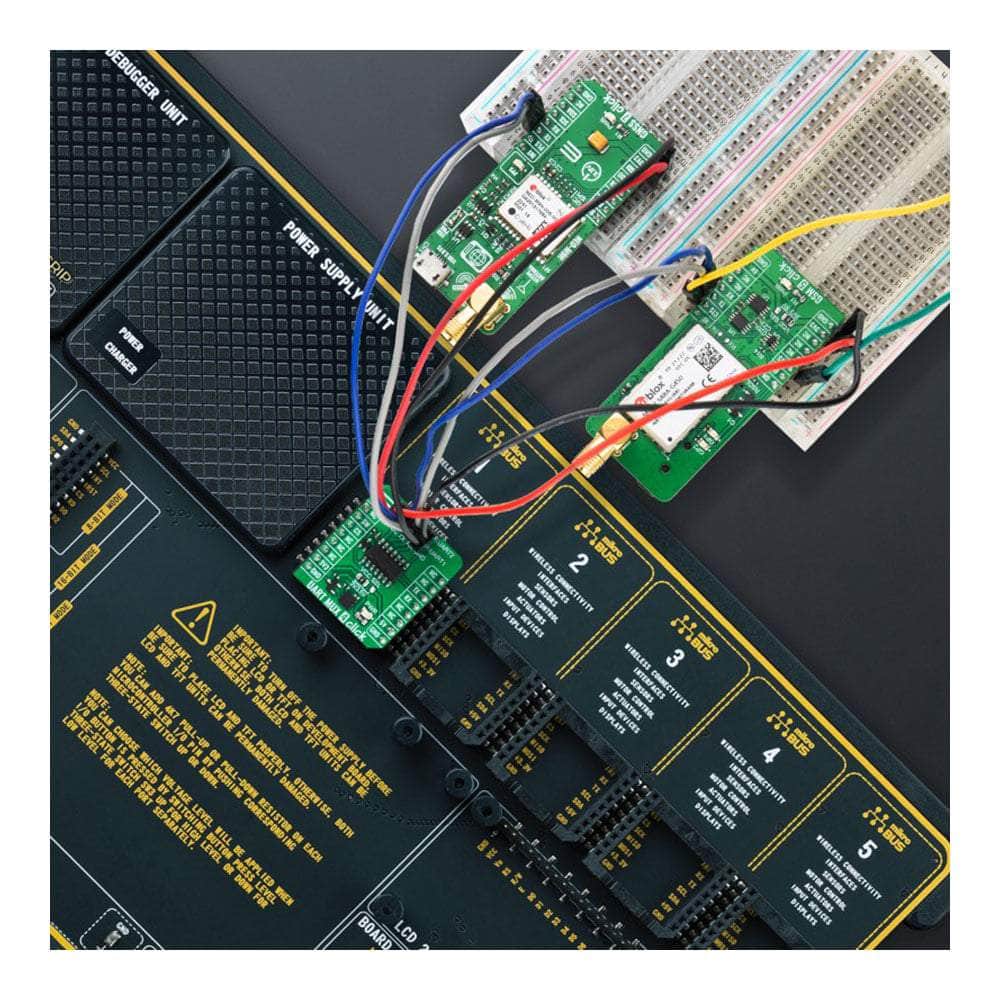
Enhance your technological toolkit with the UART MUX 4 Click Board™. This sleek and compact add-on board is designed to take your projects to new heights by switching the UART pins (RX and TX) from the mikroBUS™ socket to one of the two available outputs. Inside this highly-functional device, you'll find the 74HC4066D - a robust, quad single-pole, single-throw analogue switch from Nexperia.
Experience Seamless Switching Like Never Before
The UART MUX 4 Click Board™ brings you the convenience of effortlessly switching from one multiplexed UART to another. However, please note that simultaneous switching is not supported. This Click board™ positions itself as an exceptional solution for many applications. Whether it's for industrial purposes, instrumentation, consumer-based communications, data-acquisition systems, or more, it's got you covered!
Supported By A Robust mikroSDK-Compliant Library
A mikroSDK-compliant library backs the UART MUX 4 Click Board™ to make software development a breeze. This inclusive feature brings a host of functions that can simplify your development process, making your creative journey smoother and more enjoyable.
Ready To Use, Fully Tested Product
Rest assured; the UART MUX 4 Click Board™ is a fully tested product, ready to use on a system equipped with the mikroBUS™ socket. It's time to revolutionize your tech experience with the UART MUX 4 Click Board™!
How Does The UART MUX 4 Click Board™ Work?
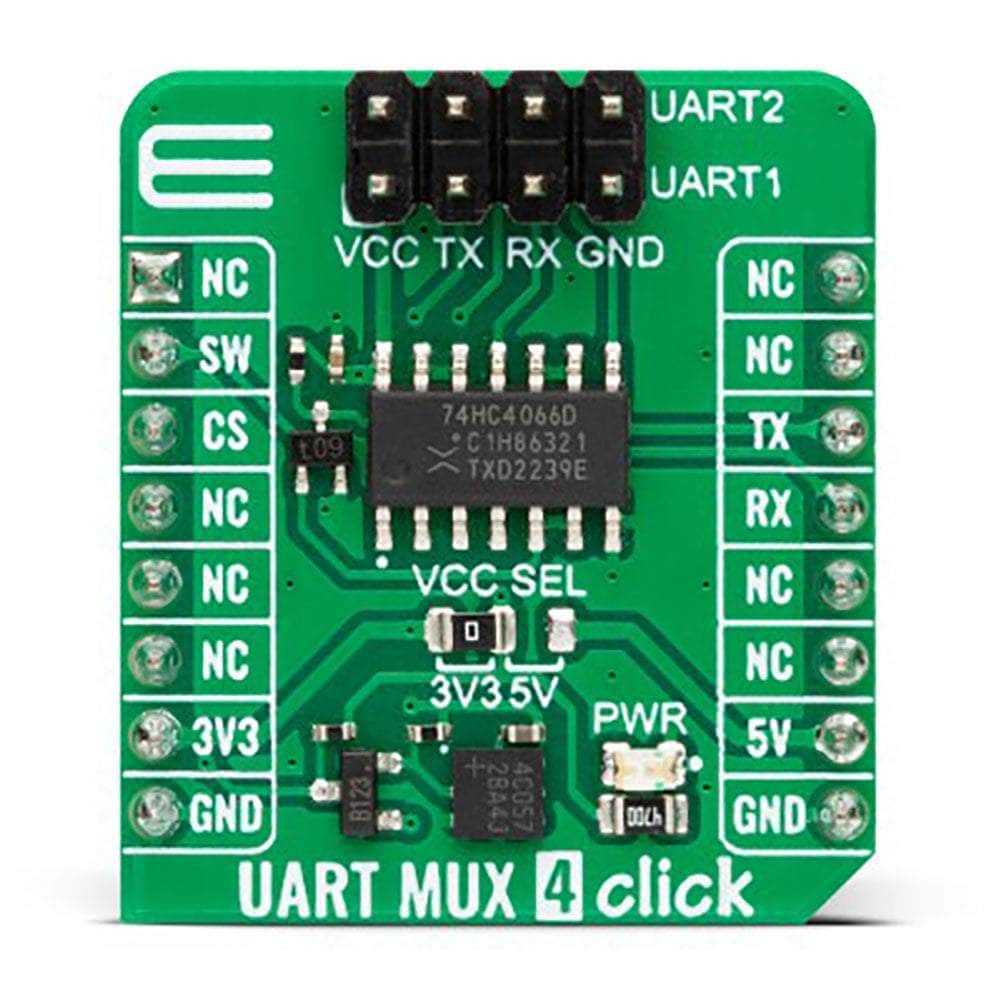
The UART MUX 4 Click Board™ is based on the 74HC4066D, a quad single-pole, single-throw analogue switch from Nexperia. The CMOS level inputs of the 74HC4066D include clamp diodes, which in turn allow current limiting resistors to interface inputs to voltages exceeding VCC. This Click board™ has two multiplexed 4-pin UART headers labelled UART1 and UART2. The UART header lines are labelled for corresponding pins. It offers fast switching speeds with a turn-OFF time of 13ns and 11ns for turn-ON if powered with 5V.
.jpg)
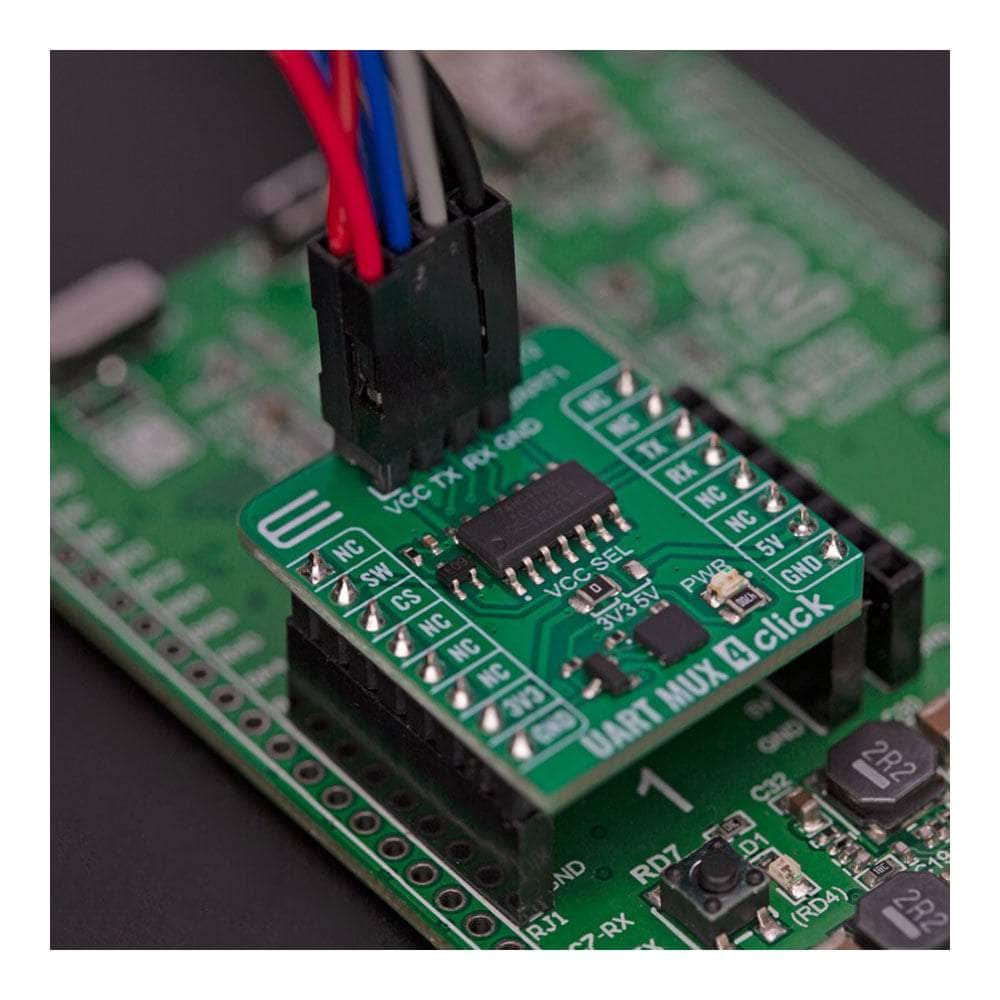
The UUART MUX 4 Click Board™ uses a standard UART interface to communicate with the host MCU, with commonly used RX and TX lines. To switch between the two output UART interfaces, this Click board™ features a switch in the form of an NPN transistor circuit. This switch circuit allows using one of the outputs UART interfaces via the SW pin of the mikroBUS™ socket with a simple logic state.
This Click board™ can operate with either 3.3V or 5V logic voltage levels selected via the VCC SEL jumper. This way, both 3.3V and 5V capable MCUs can use the communication lines properly. However, the Click board™ comes equipped with a library containing easy-to-use functions and an example code that can be used, as a reference, for further development.
SPECIFICATIONS
| Type | Port expander, RS-232 |
| Applications | It can be used for the development of a wide range of applications, from industrial and instrumentation to consumer, communications, data-acquisition systems, and many more |
| On-board modules | 74HC4066D - quad single-pole, single-throw analogue switch from Nexperia |
| Key Features | Fast turn-ON and turn-OFF times, two output UART interfaces, 3.3V and 5V operation, clamp diodes included on inputs, CMOS level, ESD protection, and more |
| Interface | UART |
| Compatibility | mikroBUS |
| Click board size | S (28.6 x 25.4 mm) |
| Input Voltage | 3.3V or 5V |
PINOUT DIAGRAM
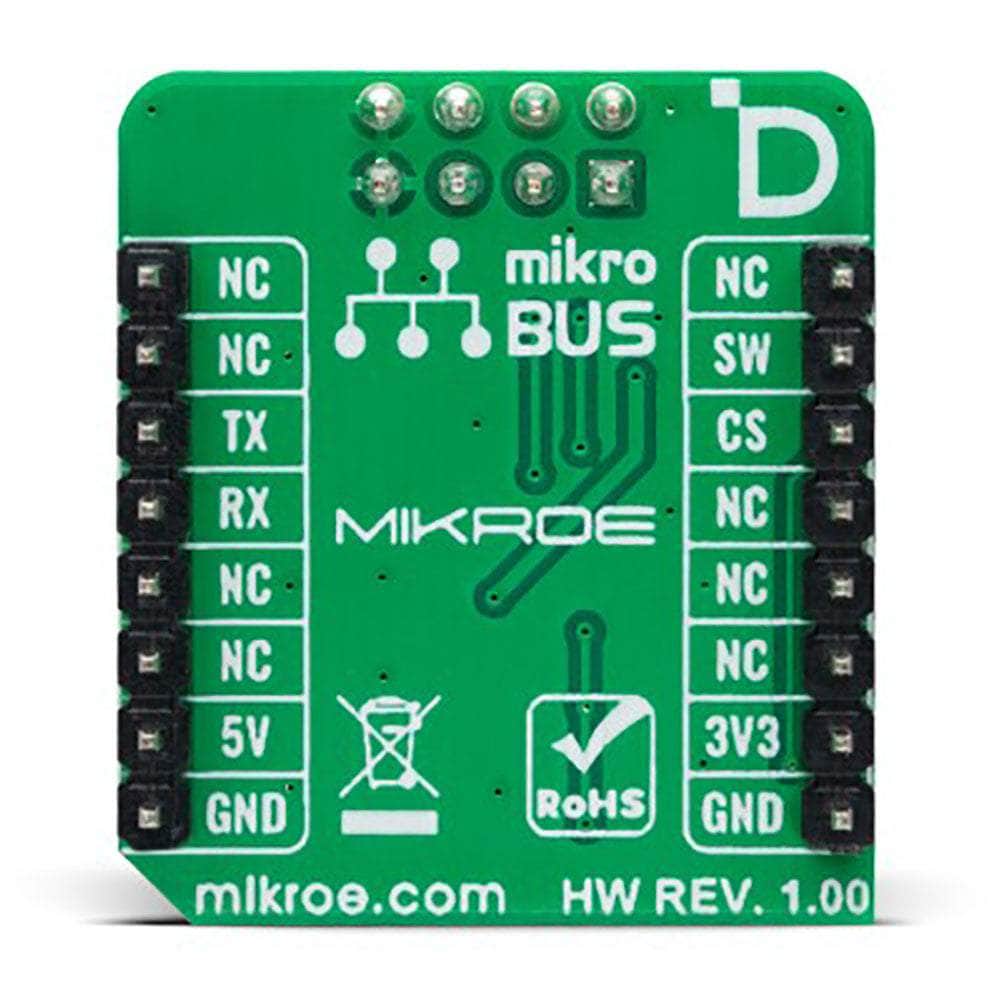
This table shows how the pinout of the UART MUX 4 Click Board™ corresponds to the pinout on the mikroBUS™ socket (the latter shown in the two middle columns).
| Notes | Pin | Pin | Notes | ||||
|---|---|---|---|---|---|---|---|
| NC | 1 | AN | PWM | 16 | NC | ||
| UART Output Switch | SW | 2 | RST | INT | 15 | NC | |
| NC | 3 | CS | RX | 14 | TX | UART TX | |
| NC | 4 | SCK | TX | 13 | RX | UART RX | |
| NC | 5 | MISO | SCL | 12 | NC | ||
| NC | 6 | MOSI | SDA | 11 | NC | ||
| Power Supply | 3.3V | 7 | 3.3V | 5V | 10 | 5V | Power Supply |
| Ground | GND | 8 | GND | GND | 9 | GND | Ground |
ONBOARD SETTINGS AND INDICATORS
| Label | Name | Default | Description |
|---|---|---|---|
| LD1 | PWR | - | Power LED Indicator |
| JP1 | VCC SEL | Left | Power/Logic Voltage Level Selection 3V3/5V: Left position 3V3, Right position 5V |
UART MUX 4 CLICK ELECTRICAL SPECIFICATIONS
| Description | Min | Typ | Max | Unit |
|---|---|---|---|---|
| Supply Voltage | 3.3 | 5 | V |
Software Support
We provide a library for the UART MUX 4 Click Board™ as well as a demo application (example), developed using MIKROE compilers. The demo can run on all the main MIKROE development boards.
The package can be downloaded/installed directly from NECTO Studio. The package Manager (recommended), from our LibStock™ or found on the MikroE Github account.
Library Description
This library contains API for UART MUX 4 Click driver.
Key functions
-
uartmux4_enable_uart1UART MUX 4 enable the UART 1 function. -
uartmux4_enable_uart2UART MUX 4 enable the UART 2 function.
Example Description
This example demonstrates using the UART MUX 4 Click Board™ by processing the incoming data and displaying them on the USB UART.
void application_task ( void )
 {
     if ( uartmux4_generic_write ( &uartmux4, DEMO_MESSAGE, sizeof( DEMO_MESSAGE ) ) )
     {
         if ( UARTMUX4_OK == uartmux4_process( &uartmux4 ) )
         {
             log_printf( &logger, "%s", app_buf );
             uartmux4_clear_app_buf( );
         }
     }
     Delay_ms( 2000 );
 }
The full application code, and ready to use projects can be installed directly from NECTO Studio The package Manager (recommended), downloaded from our LibStock™ or found on MikroE Github account.
Other MikroE Libraries used in the example:
- MikroSDK.Board
- MikroSDK.Log
- Click.UARTMUX4
Additional Notes and Information
Depending on the development board you are using, you may need USB UART Click Board™, USB UART 2 Click or RS232 Click to connect to your PC, for development systems with no UART to USB interface available on the board. UART terminal is available in all MIKROE compilers.
MIKROSDK
The UART MUX 4 Click Board™ is supported with mikroSDK - MIKROE Software Development Kit. To ensure proper operation of mikroSDK compliant Click board™ demo applications, mikroSDK should be downloaded from the LibStock and installed for the compiler you are using.
UART MUX 4 Click Board
Frequently Asked Questions
Have a Question?
Be the first to ask a question about this.