

Overview
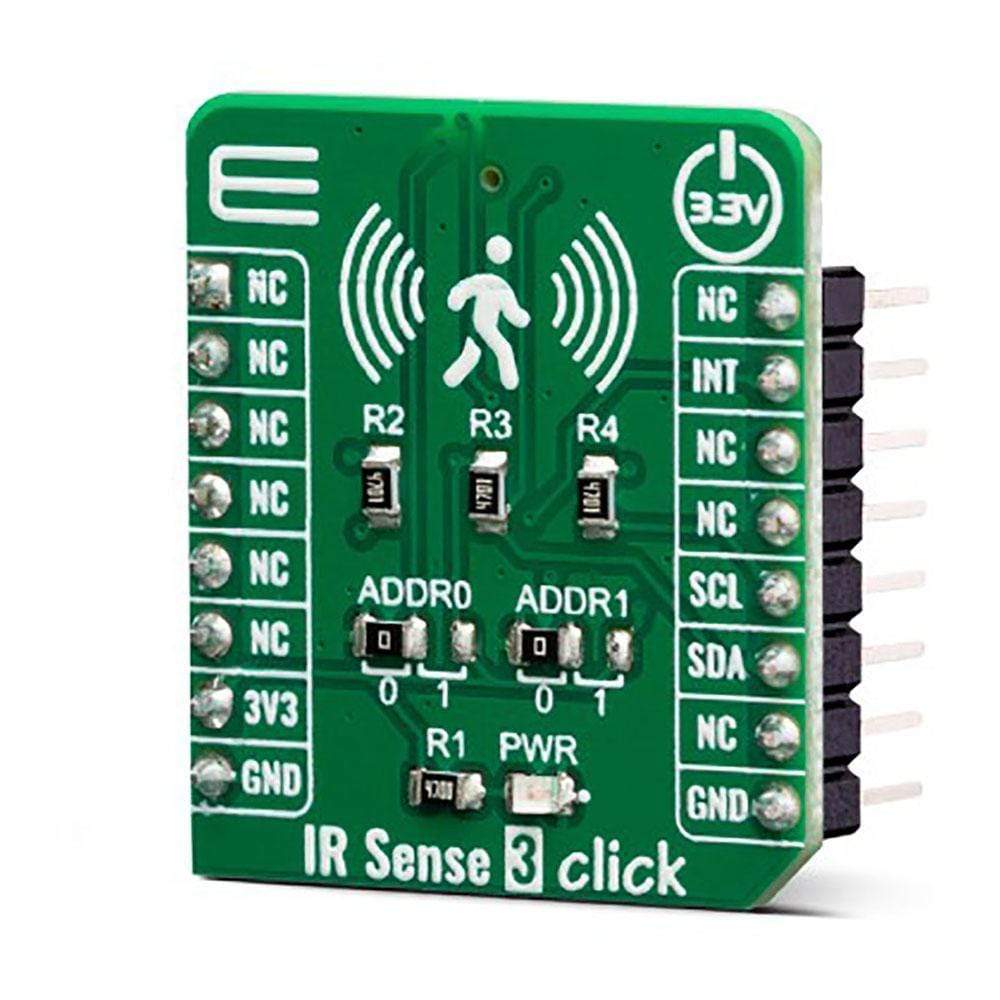
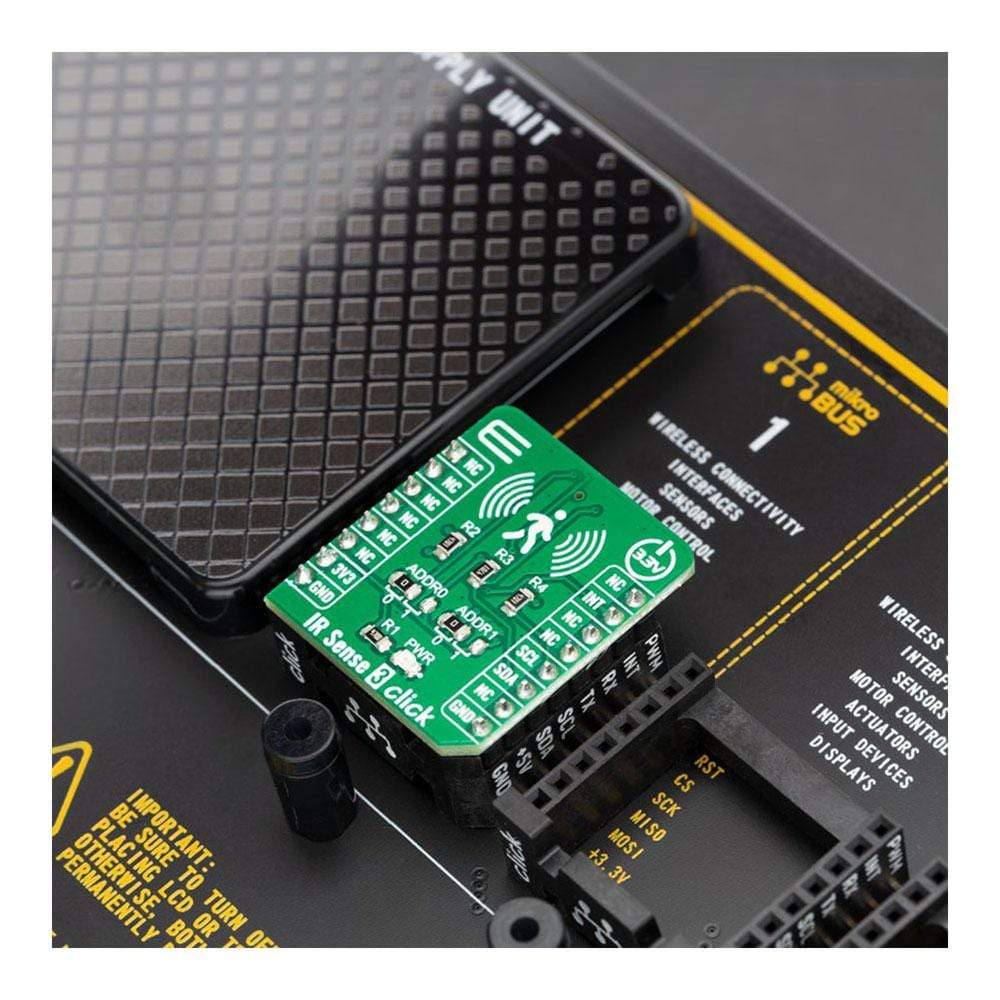
The IR Sense 3 Click Board™ is the infrared sensor Click Board™, designed to be used for short-range IR sensing applications. Unlike other pyroelectric sensors, it is able to sense environmental heat changes up to 1m, even through glass.
The IR Sense 3 Click Board™ utilises a human approach detection algorithm that makes perfectly suited for many human presence detection applications. A programmable interrupt engine simplifies the software development and saves MCU cycles, that would be otherwise wasted on polling. The ability to sense IR through the glass allows an unconstrained design of the final product.
Downloads
Advanced sensing features of the small quantum-type IR sensor chip used on the IR Sense 3 Click Board™, such as the on-chip processing and signal filtering, 16bit ADC signal conversion, I2C interface, programmable interrupt engine, low-power consumption, integrated temperature sensor and very compact size, allow this Click Board™ to be used as a very reliable and accurate presence detection device. It can be used for a range of applications that rely on human presence detection, such as proximity sensor activated lights and surveillance cameras, automatic doors, detection of heated objects, information terminals, and similar applications.
How Does The IR Sense 3 Click Board™ Work?
The IR Sense 3 Click Board™ uses the AK9754, an ultra-small infrared sensor IC, with an I2C interface, from Asahi Kasei Microdevices (AKM) company. The sensor IC integrates the AKM's original InSb quantum IR sensor element - used to sense the IR spectrum light, analog front end - for the signal conditioning and the sensor offset canceling, 16-bit analog to digital converter (ADC) - used to convert temperature and IR sensor voltages into a digital information, the digital lowpass filter (LPF) with the selectable cut-off frequency, and finally - the communication I2C interface. Power on Reset section as well as the internal oscillator sections are integrated on this chip, as well.

The chip comes with the factory calibrated offset, making the IR Sense 3 Click Board™ ready to be used out of the box. The sensor data is output through the I2C bus, with its pins routed to the appropriate mikroBUS pins. The I2C interface supports both normal (clock speed up to 100kHz) and fast mode (clock speed up to 400kHz).
IR Sense 3 Click Board™ can be operated in two modes:
- Stand-By mode: In this mode, all the internal sections are powered down. The data output registers retain their content and it is available for reading. The interrupt pin reverts to its initial state. In this mode, the power consumption is minimal.
- Continuous mode: In this mode, the sensor will repeat the measurement every 100ms. The information in the output register will be updated after each completed conversion.
The programmable interrupt engine can be used to trigger an interrupt request, whenever the programmed criteria are met. The interrupt will be triggered by all the events that meet the programmed criteria; The interrupt pin of the AK9754 is routed to the INT pin of the mikroBUS and it is driven to a LOW logic state when it is triggered. It is pulled to a HIGH logic level by the onboard resistor. More about I2C communication and the interrupt sources can be found in the AK9754 datasheet.
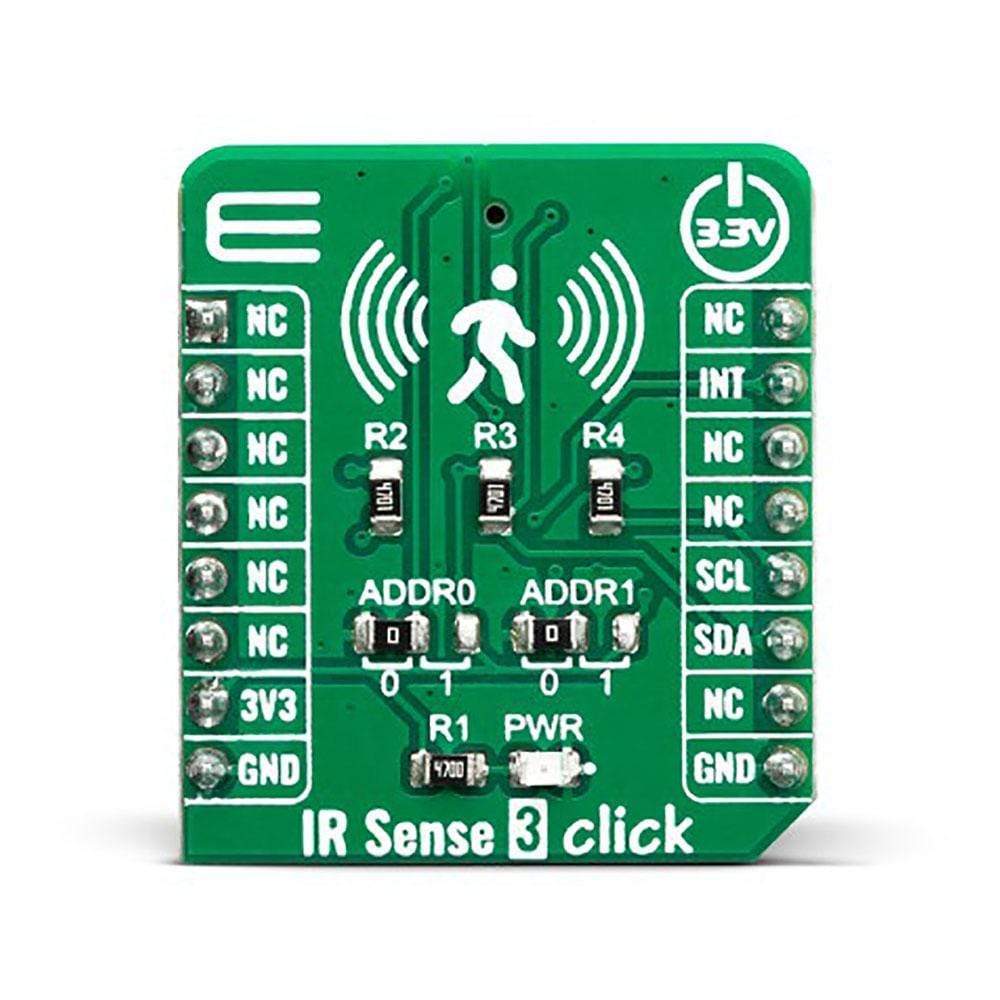
IR Sense 3 Click Board™ supports the I2C communication interface, allowing it to be used with a wide range of different MCUs. The slave I2C address can be configured by two SMD jumpers, labelled as ADDR0 and ADDR1. Because both address selection pins are tri-state, SMD jumpers can be used to short the pin to VCC or GND, or can be remove to leave the address selection pin floating. Thanks to that, up to eight devices can be used on the same I2C bus.
The provided Click Board™ library offers functions for easy configuration and reading of the sensor data. The included example application demonstrates the usage of these functions and it can be used as a reference for a custom development. More information about the functions can be found inside the Click Board™ library HELP file.
SPECIFICATIONS
| Type | Temperature & humidity |
| Applications | IR Sense 3 Click Board™ is perfectly suited for human presence detection, so it can be used in various human presence detection applications |
| On-board modules | AK9754, an ultra-small infrared sensor IC with I2C interface, from Asahi Kasei Microdevices (AKM) company |
| Key Features | On-chip processing and signal filtering, 16bit ADC signal conversion, I2C interface, programmable interrupt engine, low-power consumption, integrated temperature sensor |
| Interface | I2C |
| Compatibility | mikroBUS |
| Click Board™ size | S (28.6 x 25.4 mm) |
| Input Voltage | 3.3V |
PINOUT DIAGRAM
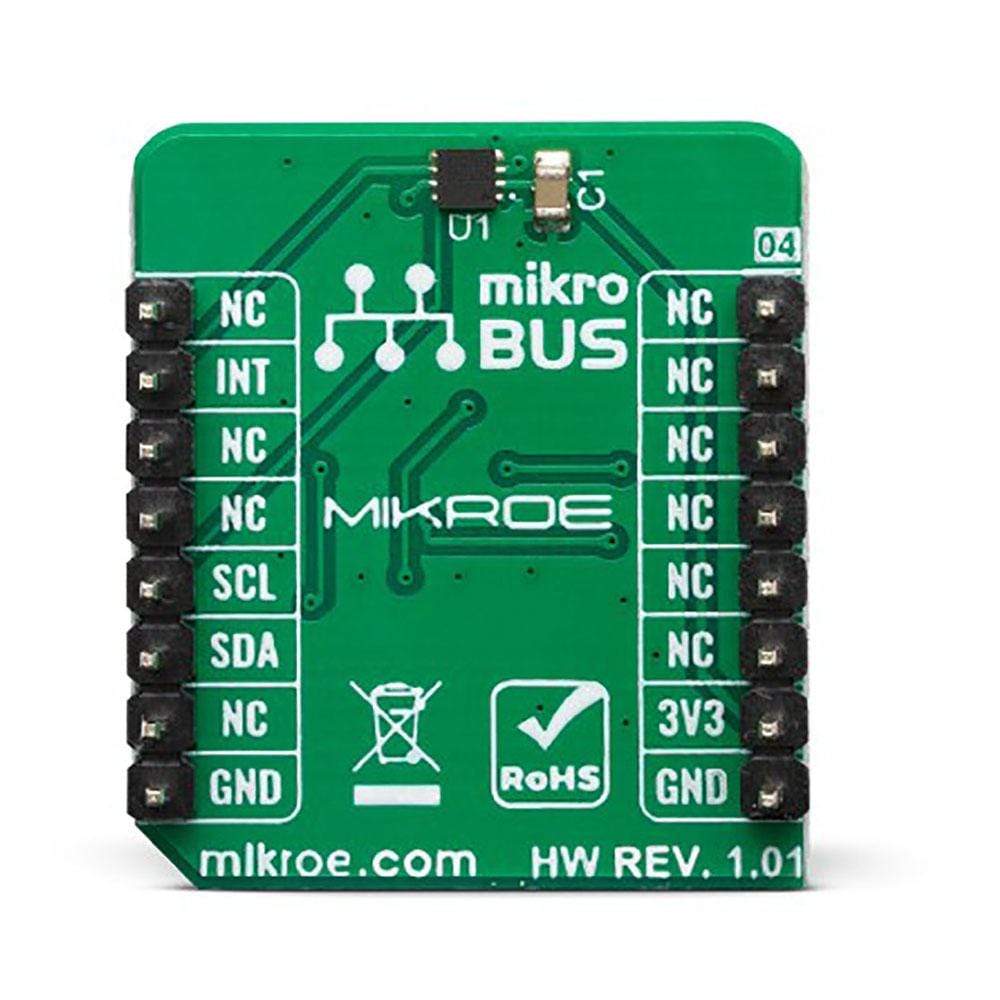
This table shows how the pinout on IR Sense 3 Click Board™ corresponds to the pinout on the mikroBUS socket (the latter shown in the two middle columns).
| Notes | Pin |  |
Pin | Notes | |||
|---|---|---|---|---|---|---|---|
| NC | 1 | AN | PWM | 16 | NC | ||
| NC | 2 | RST | INT | 15 | INT | Interrupt | |
| NC | 3 | CS | RX | 14 | NC | ||
| NC | 4 | SCK | TX | 13 | NC | ||
| NC | 5 | MISO | SCL | 12 | SCL | l2C Clock | |
| NC | 6 | MOSI | SDA | 11 | SDA | l2C Data | |
| Power Supply | 3.3V | 7 | 3.3V | 5V | 10 | NC | |
| Ground | GND | 8 | GND | GND | 9 | GND | Ground |
ONBOARD SETTINGS AND INDICATORS
| Label | Name | Default | Description |
|---|---|---|---|
| LD1 | PWR | - | Power LED Indicator |
| JP1 | ADDR0 | Left | I2C Address selection bit: left position 0, right position 1 |
| JP2 | ADDR1 | Left | I2C Address selection bit: left position 0, right position 1 |
| General Information | |
|---|---|
Part Number (SKU) |
MIKROE-3607
|
Manufacturer |
|
| Physical and Mechanical | |
Weight |
0.018 kg
|
| Other | |
Country of Origin |
|
HS Code Customs Tariff code
|
|
EAN |
8606018716081
|
Warranty |
|
Frequently Asked Questions
Have a Question?
Be the first to ask a question about this.


