Overview
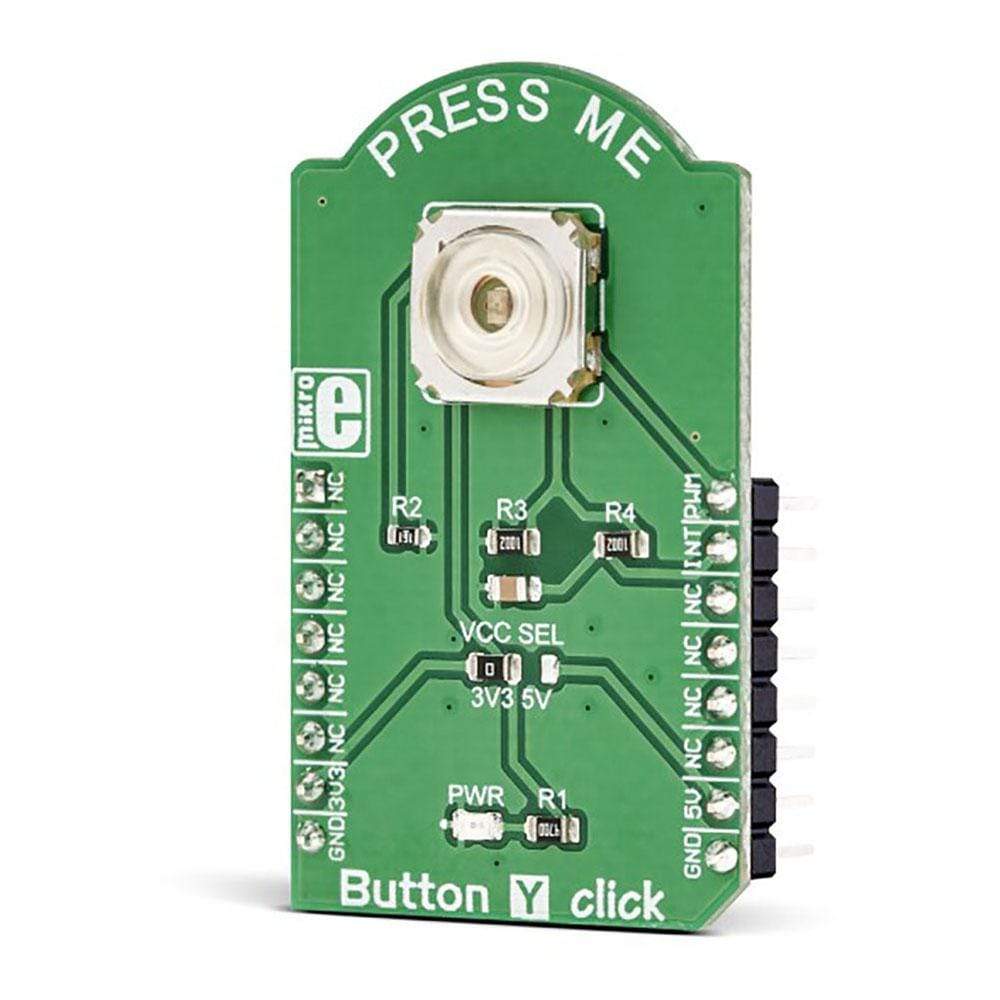
The Button Y Click Board™ is equipped with the tactile switch, sometimes referred to as a pushbutton. A pushbutton is a component that is used very often in various designs, allowing the user to interact with the application. Although it sounds simple, a button needs to comply with a range of application requirements. It needs to have a very good mechanical endurance while retaining its specifications, a predictable bouncing time, a very low ON resistance, very high OFF resistance, and it needs to fulfil aesthetical requirements.
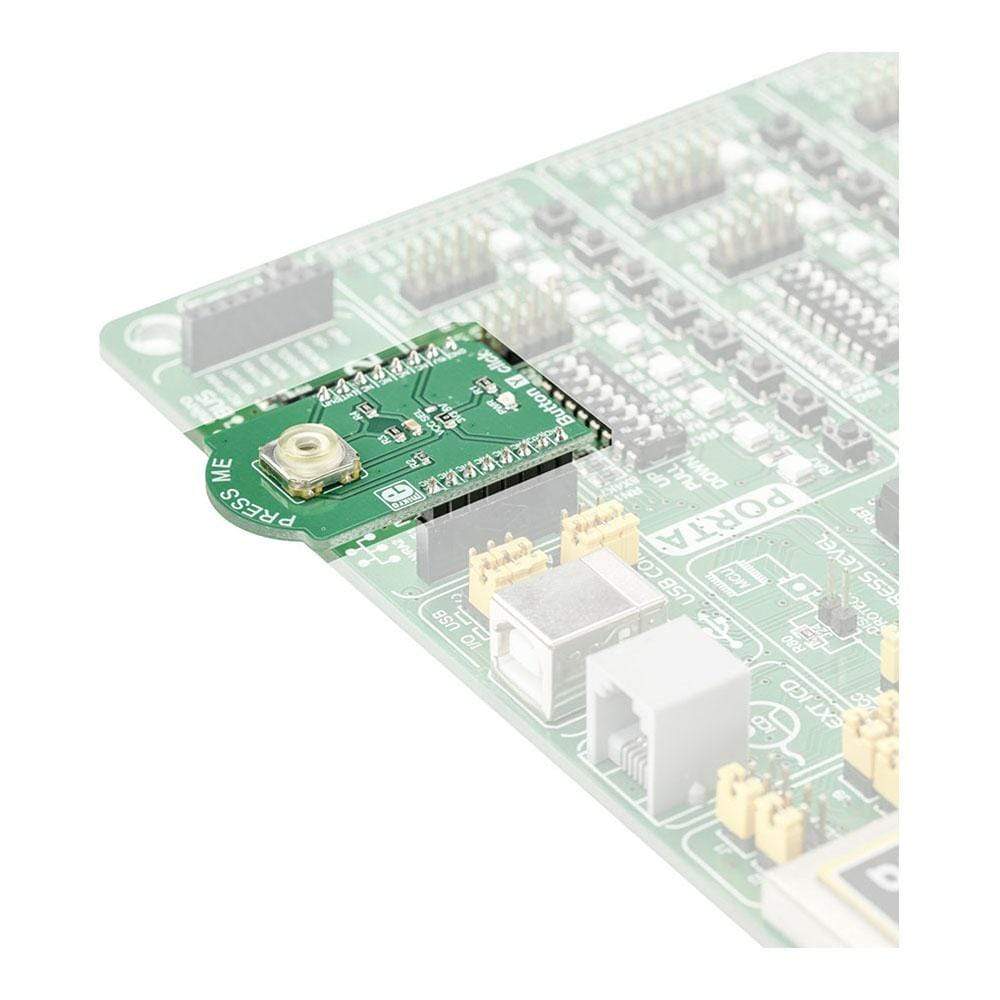
It comes in a package that also includes the mikroSDK software and a library with all the functions. The Button Y Click Board™ comes as a fully tested and approved prototype, making it a reliable device ready to use on the development board.
Downloads
The button used on the Button Y Click Board™ meets all the mentioned requirements. It is a reliable and endurable tactile switch, with a reasonably large button surface of 6.7mm in diameter. Very low typical bouncing time of less than 1.5ms, extremely low ON resistance of less than 100mΩ, and an embedded yellow LED with the adjustable brightness are features that make the Button Y click very appealing tactile switch solution, which can be used in many different low power electronic applications, such as various control boards, user input keys, activators of certain functions with built-in signalization, etc.
How Does The Button Y Click Board™ Work?
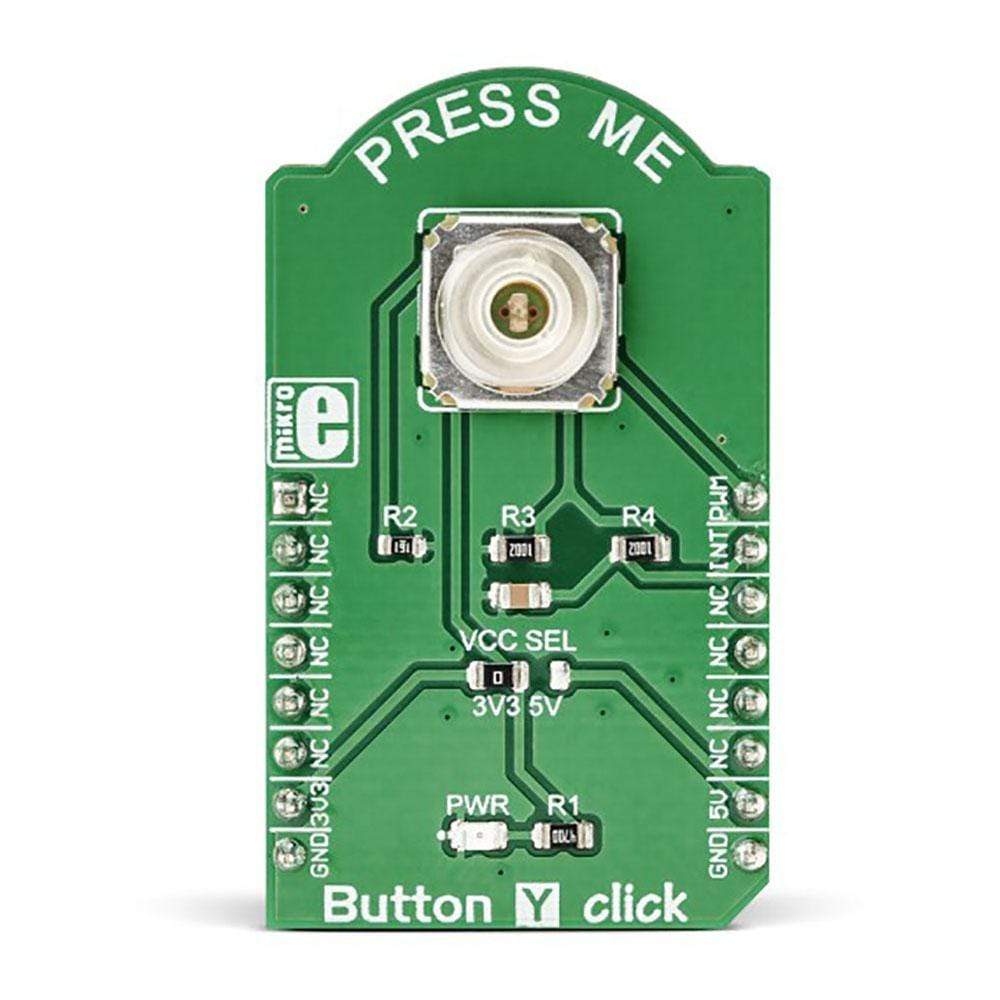
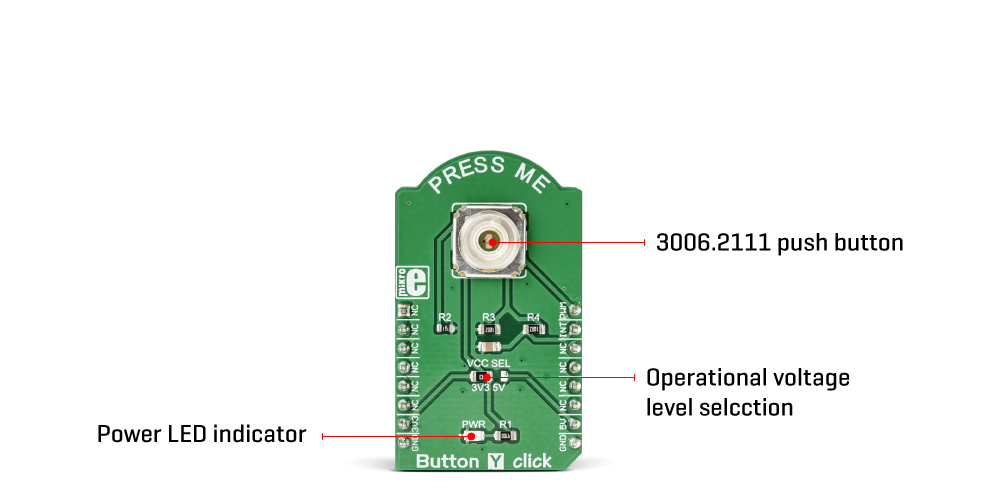
The Button Y Click Board™ is equipped with the high-quality, single-pole, single-throw (SPST) tactile switch labeled as 3006.2111, produced by Marquardt. This is a high-quality, low-profile pushbutton with a reasonably large diameter of 6.8mm. It is equipped with a yellow LED, which can be dimmed by applying a PWM signal from the MCU. Therefore, the anode of the LED is connected to the PWM pin of the mikroBUS™. The embedded LED can be used for a signalization, but also for aesthetic purposes.
The switch itself has very good characteristics: it has a low ON resistance (a resistance through the button while it is pressed) of less than 100mΩ, very low bouncing time (a time during which the contact plates settle down) of less than 1.5ms typically. The mechanical endurance of the tactile switch is rated to more than 500,000 cycles, while applying 14VDC, 10mA. The total travel distance of the button is 2.9 mm, while the tactile force of the button is 4N. The maximum voltage that should be used between the switch terminals is 28V, while the current should stay below 50mA.
Two important properties that describe a button, are its mechanical endurance and bouncing delay. Those two attributes depend on each other, so when a significant bouncing appears, it might be a sign of a switch deterioration. Likewise, a switch will develop larger bouncing effect as it is been used over time. The mechanical endurance is also affected by the force applied to the switch while operated, as well as its eccentricity (pressing the button off centre).
Bouncing time is a parameter which describes how fast contact plates of a switch are settled down. Each material has some elastic properties. This is also true for the contact plates of the button. Different types of switches have different mechanism to establish a contact, but they are all based on a common principle: they are made so they accumulate the pressure force, until there is enough energy stored so that the plate can be actuated very fast, turning the accumulated pressure into kinetic energy (resulting with the familiar click sound). The most often, a form of spring mechanism is used. However, when hitting the second, fixed plate, a moving plate will bounce off a few times, depending on the elasticity of the system, its speed and so on. There is no ideal dampening mechanism to reduce the bouncing completely. This button will accumulate force up to about 1N before its actuated, providing a tactile feedback while clicking.
The tactile switch used on Button Y Click Board™ has an excellent bouncing duration of less than 1ms. However small, the bouncing of a button needs to be compensated, either in the application firmware, or the hardware. Button Y click has a simple debouncing circuit, made of a 10kΩ resistor and 10nF capacitor, which is sufficient for the most cases. The debounced signal will have a small delay, depending on a dampening circuitry. The delay is in the range of a few milliseconds, which is far less than a human can sense. Finally, the button is intended to be operated by a human, so even much larger delay is perfectly acceptable for this type of device.
The button is active HIGH, which means that when it is pressed, a HIGH logic level will be applied to the INT pin. This switch will be pulled to a LOW logic level by the 10kΩ pull-down resistor while inactive, preventing the input pin of the MCU to become floating. The switch signal is routed to the INT pin of the mikroBUS™. An onboard SMD jumper labeled as VCC SEL is used to set the voltage for the HIGH logic level, allowing the Button Y click to be used with a wide range of different MCUs.
SPECIFICATIONS
| Type | Pushbutton/Switches |
| Applications | The Button Y Click Board™ very appealing tactile switch solution, which can be used in many different low power electronic applications, such as various control boards, user input keys, activators of certain functions with built-in signalization, etc. |
| On-board modules | 3006.2111, a high-quality SPST tactile switch, produced by Marquardt |
| Key Features | Excellent mechanical endurance, integrated yellow LED with the adjustable brightness, very low ON resistance, comes equipped with the debouncing circuit |
| Interface | GPIO,PWM |
| Compatibility | mikroBUS |
| Click board size | M (42.9 x 25.4 mm) |
| Input Voltage | 3.3V or 5V |
PINOUT DIAGRAM
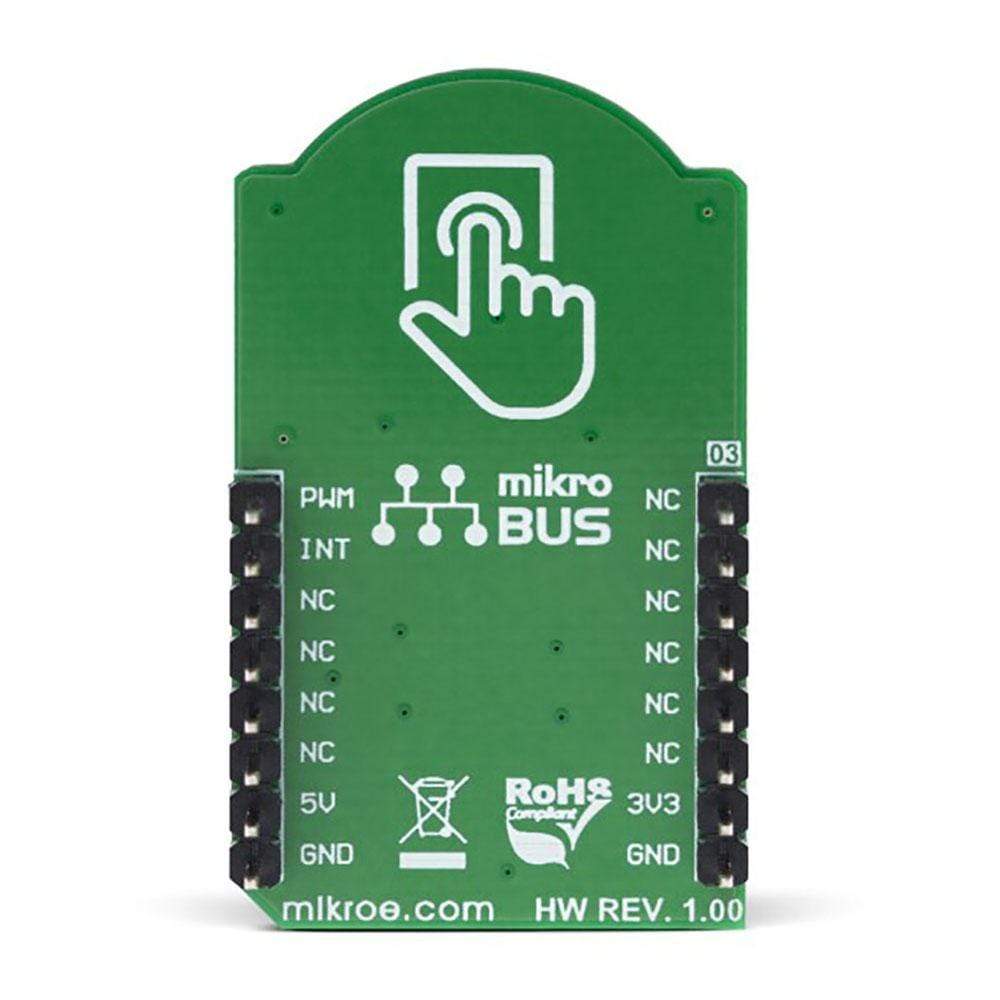
This table shows how the pinout of the Button Y Click Board™ corresponds to the pinout on the mikroBUS™ socket (the latter shown in the two middle columns).
| Notes | Pin |  |
Pin | Notes | |||
|---|---|---|---|---|---|---|---|
| NC | 1 | AN | PWM | 16 | PWM | LED intensity | |
| NC | 2 | RST | INT | 15 | INT | Switch OUT | |
| NC | 3 | CS | RX | 14 | NC | ||
| NC | 4 | SCK | TX | 13 | NC | ||
| NC | 5 | MISO | SCL | 12 | NC | ||
| NC | 6 | MOSI | SDA | 11 | NC | ||
| Power supply | 3V3 | 7 | 3.3V | 5V | 10 | 5V | Power Supply |
| Ground | GND | 8 | GND | GND | 9 | GND | Ground |
ONBOARD SETTINGS AND INDICATORS
| Label | Name | Default | Description |
|---|---|---|---|
| PWR | PWR | - | Power LED indicator |
| JP1 | VCC SEL | Left | Logic voltage level selection: left position 3.3V, right position 5V |
| General Information | |
|---|---|
Part Number (SKU) |
MIKROE-3262
|
Manufacturer |
|
| Physical and Mechanical | |
Weight |
0.025 kg
|
| Other | |
Country of Origin |
|
HS Code Customs Tariff code
|
|
EAN |
8606018713943
|
Warranty |
|
Frequently Asked Questions
Have a Question?
Be the first to ask a question about this.

