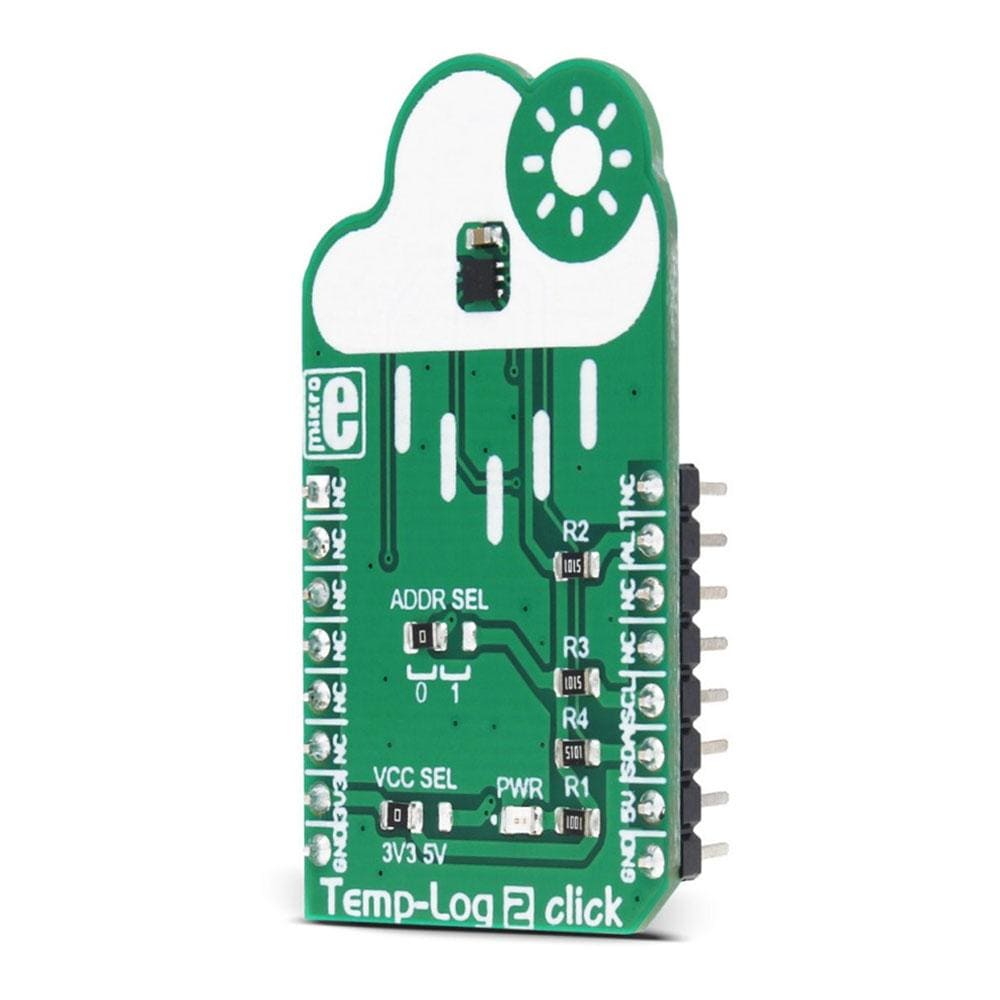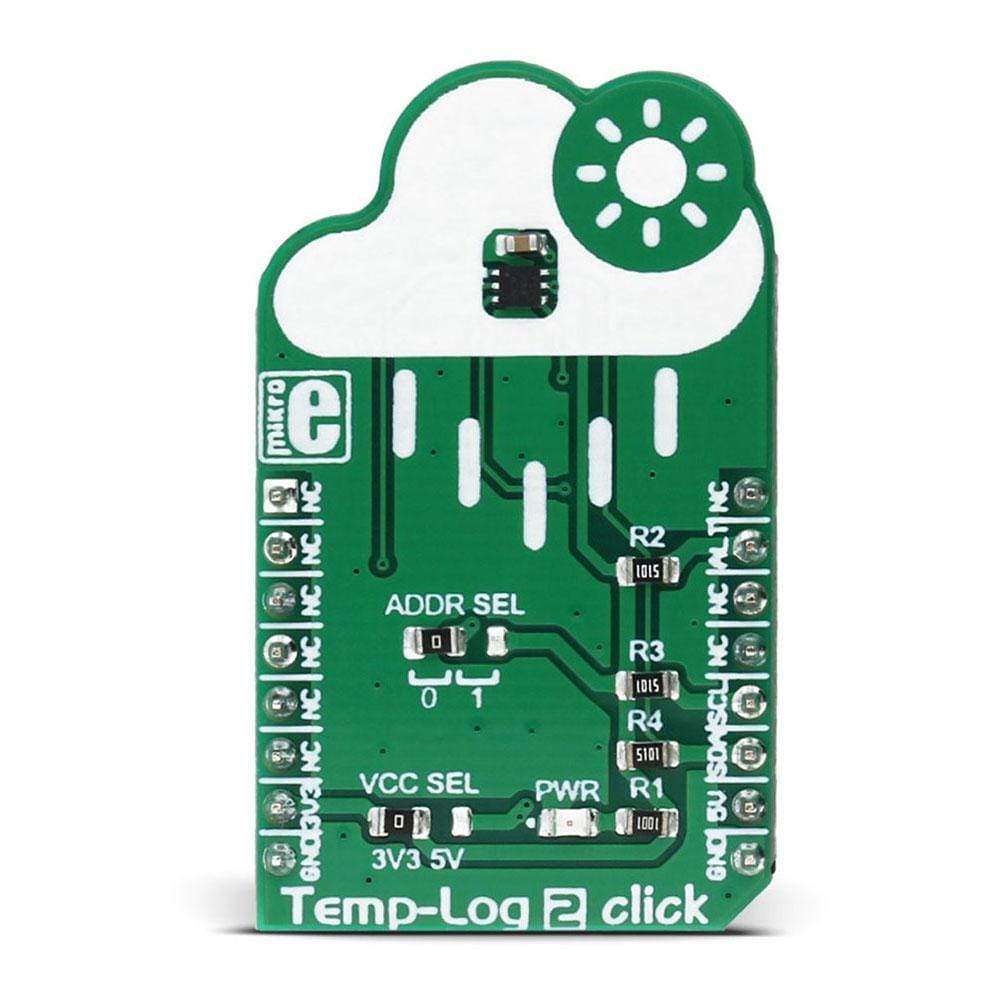
Overview
The Temp-Log 2 Click Board™ is a precise ambient temperature measurement device, equipped with 8Kbit (1024 bytes) of EEPROM memory, which can be used to permanently store system configuration or log application-specific or user preference data. This Click Board™ covers a range of temperatures from -55°C to +125°C with the highest accuracy of ±0.5°C, in the range of 0°C to 85°C. The device can also send an ALERT signal to the INT pin of the mikroBUS every time programmed temperature thresholds are reached.
Downloads
The Temp-Log 2 Click Board™ is a precise ambient temperature measurement device, equipped with the additional non-volatile (EEPROM) memory that can be used to permanently store system configuration, and 64 bits of general-purpose EEPROM, used for logging application-specific or user preference data. This click covers a range of temperatures from -55°C to +125°C with the highest accuracy of ±0.2°C, in the range of -10°C to 85°C, exceeding the accuracy of CLASS A RTD. The device can also send an ALERT signal to the INT pin of the mikroBUS™ every time programmed temperature thresholds are exceeded.
When the device is reset, the configuration values programmed to the EEPROM memory of the sensor IC are copied to the respective register map locations. This allows for near-autonomous operation of the device, without the need to initialize the sensor configuration parameters after every power cycle. These features make the Temp-Log click a perfect choice for temperature measurement in a wide variety of communication, consumer, computer, industrial and similar applications, with the addition of user data storage space.
How Does The Temp-Log 2 Click Board™ Work?
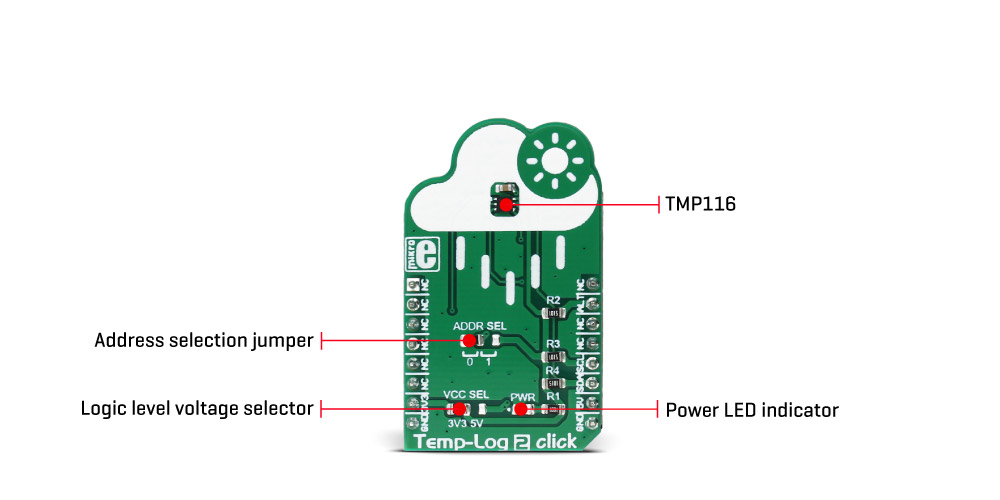
The main active component used on the Temp-Log 2 Click Board™ is the TMP116, a high-accuracy, low-power, digital temperature sensor, from Texas Instruments. The TMP116 utilizes a diode type temperature sensor with an internal sigma-delta 16bit ADC for the temperature measurement and conversion. The device can work in several operating modes that affect the power consumption, as well as the measurement accuracy. Equipped with 16bit ADC, TMP116 provides a measurement step of 0.0078125°C.
The TMP116 sensor uses the I2C bus for communication with the MCU. This sensor has six config/data registers, which are used to access all the functions of this device. It also has four additional registers for storing user-specific data in the non-volatile memory area (EEPROM). After initializing the I2C communication with the START condition from the master, a valid device address is expected. This thermal sensor uses the 100100A binary value as the 7bit I2C address, where "A" corresponds to the logical state of the ADDR0 pin. This pin can be set to a HIGH or LOW logic state by switching the position of the onboard SMD jumper, labelled as ADDR SEL.
The TMP116 sensor is made with the power saving in mind. When the Shutdown mode is engaged, the power consumption is minimal and most of the device sections are not consuming any power. One Shot mode allows to wake up the device, take one measurement, update the registers, and revert to the Shutdown mode again. This allows for a minimum power consumption. To allow One Shot mode, the device needs to be put into the Shutdown mode first. The most power is consumed by the Continuous mode. This mode allows setting the integration and the standby time. Integration time actively burst-samples the thermal data, reducing the noise error by averaging the result. Allowing longer stand-by duration prevents too much power consumption, as well as the additional self-heating of the sensor IC which would affect the accuracy of the measurement.
The 16bit Configuration register is used to configure all the working parameters of the sensor: working mode (one-shot mode, continuous conversion mode, and shutdown mode), measurement conversion and integration parameters, the polarity of the ALERT pin, DATA_RDY status, non-volatile memory busy status, and so on. There is also a copy of this register in the non-volatile memory, which can be independently changed. After the power on, the content of the non-volatile Configuration register will be copied to its volatile counterpart allowing settings retention, even after power down.
To write data to the non-volatile memory locations, it is necessary to first unlock the EUN lock bit in the EEPROM Unlock register. After the EEPROM unlock, it is possible to write in the EEPROM locations. Four general purpose EEPROM register locations can be used for storing any type of data. Writing data to the configuration registers will mirror the data to the respective EEPROM locations. EEPROM Unlock register also contains the EEPROM_Busy bit, which indicates the readiness of the EEPROM. If this bit is 0, writing to EEPROM is possible. This bit mirrors the same bit in the Configuration register.
There are two more 16bit registers used to set the high and low-temperature threshold, which also have their non-volatile copies. Depending on the ALERT mode bit in the Configuration register, the temperature threshold values in these registers will be used to trigger an event on the ALERT pin, routed to the mikroBUS™ INT pin. This pin is pulled HIGH on this Click board™ by a resistor, so it is a good idea to configure it as active LOW, by using the polarity bit in the Configuration register.
The TMP116 device contains a register with the unique device ID, which is factory programmed to read only locations. Additionally, the general purpose EEPROM registers are pre-programmed with one more unique ID, which allows NIST traceability. The TMP116 units are 100% tested on a production setup that is NIST traceable and verified with equipment that is calibrated to ISO/IEC 17025 accredited standards. If the NIST traceability is not required, general purpose EEPROM registers can be freely overwritten.
MikroElektronika provides libraries and functions which simplify working with this device. For more detailed information on the functionality of this device, the TMP116 datasheet can be consulted.
Temp-Log 2 click is capable of working with both 3.3V and 5V systems. The desired operational voltage can be selected by the VCC SEL SMD jumper. SCL and SDA lines are both pulled HIGH by the onboard resistors, so the Temp-Log 2 click is ready to be used right out of the box.
Specifications
| Type | Temperature & humidity,Temperature Logging |
| Applications | Can be used for temperature measurement in a wide variety of communication, consumer, computer, industrial and similar applications - with an addition of the user data storage space |
| On-board modules | TMP116, a high-accuracy, low-power, digital temperature sensor, from Texas Instruments |
| Key Features | Wide range of measurements with a high accuracy that exceeds even the accuracy of the RTD devices, low power consumption, non-volatile memory that offers configuration parameters storage, as well as the user-specific data |
| Interface | I2C |
| Compatibility | mikroBUS |
| Click board size | M (42.9 x 25.4 mm) |
| Input Voltage | 3.3V or 5V |
Pinout diagram
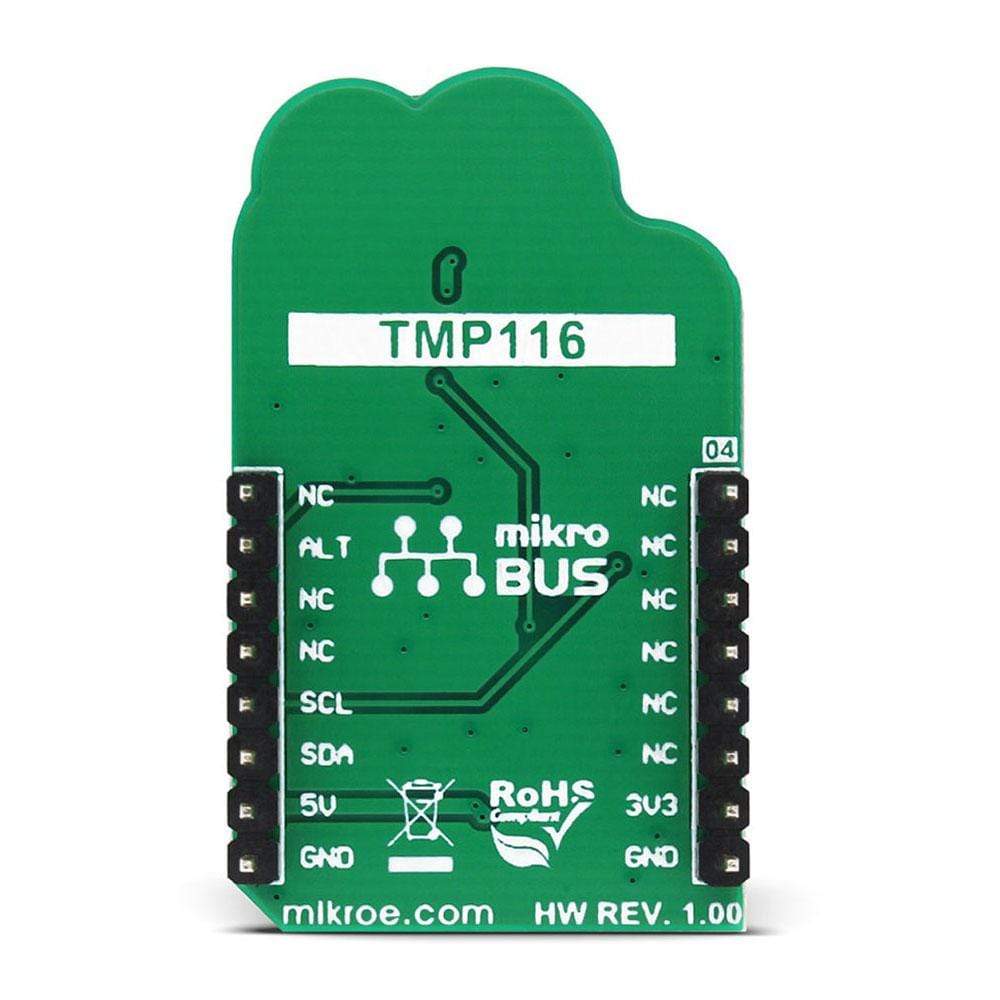
This table shows how the pinout on Temp-Log 2 Click Board™ corresponds to the pinout on the mikroBUS™ socket (the latter shown in the two middle columns).
| Notes | Pin |  |
Pin | Notes | |||
|---|---|---|---|---|---|---|---|
| NC | 1 | AN | PWM | 16 | NC | ||
| NC | 2 | RST | INT | 15 | ALT | Alert/INT | |
| NC | 3 | CS | RX | 14 | NC | ||
| NC | 4 | SCK | TX | 13 | NC | ||
| NC | 5 | MISO | SCL | 12 | SCL | I2C Clock | |
| NC | 6 | MOSI | SDA | 11 | SDA | I2C Data | |
| Power Supply | +3V3 | 7 | 3.3V | 5V | 10 | +5V | Power Supply |
| Ground | GND | 8 | GND | GND | 9 | GND | Ground |
Temp-Log click characteristics
| Description | Min | Typ | Max | Unit |
|---|---|---|---|---|
| Temperature measurement range | -55 | +125 | °C | |
| Temperature measurement accuracy | ± 0.2 | ±0.3 | °C | |
| I2C clock speed | 1 | 400 | kHz |
Onboard settings and indicators
| Label | Name | Default | Description |
|---|---|---|---|
| LD1 | PWR | Power LED indicator | |
| JP1 | ADDR SEL | Left | I2C address LSB selection: left position '0', right position '1' |
| JP2 | VCC SEL | Left | Power supply voltage selection: left position 3V3, right position 5V |
| General Information | |
|---|---|
Part Number (SKU) |
MIKROE-3004
|
Manufacturer |
|
| Physical and Mechanical | |
Weight |
0.018 kg
|
| Other | |
Country of Origin |
|
HS Code Customs Tariff code
|
|
EAN |
8606018712922
|
Warranty |
|
Frequently Asked Questions
Have a Question?
Be the first to ask a question about this.

