

Mikroelektronika d.o.o.
9DOF 3 Click Board™
9DOF 3 Click Board™
SKU: MIKROE-4153
Couldn't load pickup availability


Overview
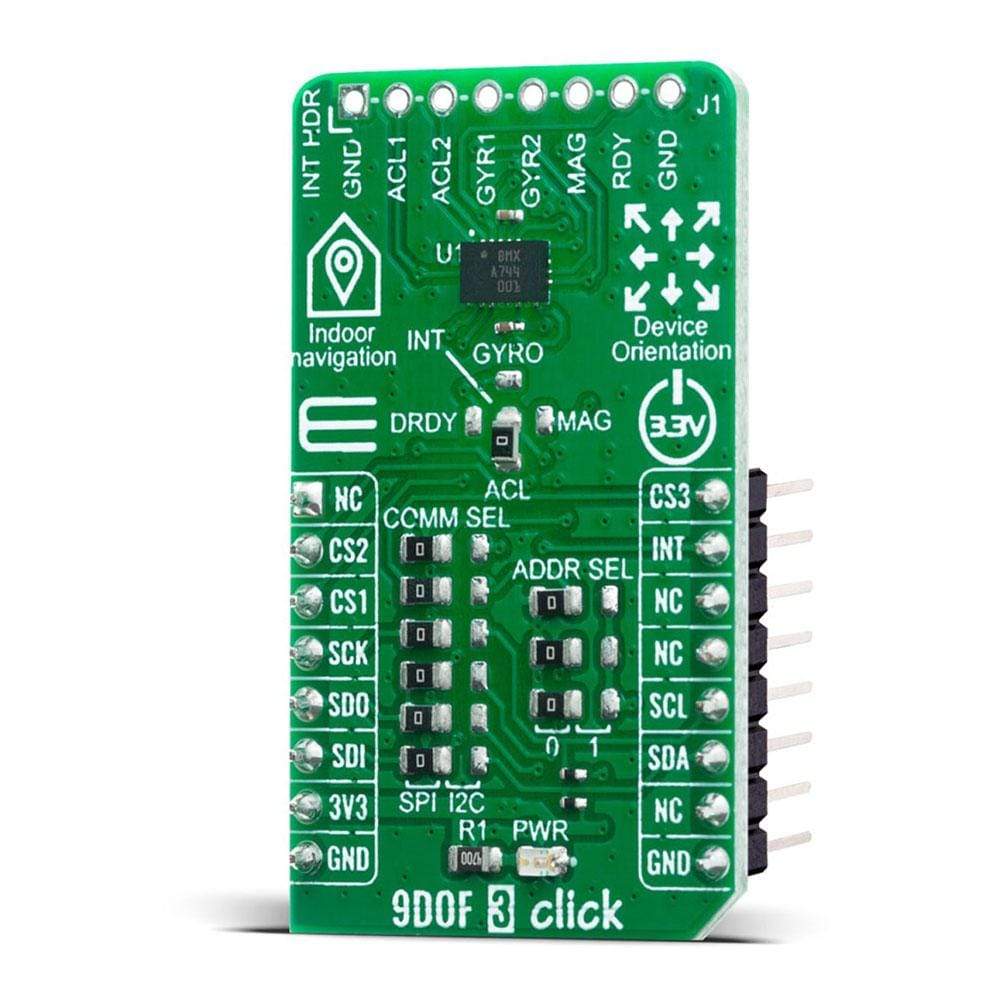
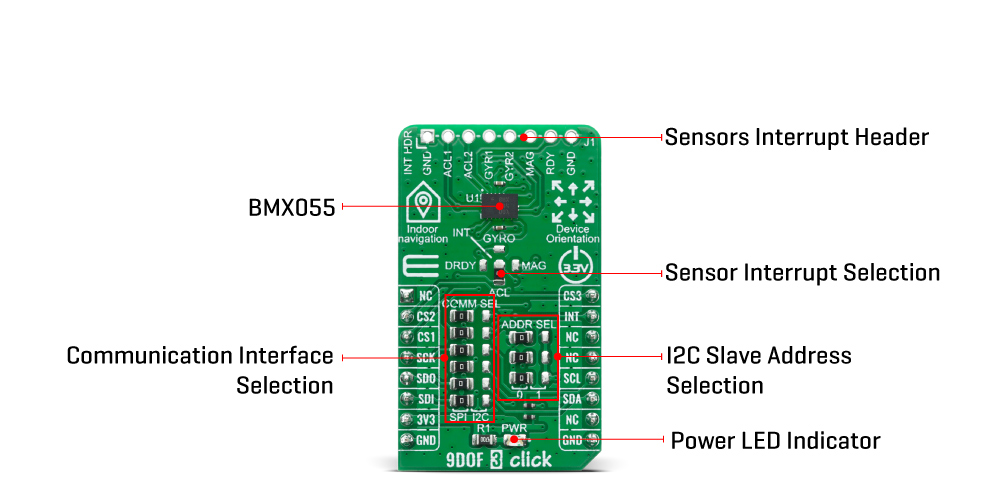
The 9DOF 3 Click Board™ introduces the BMX055, a small-scale absolute orientation sensor in the class of low-noise 9-axis measurement units, from Bosch Sensortec. It comprises the full functionality of a triaxial, low-g acceleration sensor, a triaxial angular rate sensor and a triaxial geomagnetic sensor. All three sensor components of the BMX055 can be operated and addressed independently from each other.
On top, the BMX055 integrates a multitude of features that facilitate its use especially in the area of motion detection applications, such as device orientation measurement, gaming, HMI or menu browser control. The 9DOF 3 Click Board™ offers both SPI and I2C digital interfaces for easy and fast system integration.
Downloads
How Does The 9DOF 3 Click Board™ Work?
The 9DOF 3 Click Board™ features the BMX055, an integrated 9-axis sensor for the detection of movements and rotations and magnetic heading. It comprises the full functionality of a triaxial, low-g acceleration sensor, a triaxial angular rate sensor and a triaxial geomagnetic sensor. The BMX055 senses orientation, tilt motion, acceleration, rotation, shock, vibration and heading in cell phones, handhelds, computer peripherals, man-machine interfaces, virtual reality features and game controllers.
The BMX055 allows accurate measurements of angular rate, acceleration and geomagnetic fields in 3 perpendicular axes within one device. The programmable measurement ranges are ±2g, ±4g, ±8g, 16g for accelerometer, ±125°/s, ±250°/s, ±500°/s, ±1000°/s, ±2000°/s for gyroscope and 1300µT (x,y), 2500µT (z) for the magnetometer. The smallest to be distinguished magnitude from the measured value, or short for resolution, is 0.98mg, 0.004°/s and 0.3µT for accelerometer, gyroscope and magnetometer respectively.
There are several power modes configurable for each sensor intended for low-power applications and power saving. The data from sensors are acquired via a selected digital interface either SPI or I2C, by reading the addresses directly. Featured IC possesses a 16bit gyroscope, 12bit accelerometer and a full performance geomagnetic sensor that provides data in 2's complement representation. Measured data compensation and calibration are also included as an on-chip feature, as well as a temperature sensor for the reduction of temperature fluctuations on sensitive components.
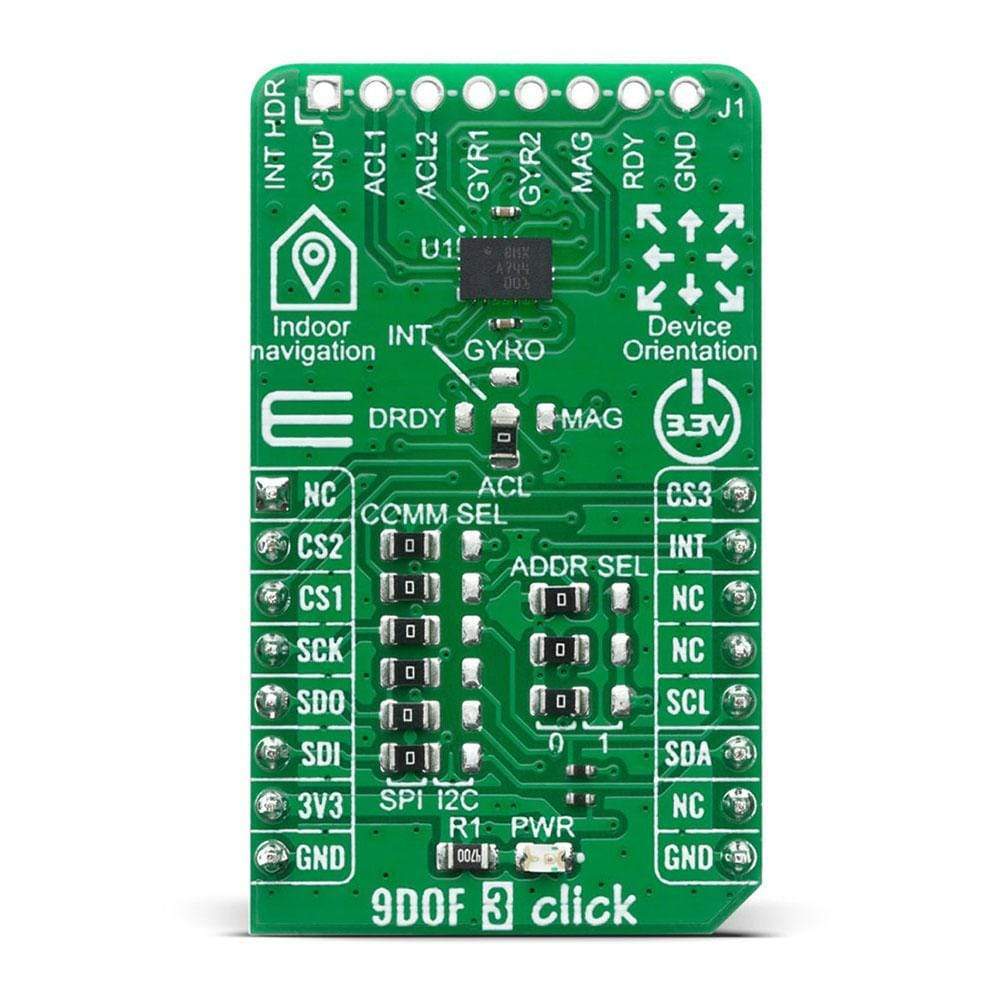
The 9DOF 3 Click Board™ supports two serial digital interface protocols for communication as a slave with a host device: SPI and I2C. The active interface is selected by soldering the SMD jumpers to an appropriate position. The slave I2C address can also be configured by an SMD jumper when the Click board™ is operated in the I2C mode. The group of SMD jumpers labelled as ADDR SEL are used to set the I2C address of the BMX055.
The BMX055 module supports four interrupt pins for each sensor: Accel_INT, Gyro_INT, Mag_INT and DRDY. The sensor interrupt is selectable via one cross-shaped jumper selection and routed to the Mikrobus INT pin. There is also a header on top of the click with the breakout of all available sensors interrupt pins.
The 9DOF 3 Click Board™ is designed to be operated only with a 3.3V logic level. A proper logic voltage level conversion should be performed before the Click board™ is used with MCUs with different logic levels.
SPECIFICATIONS
| Type | Acceleration,Gyroscope,Motion |
| Applications | Can be used for HMI and augmented reality, advanced gesture recognition, indoor navigation, tilt measurement and compensation, free-fall detection and drop detection for warranty logging, display profile switching, advanced system power management for mobile applications and menu scrolling, tap / double-tap sensing. |
| On-board modules | The 9DOF 3 Click Board™ uses the BMX055 IC, an integrated 9-axis sensor for the detection of movements and rotations and magnetic heading, from Bosch Sensortec. |
| Key Features | Three sensors in one device, Smart operation and integration, Consumer electronics suite, Programmable functionality, Ultra-low power IC |
| Interface | I2C,SPI |
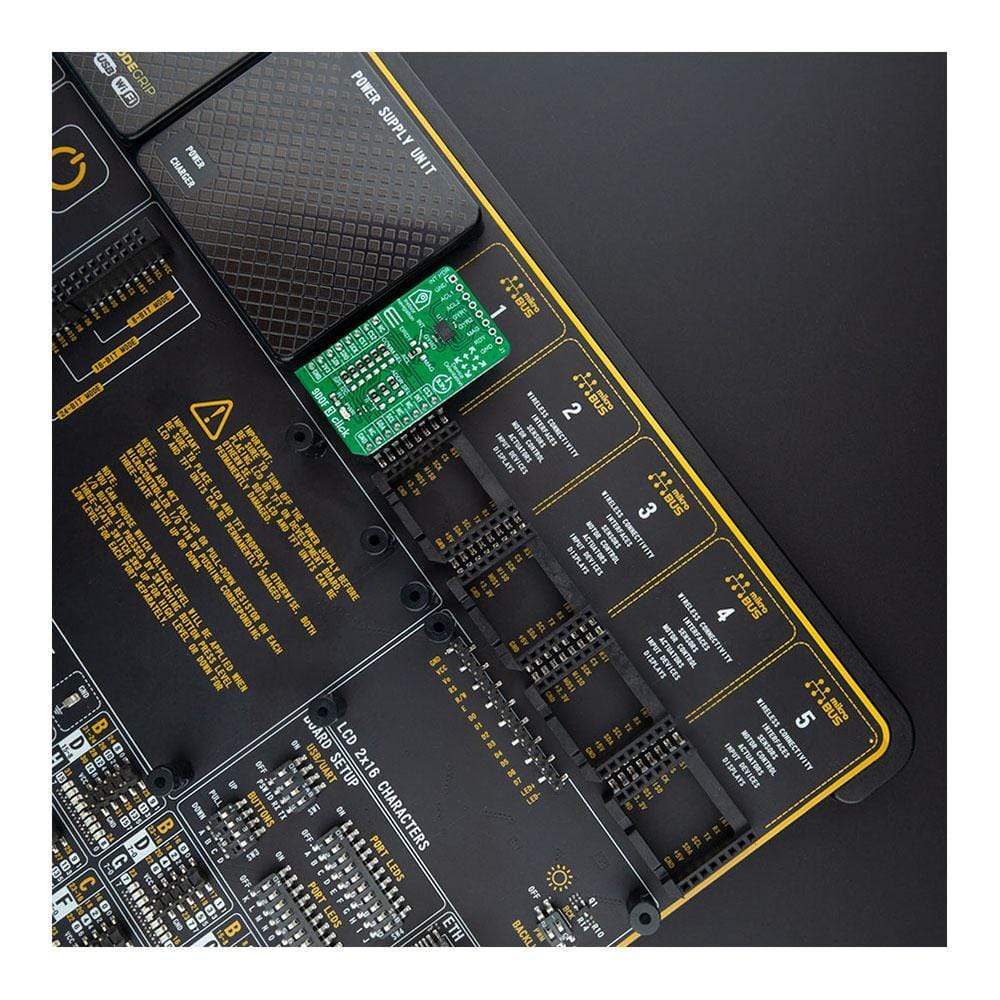
| Compatibility | mikroBUS |
| Click board size | M (42.9 x 25.4 mm) |
| Input Voltage | 3.3V |
PINOUT DIAGRAM
This table shows how the pinout of the 9DOF 3 Click Board™ corresponds to the pinout on the mikroBUS™ socket (the latter shown in the two middle columns).
| Notes | Pin | Pin | Notes | ||||
|---|---|---|---|---|---|---|---|
| NC | 1 | AN | PWM | 16 | CS3 | Chip Select Mag | |
| Chip Select Gyro | CS2 | 2 | RST | INT | 15 | INT | Interrupt |
| SPI Select Accel | CS1 | 3 | CS | RX | 14 | NC | |
| SPI Clock | SCK | 4 | SCK | TX | 13 | NC | |
| SPI Data OUT | SDO | 5 | MISO | SCL | 12 | SCL | I2C Clock |
| SPI Data IN | SDI | 6 | MOSI | SDA | 11 | SDA | I2C Data |
| Power Supply | 3.3V | 7 | 3.3V | 5V | 10 | NC | |
| Ground | GND | 8 | GND | GND | 9 | GND | Ground |
ONBOARD SETTINGS AND INDICATORS
| Label | Name | Default | Description |
|---|---|---|---|
| LD1 | PWR | - | Power LED Indicator |
| JP1, JP5-JP9 | VCC SEL | Left | Communication interface selection: left position SPI, right position I2C |
| JP2-JP4 | ADDR SEL | Left | I2C slave address selection: left position 0, right position 1 |
| JP10,JP11 | INT SEL | Down | Sensor interrupt selection: Down - Accel, Top - Gyro, Left - Drdy, Right - Mag |
MAXIMUM RATINGS (LIMITING CONDITIONS)
| Description | Min | Typ | Max | Unit | |
|---|---|---|---|---|---|
| Supply Voltage | -0.3 | 3.3 | 425 | V | |
| Operating Temperature Range | -40 | - | 85 | V | |
| None-volatile memory (NVM) Data Retention | 10 | - | - | Y | |
| Acceleration Range | ±2 | - | ±16 | g | |
| Gyroscope Range | ±125 | - | ±2000 | °/s | |
| Magnetic Field Range | Brg,x,y | ±1200 | ±1300 | - | µT |
| Brg,z | ±1200 | ±2500 | - | µT |
| General Information | |
|---|---|
Part Number (SKU) |
MIKROE-4153
|
Manufacturer |
|
| Physical and Mechanical | |
Weight |
0.018 kg
|
| Other | |
EAN |
8606018717811
|
Frequently Asked Questions
Have a Question?
Be the first to ask a question about this.