Overview
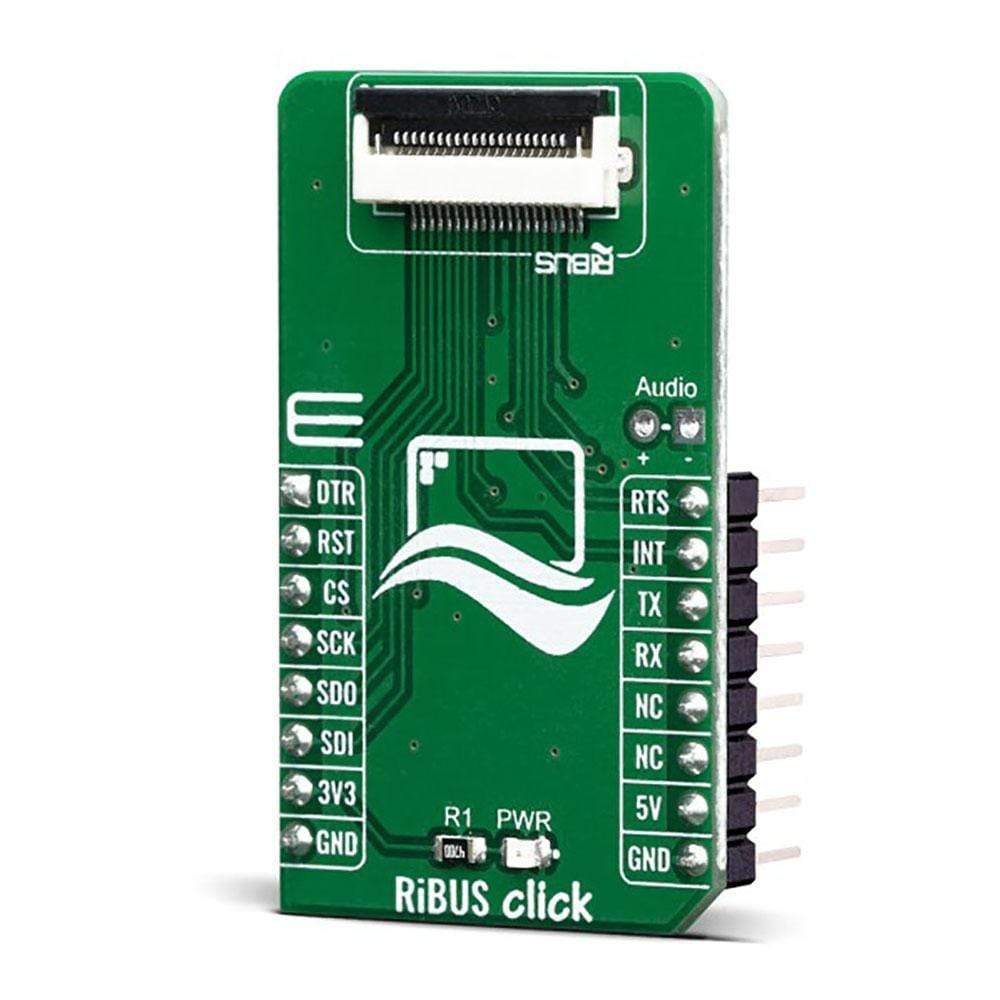
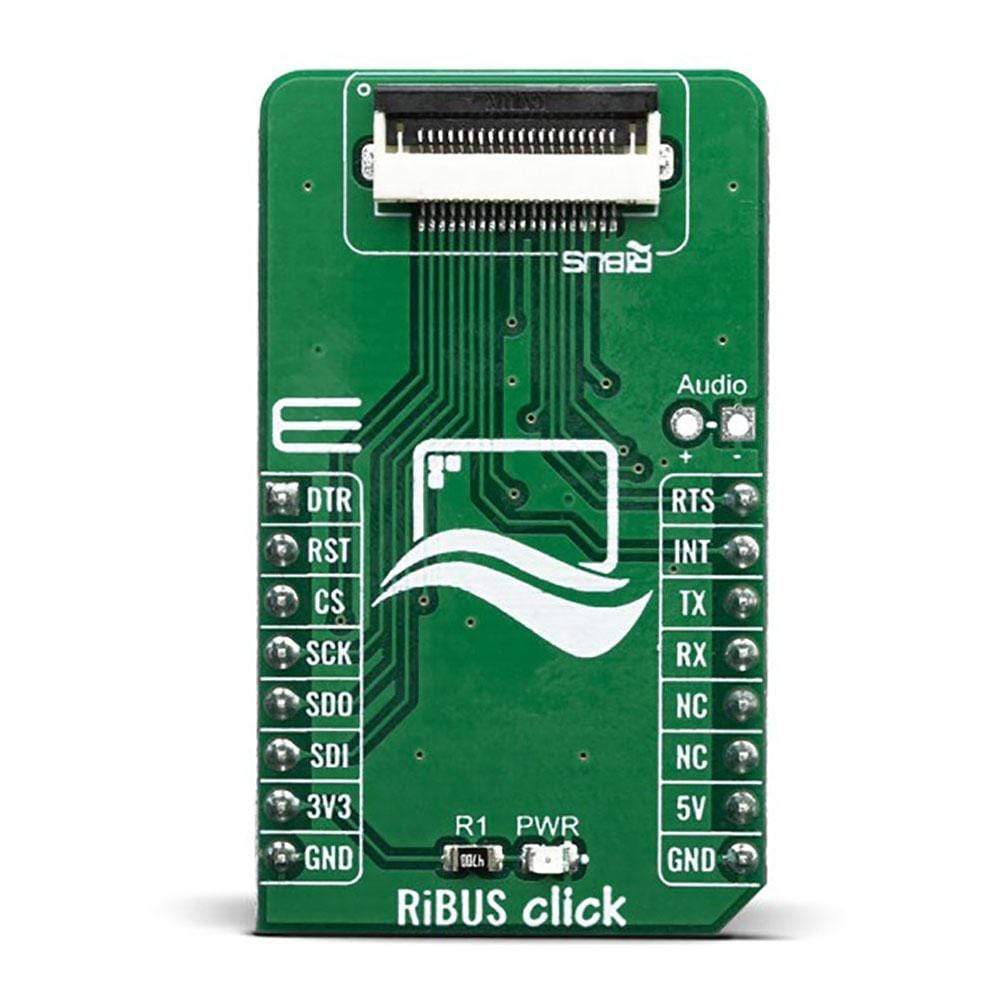
The RiBUS Click Board™ is an adapter Click Board™ that allows a mikroBUS™ to interface with RiBUS compatible display modules. RiBUS is the intelligent display BUS, by Riverdi, supported by a wide range of Intelligent Display Modules equipped with powerful graphics processors. Their displays allow graphical objects control by exchanging specifically formatted messages with the external microcontroller (MCU).
By utilizing the RiBUS Click Board™, it is possible to develop an MCU firmware application that can interact with the graphic objects on the Riverdi Display Module over the mikroBUS™. This significantly simplifies the application design, while reducing the processing load on the host MCU, allowing amazing graphically based applications to be created, even with slower 8bit MCUs.
Downloads
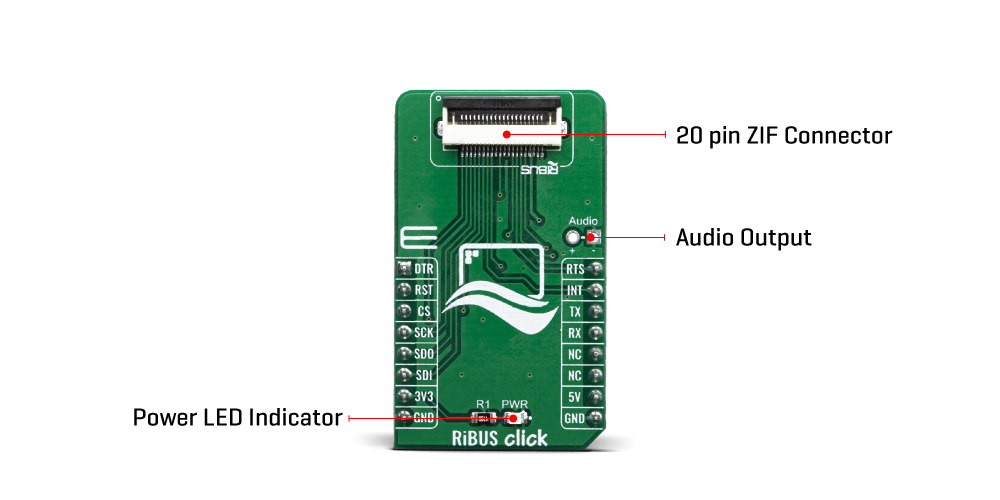
The RiBUS Click Board™ offers standardized 20-pin FPC connector for display connection, as well as 2 pins for connecting an external audio device. This Click board™ offers a reliable and fast connection between a Riverdi display and the development system, allowing any system equipped with the mikroBUS™ to harness the graphical power of Riverdi displays.
Note: The RiBUS Click Board™ comes with a flat flexible cable for the onboard ZIF20 connector.
How Does The RiBUS Click Board™ Work?
The RiBUS Click Board™ is an adapter that can connects any Riverdi intelligent display module over the RiBUS connector with the MCU systems equipped with the mikroBUS™ socket. This board is equipped with a high quality 20-pin FPC connector, which allows a reliable and secure connection of all necessary signals to drive the display module. The RiBUS is the perfect BUS for connecting your product with Riverdi intelligent display solutions and it can run with any size or type of Riverdi intelligent display.
As mentioned, the RiBUS has two connectors:
- The host connector - located on the RiBUS Click Board™ which can be used for connecting with Riverdi displays
- The display connector - located on the Riverdi displays
The RiBUS connector offers easy connectivity between the host board and display module by using standardized 20-pin FFC cables with 0.5mm pitch. For communication with any display module, you have the SPI interface available on the board, as well as the UART interface that is reserved for future use on the Riverdi intelligent displays.
If you are searching for the display solution for your application doesn't matter if it's 2.8" or 7", nor capacitive or resistive, you should look at our current offer of Riverdi displays.
More information on the RiBUS standard and how to implement it can be found in the RiBUS Specification.
SPECIFICATIONS
| Type | Adapter,Displays,TFT |
| Applications | The RiBUS Click Board™ is used to interface Riverdi intelligent displays equipped with the ZIF FPC, with the MCU system equipped with the mikroBUS™ connector. Interfacing Riverdi HMI displays with mikroBUS™ compatible development boards |
| On-board modules | 20-pin FPC connector for display connection |
| Key Features | A high-quality ZIF FPC and external voltage connector allows powering up more demanding displays with the external PSU. It offers an easy connection of Riverdi intelligent display with the mikroBUS™ equipped system |
| Interface | GPIO,SPI,UART |
| Compatibility | mikroBUS |
| Click board size | M (42.9 x 25.4 mm) |
| Input Voltage | 3.3V,5V |
PINOUT DIAGRAM
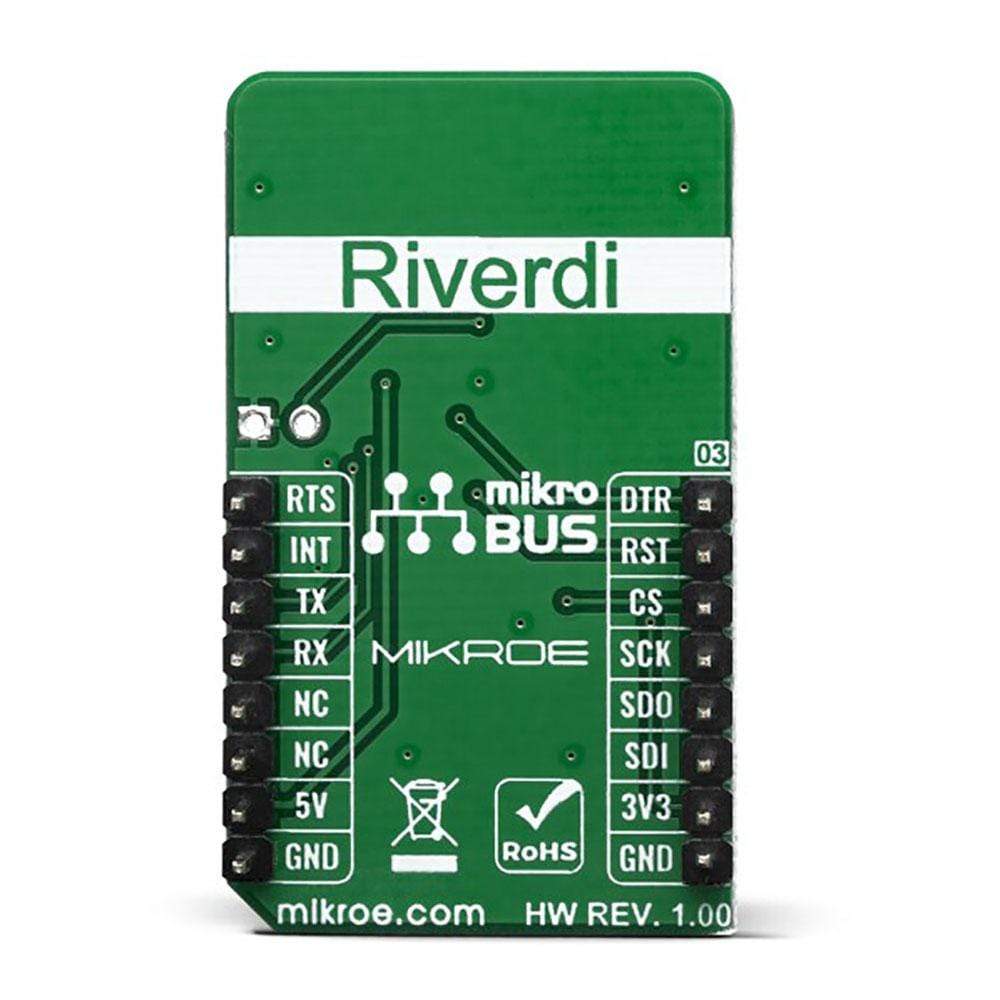
This table shows how the pinout of the RiBUS Click Board™ corresponds to the pinout on the mikroBUS™ socket (the latter shown in the two middle columns).
| Notes | Pin |  |
Pin | Notes | |||
|---|---|---|---|---|---|---|---|
| Data Ready | DRT | 1 | AN | PWM | 16 | RST | UART Ready to send |
| Reset | RST | 2 | RST | INT | 15 | INT | Interrupt output |
| SPI Chip Select | CS | 3 | CS | RX | 14 | TX | UART TX |
| SPI Clock | SCK | 4 | SCK | TX | 13 | RX | UART RX |
| SPI SDO | SDO | 5 | MISO | SCL | 12 | NC | |
| SPI SDI | SDI | 6 | MOSI | SDA | 11 | NC | |
| Power Supply | 3.3V | 7 | 3.3V | 5V | 10 | 5V | Power supply |
| Ground | GND | 8 | GND | GND | 9 | GND | Ground |
ONBOARD SETTINGS AND INDICATORS
| Label | Name | Default | Description |
|---|---|---|---|
| LD1 | PWR | - | Power LED Indicator |
| J1 | Audio | Left | External audio output |
| CN1 | CN1 | Left | ZIF for smart display connection |
| General Information | |
|---|---|
Part Number (SKU) |
MIKROE-3642
|
Manufacturer |
|
| Physical and Mechanical | |
Weight |
0.018 kg
|
| Other | |
Country of Origin |
|
HS Code Customs Tariff code
|
|
EAN |
8606018716326
|
Warranty |
|
Frequently Asked Questions
Have a Question?
Be the first to ask a question about this.

