

Overview
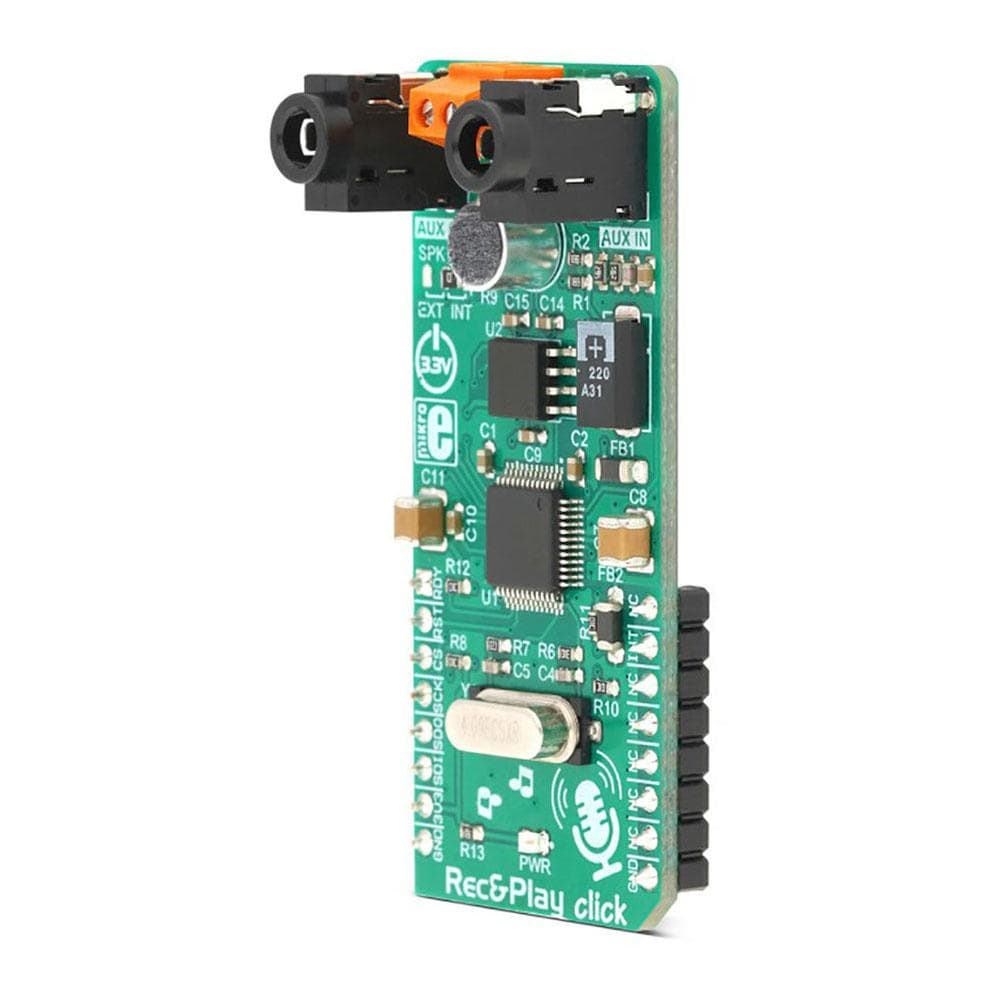
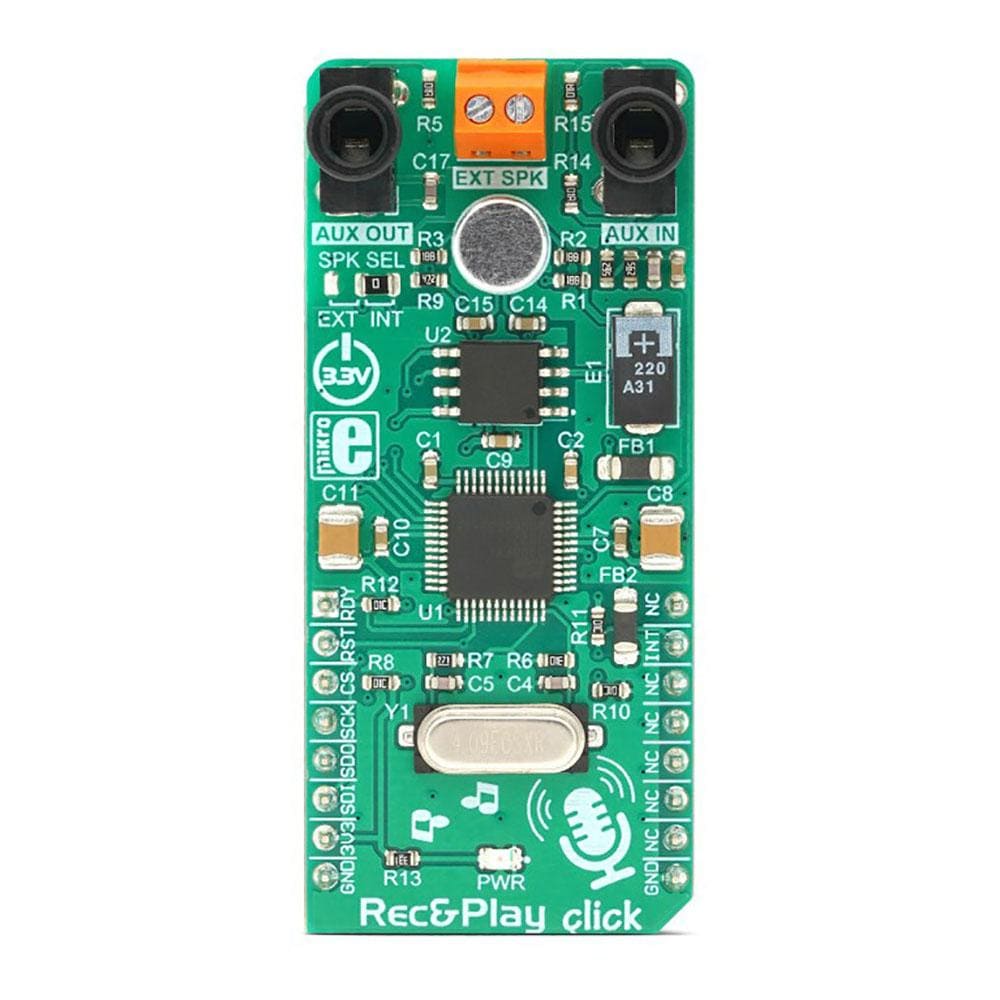
The Rec&Play Click Board™ is a digital voice recorder on a Board. It is based on the ISD3900, a multi-message record and playback device. It features the ChipCorder' technology, offering digital sound compression, smart message management, digitally configurable signal path, and more. Several audio inputs and outputs are available to the user. A small omnidirectional electret mic, as well as a miniature 700mW neodymium speaker, are included on the Click Board™, making it a complete playback & recording solution, capable of capturing up to 32 minutes of audio. It also offers numerous connectivity options.
The Rec&Play Click Board™ is supported by a mikroSDK compliant library, which includes functions that simplify software development. This Click Board™ comes as a fully tested product, ready to be used on a system equipped with the mikroBUS socket.
Downloads
Offering the complete message playback and recording platform that offloads heavy compression calculations from the host MCU, the Rec&Play Click Board™ allows rapid development of a wide range of sound-based applications, greatly cutting the time to market. It is an ideal solution for POS terminals, toys, home appliances, digital voice recorders, and all other applications that require a simple interface for sound notifications.
How Does The Rec&Play Click Board™ Work?
The main component of the Rec&Play Click Board™ is the ISD3900, a multi-message record and playback device with ChipCorder® technology, from Nuvoton. Thanks to the many useful features it offers, this IC gained its popularity very quickly. Besides several compression and de-compression CODEC, it features a fully programmable signal path with the support for several different signal types, allowing a very simple design for any kind of message-based application. Sound notification from a POS terminal, a home appliance that uses voice to notify about some event, even a Dictaphone-like device, it can all be implemented very quickly with this Click board™. Instead of using memory locations, ISD3900 allows using message indices: once stored, a message can be invoked using its index. Building of macro scripts (Voice Macros) is also possible.

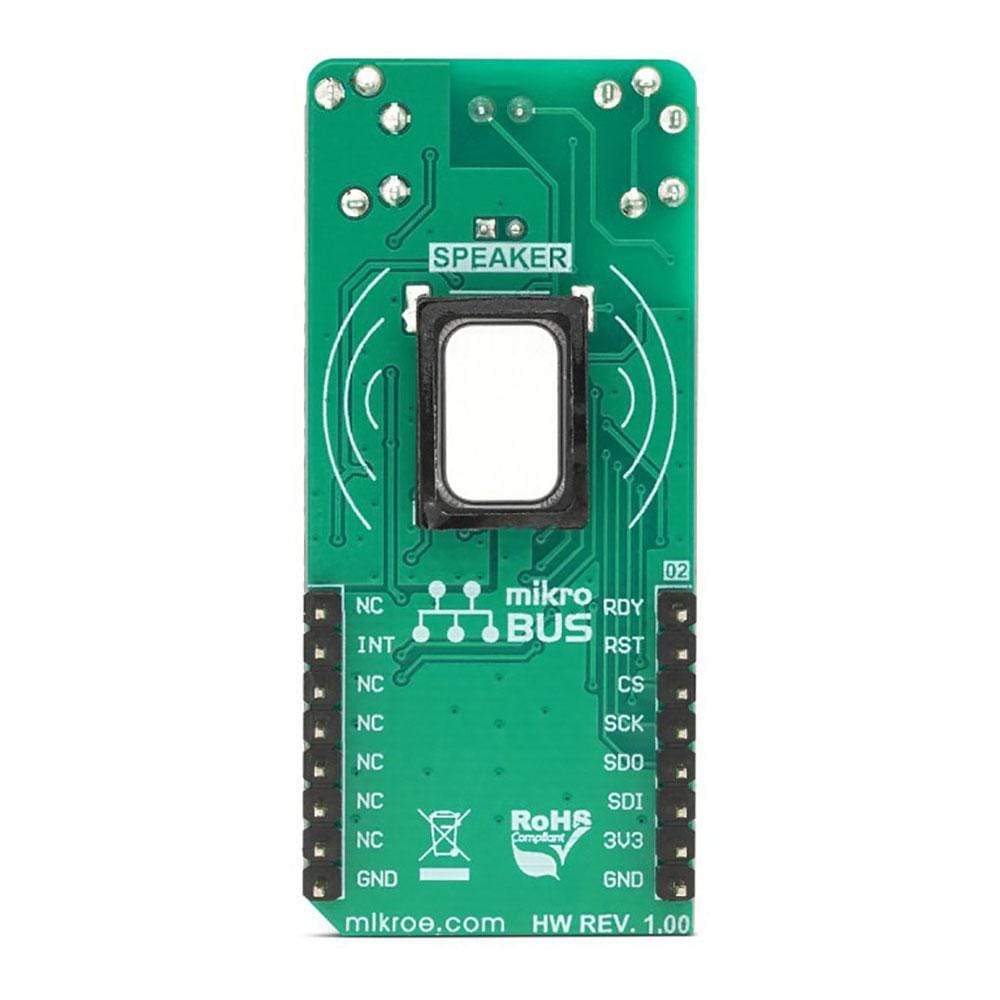
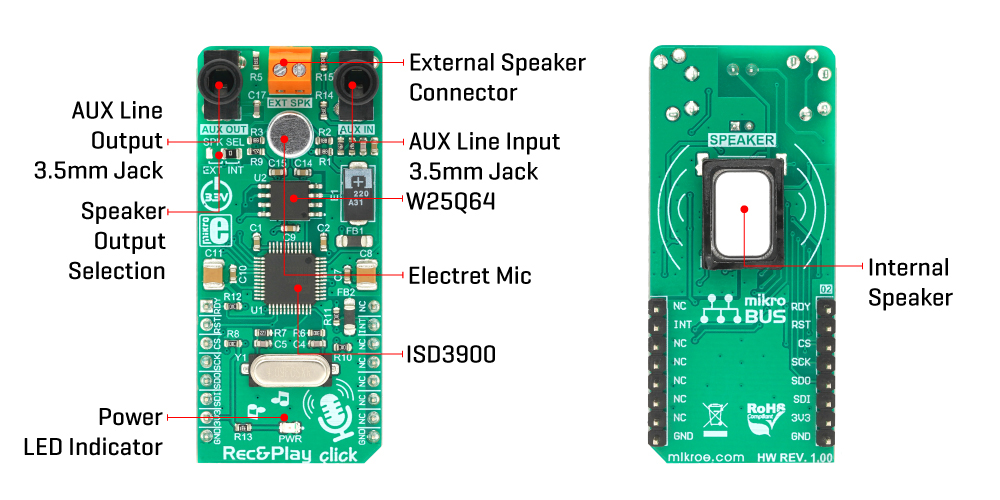
To allow the out-of-box functionality, the Click board™ is equipped with a small omnidirectional electret microphone, along with a miniature 8Ω speaker.
The microphone is can capture a sound or voice recording. The recording can be reinforced by applying the Automatic Gain Control (AGC), which dynamically changes the input gain, helping to obtain the most appropriate signal level. The AGC function, along with many other functions, can be configured over the SPI interface. The miniature neodymium speaker (internal speaker) measures only 15 x 11mm, and it is designed to output up to 0.7W of continuous power. It is driven by the ISD3900 IC, which integrates a small 0.5W class D amplifier. The internal speaker has an adhesive on its rims, allowing it to be easily mounted inside a small resonant box, which can reinforce its output. However, this speaker is good only when used indoors.
2-pole terminal labelled as EXT SPK allows an external passive speaker box to be connected. When the SPK SEL is moved to the EXT position, the output of the internal class D amplifier becomes routed to this connector, instead of the internal speaker. A differential BTL (Bridge-Tied Load) output is also available over the EXT SPK connector, allowing an external amplifier with differential inputs to be used.
AUX IN and AUX OUT are 3.5mm jack connectors, used to connect line-level input and output signals. The AUX OUT connector offers a single-sided line-level output, compatible with most of the commercial amplifiers, active desktop speakers, sound monitors, etc. The AUX IN is a single-sided line-level input, allowing to capture sound from a home PC, TV set, MP3 player, and any other device equipped with the line-out connector.
The audio sample rate is derived from an external crystal oscillator, rated at 4.096MHz. This crystal oscillator allows the master sample rate up to 32kHz. Lower sample rates can also be used, resulting in reduced sound quality. Besides the sample rate, the sound quality is also affected by the used compression algorithm. ISD3900 supports many different CODECs. For more information, please refer to the ISD3900 IC datasheet.
Besides the ISD3900 this Click board™ contains another IC: it is a non-volatile memory module labelled as W25Q64, a 64 Mbit serial Flash memory from Winbond. This memory module has a 64 Mbit density arranged in 8-bit words, allowing up to 32 minutes of audio to be stored.
The ISD3900 has a set of registers that control every aspect of the device: the entire sound path can be configured by writing to the proper config registers over the SPI interface. The ISD3900 also handles Flash-related commands, such as formatting, erasing, reading, writing… Although simplified, programming the ISD3900 can seem complex, but when used within the MIKROE environment, it is very easy to operate the Click board™. It is supported by the mikroSDK compatible library, which contains functions for accelerated software development. Several pre-configured sound path settings are available, saving valuable time.
The Rec&Play Click Board™ is designed to work with 3.3V only. When using it with MCUs that use 5V levels for their communication, a proper level translation circuit should be used.
SPECIFICATIONS
| Type | Signal Processing |
| Applications | It is an ideal solution for POS terminals, toys, home appliances, digital voice recorders, and all other applications that require a simple interface for sound notifications. |
| On-board modules | ISD3900, a multi-message record and playback device with ChipCorder® technology, from Nuvoton; W25Q64, a 64 Mbit serial Flash memory from Winbond. |
| Key Features | An integrated solution with the ChipCorder® technology, offering digital compression, smart message management, digitally configurable signal path, and more. Integrated speaker and microphone offer out-of-box functionality. Offers numerous connectivity options. |
| Interface | GPIO, SPI |
| Compatibility | mikroBUS |
| Click board size | L (57.15 x 25.4 mm) |
| Input Voltage | 3.3V |
PINOUT DIAGRAM
This table shows how the pinout on Rec&Play Click corresponds to the pinout on the mikroBUS™ socket (the latter shown in the two middle columns).
| Notes | Pin |  |
Pin | Notes | |||
|---|---|---|---|---|---|---|---|
| SPI Ready Status | RDY | 1 | AN | PWM | 16 | NC | |
| Reset | RST | 2 | RST | INT | 15 | INT | Interrupt |
| SPI Chip Select | CS | 3 | CS | RX | 14 | NC | |
| SPI Clock | SCK | 4 | SCK | TX | 13 | NC | |
| SPI Data OUT | SDO | 5 | MISO | SCL | 12 | NC | |
| SPI Data IN | SDI | 6 | MOSI | SDA | 11 | NC | |
| Power Supply | 3.3V | 7 | 3.3V | 5V | 10 | NC | |
| Ground | GND | 8 | GND | GND | 9 | GND | Ground |
ONBOARD SETTINGS AND INDICATORS
| Label | Name | Default | Description |
|---|---|---|---|
| LD1 | PWR | - | Power LED indicator |
| JP1 | SPK SEL | Right | Speaker output selection: left position external speaker (EXT), right position internal speaker (INT) |
| AUX OUT | CN1 | - | Auxiliary line-level output |
| AUX IN | CN2 | - | Auxiliary line-level input |
| EXT SPK | CN3 | - | External Speaker / BTL output connector |
| General Information | |
|---|---|
Part Number (SKU) |
MIKROE-3345
|
Manufacturer |
|
| Physical and Mechanical | |
Weight |
0.025 kg
|
| Other | |
Country of Origin |
|
HS Code Customs Tariff code
|
|
EAN |
8606018714445
|
Warranty |
|
Frequently Asked Questions
Have a Question?
Be the first to ask a question about this.


