Key Features
Overview
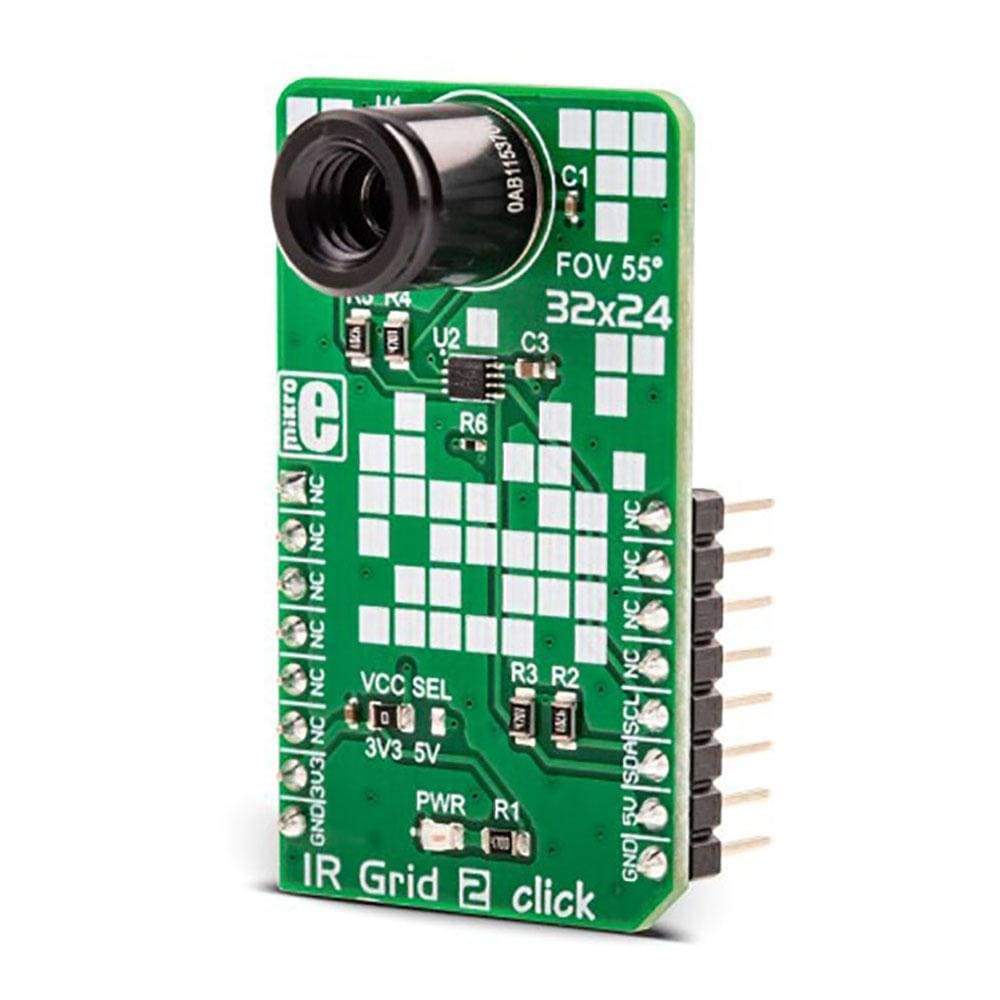
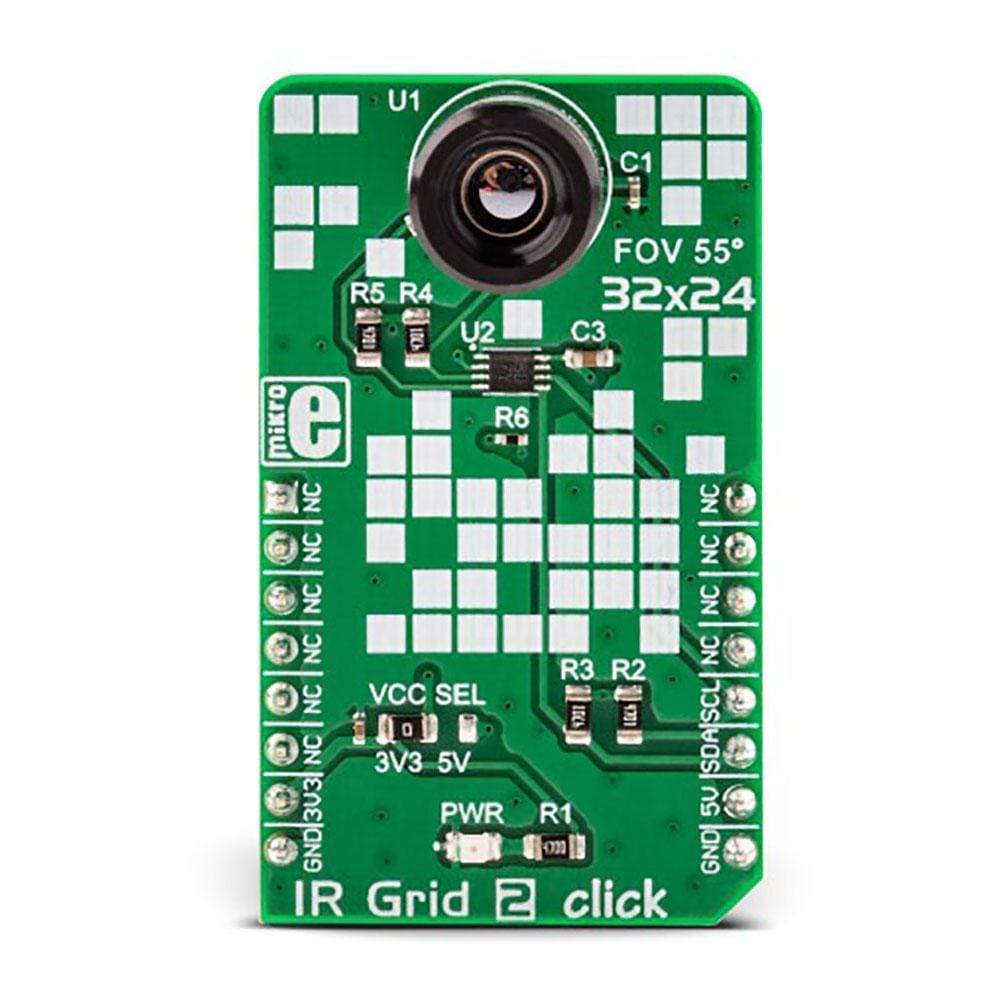
The IR Grid 2 Click Board™ is a cutting-edge thermal imaging sensor designed for professional electronic engineers. This advanced module features the MLX90640ESF-BAB IR sensor, boasting an impressive array of 768 factory-calibrated IR elements arranged in a 32x24 pixel grid. With its ability to measure object temperatures up to 300°C within its local Field of View (FOV), this sensor offers exceptional thermal imaging capabilities.
Housed in an industry-standard TO39 package, the sensor requires only four pins for operation and includes 2Kbit of EEPROM for storing compensation and calibration parameters. The I2C compatible digital interface ensures seamless integration with a wide range of MCUs, making it versatile for various applications.
The IR Grid 2 Click Board™ provides a summed field of view of 55°x32° and can output up to 64 frames per second, delivering real-time thermal imaging performance. This high-resolution sensor is ideal for engineers developing advanced thermal monitoring systems, security applications, or industrial process control solutions.
Downloads
Due to the small number of external components it requires, as well as the low pin count and widely used I2C digital interface, this sensor is an ideal solution for building a range of thermal detection applications. The IR Grid 2 Click Board™ can be used for a wide range of applications, including thermal scanners, precise contactless thermal measurement, thermal leaks in homes, industrial temperature control of moving parts, other types of heated object localization, human presence, and similar applications that require accurate contactless thermal measurement, or thermal imaging.
How Does The IR Grid 2 Click Board™ Work?
The IR Grid 2 Click Board™ is equipped with the MLX90640ESF-BAB, a 32x24 IR array sensor, from Melexis. This sensor contains 8 Kbit EEPROM, used to store all the compensation and calibration parameters, along with some editable user parameters, such as the config registers, I2C address and similar. These sensors can measure temperature relative to the cold junction temperature, and for this reason, the MLX90640ESF-BAB IR sensor incorporates a PTAT (Proportional to Absolute Temperature) compensation sensor. The device also contains the power supply voltage measurement feature, allowing power supply monitoring. It is recommended that the supply voltage stay as accurate as possible, which is taken care of if used with the MikroElektronika development systems. The IR sensor array, as well as the PTAT sensor readings, are sampled by the internal Analog to Digital Converter (ADC) and stored to RAM, which can be accessed via the I2C interface. The resolution of the ADC can be programmed between 16 bits and 19bits.
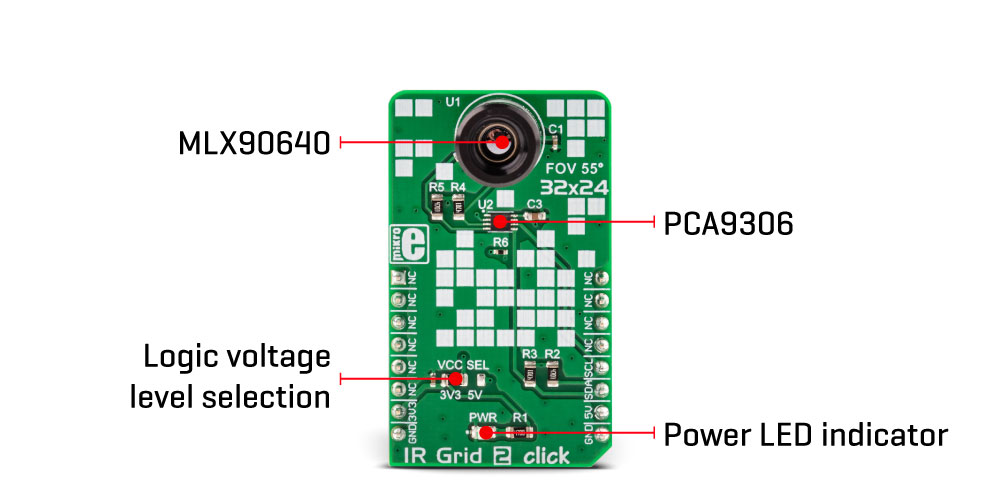
The MLX90640ESF-BAB IR sensor used on the IR Grid 2 Click Board™ has a Field of View (FOV) of 55˚x32˚, with the IR sensing elements arranged in a 32x28 grid. Each sensor measures the temperature in its individual FOV, allowing the host MCU to build a thermal image or calculate the temperature at each spot of the viewed scene. The measurement results are stored to RAM. The entire RAM area is divided in two pages, with access patterns controlled by the configuration registers (chess pattern, or interleaved pattern). The compensation parameters stored in the EEPROM are factory calibrated for chess pattern access, yielding the most accurate results when using this mode. The chess pattern mode is selected by default.
The configuration and control registers allow to set the operational parameters of the IR grid sensor. These registers contain bits that control the behavior of the sensor IC: the refresh rate, the ADC resolution, measurement mode (continuous or step mode), sleep mode, I2C mode (FM or FM+), etc. On restart, the data from the corresponding copies of these register locations in EEPROM is mirrored to the operational register locations in RAM, preparing the device to be instantly operated. This allows changing of the default values, since they are actually stored in EEPROM, rather than being hard-coded into the device.
Besides the default working parameters, the EEPROM area contains all the compensation parameters for each IR element, necessary for completing the accurate thermal calculations. Those calculations include ambient temperature calculation, pixel offset calculation, pixel to pixel sensitivity difference compensation, object emissivity compensation, and object temperature calculation. The datasheet of the MLX90640ESF-BAB IR sensor contains equations which use these parameters stored in EEPROM. However, the IR Grid 2 Click Board™ is supplied with the library, which contains functions that simplify working with this sensor, saving time.
Two modes of operation are available: the device can continuously sample data from the IR elements, with the programmed refresh rate (up to 64 frames per second), or it can take one frame, by sampling the selected page. The status byte contains flags that indicate that the reading of a specific page is done.
It should be noted that the sensor measures the IR emissivity of an object, so it is to be expected that some materials cannot be accurately measured by this sensor due to their low emissivity, such as the aluminum. To better understand the emissivity property of the materials, a person wearing clothes, can be taken as an example: the measured temperature will reflect the clothes temperature, rather than the body temperature itself, which is known to be about 37 ˚C Care should be taken not to expose the IR Grid 2 Click Board™ to a cold or hot air flow, as it will cause false readings of the real temperature. This sensor requires the temperature across the sensor package to be constant.
The MLX90640ESF-BAB IR sensor uses 3.3V for optimal results. While the power for the IR sensor itself is taken from the 3.3V mikroBUS™ rail, in order to support MCUs which use 5V compatible logic levels, the IR Grid 2 Click Board™ comes equipped with PCA9306, a bi-directional I2C level translator IC, produced by Texas Instruments. This allows the logic voltage level to be selected by the SMD jumper labeled as VCC SEL. Besides I2C bus lines, no additional lines of the mikroBUS™ are used. I2C bus lines are routed to the respective pins of the mikroBUS™.
SPECIFICATIONS
| Type | Optical |
| Applications | It can be used for thermal scanners, precise contactless thermal measurement, thermal leaks in homes, industrial temperature control of moving parts, other types of heated object localization, human presence, and other similar applications |
| On-board modules | MLX90640, a 32x24 IR grid array sensor with EEPROM, and a FOV of 55˚x32˚, from Melexis; PCA9306, a bi-directional I2C level translator, from Texas Instruments |
| Key Features | 768 factory calibrated sensors, capable of contactless measuring of temperature up to 300˚C, integrated 8Kbit of EEPROM for storing configuration and compensation parameters, programmable refresh rate up to 64Hz, and more |
| Interface | I2C |
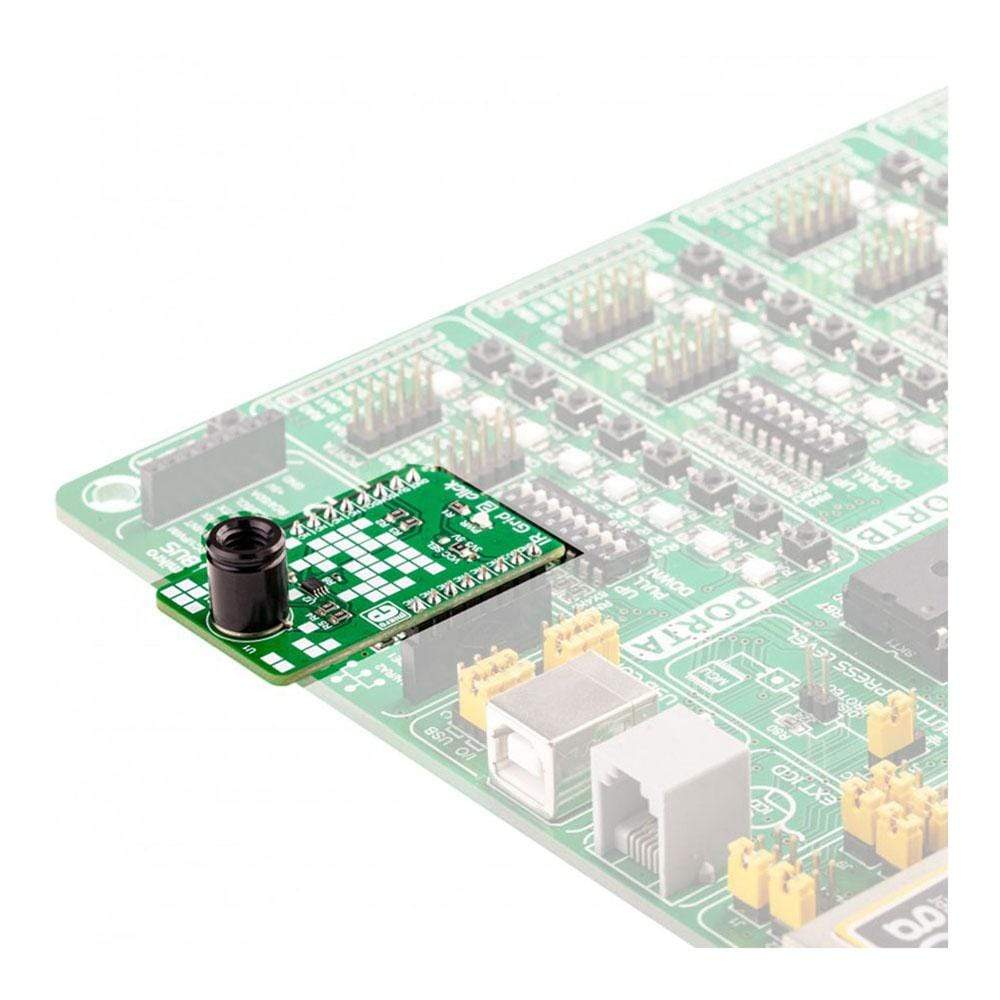
| Compatibility | mikroBUS |
| Click board size | M (42.9 x 25.4 mm) |
| Input Voltage | 3.3V or 5V |
PINOUT DIAGRAM
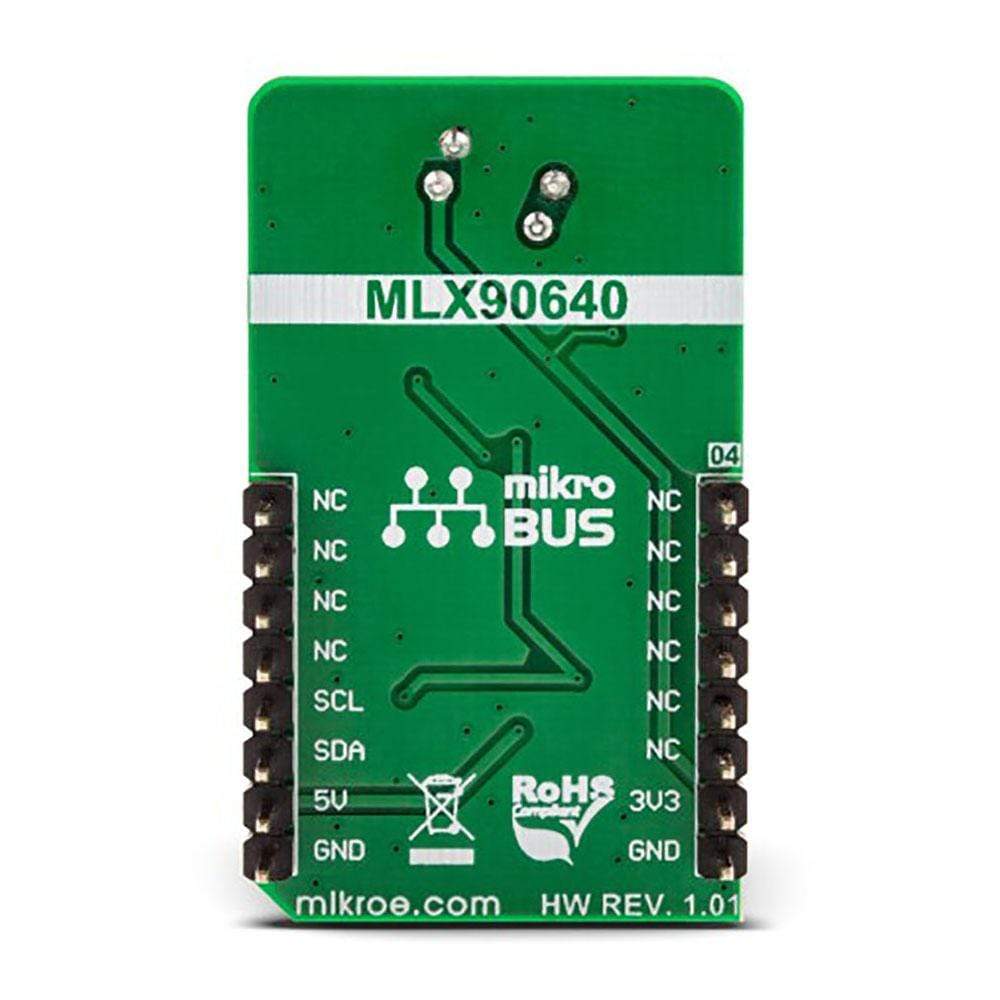
This table shows how the pinout on the IR Grid 2 Click Board™ corresponds to the pinout on the mikroBUS™ socket (the latter shown in the two middle columns).
| Notes | Pin |  |
Pin | Notes | |||
|---|---|---|---|---|---|---|---|
| NC | 1 | AN | PWM | 16 | NC | ||
| NC | 2 | RST | INT | 15 | NC | ||
| NC | 3 | CS | RX | 14 | NC | ||
| NC | 4 | SCK | TX | 13 | NC | ||
| NC | 5 | MISO | SCL | 12 | SCL | I2C Clock | |
| NC | 6 | MOSI | SDA | 11 | SDA | I2C Data | |
| Power supply | 3.3V | 7 | 3.3V | 5V | 10 | 5V | Power Supply |
| Ground | GND | 8 | GND | GND | 9 | GND | Ground |
ONBOARD JUMPERS AND SETTINGS
| Label | Name | Default | Description |
|---|---|---|---|
| PWR | PWR | - | Power LED indicator |
| VCC SEL | VCC SEL | Left | Power supply voltage selection: left position 3.3V, right position 5V |
| General Information | |
|---|---|
Part Number (SKU) |
MIKROE-3194
|
Manufacturer |
|
| Physical and Mechanical | |
Weight |
0.021 kg
|
| Other | |
Country of Origin |
|
HS Code Customs Tariff code
|
|
EAN |
8606018713561
|
Warranty |
|
Frequently Asked Questions
Have a Question?
Be the first to ask a question about this.

