Overview
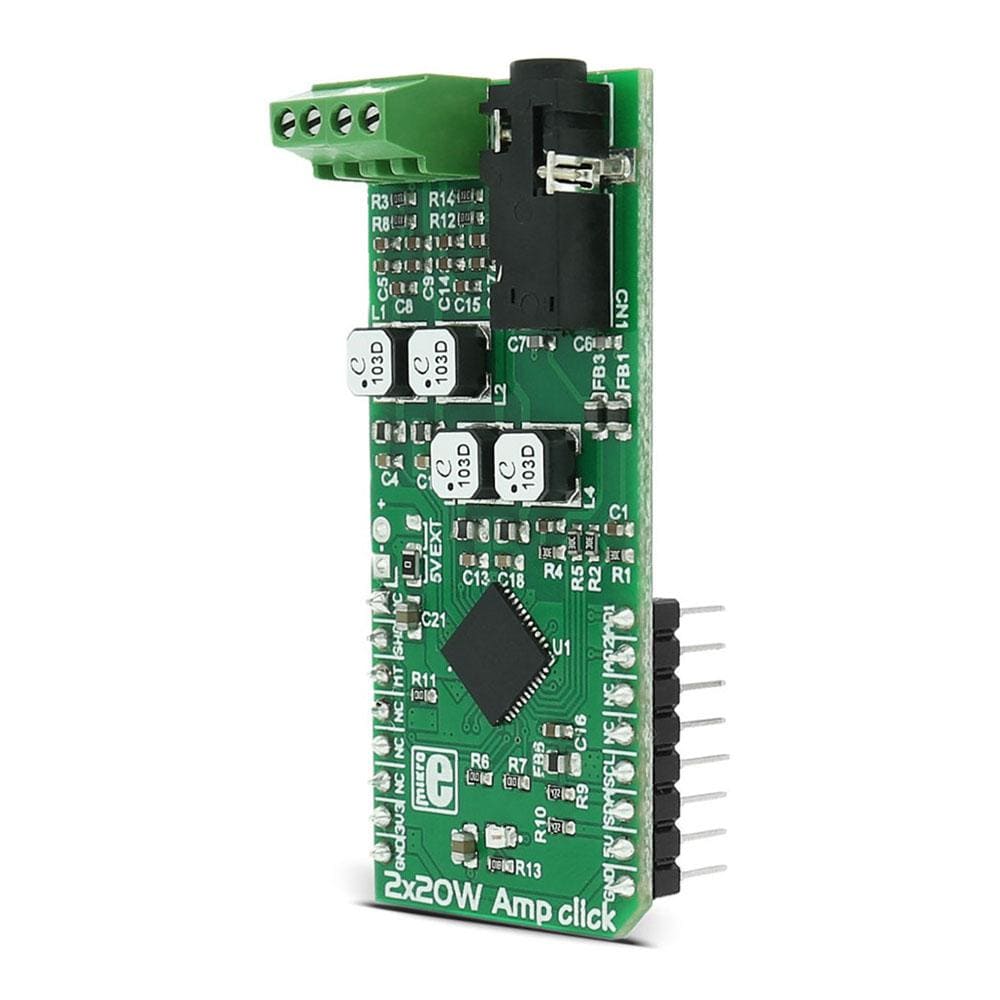
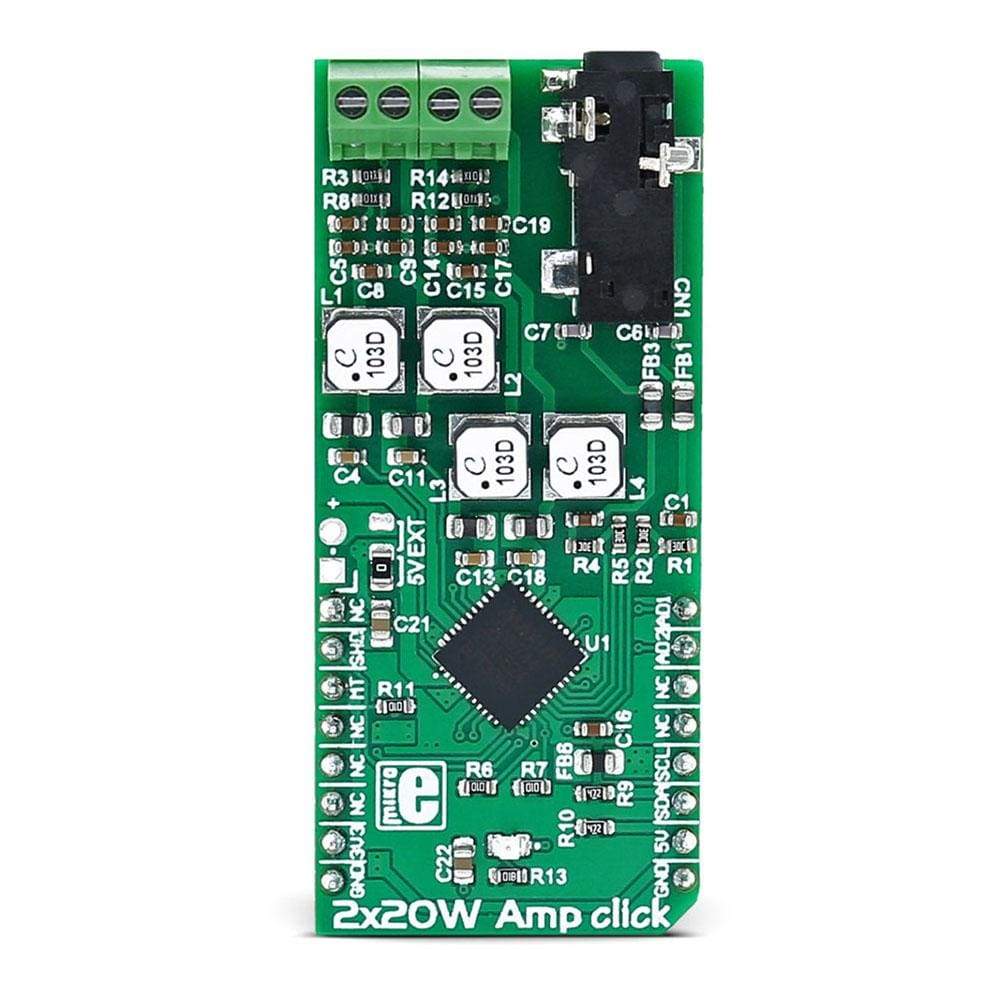
Transform your audio experience with the powerful 2x20W Amp Click Board. This compact yet robust amplifier board is designed to elevate your sound system to new heights, delivering exceptional performance and crystal-clear audio reproduction.
Whether you're a music aficionado or a passionate DIY enthusiast, the 2 x 20W Amp Click Board is your ultimate solution for all your amplification needs. With stereo amplification capabilities of 20W per channel, immerse yourself in a world of rich, high-fidelity sound.
Key Features and Benefits:
- Experience 64-step volume control for precise audio adjustments tailored to your preferences.
- Enjoy simplified setup and installation with single-supply operation, making it easy to integrate into your audio projects.
Unleash the full potential of your speakers with the adjustable gain feature, allowing you to customise the output to suit your auditory preferences. Say goodbye to Click-and-Pop disruptions as this board ensures smooth transitions between your tracks, enhancing your listening pleasure.
Upgrade your audio projects and take your sound system to a whole new level with the 2 x 20W Amp Click Board. Celebrate the richness and clarity of premium audio with this high-performance amplifier that caters to audiophiles and DIY enthusiasts alike.
- Dimensions: Compact form factor for easy integration
- Technology: Powered by Maxim's MAX9744 stereo class D audio power amplifier
Downloads
2x20W Amp click carries the MAX9744 stereo class D audio power amplifier from Maxim Integrated. This click brings the Class AB sound performance with Class D efficiency. The perfect combination for your speakers. 2x20W Amp click also offers 64 step volume control, single-supply operation, adjustable gain, and industry-leading click-and-pop suppression.

How Does The 2x20W Amp Click Board Work?
Class-D amplifiers work by producing a series of square-shaped pulses of fixed amplitude, but varying duty cycle, representing the amplitude variations of the analog signal.

The output of the modulator is used to gate the output transistors on and off, alternately. The high efficiency of a Class D amplifier is due to the switching operation of the output stage transistors. Since the transistors are either fully ON or fully OFF, they spend a small amount of time in the linear region and consume little amounts of power.
In a Class D amplifier, the output transistors act as current steering switches and don't use a lot of additional power. A low-pass filter made of an inductor and a capacitor is used to produce a path for the low-frequencies of the audio signal (leaving the high-frequency pulses behind).
When the output current exceeds the current limit, 5.5A (typ), the MAX9744 disables the outputs and initiates a 220µs startup sequence. The shutdown and startup sequence is repeated until the output fault is removed.
When the die temperature exceeds the thermal-shutdown threshold, +165°C (typ), the MAX9744 outputs are disabled. Normal operation resumes when the die temperature decreases by a factor equal to the thermal-shutdown threshold minus the thermal-shutdown hysteresis, (typically below +150°C).
Power Supply
The board logic is powered from the 3.3V supply over the mikroBUS™ socket, while the amplifier circuit is powered by the onboard 5V power supply or an external source that can go from 4.5V to 14V. In order to use an external power source, the jumper JP1 must be positioned to the EXT position (see more in the Jumpers and Settings table).
Shutdown Mode
The MAX9744 features a shutdown mode that reduces power consumption and extends battery life. Driving SHDN pin low places the device in low-power shutdown mode. Connect SHDN pin to digital high for normal operation.
Volume Control
For maximum flexibility, the click features volume control operation using an analog voltage input or through the I2C interface. To set the device to analog mode, connect ADDR1 and ADDR2 to GND. In analog mode, SDA/VOL pin is an analog input for volume control. The analog input range is ratiometric between 0.9 x VDD and 0.1 x VDD where 0.9 x VDD = full mute and 0.1 x VDD = full volume.
Use ADDR1 and ADDR2 to select I2C mode. There are three addresses that can be chosen, allowing for multiple devices on a single bus. In the I2C mode, the volume is controlled by choosing the speaker volume control register in the command byte. There are 64 volume settings, where the lowest setting is full mute.
SPECIFICATIONS
| Type | Amplifier |
| Applications | Battery powered devices, mobile phones, portable sound systems, etc. |
| On-board modules | MAX9744 stereo class D audio power amplifier |
| Key Features | 20W Stereo Output, integrated volume control, high 93% efficiency |
| Interface | I2C |
| Programming | MAX9744 20W stereo Class D audio power amplifier |
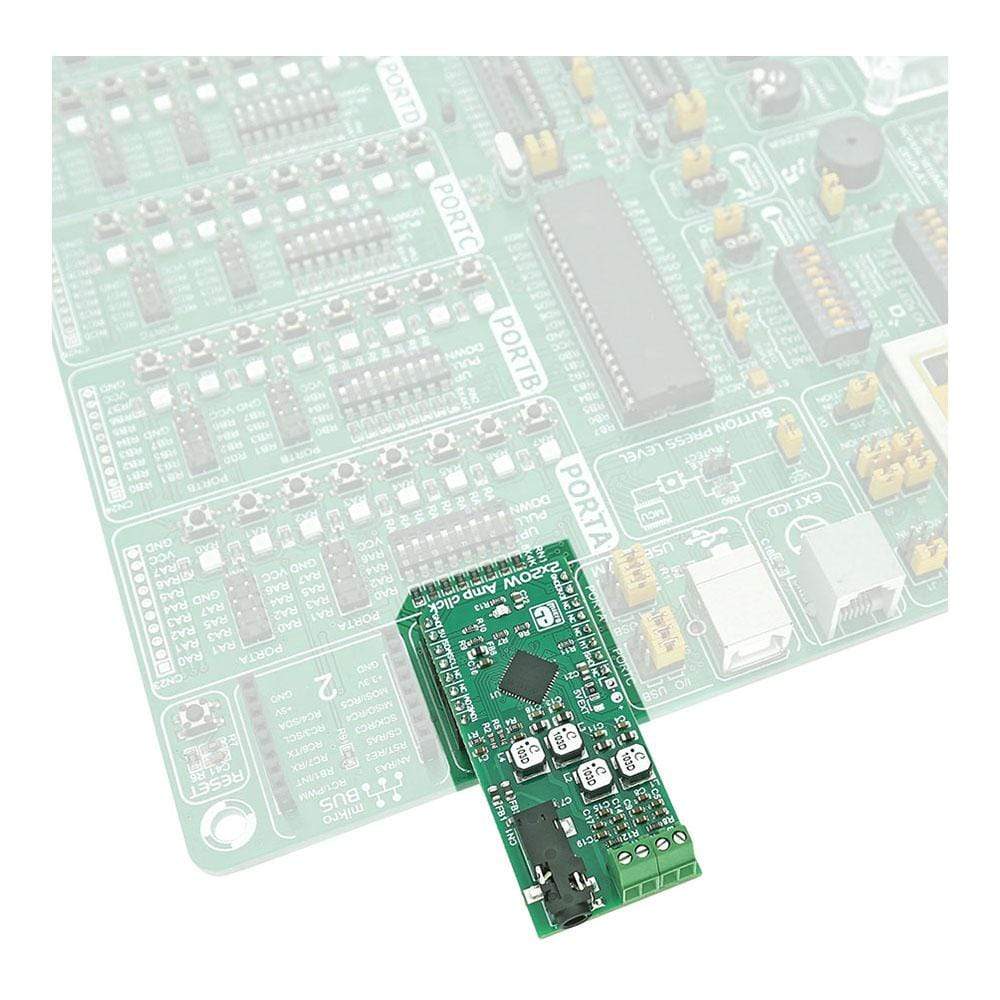
| Compatibility | mikroBUS |
| Click board size | L (57.15 x 25.4 mm) |
| Input Voltage | 3.3V,5V |
PINOUT DIAGRAM
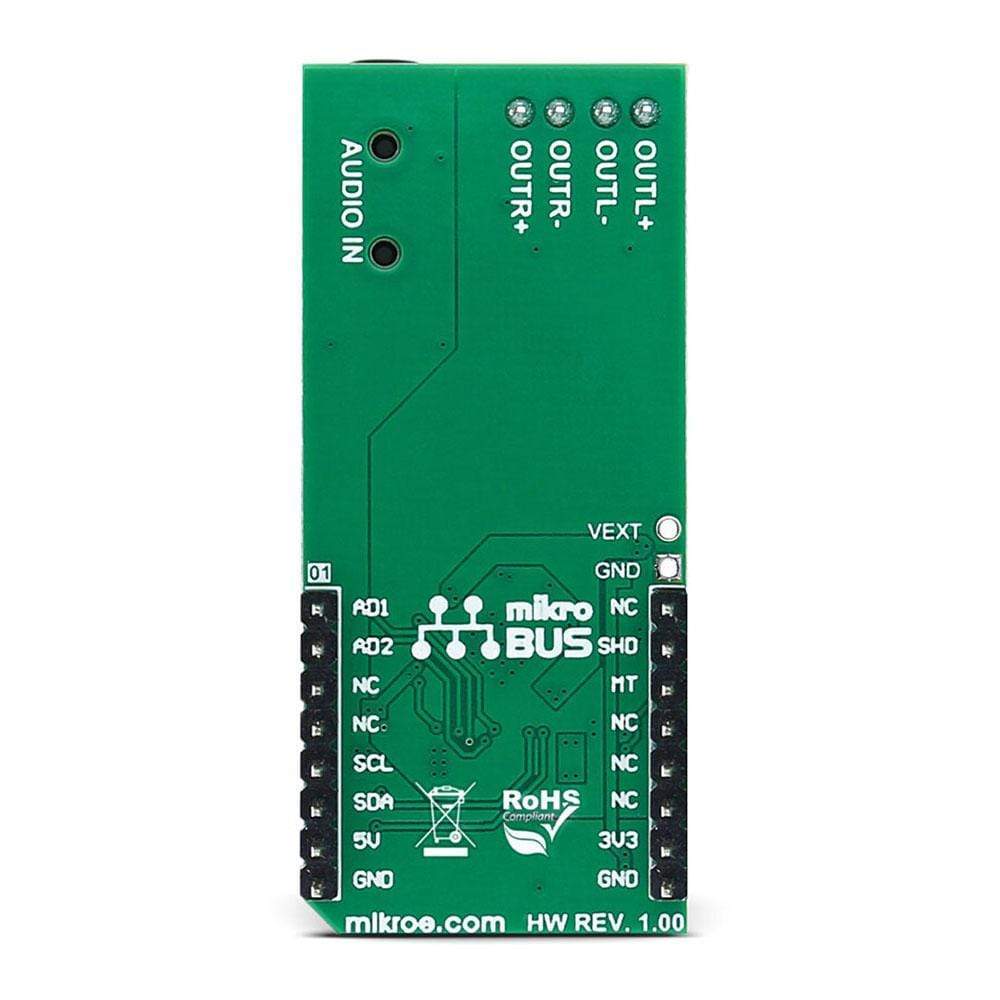
This table shows how the pinout on the 2x20W Amp Click Board™ corresponds to the pinout on the mikroBUS™ socket (the latter shown in the two middle columns).
| Notes | Pin |  |
Pin | Notes | |||
|---|---|---|---|---|---|---|---|
| NC | 1 | AN | PWM | 16 | ADDR1 | Address Select Input | |
| Shutdown Input | #SHDN | 2 | RST | INT | 15 | ADDR2 | Address Select Input |
| Mute Input | MUTE | 3 | CS | TX | 14 | NC | |
| NC | 4 | SCK | RX | 13 | NC | ||
| NC | 5 | MISO | SCL | 12 | SCL | I2C Serial Clock | |
| NC | 6 | MOSI | SDA | 11 | SDA | I2C Serial Data | |
| Power supply | +3.3V | 7 | 3.3V | 5V | 10 | +5V | |
| Ground | GND | 8 | GND | GND | 9 | GND | Ground |
- ADDR1 and ADDR2 - Sets the device address for the I2C address option. Connect ADDR1 and ADDR2 to GND to select analog volume control mode.
- MUTE - Drive the MUTE pin high to mute the speaker outputs. Connect MUTE to GND for normal operation (mute function controls speaker outputs).
- SHDN - Drive SHDN low to disable the audio amplifiers. Connect SHDN to VDD or drive high for normal operation.
- SCL - I2C Serial Clock Input and Modulation Scheme Select. In I2C mode (ADDR1 and ADDR2 ≠ GND), acts as the I2C serial clock input. When ADDR1 and ADDR2 = GND, set SCLK = 1 for standard PWM output scheme, or set SCLK = 0 for filterless modulation output scheme.
- SDA - I2C Serial Data I/O and Analog Volume Control Input.
JUMPERS AND SETTINGS
| Designator | Name | Default Position | Default Option | Description |
|---|---|---|---|---|
| JP1 | PWR.SEL. | Left | 5V | Power Supply Voltage Selection between 5V and VDD ext. (4.5V-14V) |
| General Information | |
|---|---|
Part Number (SKU) |
MIKROE-2779
|
Manufacturer |
|
| Physical and Mechanical | |
Weight |
0.025 kg
|
| Other | |
Country of Origin |
|
HS Code Customs Tariff code
|
|
EAN |
8606018711604
|
Warranty |
|
Frequently Asked Questions
Have a Question?
Be the first to ask a question about this.

