Mikroelektronika d.o.o.
Secure 6 Click Board
Secure 6 Click Board
Couldn't load pickup availability
Overview
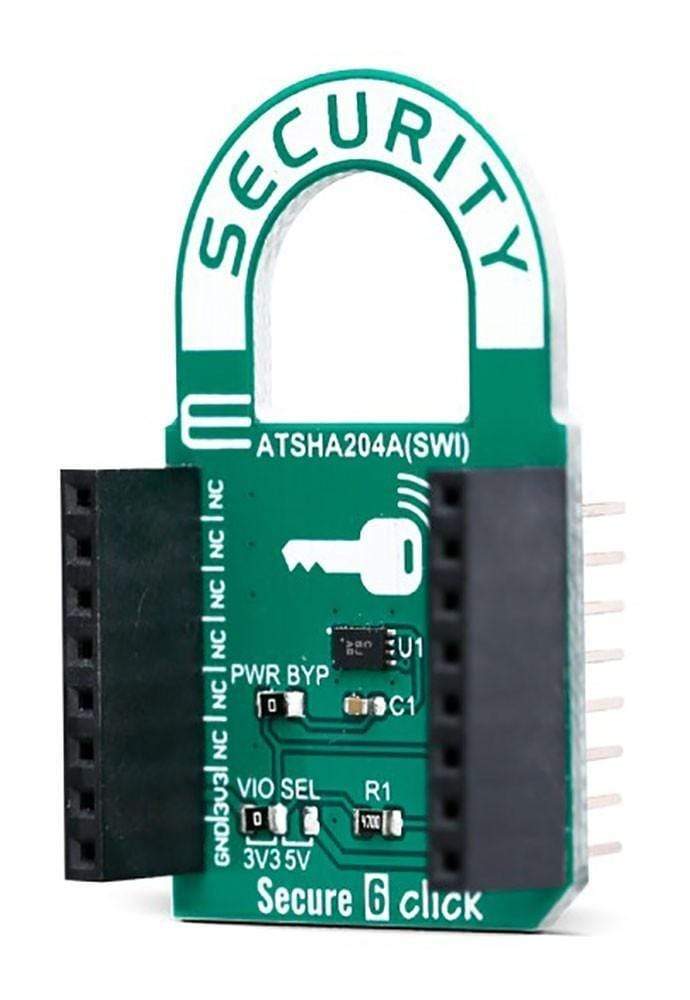
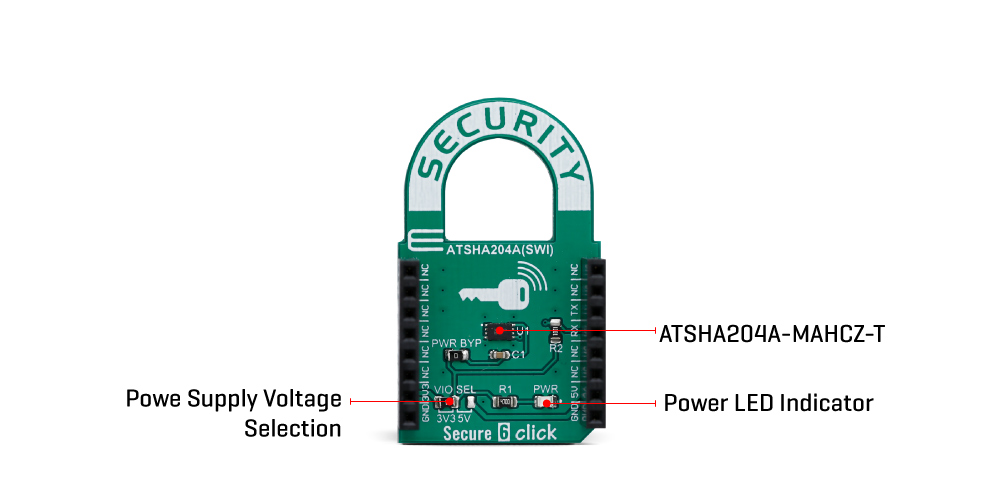
The Secure 6 Click Board™ includes the ATSHA204A, a secure CryptoAuthentication™ device from Microchip, which is equipped with an EEPROM array that can be used for storing up to 16 keys, certificates, consumption logging, security configurations and other types of secure data. The ATSHA204A equipped on this Click Board™ supports the SWI interface with a flexible command set, that allows use in various security applications, including Network/IoT Node Endpoint Security, Secure Boot, Small Message Encryption, Key Generation for Software Download, Ecosystem control, Anti Counterfeiting and similar.
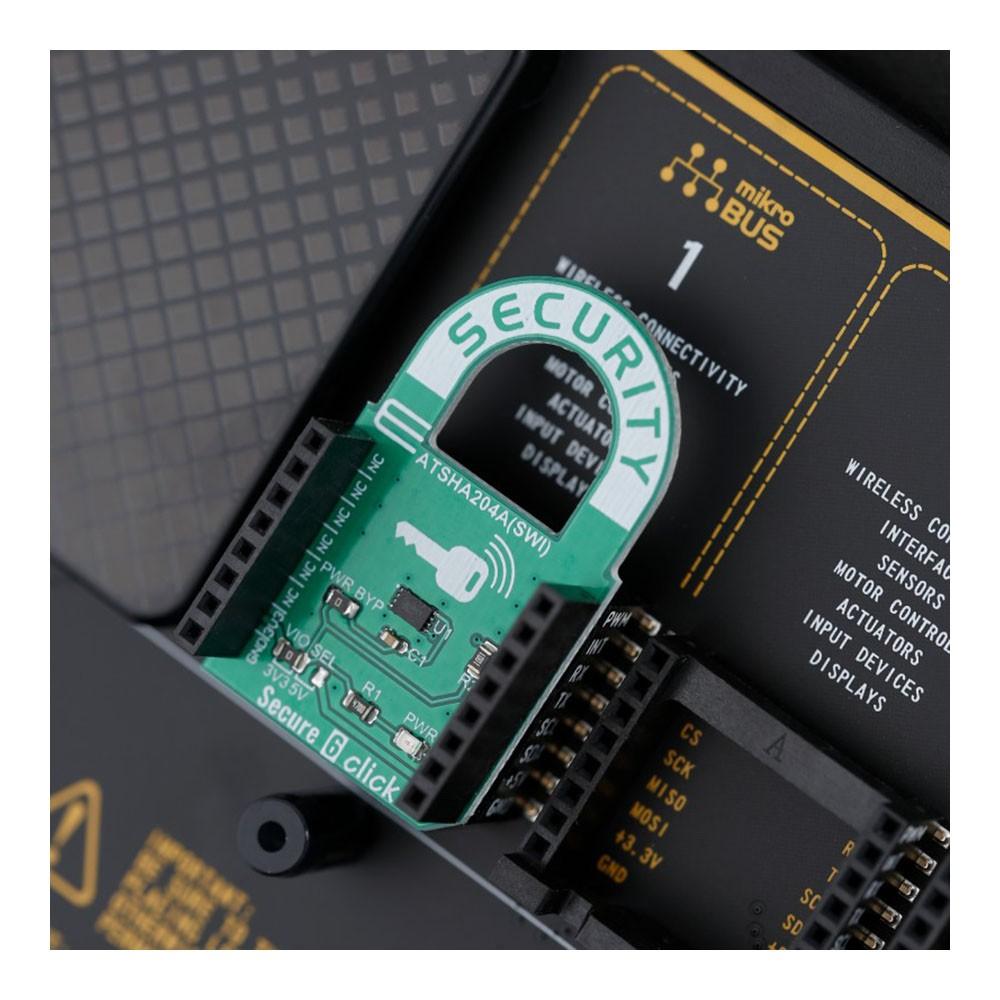
The Secure 6 Click Board™ is supported by a mikroSDK compliant library, which includes functions that simplify software development. This Click Board™ comes as a fully tested product, ready to be used on a system equipped with the mikroBUS™ socket.
NOTE: The Click Board™ comes with stacking headers which allow you to combine it with other Click Board™ boards™ more easily by using just one mikroBUS™ socket.
The Secure 6 Click Board™ includes the ATSHA204A, a secure CryptoAuthentication™ device from Microchip, which is equipped with an EEPROM array which can be used for storing of up to 16 keys, certificates, consumption logging, security configurations and other types of secure data. Access to the various sections of memory can be restricted in several different ways and then the configuration can be locked permanently, to prevent changes. The ATSHA204A equipped on this click board™, supports the SWI interface with a flexible command set, that allows use in various security applications, including Network/IoT Node Endpoint Security, Secure Boot, Small Message Encryption, Key Generation for Software Download, Ecosystem control, Anti Counterfeiting and similar.
How Does The Secure 6 Click Board™ Work?
The ATSHA204A implements a complete asymmetric key cryptographic signature solution, based on the Elliptic Curve Cryptography and the ECDSA signature protocol. It also implements AES-128, SHA256 and multiple SHA derivatives, such as HMSC(SHA), PRF (the key derivation function in TLS) and HKDF in hardware. It can also generate random private keys and random numbers, which can be used as a part of the crypto protocol.
Those asymmetric cryptographic operations are accelerated by the ATSHA204A hardware and are calculated up from ten to thousand times faster than with the software running on standard microprocessors. This prevents the risk of key exposure, which is usually found in standard microprocessors.
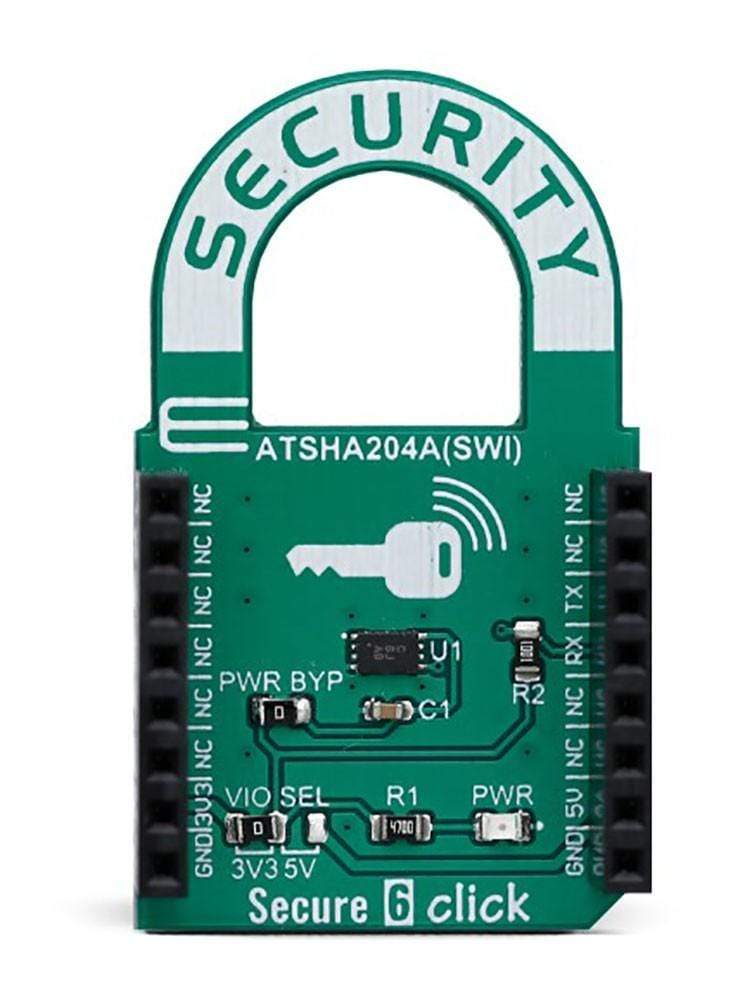
The device is consuming very low current, especially while it is in the sleep mode. The chip itself uses less than 150nA, in that case. The voltage range which can be used to power up the Security 6 click, allows for it to work with both 3.3V and 5V capable MCUs. Therefore, this click board™ supports the parasitic power supply mode, where the main IC is powered via the communication line. When the onboard jumper PWR BYP is removed, Secure 6 click
The chip itself uses a minimal number of pins; only the SWI lines are routed to the mikroBUS™ along with the 3.3V and 5V rails. The device can work with any of these voltages. It can be selected by soldering a small SMD jumper, labelled as VIO SEL to the correct position.
IMPORTANT: On the Secure 6 Click Board™, UART lines (RX and TX) are shorted and pulled high by the 1KΩ resistor. Basically, they act as a single line and only one trace is routed to the ATSHA204A IC. Further it means that UART pins can be used only for SWI communication when this click board™ is used on a system.
SPECIFICATIONS
| Type | Encryption |
| Applications | The Secure 6 Click Board™ can be used for storage of up to 16 keys, certificates, miscellaneous read/write, read-only or secret data, consumption logging, and security configurations |
| On-board modules | Microchip ATSHA204A IC which includes an EEPROM array |
| Key Features | Cryptographic Co-processor with secure hardware-based key storage for up to 16 keys, certificates or data. Hardware support for the asymmetric sign, verify, key agreement, unique 72-bit serial number, Single Wire Interface (SWI). |
| Interface | SWI |
| Compatibility | mikroBUS |
| Click board size | M (42.9 x 25.4 mm) |
| Input Voltage | 3.3V or 5V |
PINOUT DIAGRAM
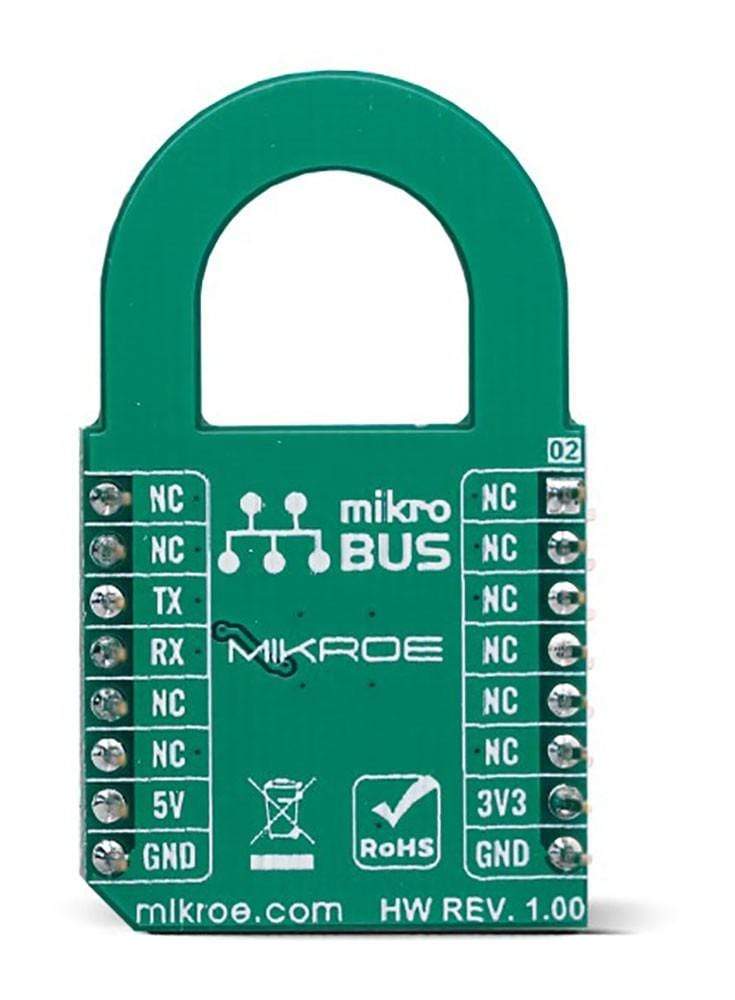
This table shows how the pinout of the Secure 6 Click Board™ corresponds to the pinout on the mikroBUS™ socket (the latter shown in the two middle columns).
| Notes | Pin |  |
Pin | Notes | |||
|---|---|---|---|---|---|---|---|
| NC | 1 | AN | PWM | 16 | NC | ||
| NC | 2 | RST | INT | 15 | NC | ||
| NC | 3 | CS | RX | 14 | TX | SWI Line | |
| NC | 4 | SCK | TX | 13 | RX | SWI Line | |
| NC | 5 | MISO | SCL | 12 | NC | ||
| NC | 6 | MOSI | SDA | 11 | NC | ||
| Power Supply | 3.3V | 7 | 3.3V | 5V | 10 | 5V | Power supply |
| Ground | GND | 8 | GND | GND | 9 | GND | Ground |
ONBOARD SETTINGS AND INDICATORS
| Label | Name | Default | Description |
|---|---|---|---|
| LD1 | PWR LED | - | Power LED Indicator |
| JP1 | VIO SEL | Left | Power supply voltage selection, left position 3V3, right position 5V |
We provide a library for the Secure 6 Click Board™ on our LibStock page, as well as a demo application (example), developed using MikroElektronika compilers. The demo can run on all the main MikroElektronika development boards.
Library Description
The library demonstrates the operation of the software single wire interface implementation.
Key Functions
int8_t secureswi_init(T_SECURESWI_DIRSET inSet, T_SECURESWI_DIRSET outSet)- Initialize the SWI interface and pass the pin direction setting functions.void secureswi_sendBytes(uint8_t len,uint8_t *stBuf)- Encode data buffer and send the data to the SWI bus.void secureswi_receiveBytes(uint8_t len,uint8_t *stBuf)- Receive and decode data from the SWI bus.
Example Description
The application is composed of three sections :
- System Initialization - Initialize the GPIO sturcture and configure the serial port for logging data.
- Application Initialization - Initialize the driver and configure swi for communication.
- Application Task - Data is read from the secure chip. If the readout is successful the data is then printed on the serial port in the hex format.
void applicationTask()
{
     uint8_t bufferOut[128];

     cfg_atsha204a_swi_default.iface_type  = ATCA_SWI_IFACE;
     cfg_atsha204a_swi_default.devtype     = ATSHA204A;
     cfg_atsha204a_swi_default.atcaswi.bus = 1;
     cfg_atsha204a_swi_default.wake_delay  = 2560;
     cfg_atsha204a_swi_default.rx_retries  = 10;

     atcab_init(&cfg_atsha204a_swi_default);

     mikrobus_logWrite("Starting test",_LOG_LINE);

     memset(bufferOut,0,127);

     if (atcab_read_serial_number(bufferOut) == ATCA_SUCCESS)
     {
         mikrobus_logWrite("rn Serial number: ",_LOG_LINE);
         secureswi_printHex(bufferOut,9);
     }
     else
     {
         mikrobus_logWrite("rn Reading serial number failed...",_LOG_LINE);
         secureswi_printHex(bufferOut,sizeof(bufferOut));
     }

     Delay_ms (1500);
     memset (bufferOut, 0x00, 128);
     if (atcab_read_config_zone(bufferOut) == ATCA_SUCCESS)
     {
        mikrobus_logWrite("rnrn First 32 bytes of device configuration: ",_LOG_LINE);
        secureswi_printHex(bufferOut,32);
     }
     else
     {
        mikrobus_logWrite("rnrn Reading config zone failed...",_LOG_LINE);
        secureswi_printHex(bufferOut,sizeof(bufferOut));
     }

     while(1)
     {

     }
}
The full application code, and ready to use projects can be found on our LibStock page.
Other mikroE Libraries used in the example:
- Conversions
- C_String
- UART
Additional Notes and Information
Depending on the development board you are using, you may need USB UART click, USB UART 2 click or RS232 click to connect to your PC, for development systems with no UART to USB interface available on the board. The terminal available in all MikroElektronika compilers, or any other terminal application of your choice, can be used to read the message.
MIKROSDK
The Secure 6 Click Board™ is supported with mikroSDK - MikroElektronika Software Development Kit. To ensure proper operation of mikroSDK compliant Click board™ demo applications, mikroSDK should be downloaded from the LibStock and installed for the compiler you are using.

