Carte à clic TouchPad 4
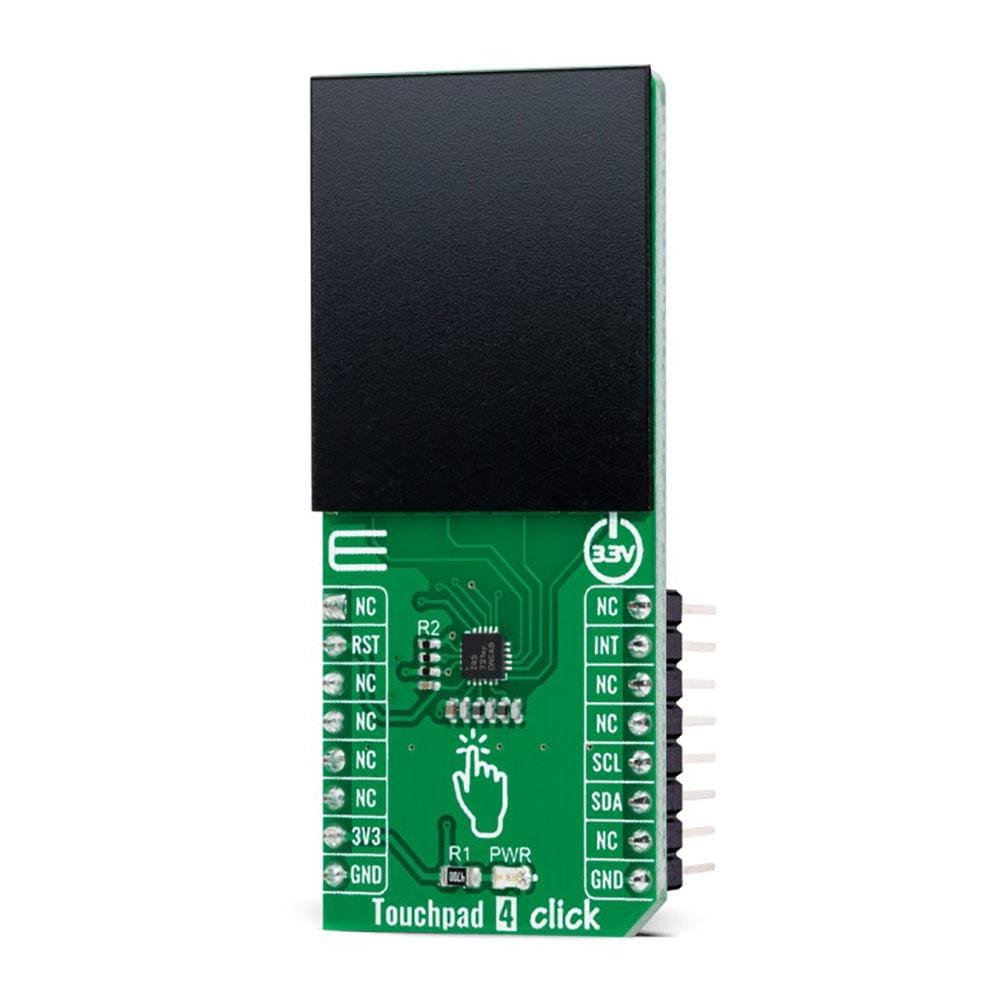
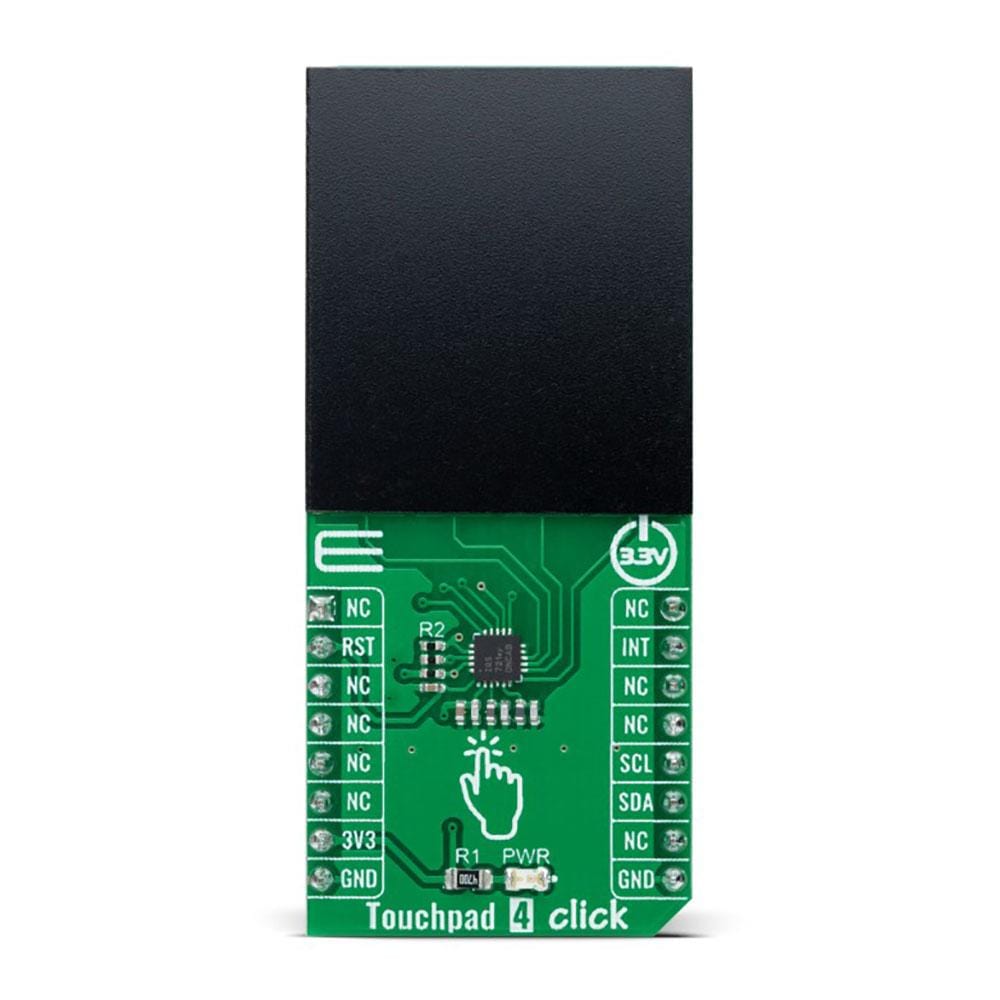
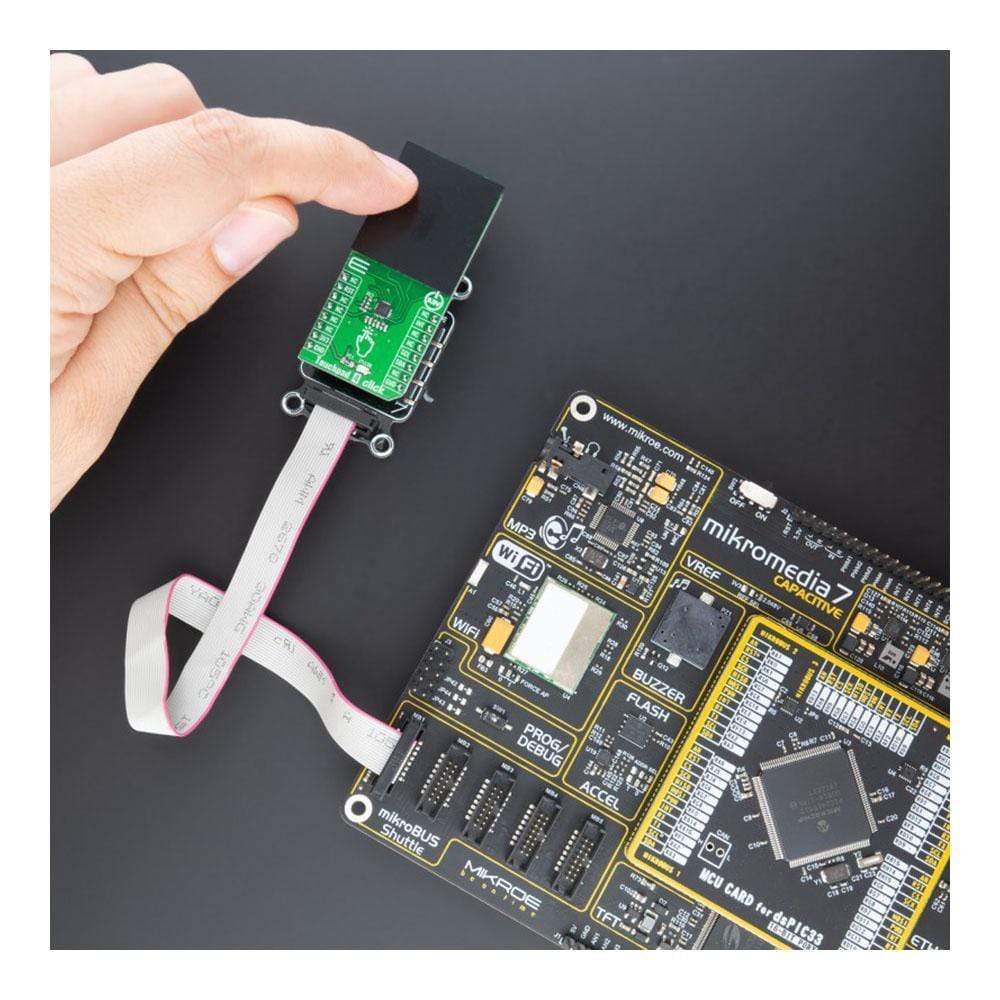
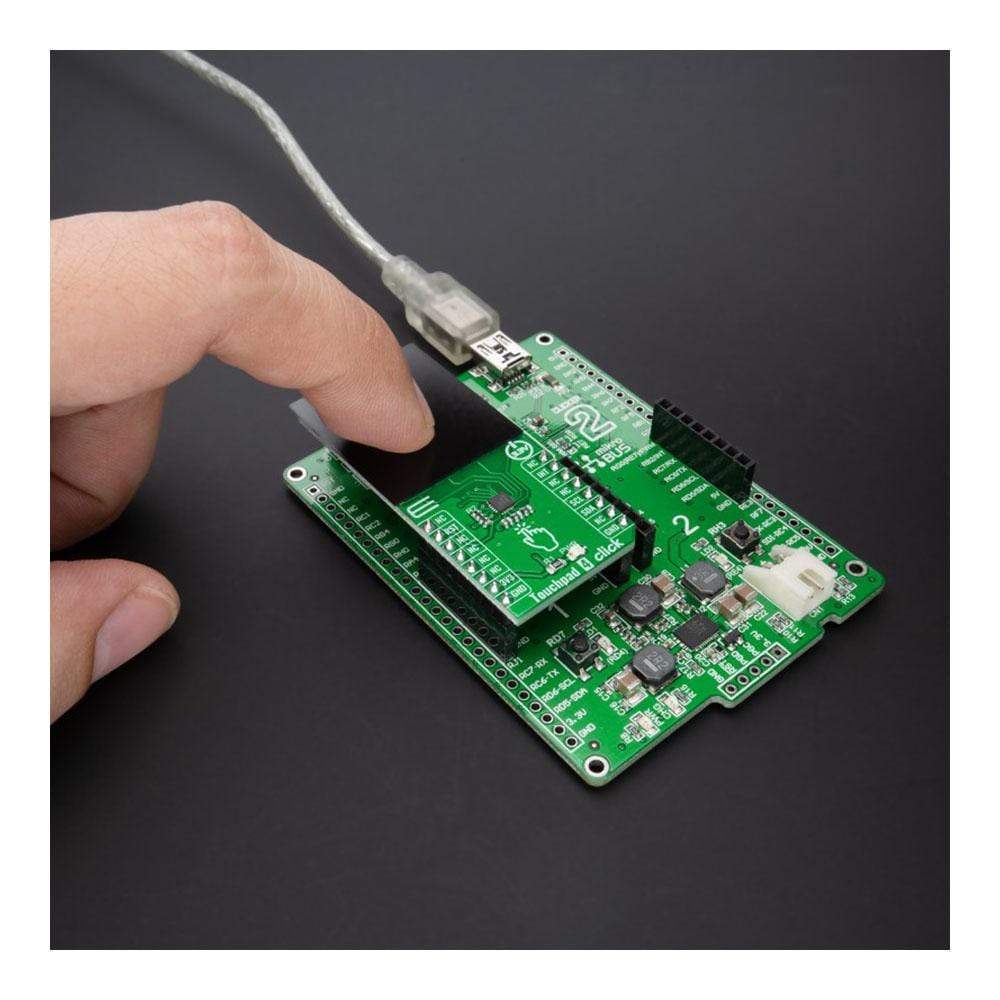
Le TouchPad 4 Click Board™ est une carte complémentaire compacte qui intègre facilement la technologie tactile capacitive projetée dans vos projets. Cette carte est équipée de l'IQS7211A, un minuscule contrôleur tactile capacitif d'Azoteq. Un contrôleur tactile de réveil dédié à faible consommation lance une solution de détection d'écran tactile complète avec une dimension de pavé tactile de 25,4 x 29 mm, une sensibilité et une consommation d'énergie de premier ordre. Il se caractérise par une reconnaissance intégrée du moteur de gestes pour les gestes simples (tapoter, balayer, maintenir) et une détection et un filtrage du bruit intégrés.
Le TouchPad 4 Click Board™ convient aux interfaces homme-machine, aux fonctions de clavier ou de défilement, aux interfaces basées sur les gestes d'un seul doigt, etc.
How Does the TouchPad 4 Click Board™ Work?
The Touchpad 4 Click Board™ as its foundation uses the IQS7211A, a tiny trackpad controller designed for multitouch applications using a projected capacitance touch panel from Azoteq. The IQS7211A is part of Azoteq's latest range of ProxFusion combination sensors, a multi-sensor technology that offers combinations of capacitive sensing, Hall-effect, inductive, and temperature sensing on a single integrated circuit. It allows users to control a trackpad of up to 32-channels and offers high resolution and fast response, low power consumption, and long-term activation supported by environmental tracking. It is also characterised by embedded gesture engine recognition for simple gestures (tap, swipes, hold) and built-in noise detection and filtering.
On the Touchpad 4 Click front side, a clearly defined field represents a touchpad area. This area is a matrix of conductive electrodes on the PCB, electrically isolated from each other, arranged as rows and columns of X and Y. An electrode consists of multiple diamond-shaped elements, each connected to the next with a conductive neck.
The controller uses the projected capacitance charge transfer principle on the touchpad area. When a conductive object such as a human finger approaches the sense plate, it will decrease the detected capacitance. Observing the measured results at various sensing points on the touchpad area enables the controller to determine proximity/hover and contact (touch) detection on all channels and accurately determine the coordinates on the touch area.
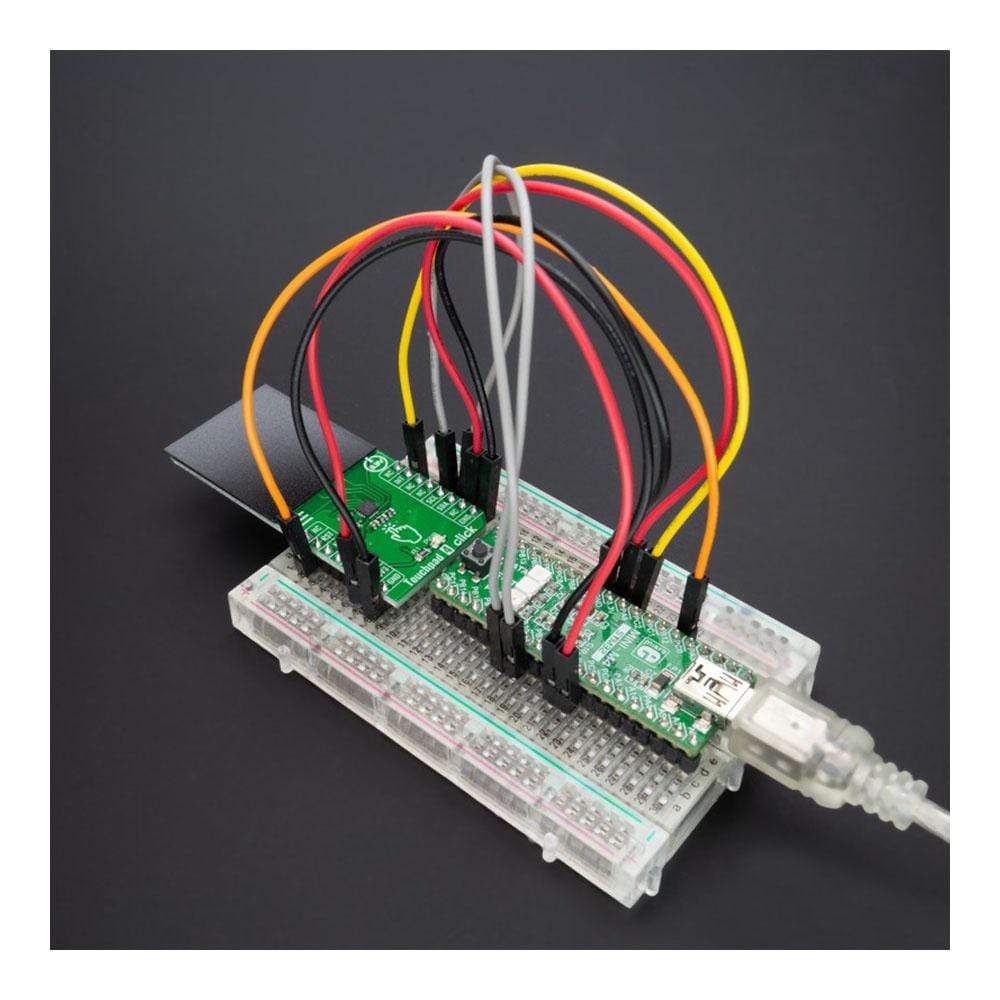
The Touchpad 4 Click Board™ communicates with MCU using a standard I2C 2-Wire interface, with a clock frequency up to 1MHz in the Fast Mode. An additional ready signal, routed on the INT pin of the mikroBUS™ socket, is added, which indicates when the communication window is available. Thus, it is optimal for the response rate to use the INT pin as a communication trigger. Alongside this pin, this Click board™ has a Reset feature routed to the RST pin on the mikroBUS™ socket, which with a low logic level puts the module into a Reset state, and with a high level operates module normally.
The Touchpad 4 Click Board™ can be operated only with a 3.3V logic voltage level. The board must perform appropriate logic voltage level conversion before use with MCUs with different logic levels. However, the Click board™ comes equipped with a library containing functions and an example code that can be used, as a reference, for further development.
SPECIFICATIONS
Type | Capacitive |
Applications | Can be used for human-machine interfaces, keypad or scrolling functions, single-finger gesture-based interfaces, and more |
On-board modules | IQS7211A - tiny trackpad controller designed for multitouch applications using a projected capacitance touch panel from Azoteq |
Key Features | Low power consumption, high resolution, fast response, long-term activation supported by environmental tracking, embedded gesture engine recognition for simple gestures (tap, swipes, hold), and more |
Interface | I2C |
Compatibility | mikroBUS |
Click board size | L (57.15 x 25.4 mm) |
Input Voltage | 3.3V |
PINOUT DIAGRAM
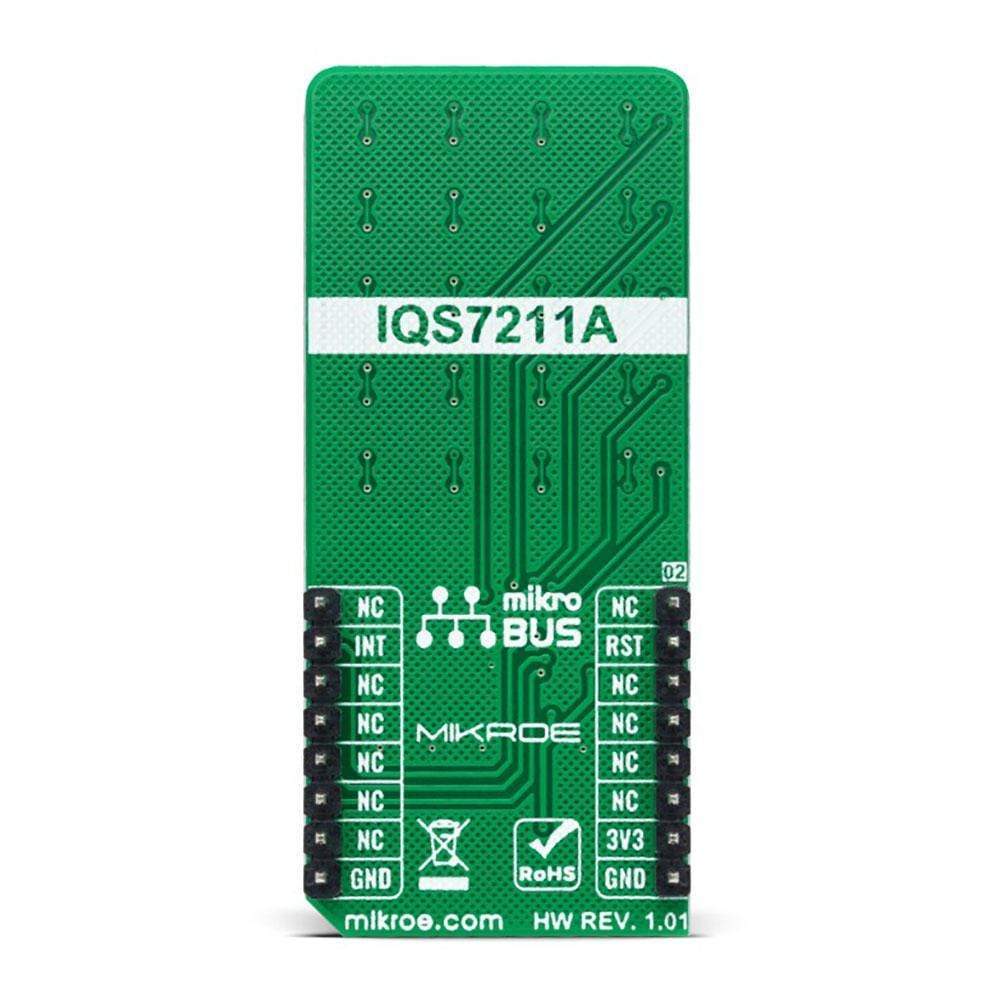
This table shows how the pinout of the Touchpad 4 Click Board™ corresponds to the pinout on the mikroBUS™ socket (the latter shown in the two middle columns).
Notes | Pin | | Pin | Notes | |||
---|---|---|---|---|---|---|---|
NC | 1 | AN | PWM | 16 | NC | ||
Reset | RST | 2 | RST | INT | 15 | INT | Interrupt |
NC | 3 | CS | RX | 14 | NC | ||
NC | 4 | SCK | TX | 13 | NC | ||
NC | 5 | MISO | SCL | 12 | SCL | I2C Clock | |
NC | 6 | MOSI | SDA | 11 | SDA | I2C Data | |
Power Supply | 3.3V | 7 | 3.3V | 5V | 10 | NC | |
Ground | GND | 8 | GND | GND | 9 | GND | Ground |
ONBOARD SETTINGS AND INDICATORS
Label | Name | Default | Description |
---|---|---|---|
LD1 | PWR | - | Power LED Indicator |
TOUCHPAD 4 CLICK ELECTRICAL SPECIFICATIONS
Description | Min | Typ | Max | Unit |
---|---|---|---|---|
Supply Voltage | - | 3.3 | - | V |
Active Mode Current Consumption | - | 1.4 | - | mA |
Operating Temperature Range | -40 | +25 | +85 | °C |
Software Support
We provide a library for the Touchpad 4 Click and a demo application (example), developed using MikroElektronika compilers. The demo can run on all the main MikroElektronika development boards.
The package can be downloaded/installed directly from NECTO Studio The package Manager (recommended), downloaded from our LibStock™ or found on the MikroE Github account.
Library Description
This library contains an API for the Touchpad 4 Click Board™driver.
Key Functions
touchpad4_cfg_setup
- Config Object Initialization function.touchpad4_init
- Initialization function.touchpad4_default_cfg
- Click Default Configuration function.
Example Description
This example showcases the ability of the device to read touch coordinates, active/inactive channels, and gesture information.
void application_task ( void ) { if ( !touchpad4_get_ready( &touchpad4 ) ) { switch ( example_selector ) { case TOUCHPAD4_EXAMPLE_TOUCH: { touchpad4_touch_reading( ); break; } case TOUCHPAD4_EXAMPLE_CHANNEL: { touchpad4_channel_reading( ); break; } case TOUCHPAD4_EXAMPLE_GESTURE: { touchpad4_gesture_reading( ); break; } default: { log_error( &logger, " Select Example" ); break; } } } } The complete application code, and ready-to-use projects can be installed directly from NECTO Studio The package Manager (recommended), downloaded from our LibStock™ or found on the MikroE Github account.
Other mikroE Libraries used in the example:
- MikroSDK.Board
- MikroSDK.Log
- Click.Touchpad4
Additional Notes and Information
Depending on the development board you are using, you may need a USB UART Click Board™, USB UART 2 Click Board™ or RS232 Click Board™ to connect to your PC, for development systems with no UART to USB interface available on the board. The terminal available in all MikroElektronika compilers, or any other terminal application of your choice, can be used to read the message.
MIKROSDK
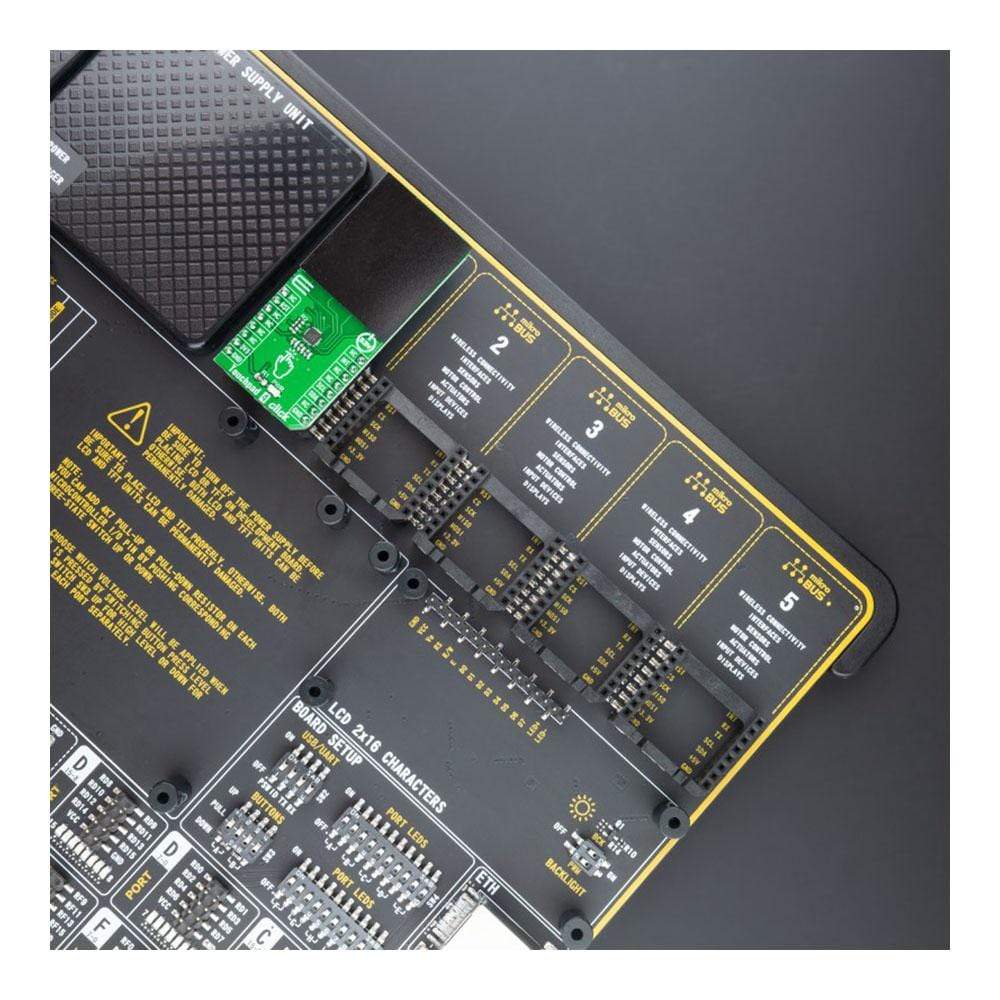
The Touchpad 4 Click Board™ is supported with mikroSDK - MikroElektronika Software Development Kit. To ensure proper operation of mikroSDK compliant Click board™ demo applications, mikroSDK should be downloaded from the LibStock and installed for the compiler you are using.
Carte à clic TouchPad 4
Frequently Asked Questions
Have a Question?
Be the first to ask a question about this.