Tableau à clic Haptic 2
Overview
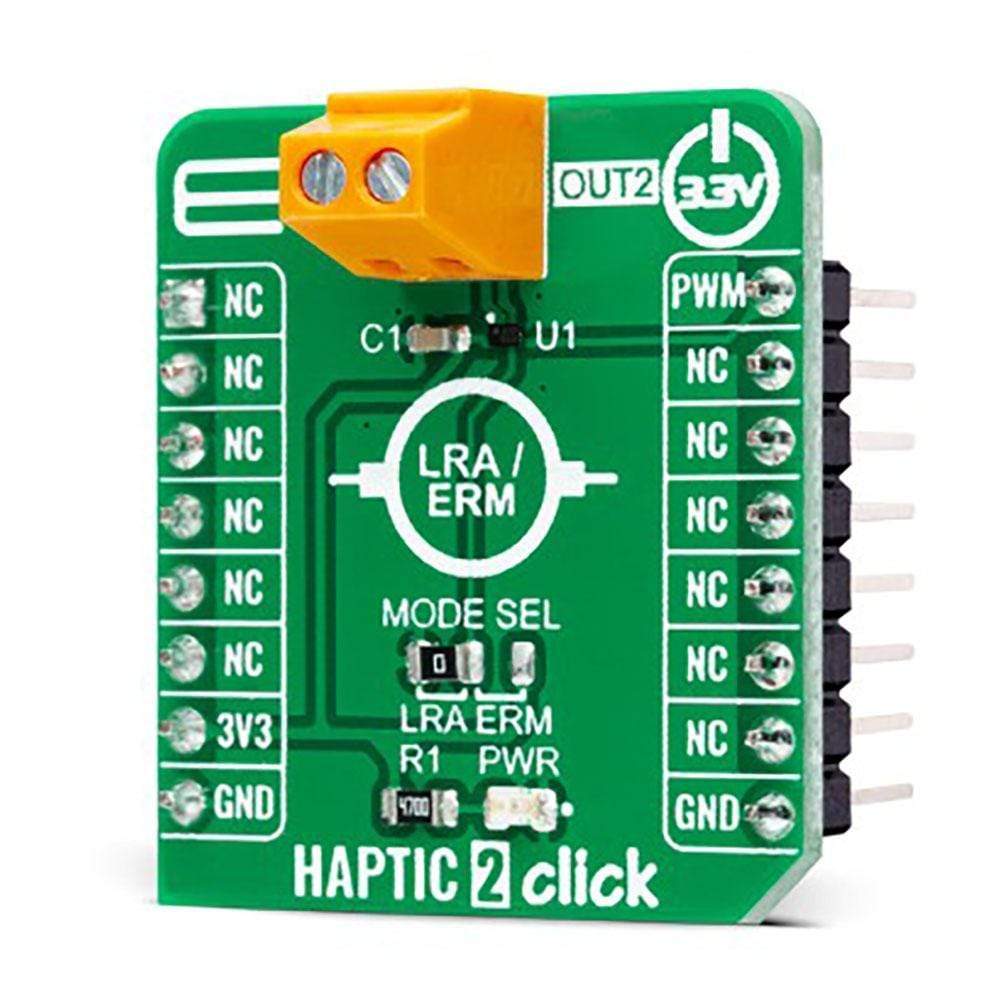
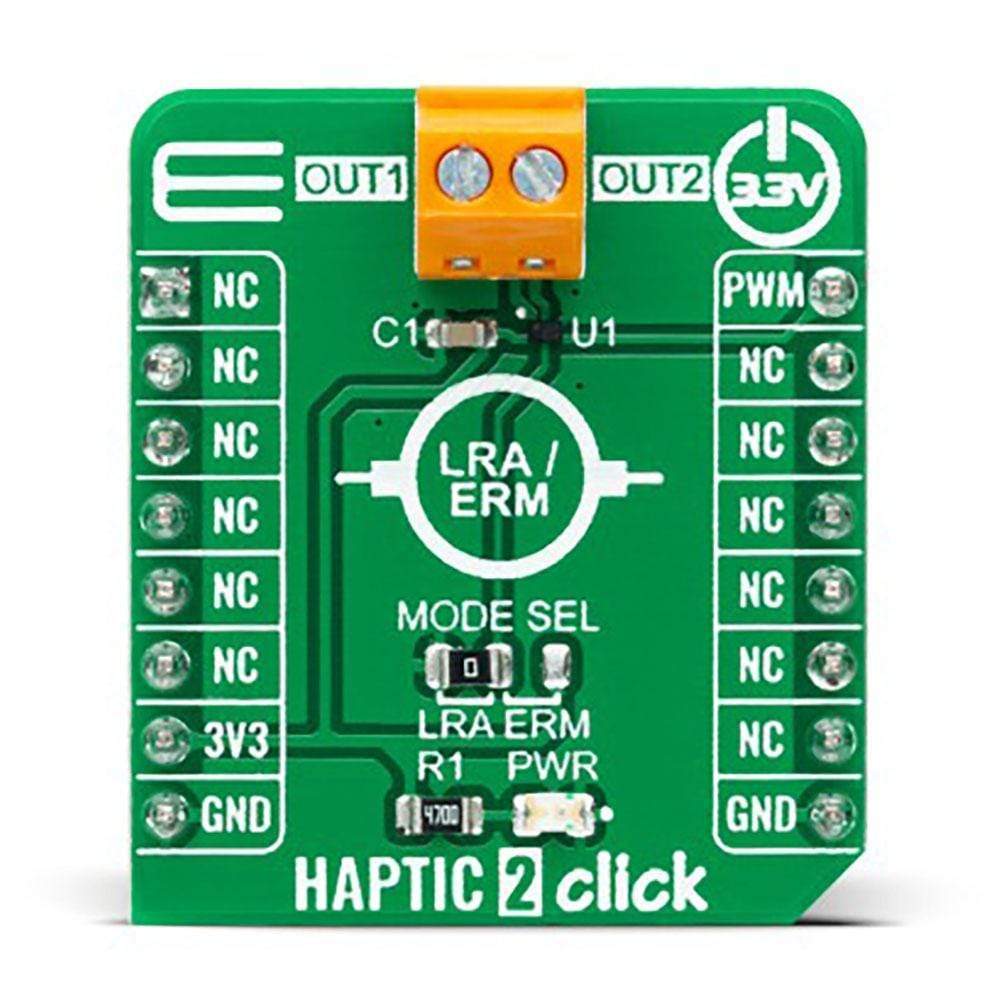
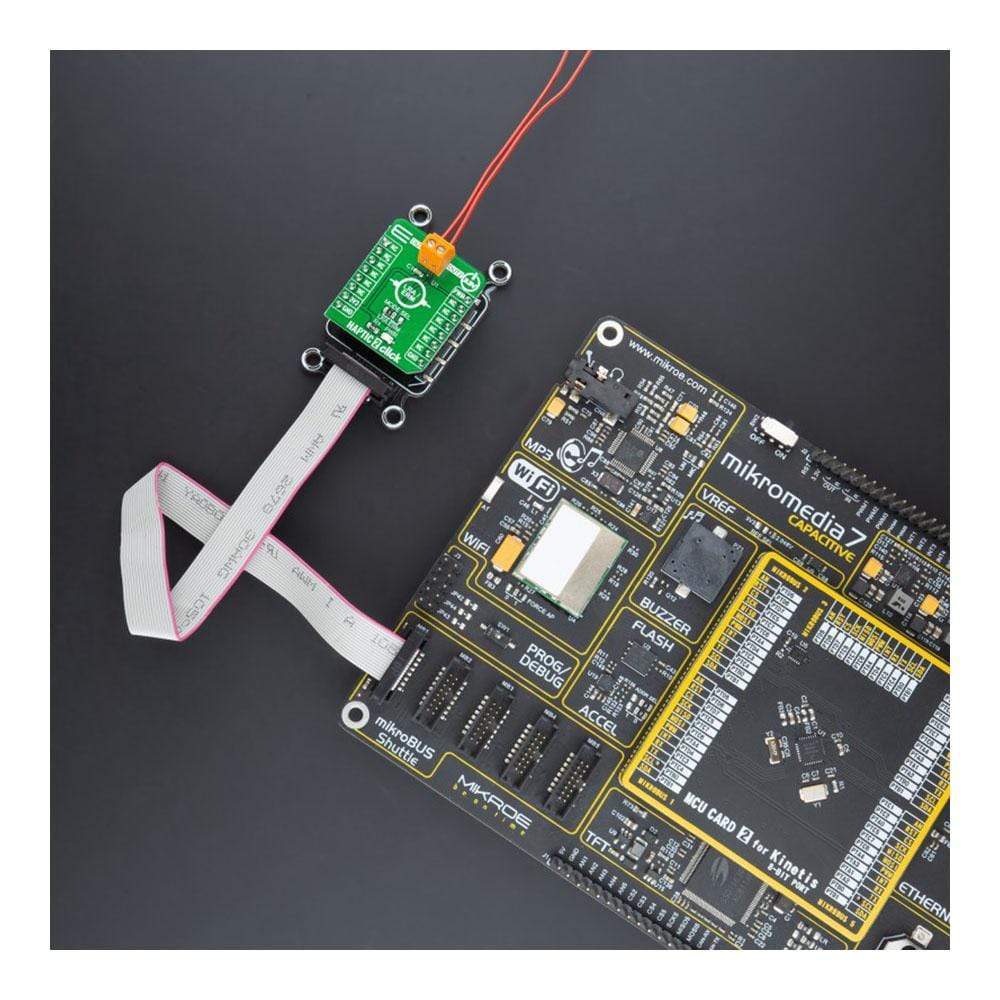
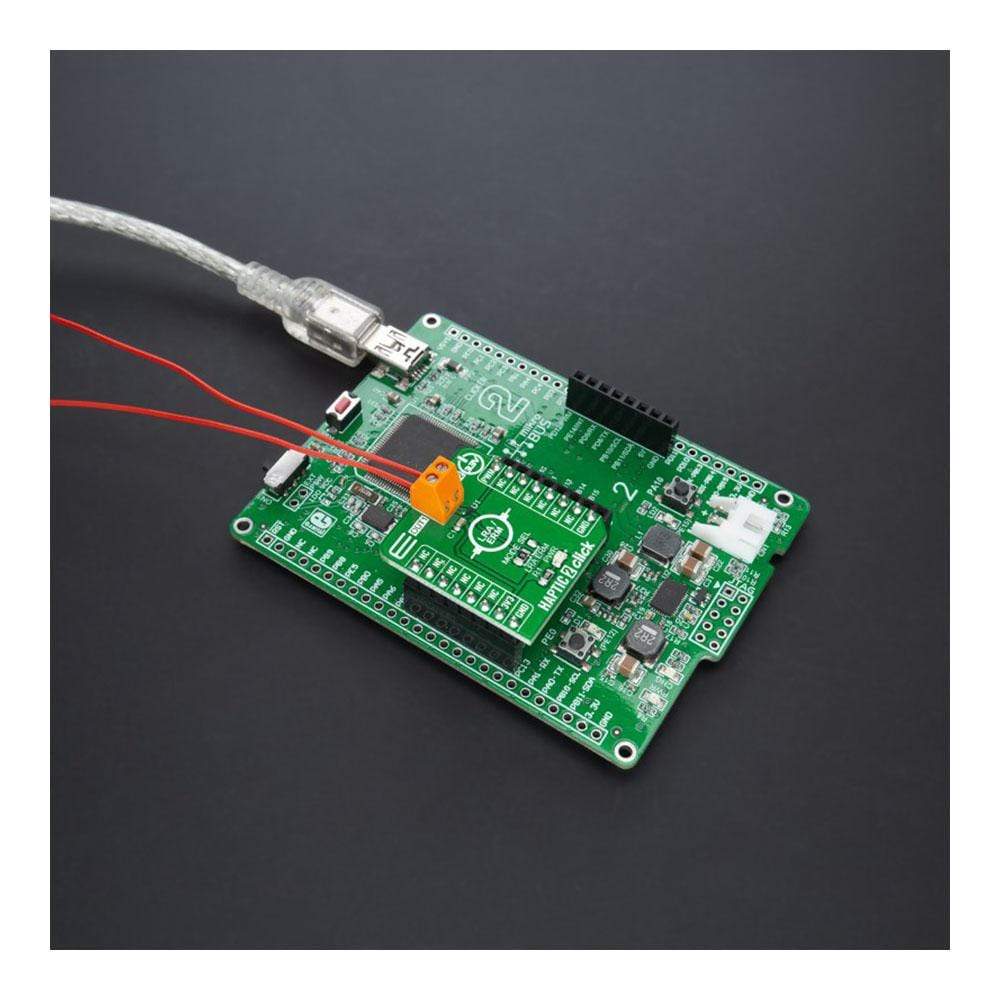
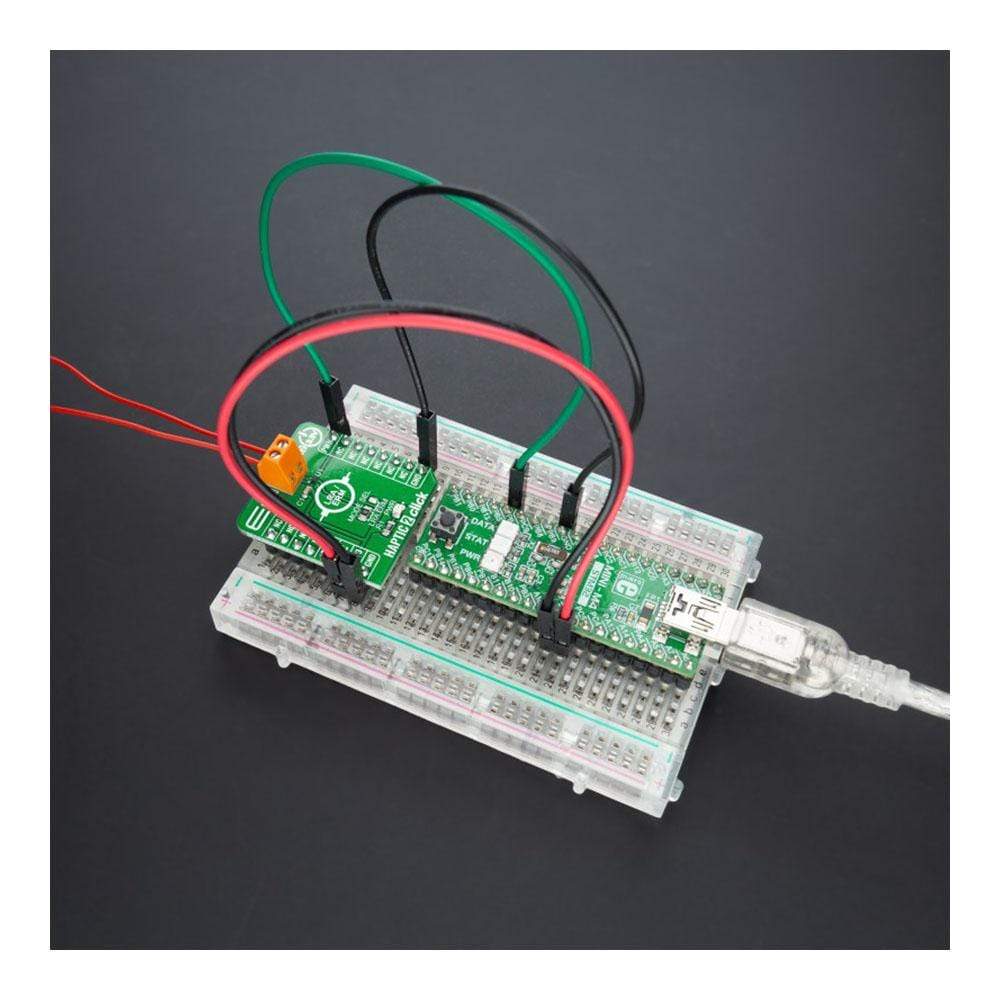
Le Haptic 2 Click Board™ est une carte complémentaire compacte avec un pilote de vibration linéaire. Cette carte est équipée du LC898302AXA, un pilote de moteur dédié aux applications LRA et ERM d'ON Semiconductor. Contrôlé par une seule broche, il permet des vibrations nettes grâce au freinage automatique et à la fonction de surentraînement et ignore l'écart de fréquence de résonance grâce à la fonction d'auto-réglage. La forme d'onde de pilotage d'origine vous permettra de réduire la consommation d'énergie et est utile pour maintenir la durée de vie de la batterie. Ce Click Board™ convient à de nombreuses applications quotidiennes telles que les systèmes d'indicateurs, les consoles de jeu, les équipements/simulateurs de formation avec fonction haptique, la robotique et la mécatronique, et bien d'autres encore.
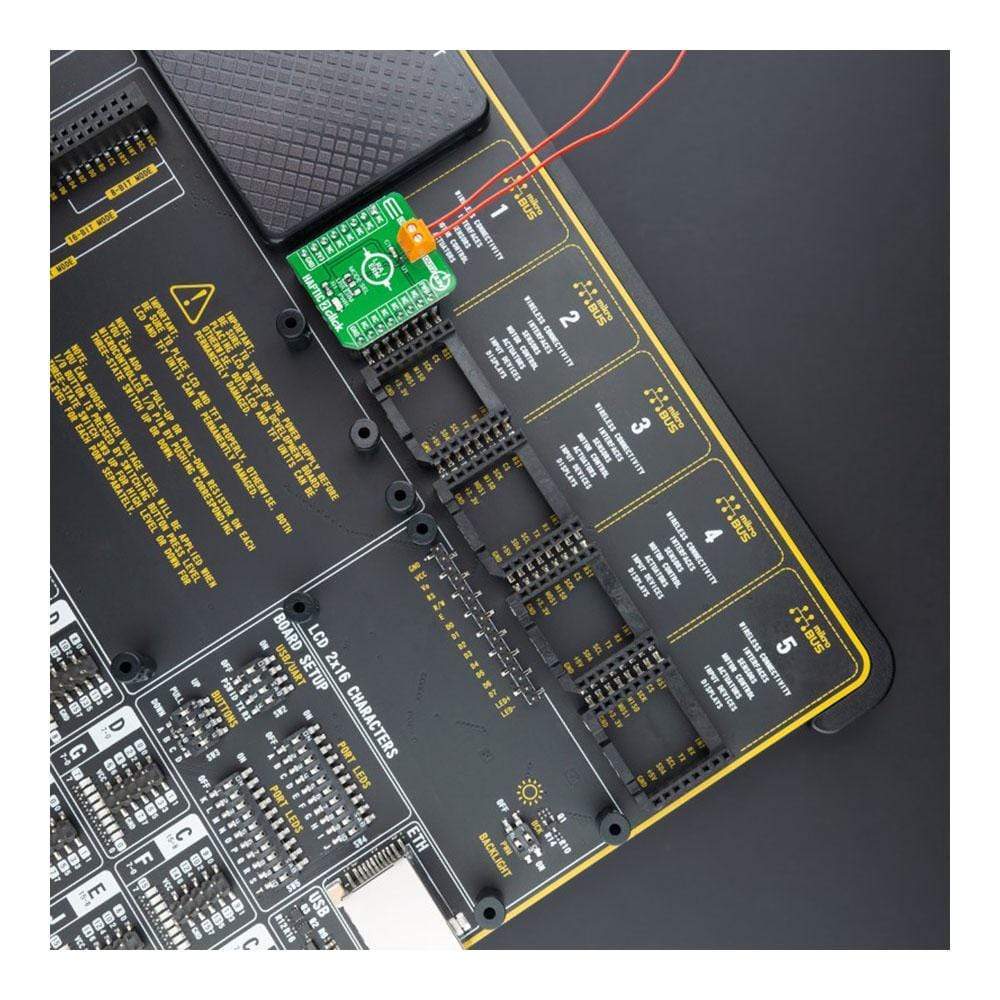
Le tableau à clic Haptic 2™ est pris en charge par une bibliothèque compatible mikroSDK, qui comprend des fonctions qui simplifient le développement logiciel. Cette Click Board™ est un produit entièrement testé, prêt à être utilisé sur un système équipé du socket mikroBUS™.
How Does The Haptic 2 Click Board™Work?
The Haptic 2 Click Board™ as its foundation uses the LC898302AXA, a linear vibration motor driver dedicated to LRA (Linear Resonant Actuator) and ERM (Eccentric Rotating Mass) applications from ON Semiconductor. The original driving waveform enables low power consumption, and it is helpful to maintain battery lifetime. It allows crisp vibration thanks to automatic braking and over-driving feature. The drive frequency automatically adjusts to the resonance frequency of the linear vibrator without the use of other external parts.
As a result of this very effective drive, the vibration is as powerful as possible using minimal energy compared to classical solutions. It also ignores the deviation of resonance frequency thanks to auto-tuning function. This function can increase the perceived vibration force by over 20%, making it far more efficient than conventional haptic driving solutions. They require minimal power but can maintain a high level of vibration.
The LRA motors rely on a magnet attached to the case by a spring where a magnetic field from the coil causes vibration activity initiation. Compared to ERM, the LRA have better responsiveness improving system performance. The ERM type of haptic motor causes the off-balance mass to rotate. The mass movement results in an asymmetric centripetal force, leading to the motor's displacement. Using ERM motor, ERM driving voltage can be adjusted through an adjustment resistor connected between OUT1 pin of Click board terminal and ERM motor pin.
The Haptic 2 Click Board™ operates only with the PWM signal from the mikroBUS™ socket that drives the LC898302AXA and offers fully configurable drive and brake functions. Also, it has a jumper setting labelled as MODE SEL used to choose between LRA or ERM motor to drive.
The Haptic 2 Click Board™ can operate only with a 3.3V logic voltage. The board must perform appropriate logic voltage level conversion before use with MCUs with different logic levels. However, the Click board™ comes equipped with a library containing functions and an example code that can be used, as a reference, for further development.
SPECIFICATIONS
Type | Haptic |
Applications | Can be used for numerous everyday applications such as indicator systems, game consoles, training equipment/simulators with haptics function, robotics and mechatronics, and many more. |
On-board modules | LC898302AXA - linear vibration motor driver dedicated to LRA (Linear Resonant Actuator) and ERM (Eccentric Rotating Mass) applications from ON Semiconductor |
Key Features | Low power consumption, automatic adjustment to the resonance frequency for LRA, adjustable drive and brake voltage, low driving noise, available to drive a LRA and ERM, and more. |
Interface | PWM |
Compatibility | mikroBUS |
Click board size | S (28.6 x 25.4 mm) |
Input Voltage | 3.3V |
PINOUT DIAGRAM
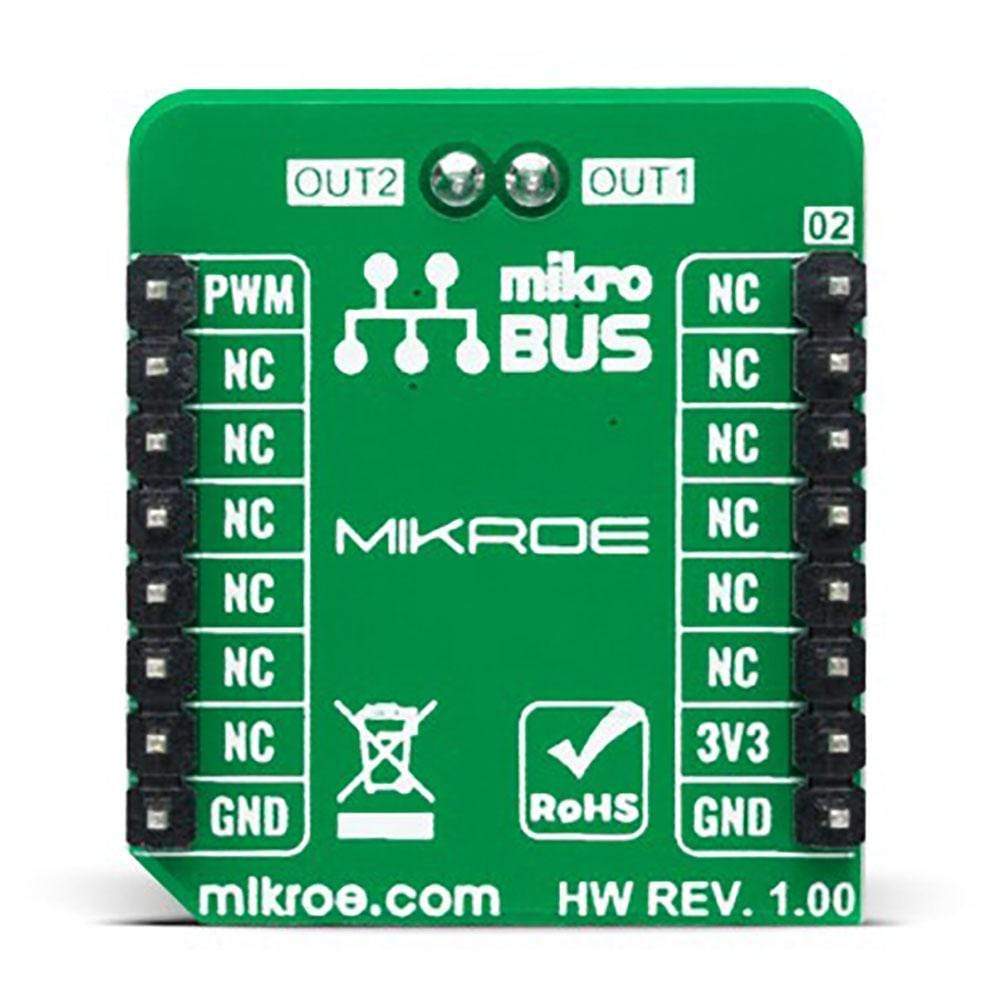
This table shows how the pinout of the Haptic 2 Click Board™ corresponds to the pinout on the mikroBUS™ socket (the latter shown in the two middle columns).
Notes | Pin | Pin | Notes | ||||
---|---|---|---|---|---|---|---|
NC | 1 | AN | PWM | 16 | PWM | PWM Signal | |
NC | 2 | RST | INT | 15 | NC | ||
NC | 3 | CS | RX | 14 | NC | ||
NC | 4 | SCK | TX | 13 | NC | ||
NC | 5 | MISO | SCL | 12 | NC | ||
NC | 6 | MOSI | SDA | 11 | NC | ||
Power Supply | 3.3V | 7 | 3.3V | 5V | 10 | NC | |
Ground | GND | 8 | GND | GND | 9 | GND | Ground |
ONBOARD SETTINGS AND INDICATORS
Label | Name | Default | Description |
---|---|---|---|
LD1 | PWR | - | Power LED Indicator |
JP1 | MODE SEL | Left | Motor Selection LRA/ERM: Left position LRA, Right position ERM |
HAPTIC 2 CLICK ELECTRICAL SPECIFICATIONS
Description | Min | Typ | Max | Unit |
---|---|---|---|---|
Supply Voltage | - | 3.3 | - | V |
Maximum Drive Current | - | - | 200 | mA |
PWM Frequency | 10 | - | 50 | kHz |
Operating Temperature Range | -30 | +25 | +85 | °C |
Software Support
We provide a library for the Haptic 2 Click Board™ and a demo application (example), developed using MikroElektronika compilers. The demo can run on all the main MikroElektronika development boards.
The package can be downloaded/installed directly from NECTO Studio The package Manager (recommended), downloaded from our LibStock™ or found on mikroE Github account.
Library Description
This library contains API for the Haptic 2 Click Board™ driver.
Key Functions
void haptic2_cfg_setup ( haptic2_cfg_t *cfg );
- Config Object Initialization function.HAPTIC2_RETVAL haptic2_init ( haptic2_t *ctx, haptic2_cfg_t *cfg );
- Initialization function.void haptic2_default_cfg ( haptic2_t *ctx );
- Click Default Configuration function.
Example Description
This app shows some of the functions that Haptic 2 Click Board™ has.
void application_task ( void ) { // Task implementation. log_printf( &logger, "--------------------------rn" ); for ( float duty = 0.1; duty < 0.9; duty += 0.1 ) { Delay_ms( 500 ); haptic2_set_duty_cycle ( &haptic2, duty ); log_printf( &logger, " PWM duty cycle : %.1f rn", duty ); } Delay_ms( 1000 ); for ( float duty = 0.8; duty >= 0; duty -= 0.1 ) { Delay_ms( 500 ); haptic2_set_duty_cycle ( &haptic2, duty ); log_printf( &logger, " PWM duty cycle : %.1f rn", duty ); } Delay_ms( 1000 ); }
The complete application code, and ready-to-use projects can be installed directly from NECTO Studio The package Manager (recommended), downloaded from our LibStock™ or found on the mikroE Github account.
Other mikroE Libraries used in the example:
- MikroSDK.Board
- MikroSDK.Log
- Click.Haptic2
Additional Notes and Information
Depending on the development board you are using, you may need USB UART Click Board™, USB UART 2 Click Board™ or RS232 Click Board™ to connect to your PC, for development systems with no UART to USB interface available on the board. The terminal available in all MikroElektronika compilers, or any other terminal application of your choice, can be used to read the message.
MIKROSDK
The Haptic 2 Click Board™ is supported with mikroSDK - MikroElektronika Software Development Kit. To ensure proper operation of mikroSDK compliant Click board™ demo applications, mikroSDK should be downloaded from the LibStock and installed for the compiler you are using.
Frequently Asked Questions
Have a Question?
Be the first to ask a question about this.