Tableau de clic Flash 3
Overview
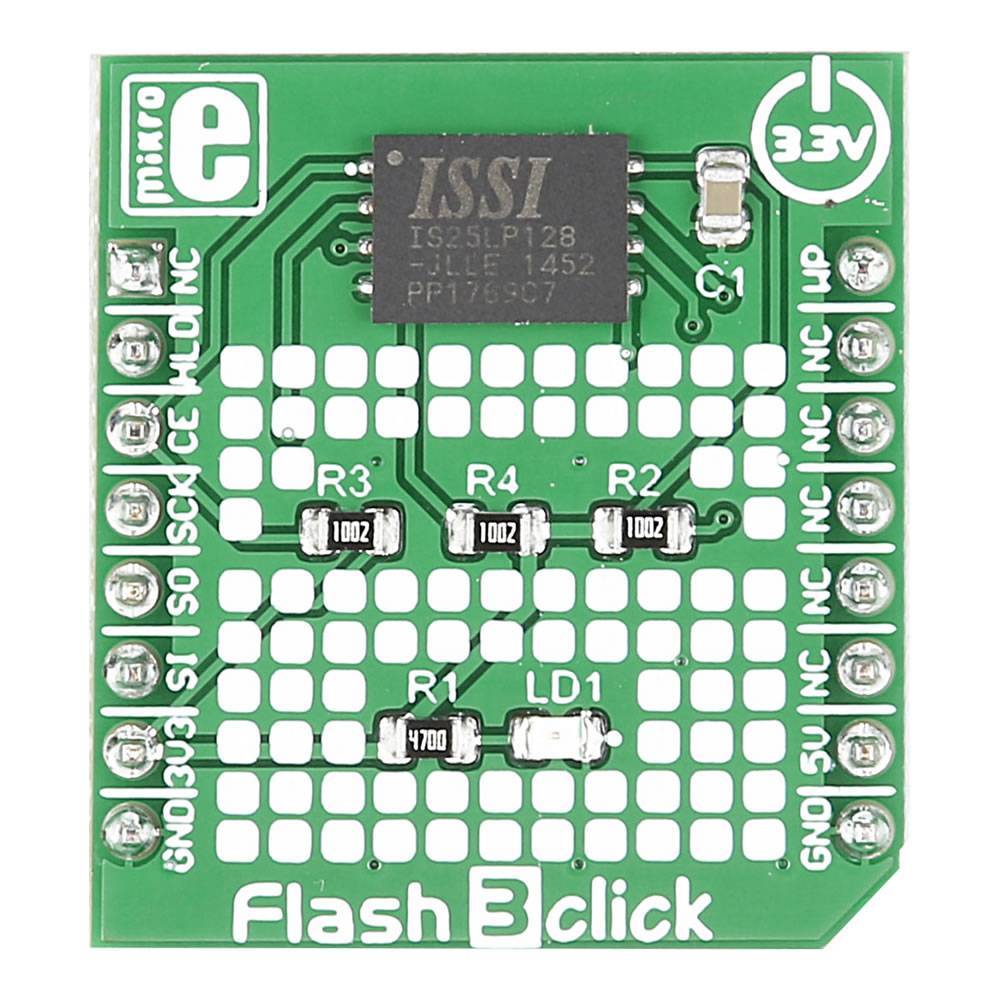
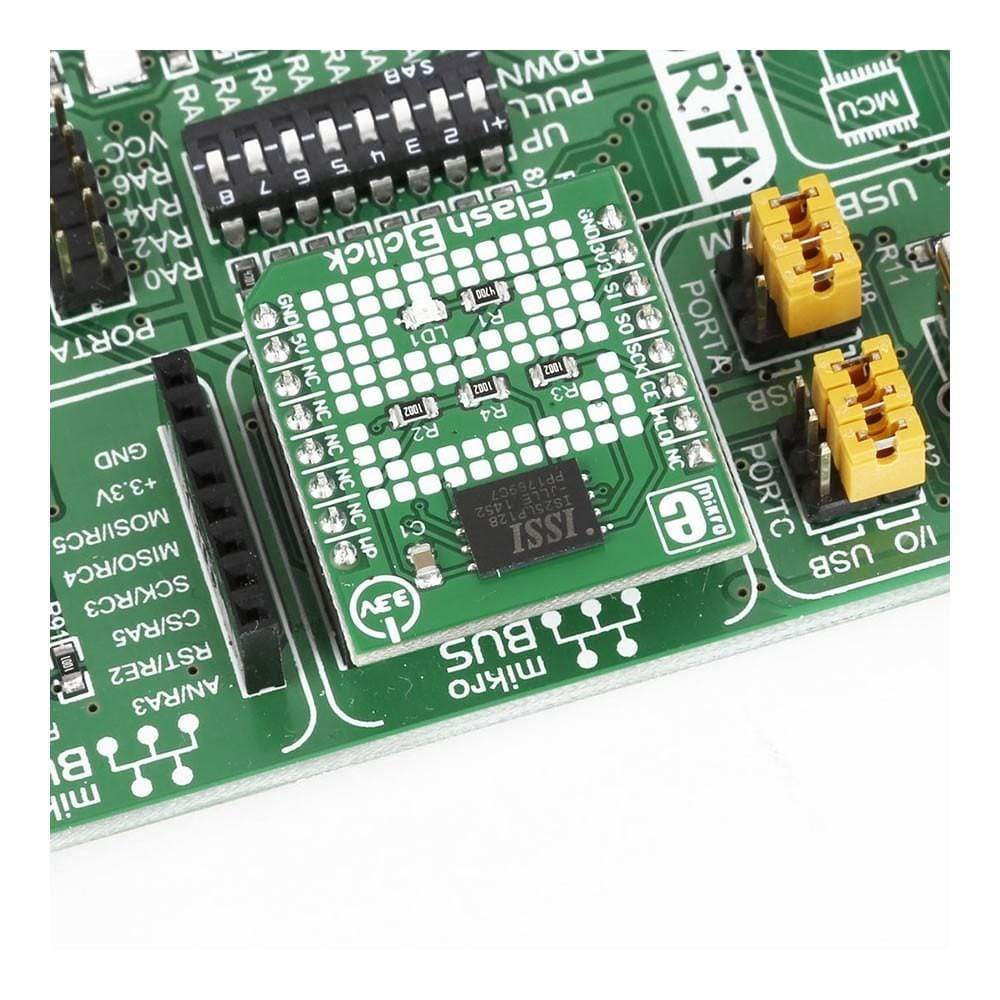
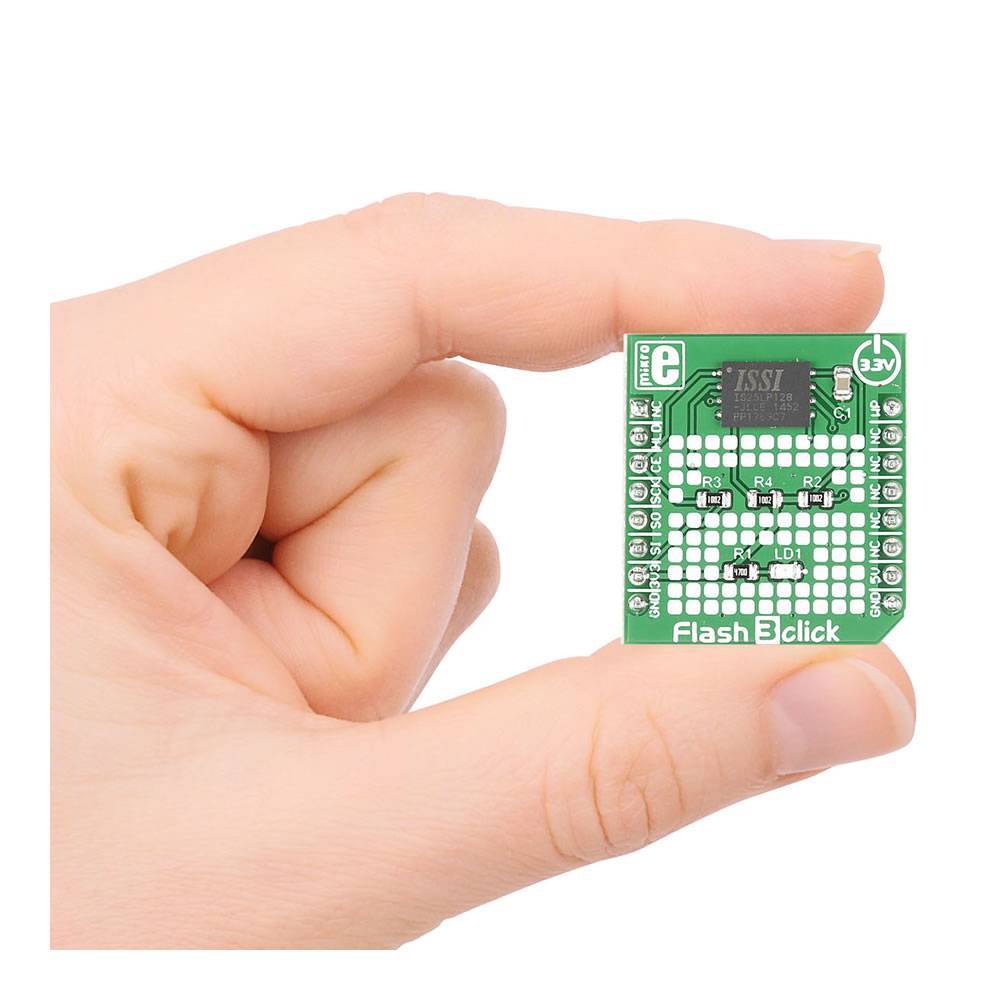
La carte Flash 3 Click Board™ est une carte complémentaire mikroBUS permettant d'ajouter davantage de mémoire Flash à votre microcontrôleur de carte cible. Elle est équipée d'un circuit intégré ISSI IS25LP128 d'une capacité de 128 Mbit.
The high-performance Flash chip operates at 50MHz at Normal and 133MHz at Fast Read speeds.
It is specified to standard 100,000 erase/program cycles with more than 20 years of data retention. The data can be erased in sectors or blocks and programmed with 1 to 256 bytes per page.
Each chip has a 128-bit unique ID for each device.
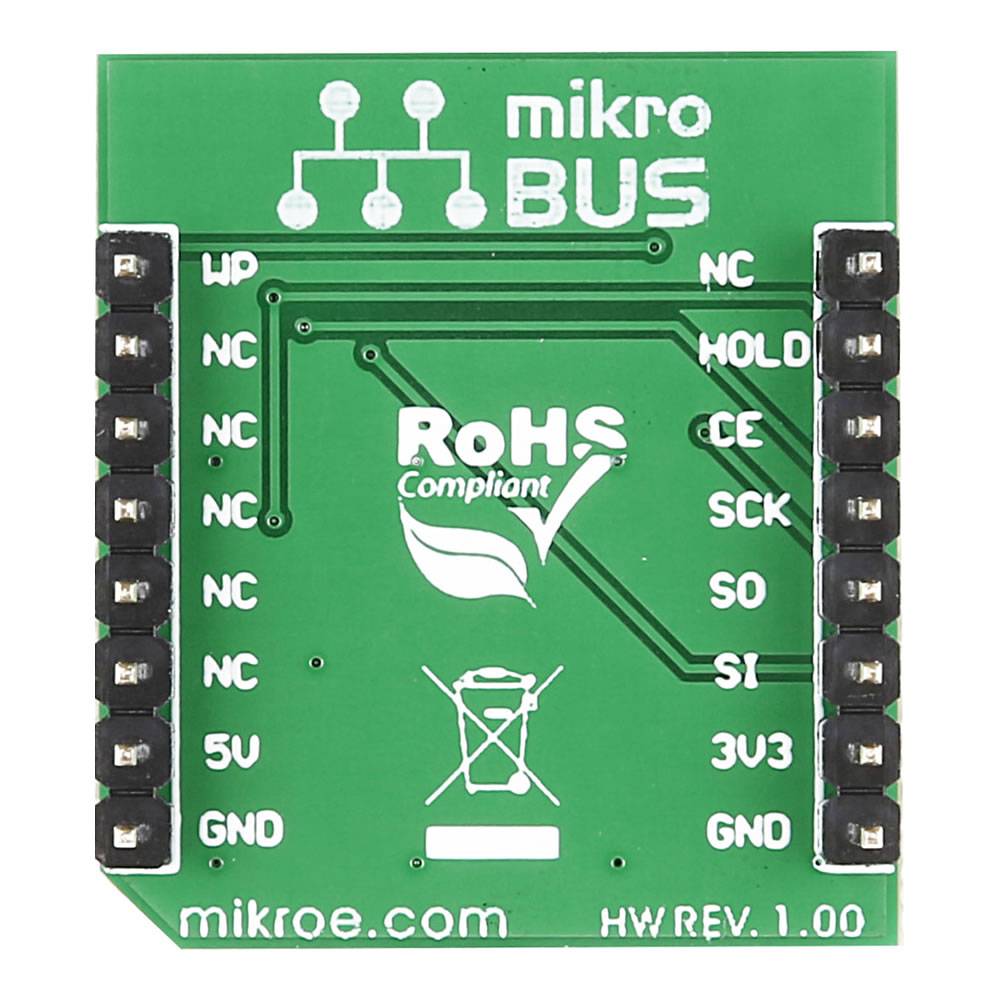
The Flash 3 Click Board™ communicates with the target board through the mikroBUS™ SPI interface with additional functionality provided by HOLD, CE and WP pins. It is designed to use a 3.3V power supply only.
We provide a library for the Flash 3 Click Board™ as well as a demo application (example), developed using MikroElektronika compilers. The demo can run on all the main MikroElektronika development boards.
The package can be downloaded/installed directly from compilers IDE (recommended), or downloaded from our LibStock, or found on mikroE GitHub account.
Library Description
This library contains an API for the Flash 3 Click Board™ driver.
Standard key functions :
-
Config Object Initialization function.
void flash3_cfg_setup ( flash3_cfg_t *cfg );
-
Initialization function.
FLASH3_RETVAL flash3_init ( flash3_t ctx, flash3_cfg_t cfg );
-
Generic transfer function.
void flash3_generic_transfer ( flash3_t ctx, spi_master_transfer_data_t block );
Example key functions :
-
Pause function.
void flash3_pause ( flash3_t *ctx );
-
Unpause function.
void flash3_unpause ( flash3_t *ctx );
-
Unpause function.
void flash3_unpause ( flash3_t *ctx );
Example Description
This application adding more flash memory.
Application Task
This is an example that shows the capabilities of the Flash 3 click by writing into the memory array of the Flash 3 Click Board™ and reading the same data from the memory array.
void application_task ( void )
{
char val_in[ 8 ] = { 0x4D, 0x49, 0x4B, 0x52, 0x4F, 0x45, 0x00 };
char val_out[ 8 ] = { 0 };
log_printf( &logger, "\r\n ____________________ \r\n" );
log_printf( &logger, "Begin demonstration! \r\n\r\n" );
log_printf( &logger, "Writing : %s\r\n", val_in );
flash3_write( &flash3, 0x000000, &val_in[ 0 ], 6 );
Delay_ms( 100 );
log_printf( &logger, "------------------ \r\n" );
log_printf( &logger, "Reading : %s\r\n", val_in );
flash3_normal_read( &flash3, 0x000000, &val_in[ 0 ], 6 );
Delay_ms( 100 );
log_printf( &logger, "------------------ \r\n" );
log_printf( &logger, "Erasing... \r\n" );
flash3_sector_erase( &flash3, 0x000000 );
Delay_ms( 300 );
log_printf( &logger, "Erased!" );
Delay_ms( 100 );
log_printf( &logger, "------------------ \r\n" );
log_printf( &logger, "Reading : %s\r\n", val_out );
flash3_fast_read( &flash3, 0x000000, &val_out[ 0 ], 6 );
Delay_ms( 100 );
log_printf( &logger, "------------------ \r\n" );
log_printf( &logger, "Demonstration over!" );
log_printf( &logger, "\r\n ___________________ \r\n" );
Delay_ms( 5000 );
}
The full application code, and ready to use projects can be installed directly from compilers IDE (recommended) or found on the LibStock page or mikroE GitHub account.
Other mikroE Libraries used in the example:
- MikroSDK.Board
- MikroSDK.Log
- Click.Flash3
Additional Notes and Information
Depending on the development board you are using, you may need a USB UART click, USB UART 2 Click or RS232 Click to connect to your PC, for development systems with no UART to USB interface available on the board. The terminal available in all Mikroelektronika compilers, or any other terminal application of your choice, can be used to read the message.
Frequently Asked Questions
Have a Question?
Be the first to ask a question about this.