


Mikroelektronika d.o.o.
1-Wire I2C Click Board
1-Wire I2C Click Board
Couldn't load pickup availability
Key Features
- 1-Wire® Protocol: Requires only a single data lead and a ground return.
- Unique 64-bit ROM Registration Number: Guarantees a unique node address in the 1-Wire network.
- Standard or Fast Data Transfer: Interfaces directly to I2C slaves at standard (100kHz max) or fast (400kHz max).
- Compact Size: The click board size is S (28.6 x 25.4 mm), making it highly portable and convenient.
Welcome to the world of seamless communication with the revolutionary 1-Wire I2C Click Board! Designed with convenience and efficiency in mind, this Click Board opens up a whole new realm of possibilities for your projects.
Key Features and Benefits:
- Effortlessly extend the length of your I2C lines with the DS28E17 1-Wire-to-I2C Master Bridge.
- Seamlessly communicate with microcontrollers over the 1-Wire® protocol using AN, PWM, RST lines on the mikroBUS™ interface.
Say goodbye to the limitations of traditional I2C setups and embrace the flexibility and reliability that the 1-Wire I2C Click Board brings to the table. Whether you are a seasoned developer or just starting out, this Click Board is a game-changer in simplifying your connectivity needs.
With a user-friendly design and robust construction, this Click Board is built to last and endure the demands of your projects. Its compact form factor ensures easy integration into your existing setup without adding unnecessary bulk.
Experience enhanced data transfer speeds and improved signal integrity, thanks to the advanced technology packed into this small but mighty device. No more worrying about signal loss or interference disrupting your communication lines.
Take your projects to the next level with the 1-Wire I2C Click Board – the perfect companion for simplifying and optimizing your I2C communication. Upgrade your setup today and see the difference for yourself!
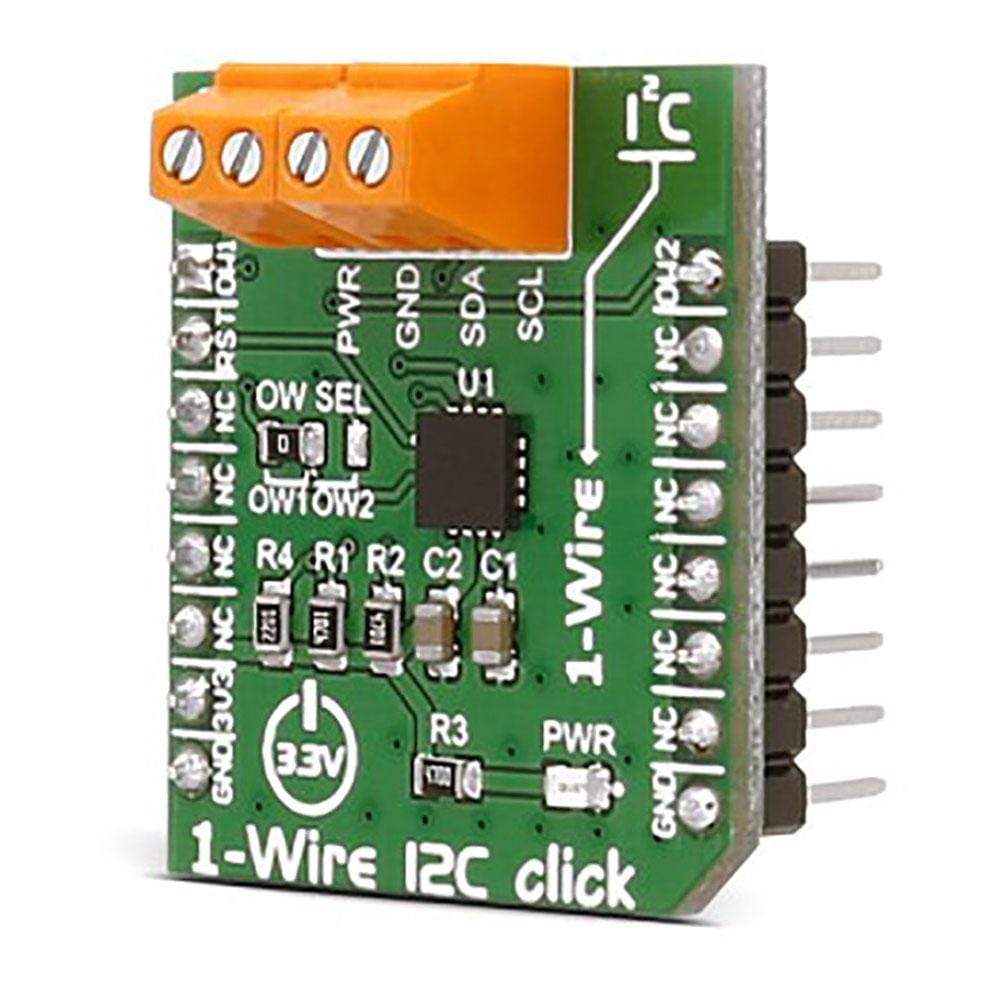

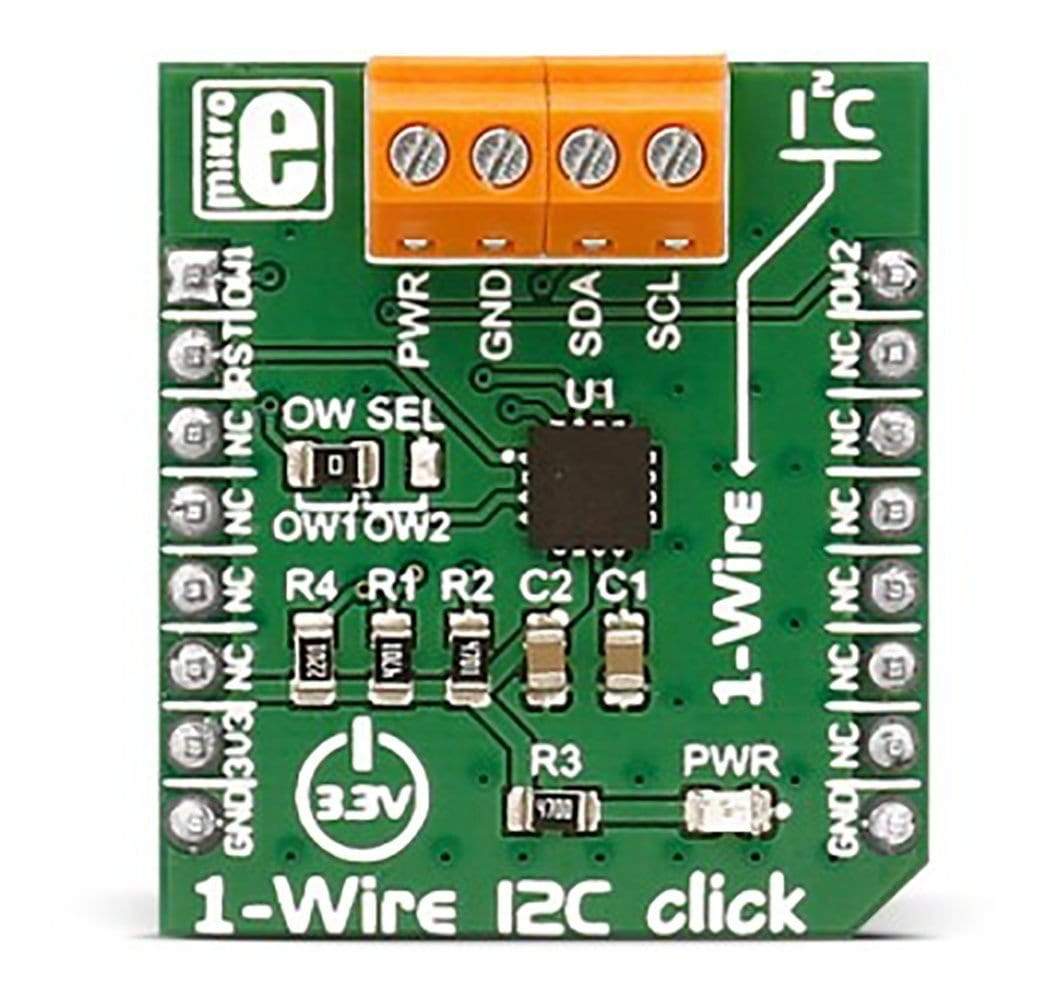
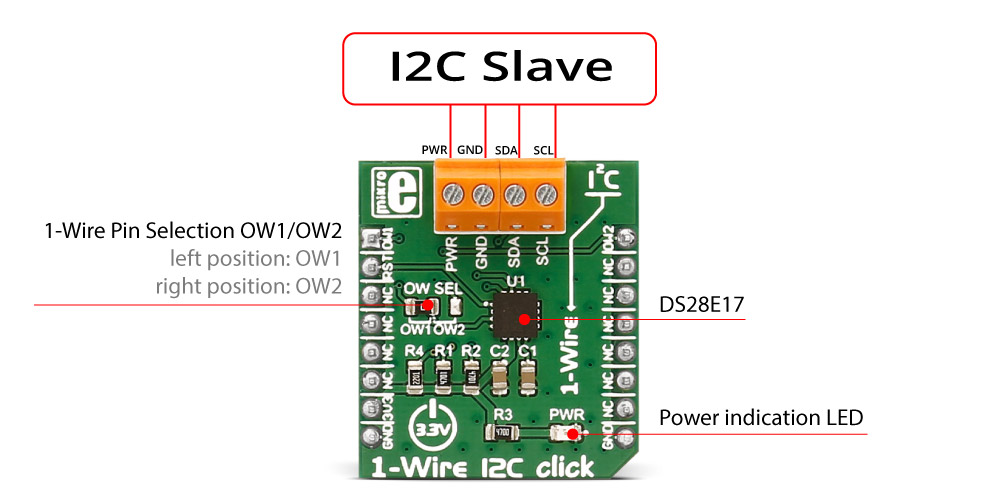
The 1-Wire I2C Click Board™ carries the DS28E17 1-Wire-to-I2C master bridge from Maxim Integrated. The click runs on a 3.3V power supply.
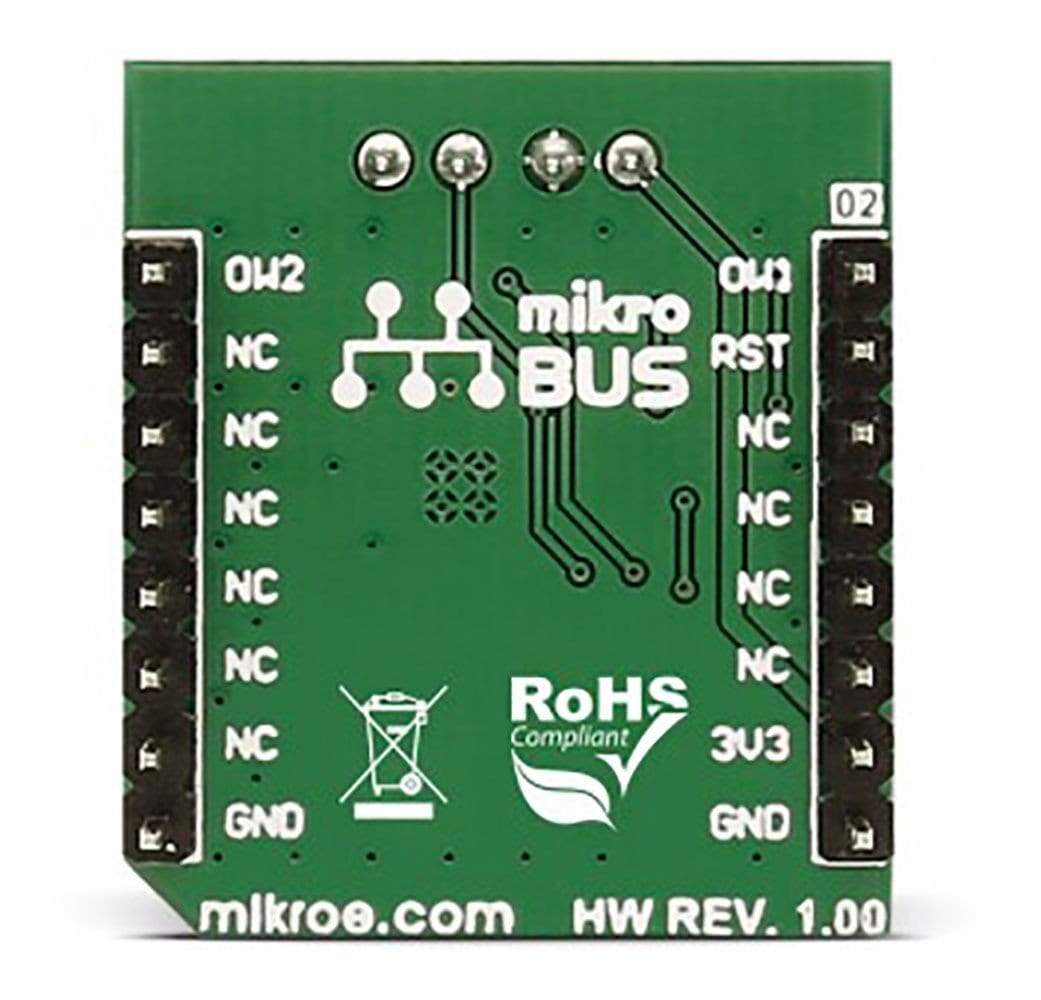
It communicates with the target microcontroller over 1-Wire® protocol, using the following pins on the mikroBUS™ line: AN, PWM, RST.
How Does The 1-Wire I2C Click Board™ Work?
There are two on-board screw terminals used for connecting SCL, SDA, Vcc and GND of the I2C slave. After that, you are able to communicate with that slave through the onboard DS28E17 MCU.
DS28E17 FEATURES
The DS28E17 is a 1-Wire slave to I2C master bridge device that interfaces directly to I2C slaves at standard (100kHz max) or fast (400kHz max). Data transfers serially through the 1-Wire® protocol, which requires only a single data lead and a ground return. Every DS28E17 is guaranteed to have a unique 64-bit ROM registration number that serves as a node address in the 1-Wire network.
SPECIFICATIONS
| Type | 1-Wire |
| Applications | 1-Wire I2C click can be used to extend the length of I2C lines by converting I2C to 1-wire |
| On-board modules | DS28E17 1-Wire-to-I2C master bridge from Maxim Integrated |
| Key Features | 1-Wire® protocol, which requires only a single data lead and a ground return, unique 64-bit ROM registration number |
| Interface | 1-Wire,GPIO |
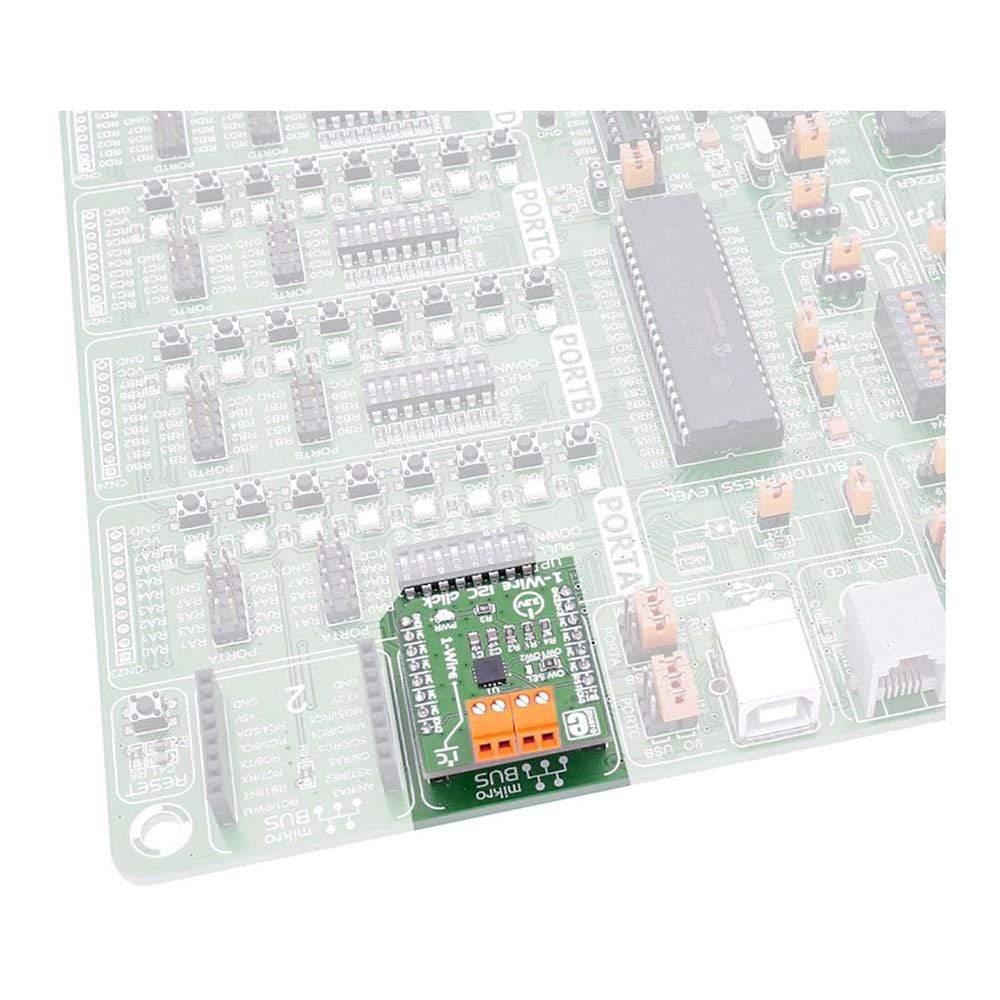
| Compatibility | mikroBUS |
| Click board size | S (28.6 x 25.4 mm) |
| Input Voltage | 3.3V |
PINOUT DIAGRAM
This table shows how the pinout on 1-Wire I2C click corresponds to the pinout on the mikroBUS™ socket (the latter shown in the two middle columns).
| Notes | Pin | Pin | Notes | ||||
|---|---|---|---|---|---|---|---|
| 1-Wire 1st pin | OW1 | 1 | AN | PWM | 16 | OW2 | 1-Wire 2nd pin |
| Reset pin | RST | 2 | RST | INT | 15 | NC | |
| NC | 3 | CS | TX | 14 | NC | ||
| NC | 4 | SCK | RX | 13 | NC | ||
| NC | 5 | MISO | SCL | 12 | NC | ||
| NC | 6 | MOSI | SDA | 11 | NC | ||
| Power supply | +3.3V | 7 | 3.3V | 5V | 10 | NC | |
| Ground | GND | 8 | GND | GND | 9 | GND | Ground |
Software Support
Code examples for the 1-Wire I2C Click Board™, written for MikroElektronika hardware and compilers are available on Libstock.
CODE SNIPPET
The following code snippet shows 1-Wire I2C click communication with the Thermo 4 click. It uses skipRom, writeI2C, and readI2C commands to read the temperature data from the sensor, and displays it back via UART output.
01 void One_Wire_I2C_Task()
02 {
03 char uartText [20];
04 char IWireData [20];
05
06 IWireData [0] = 0x00; //Thermo 4 temperature register address
07
08 OWI2C_skipRom ();
09 OWI2C_writeI2C ( OWI2C_WRITE_NORMAL_NOSTOP, 0x48, 1, &IWireData); //0x48 is unshifted I2C address of Thermo 4 click
10 OWI2C_skipRom ();
11 OWI2C_readI2C ( 0x48, 2, &IWireData);
12
13 UART_Write (13);
14 UART_Write (10);
15 UART_Write_Text("Current temperature is: ");
16 ByteToStr(IWireData[0], uartText);
17 UART_Write_Text(uartText);
18
19 Delay_ms (2000);
20 }
1-Wire I2C Click Board
Frequently Asked Questions
Have a Question?
Be the first to ask a question about this.