


Mikroelektronika d.o.o.
Balancer 3 Click Board™
Balancer 3 Click Board™
SKU: MIKROE-3737
Couldn't load pickup availability


Overview
The Balancer 3 Click Board™ is an overvoltage protection device for 2-series cell lithium-ion battery packs that incorporates a high-accuracy precision overvoltage detection circuit and automatic cell imbalance correction. It can be used for various applications, ranging from smartphones, notebooks/laptops, power tools, portable equipment and instrumentation, to energy storage systems (ESS), while providing the output voltage at the same time.
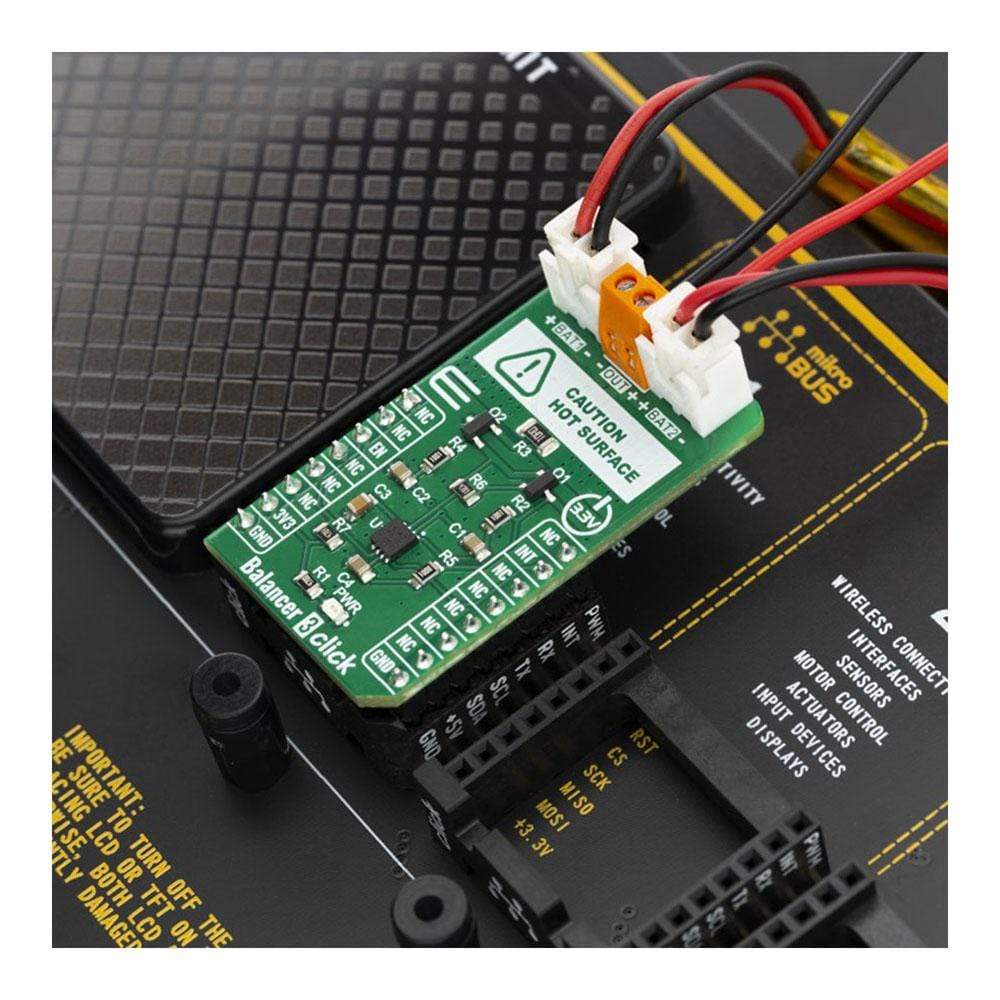
The Balancer 3 Click Board™ is supported by the mikroSDK compliant library, which includes functions that simplify software development. The Click Board™ comes as a fully tested product, ready to be used on a system equipped with mikroBUS™.
Downloads
The Balancer 3 Click Board™ features automatic cell imbalance correction, external capacitor-controlled delay timer, external resistor-controlled cell balance current, and low power consumption This makers the Click Board™ suitable as a two battery balancer, used to provide the same voltage on two in-series cells of Li-Ion Batteries. The Balancer 3 Click Board™ when combined with a LiPo/Li-Ion battery charger can be used in a wide range of applications that can benefit from reliable and efficient battery charging circuit, like the mobile phones, multimedia players, digital cameras, portable medical equipment, and many more.
How Does The Balancer 3 Click Board™ Work?
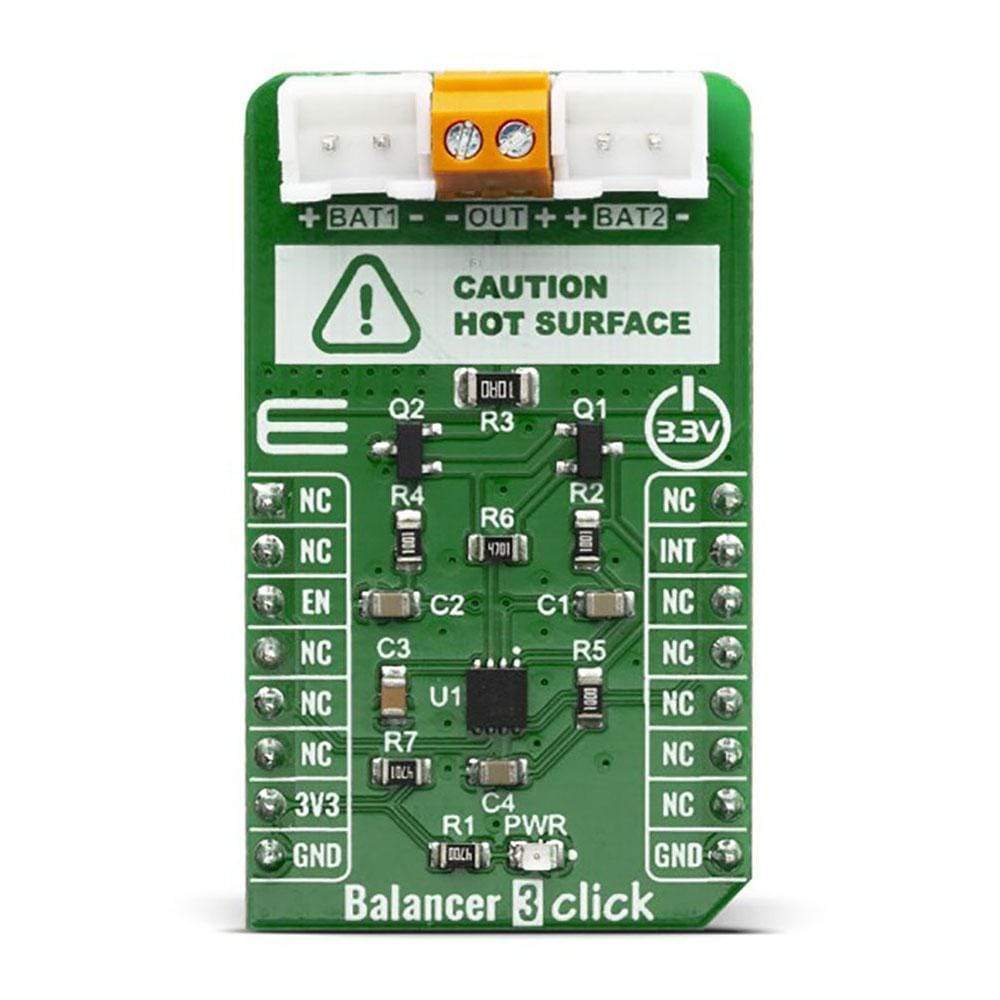
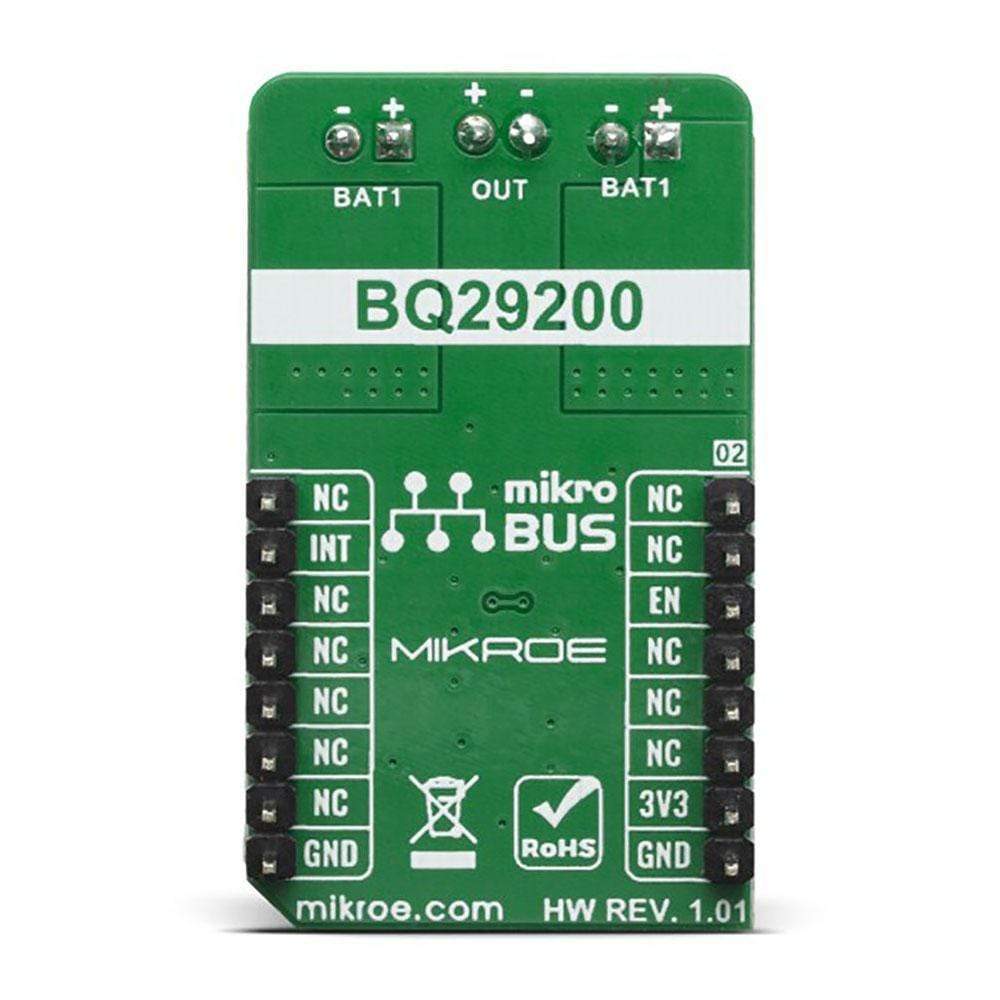
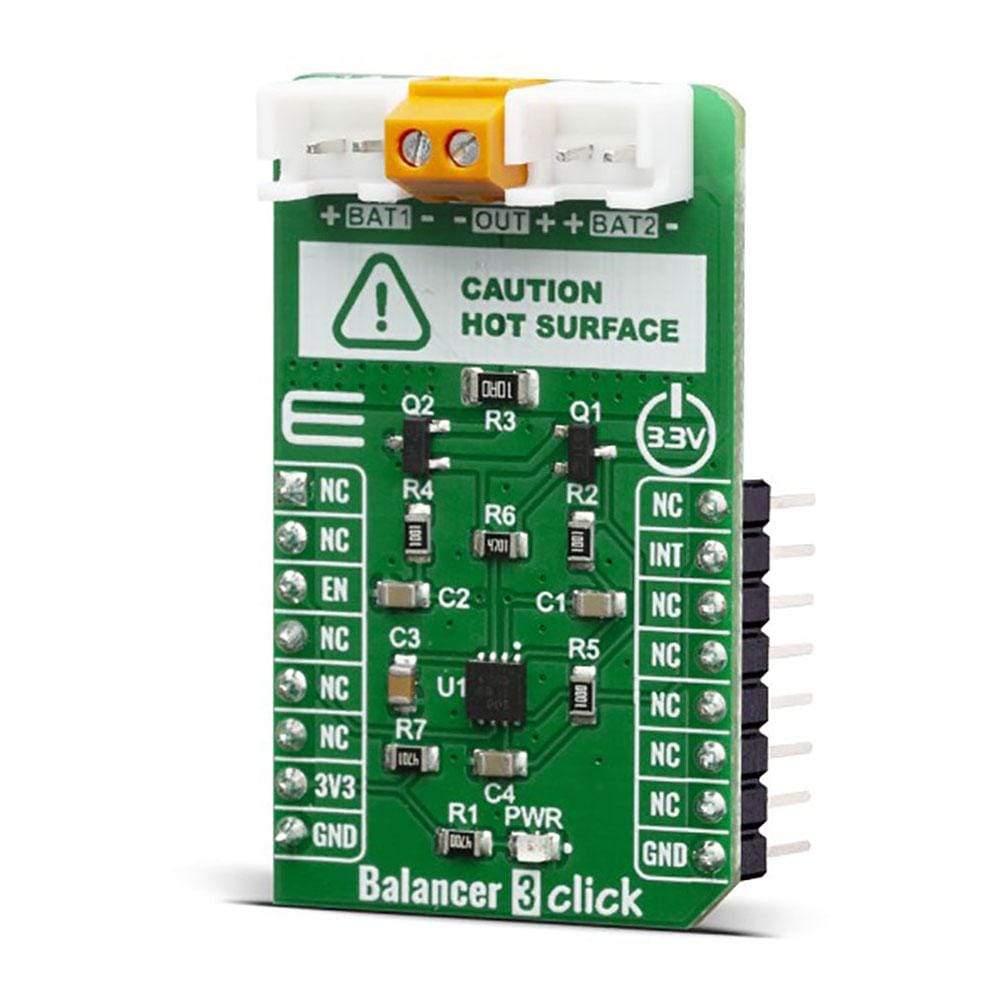
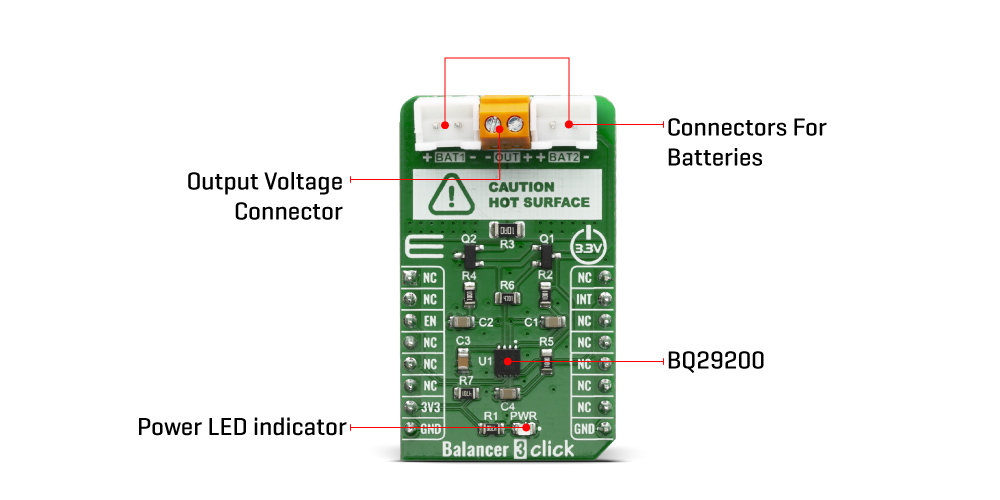
The core component of Balancer 3 Click Board™ is the BQ29200, Voltage Protection with Automatic Cell Balance for 2-Series Cell Li-Ion Batteries from Texas Instruments. It includes all necessary components for the BQ29200 to ensure the proper functionality of the Click board™ and maintain the monitoring precision. Therefore, Balancer 3 click has two separate onboard battery connectors, as well as output voltage screw terminal, to ensure the straight forward connecting of peripheries, and therefore the ease of use.
The BQ29200 can operate in two different modes: internal cell balancing mode and external cell balancing mode. When internal cell balancing mode is used, the BQ29200 is capable of handling up to 15 mA of balancing current. Although it is enough for many use-cases, this Click board™ is operating in external cell balancing mode, in which the external MOSFETs are used to regulate the balancing current. More precisely, one N-type MOSFET is wired between the positive and middle point of the batteries, and one P-type MOSFETs is wired between the middle point of the batteries and the ground. Resistor R3 is connected is series between the batteries and the middle point of the MOSFETS, and therefore limits the maximum balancing current, which is by default about 350mA.
The voltage of each cell in a 2-series cell battery pack is compared to an internal reference voltage. If either cell reaches an overvoltage condition, the BQ29200 device starts a timer that provides a delay proportional to the capacitance on the CD pin. Upon expiration of the internal timer, the OUT pin changes from low to high state. Therefore, the OUT pin from the bq29200 is connected to the INT pin of the mikroBUS™ socket, enabling the user to write the desired interrupt routine in case of battery overvoltage, as well as disable the device, using the CS pin of the mikroBUS™.
The Balancer 3 Click Board™ is designed to work with 3.3V only. When using it with MCUs that use 5V levels for their communication, a proper level translation circuit should be used.
SPECIFICATIONS
| Type | Battery charger |
| Applications | The Balancer 3 Click Board™ can be used for smartphones, notebook / laptops, power tools, portable equipment and instrumentation, to energy storage systems (ESS) |
| On-board modules | BQ29200, Voltage Protection with Automatic Cell Balance for 2-Series Cell Li-Ion Batteries from Texas Instruments |
| Key Features | Balancer click features automatic cell imbalance correction, external capacitor-controlled delay timer, external resistor-controlled cell balance current, and low power consumption |
| Interface | GPIO |
| Compatibility | mikroBUS |
| Click board size | M (42.9 x 25.4 mm) |
| Input Voltage | 3.3V |
PINOUT DIAGRAM
This table shows how the pinout of the Balancer 3 Click Board™ corresponds to the pinout on the mikroBUS™ socket (the latter shown in the two middle columns).
| Notes | Pin | Pin | Notes | ||||
|---|---|---|---|---|---|---|---|
| NC | 1 | AN | PWM | 16 | NC | ||
| NC | 2 | RST | INT | 15 | INT | Interrupt Out | |
| Enable | EN | 3 | CS | RX | 14 | NC | |
| NC | 4 | SCK | TX | 13 | NC | ||
| NC | 5 | MISO | SCL | 12 | NC | ||
| NC | 6 | MOSI | SDA | 11 | NC | ||
| Power Supply | 3.3V | 7 | 3.3V | 5V | 10 | NC | |
| Ground | GND | 8 | GND | GND | 9 | GND | Ground |
ONBOARD SETTINGS AND INDICATORS
| Label | Name | Default | Description |
|---|---|---|---|
| LD1 | PWR | - | Power LED Indicator |
| BAT1 | BAT1 | - | Battery connector |
| BAT2 | BAT2 | - | Battery connector |
| TB1 | OUT | - | Output voltage terminal block |
BALANCER 3 CLICK ELECTRICAL SPECIFICATIONS
| Description | Min | Typ | Max | Unit |
|---|---|---|---|---|
| Operating current consumption | - | - | 3 | µA |
| Battery balancing current | 300 | - | 450 | mA |
| Overvoltage Protection accuracy | - | 25 | - | mV |
| General Information | |
|---|---|
Part Number (SKU) |
MIKROE-3737
|
Manufacturer |
|
| Physical and Mechanical | |
Weight |
0.019 kg
|
| Other | |
EAN |
8606018716845
|
Frequently Asked Questions
Have a Question?
Be the first to ask a question about this.