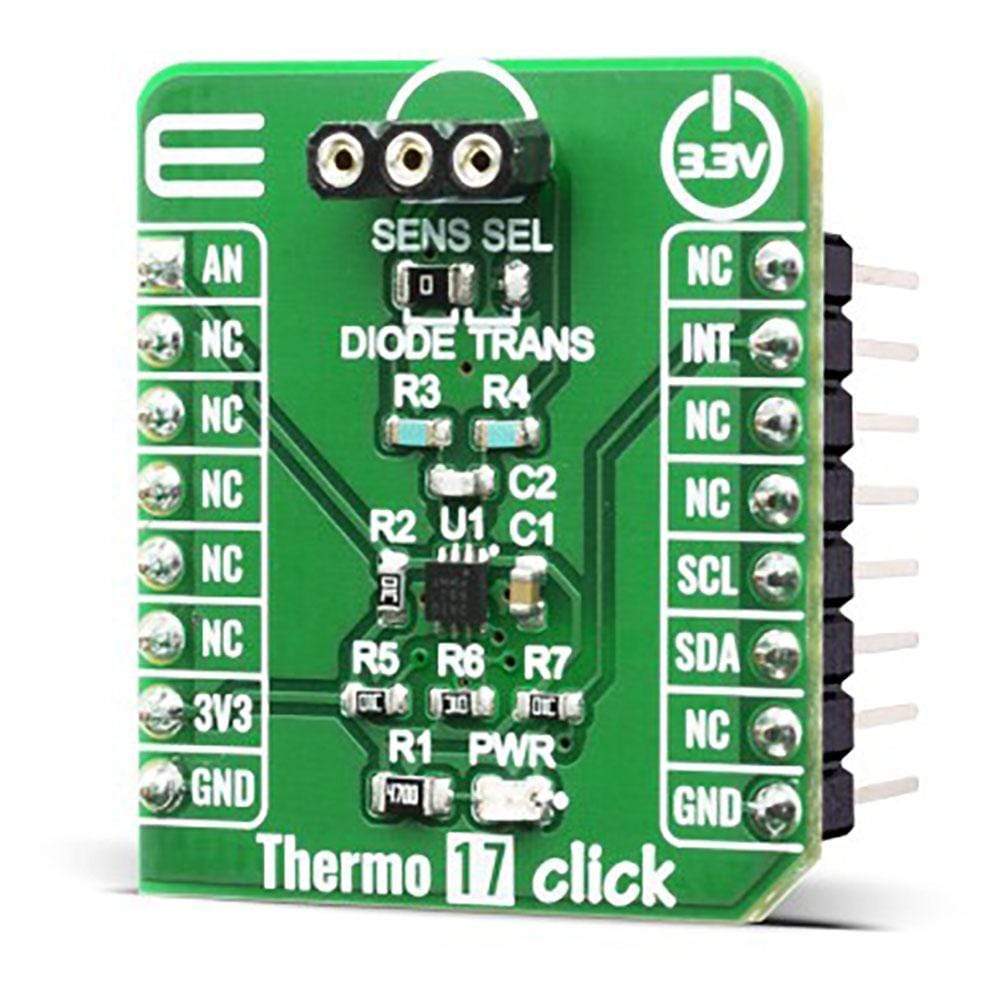
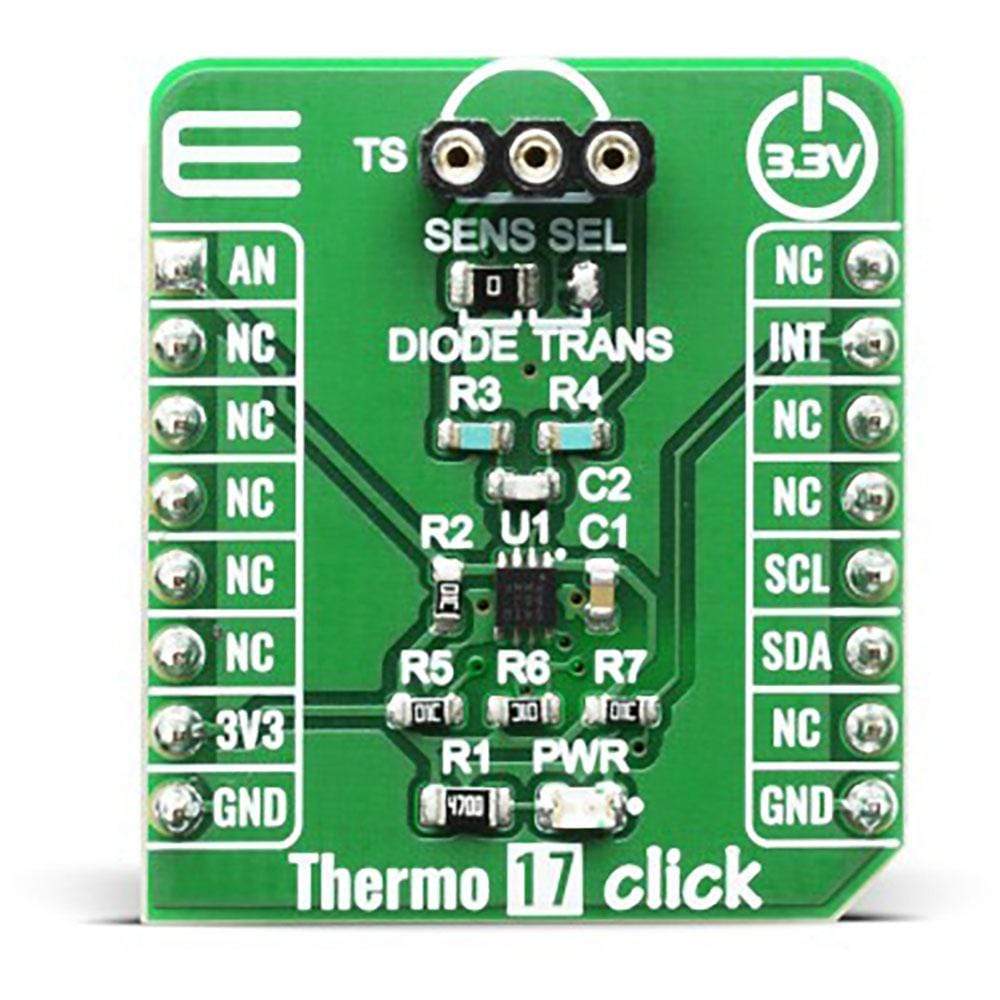
Thermo 17 Click Board
Das Thermo 17 Click Board™ basiert auf dem TMP451-Q1, einem hochpräzisen, stromsparenden Remote-Temperatursensormonitor mit integriertem lokalen Temperatursensor von Texas Instruments. Aufgrund seiner Hauptfunktionen ist dieses Click Board™ perfekt für Kfz-Infotainmentsysteme, ECU-Prozessortemperaturüberwachung, TCM-Prozessortemperaturüberwachung, BCM-Prozessortemperaturüberwachung und thermische Steuerung von LED-Scheinwerfern geeignet.
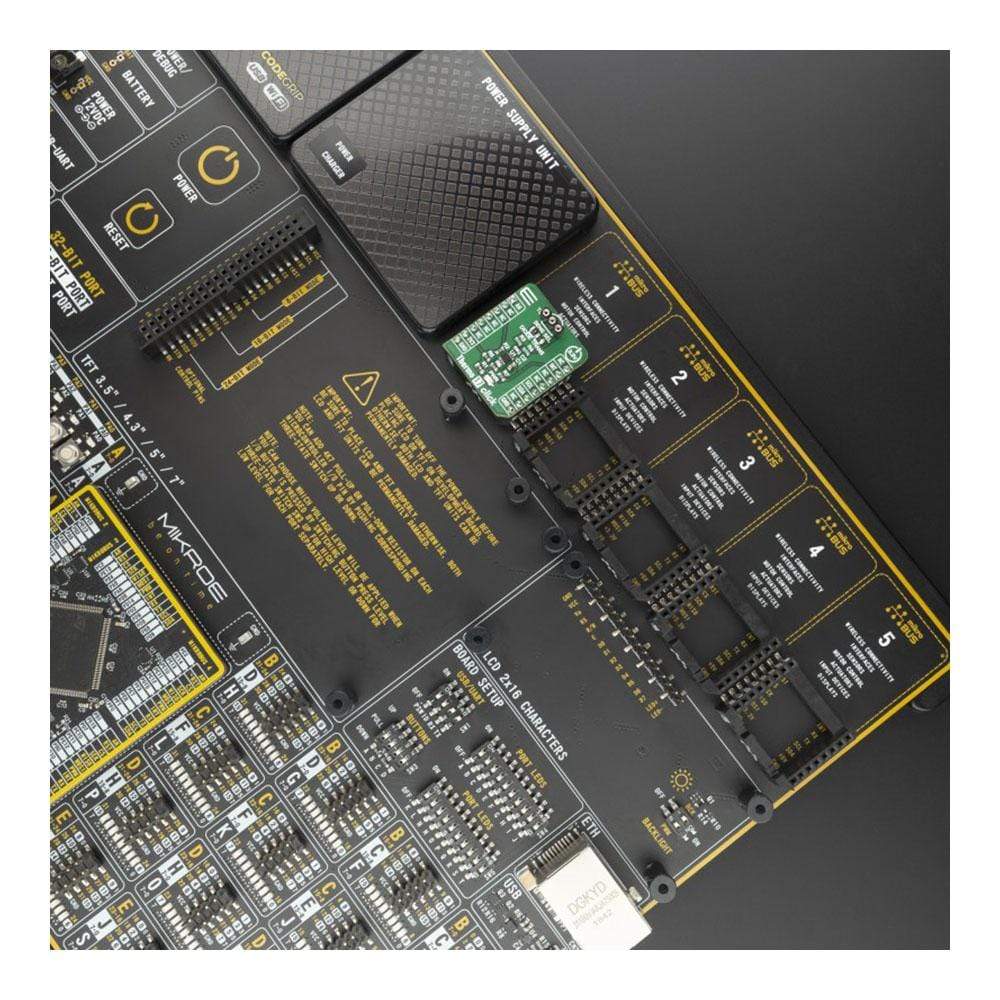
Das Thermo 17 Click Board™ wird von einer mikroSDK-kompatiblen Bibliothek unterstützt, die Funktionen enthält, die die Softwareentwicklung vereinfachen. Dieses Click Board™ wird als vollständig getestetes Produkt geliefert und ist bereit für den Einsatz auf einem System, das mit der mikroBUS™-Buchse ausgestattet ist.
How Does The Thermo 17 Click Board™ Work?
The Thermo 17 Click Board™ is equipped with the TMP451-Q1 sensor IC, which can measure temperature measurements between -40°C and +125°C so that the temperature measurement data can be processed by the host MCU. The remote temperature sensors are typically low-cost discrete NPN or PNP transistors, or substrate thermal transistors or diodes that are integral parts of microprocessors, microcontrollers, or FPGAs.
The temperature is represented as a 12-bit digital code for both the local and the remote sensors, giving a resolution of 0.0625°C. The temperature accuracy is ±1°C (maximum) in the typical operating range for the local and the remote temperature sensors. The two-wire serial interface accepts the SMBus communication protocol. Advanced features such as series resistance cancellation, programmable nonideality factor (ηfactor), programmable offset, programmable temperature limits, and a programmable digital filter are combined to provide a robust thermal monitoring solution with improved accuracy and noise immunity. The TMP451-Q1 device is ideal for multi-location, high-accuracy temperature measurements in a variety of automotive sub-systems. The device is specified for operation over a supply voltage range of 1.7 V to 3.6 V and a temperature range of –40°C to 125°C.
Because of its main features, this Click Board™ is perfect for automotive infotainment systems, ECU processor temperature monitoring, TCM processor temperature monitoring, BCM processor temperature monitoring and LED headlight thermal control.
The TMP451-Q1 device operates only as a slave device on either the two-wire bus or the SMBus. Connections to either bus are made using the open-drain I/O lines, SDA and SCL. The SDA and SCL pins feature integrated spike suppression filters and Schmitt triggers to minimize the effects of input spikes and bus noise.
The Thermo 17 Click Board™ is designed to be operated only with 3.3V logic level. A proper logic voltage level conversion should be performed before the Click Board™ is used with MCUs with logic levels of 5V.
SPECIFICATIONS
Type | Temperature & humidity |
Applications | Automotive infotainment systems, ECU processor temperature monitoring, TCM processor temperature monitoring, BCM processor temperature monitoring and LED headlight thermal control |
On-board modules | TMP451-Q1, a high-accuracy, lowpower remote temperature sensor monitor with a built-in local temperature sensor from Texas Instruments |
Key Features | Qualified for automotive applications, Series resistance cancellation, Programmable digital filter |
Interface | GPIO,I2C |
Compatibility | mikroBUS |
Click Board™ size | S (28.6 x 25.4 mm) |
Input Voltage | 3.3V |
PINOUT DIAGRAM
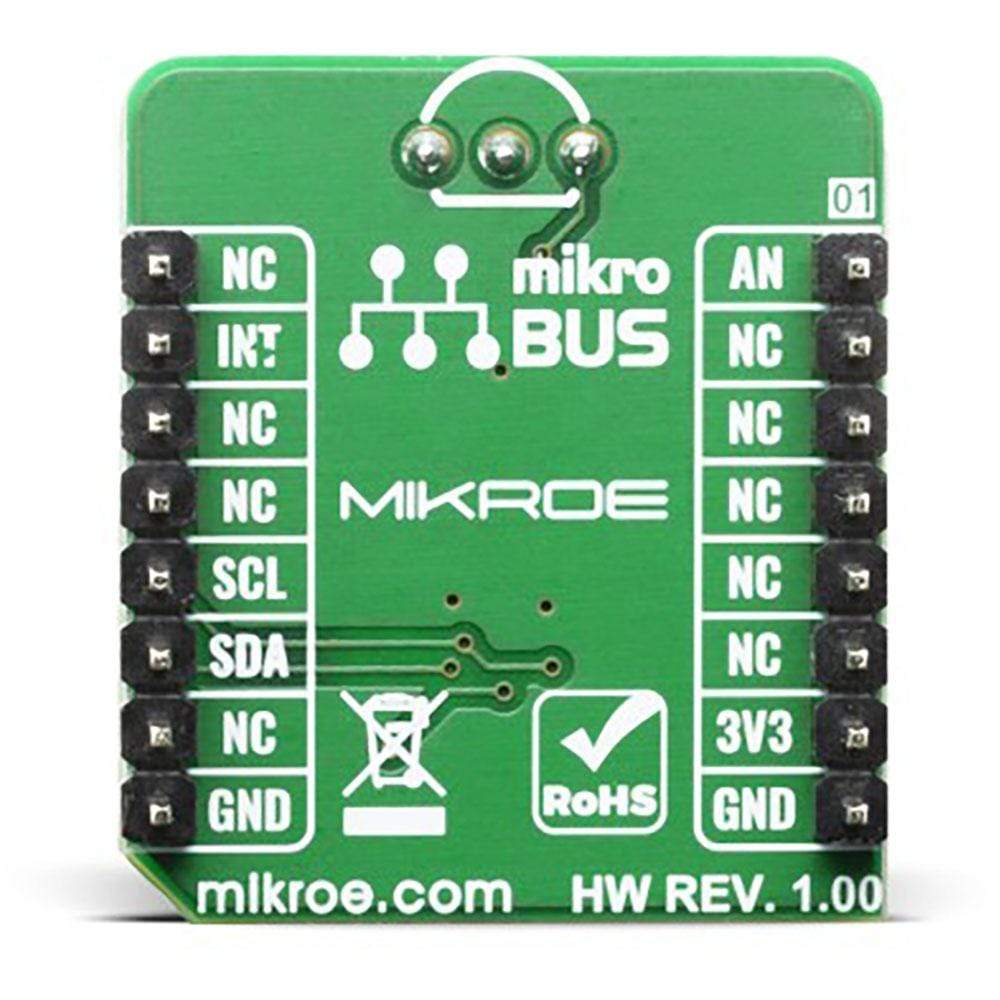
This table shows how the pinout on the Thermo 17 Click Board™ corresponds to the pinout on the mikroBUS socket (the latter shown in the two middle columns).
Notes | Pin | Pin | Notes | ||||
---|---|---|---|---|---|---|---|
Termal shutdown | AN | 1 | AN | PWM | 16 | NC | |
NC | 2 | RST | INT | 15 | INT | Interrupt output | |
NC | 3 | CS | RX | 14 | NC | ||
NC | 4 | SCK | TX | 13 | NC | ||
NC | 5 | MISO | SCL | 12 | SCL | I2C Clock | |
NC | 6 | MOSI | SDA | 11 | SDA | I2C Data | |
Power Supply | 3.3V | 7 | 3.3V | 5V | 10 | NC | |
Ground | GND | 8 | GND | GND | 9 | GND | Ground |
ONBOARD SETTINGS AND INDICATORS
Label | Name | Default | Description |
---|---|---|---|
LD1 | PWR | - | Power LED Indicator |
JP1 | SEN SEL | Left | Sensor selection: Left position DIODE, Right side TRANSISTOR |
Software Support
We provide a library for the Thermo 17 Click Board™ on our LibStock page, as well as a demo application (example), developed using MikroElektronika compilers. The demo can run on all the main MikroElektronika development boards.
Library Description
Library provides functions for reading from and writing to device, and additional function for reading temperature value from sensor.
Key Functions
void thermo17_generic_write ( uint8_t reg_adr, uint8_t write_data )
- Function for writing datauint8_t thermo17_generic_read ( uint8_t reg_adr )
- Function for reading datafloat thermo17_read_temp ( uint8_t temp_macro )
- Function for reading temperature from device
Example Description
The application is composed of three sections :
- System Initialization - Initialization of I2C module and setting int and an pin to input
- Application Initialization - Check id status
- Application Task - Appliction measures temp value every 1000ms and logs it
void application_task ( ) { float read_data; char txt_out[ 30 ]; read_data = thermo17_read_temp( THERMO17_TEMPERATURE_LOCAL ); FloatToStr( read_data, txt_out ); mikrobus_logWrite( " - LOCAL: ", _LOG_TEXT ); mikrobus_logWrite( txt_out, _LOG_LINE ); Delay_ms( 100 ); read_data = thermo17_read_temp( THERMO17_TEMPERATURE_REMOTE ); FloatToStr( read_data, txt_out ); mikrobus_logWrite( " - REMOTE: ", _LOG_TEXT ); mikrobus_logWrite( txt_out, _LOG_LINE ); Delay_ms( 100 ); mikrobus_logWrite( " ******************** ", _LOG_LINE ); Delay_ms( 1000 ); } The full application code, and ready to use projects can be found on our LibStock page.
Other mikroE Libraries used in the example:
- I2C
- UART
- Conversion
Additional Notes and Information
Depending on the development board you are using, you may need USB UART Click Board™, USB UART 2 Click Board™ or RS232 Click Board™ to connect to your PC, for development systems with no UART to USB interface available on the board. The terminal available in all MikroElektronika compilers, or any other terminal application of your choice, can be used to read the message.
MIKROSDK
The Thermo 17 Click Board™ is supported with mikroSDK - MikroElektronika Software Development Kit. To ensure proper operation of mikroSDK compliant Click Board™ demo applications, mikroSDK should be downloaded from the LibStock and installed for the compiler you are using.
The online JS minimizer tool helps you optimize your scripts for a better page loading speed.
Thermo 17 Click Board
Frequently Asked Questions
Have a Question?
Be the first to ask a question about this.