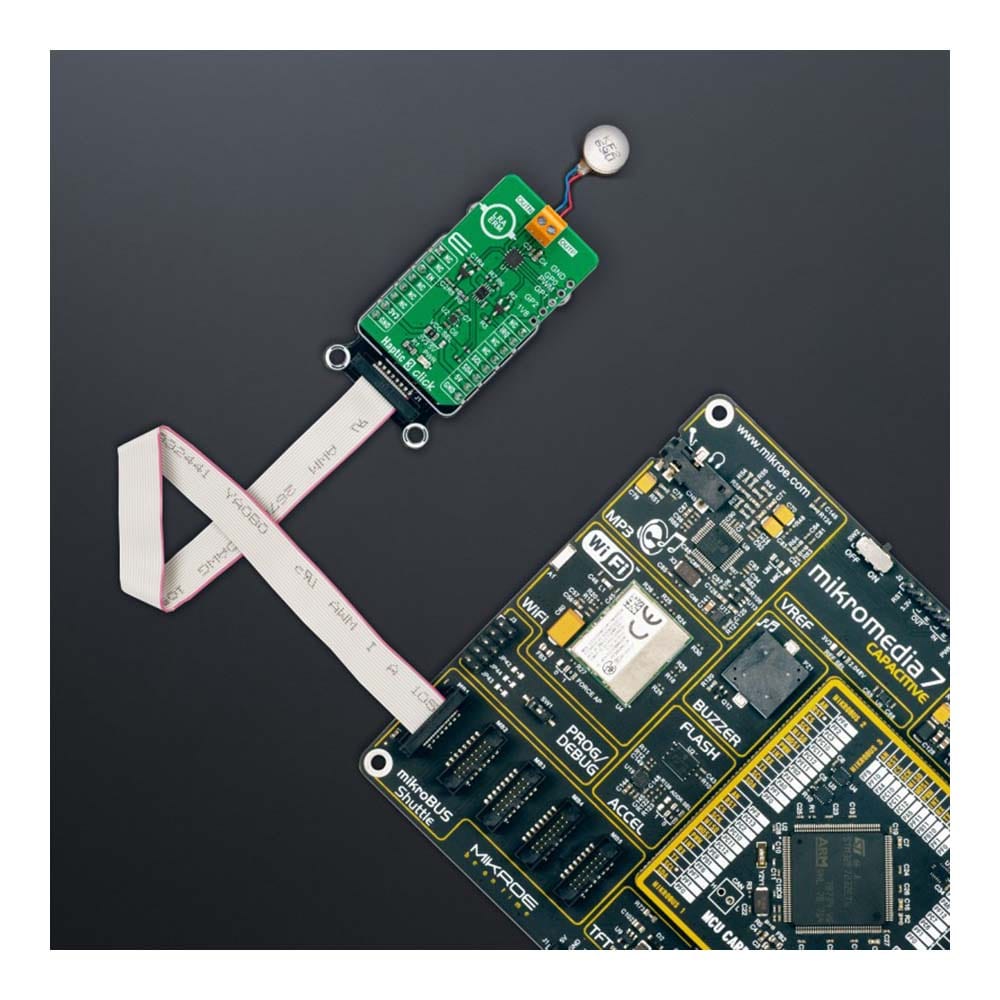
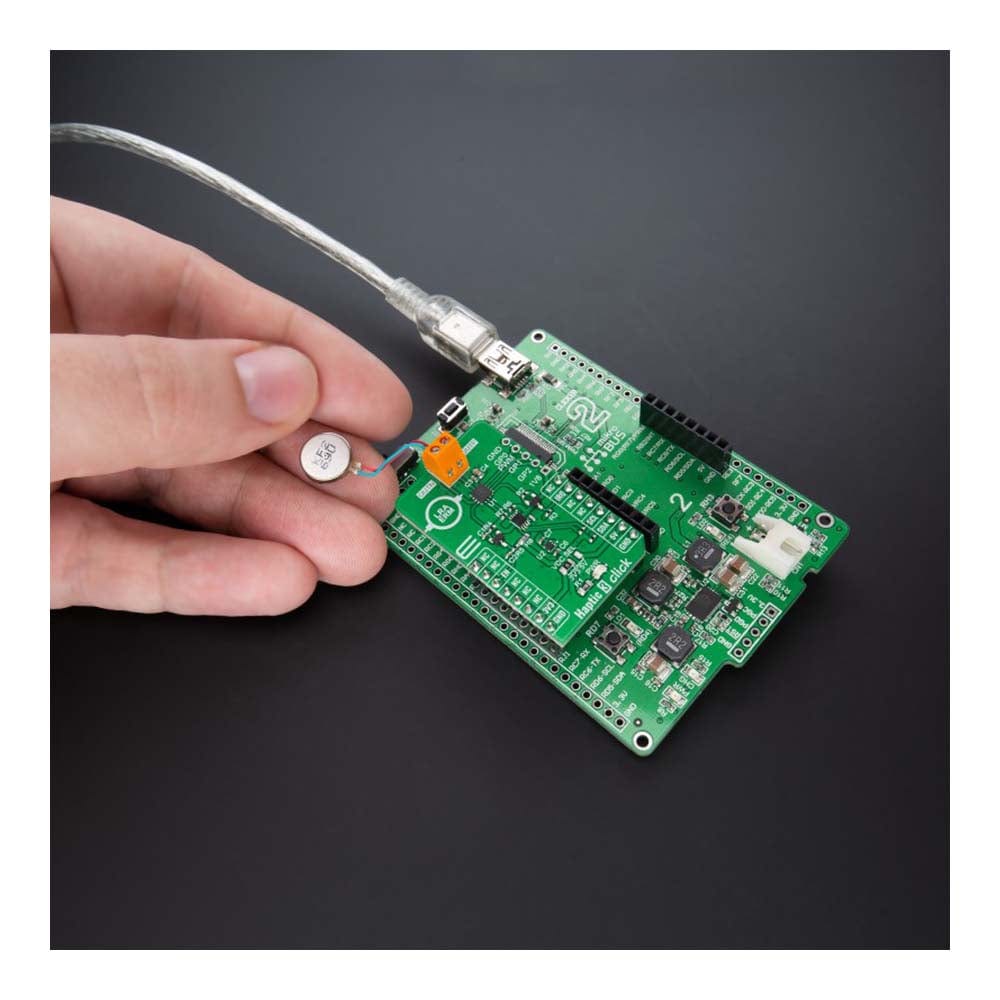
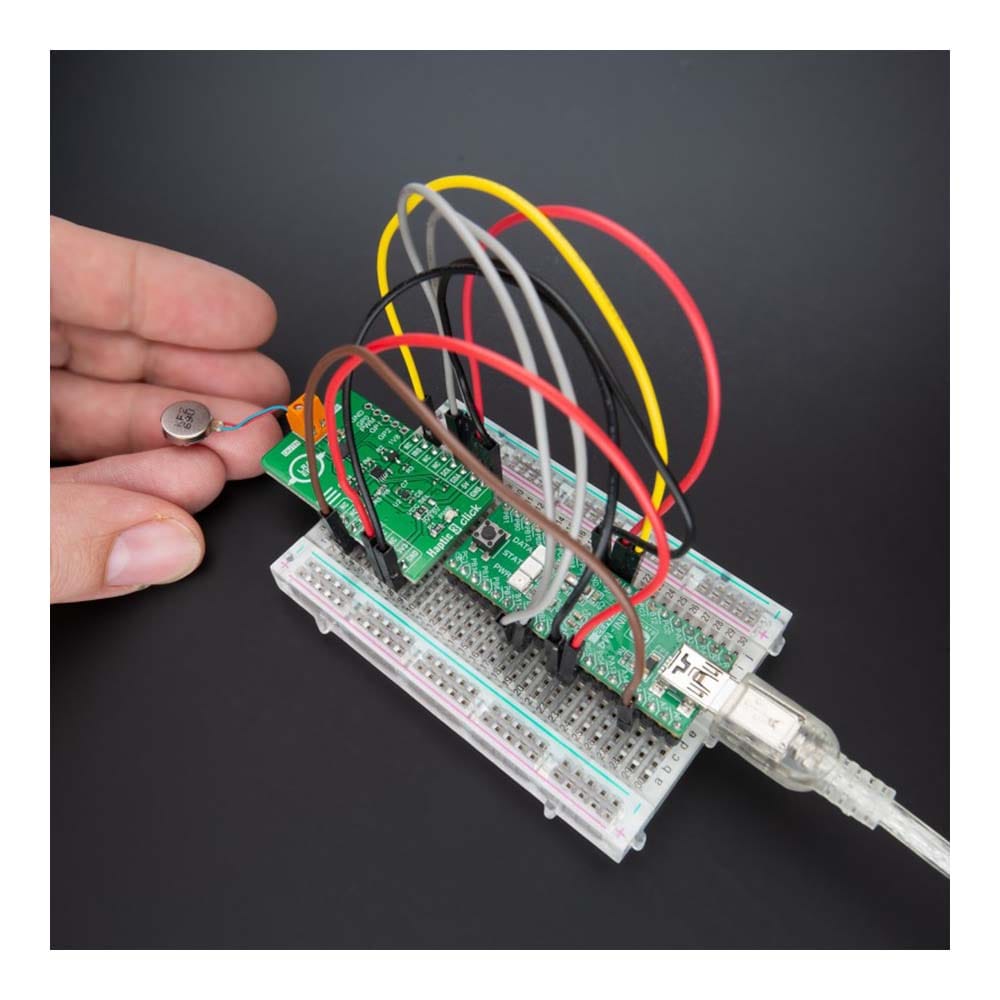
Haptische 3-Klick-Platine
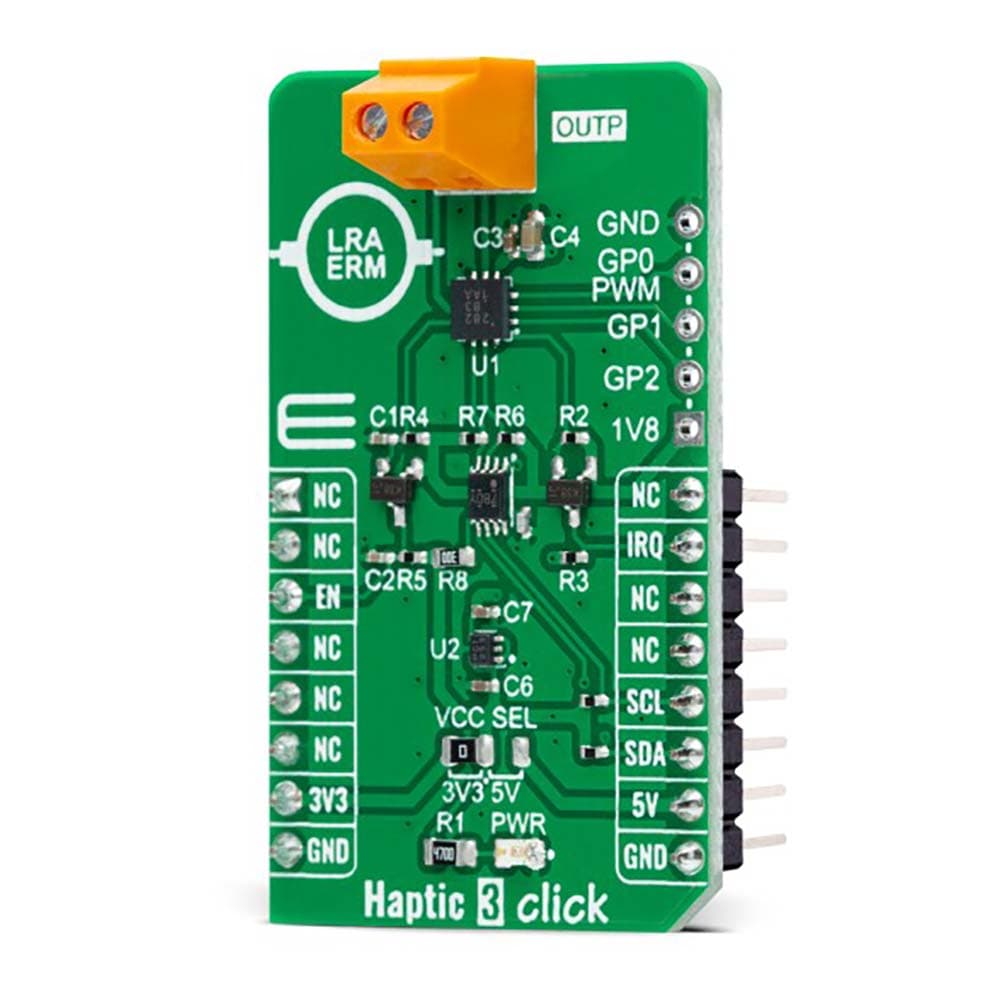
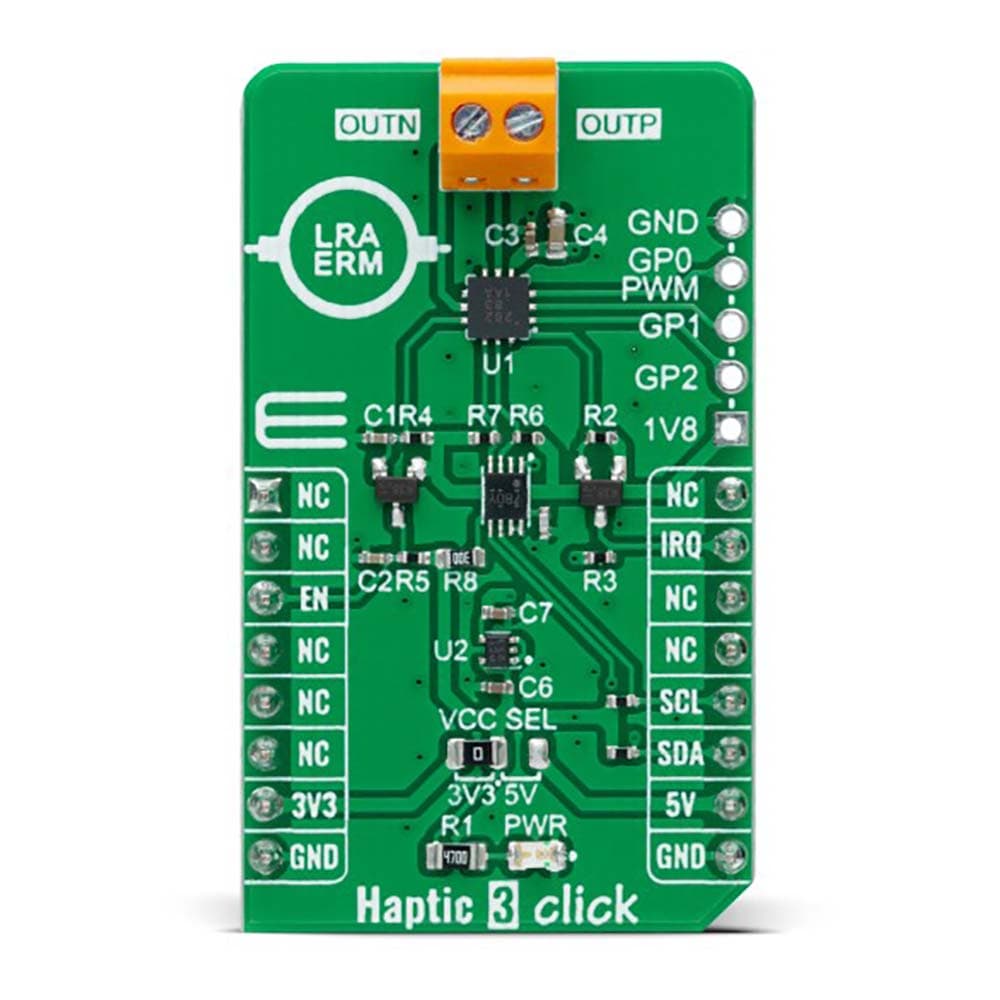
Das Haptic 3 Click Board™ ist eine kompakte Zusatzplatine, die erweiterte Vibrationsmuster und Wellenformen verwendet, um Informationen an einen Benutzer zu übermitteln. Diese Platine verfügt über den DA7282, einen linearen Resonanzaktuator (LRA) und einen haptischen Treiber mit exzentrischer rotierender Masse (ERM) von Dialog Semiconductor. Der DA7282 verfügt über LRA- oder ERM-Antriebsfunktionen mit automatischer geschlossener LRA-Resonanzfrequenzverfolgung, die Konsistenz über alle LRA-Produktionstoleranzen hinweg garantiert. Es bietet außerdem einen Breitbandbetrieb, der die Funktionen neuerer breitbandiger und multidirektionaler LRAs voll ausnutzt, sowie drei externe Allzweckeingänge zum Auslösen von bis zu sechs unabhängigen haptischen Sequenzen. Dieses Click Board™ eignet sich für zahlreiche alltägliche Anwendungen wie Anzeigesysteme, Trainingsgeräte/Simulatoren mit haptischer Funktion, Robotik und Mechatronik und mehr.
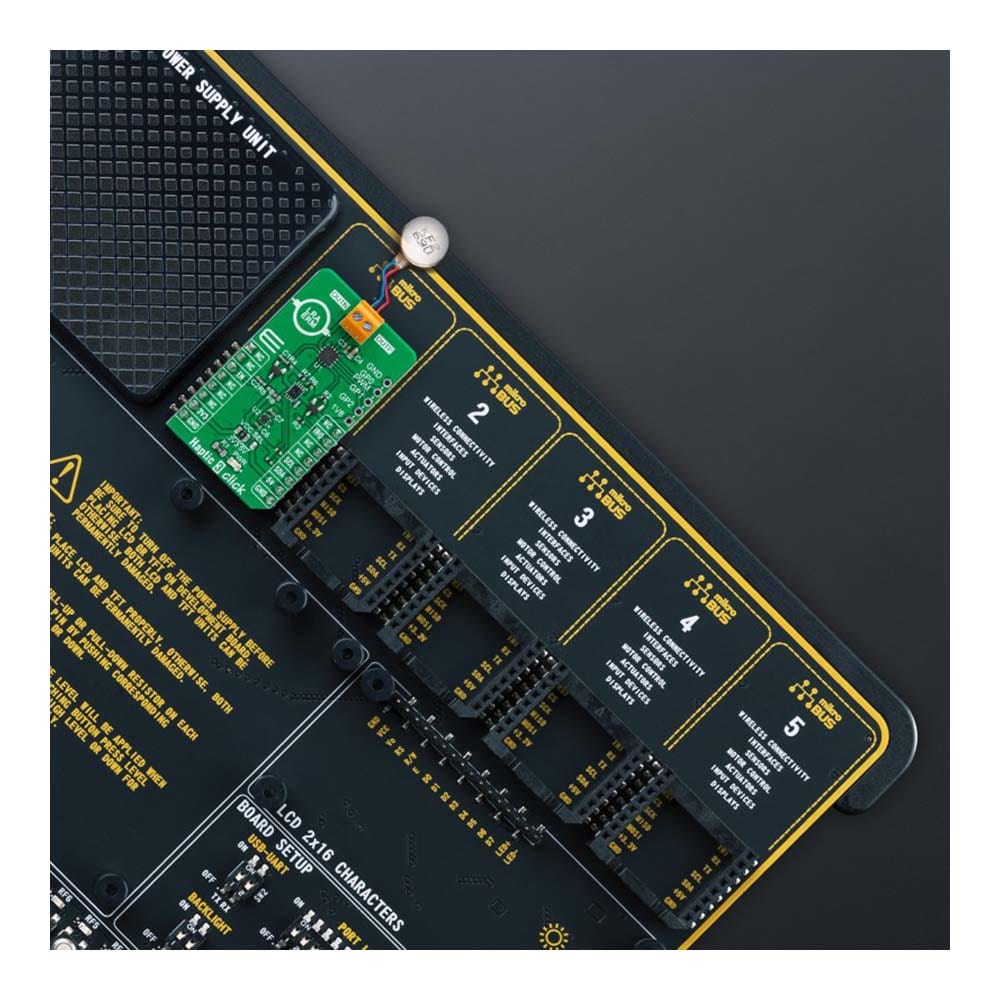
Das Haptic 3 Click Board™ wird von einer mikroSDK-kompatiblen Bibliothek unterstützt, die Funktionen enthält, die die Softwareentwicklung vereinfachen. Dieses Click Board™ wird als vollständig getestetes Produkt geliefert und ist bereit für den Einsatz auf einem System, das mit der mikroBUS™-Buchse ausgestattet ist.
How Does The Haptic 3 Click Board™ Work?
The Haptic 3 Click Board™ as its foundation uses the DA7282, a haptic driver capable of driving both LRA and ERM actuators from Dialog Semiconductor. The power-optimized architecture and advanced closed-loop digital algorithms achieve a high-fidelity haptic drive. The DA7282 features frequency control within an onboard Waveform Memory and three distinct general-purpose inputs for triggering up to six specific sequences, which helps with emulating button pressing in many applications.
The device controls drive levels based on the sequence selected by the I2C interface across the load and senses the movement of the actuator. The driven waveform is generated by a current regulated loop using a high-frequency PWM modulation. The differential output drive features a switching regulator architecture with an H-bridge differential drive across the load at 187.5kHz. The DA7282 is also capable of closed-loop actuator monitoring while driving to enable calibration-free playback, frequency tracking (LRA only), Active Acceleration, Rapid Stop, and actuator diagnostics.
Resonant frequency tracking can be enabled while driving an LRA to track the mechanical resonance of the actuator through closed-loop control or can be disabled to operate DA7282 in open-loop wideband frequency operation while driving LRAs with a broader bandwidth frequency response. Also, Active Acceleration and Rapid Stop features enable automated driving of both ERM and LRA loads (when frequency tracking is enabled), which reduces the time to reach the target acceleration level and the time for the actuator to come to a complete stop.
Although it can use both mikroBUS™ power rails for regular power supply, its digital part requires a voltage level of 1.8V to work correctly. Therefore, a small regulating LDO is used, the BH18PB1WHFV, providing a 1.8V out of both 5V and 3.3V mikroBUS™ power rails, alongside Enable feature through the EN pin routed to the CS pin of the mikroBUS™ socket offering a switch operation to turn ON/OFF power delivery to the connected load.
The Haptic 3 Click Board™ communicates with MCU using the standard I2C 2-Wire interface with a maximum clock frequency of 400kHz. Since the sensor for communication requires a logic level of 1.8V, this Click board™ also features the PCA9306 voltage-level translator. The I2C interface bus lines are routed to the voltage-level translators allowing this Click board™ to work with both 3.3V and 5V MCUs properly. Also, it uses an interrupt pin, marked as IRQ and routed to the INT pin of the mikroBUS™ socket, used for when a different fault condition occurs to alert the MCU.
The Haptic 3 Click Board™ can operate with both 3.3V and 5V logic voltage levels selected via the VCC SEL jumper. This way, it is allowed for both 3.3V and 5V capable MCUs to use the communication lines properly. However, the Click board™ comes equipped with a library that contains easy-to-use functions and an example code that can be used, as a reference, for further development.
SPECIFICATIONS
Type | Haptic |
Applications | The Haptic 3 Click Board™ can be used for indicator systems, training equipment/simulators with haptics function, robotics and mechatronics, and more |
On-board modules | DA7282 - haptic driver capable of driving both LRA and ERM actuators from Dialog Semiconductor |
Key Features | LRA or ERM drive capability, automatic LRA resonant frequency tracking, wideband LRA support, three GPI pins for triggering of up to six independent haptic sequences, Active Acceleration and Rapid Stop technology for high-fidelity haptic feedback, low power consumption, and more |
Interface | I2C |
Compatibility | mikroBUS |
Click board size | M (42.9 x 25.4 mm) |
Input Voltage | 3.3V or 5V |
PINOUT DIAGRAM
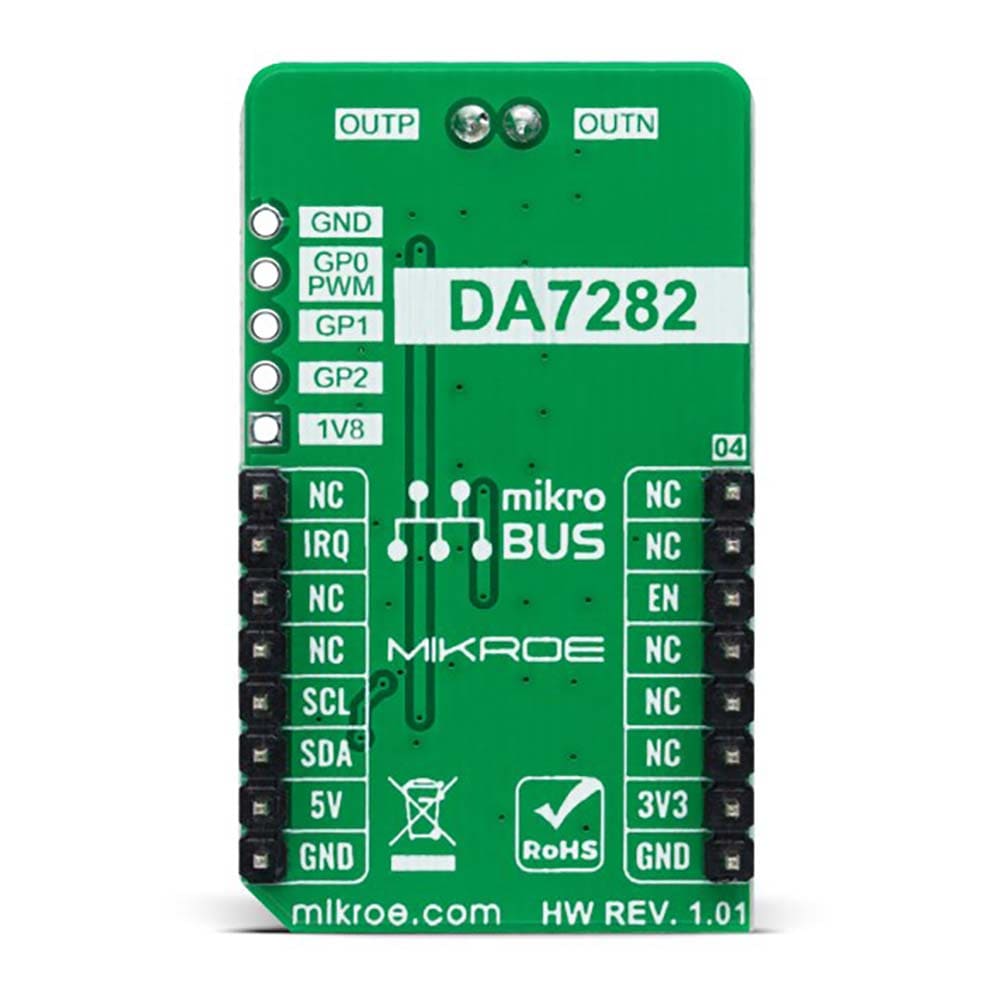
This table shows how the pinout of the Haptic 3 Click Board™ corresponds to the pinout on the mikroBUS™ socket (the latter shown in the two middle columns).
Notes | Pin | Pin | Notes | ||||
---|---|---|---|---|---|---|---|
NC | 1 | AN | PWM | 16 | NC | ||
NC | 2 | RST | INT | 15 | IRQ | Interrupt | |
Enable | EN | 3 | CS | RX | 14 | NC | |
NC | 4 | SCK | TX | 13 | NC | ||
NC | 5 | MISO | SCL | 12 | SCL | I2C Clock | |
NC | 6 | MOSI | SDA | 11 | SDA | I2C Data | |
Power Supply | 3.3V | 7 | 3.3V | 5V | 10 | 5V | Power Supply |
Ground | GND | 8 | GND | GND | 9 | GND | Ground |
ONBOARD SETTINGS AND INDICATORS
Label | Name | Default | Description |
---|---|---|---|
LD1 | PWR | - | Power LED Indicator |
JP1 | VCC SEL | Left | Logic Level Voltage Selection 3V3/5V: Left position 3V3, Right position 5V |
J1 | GPIO | Unpopulated | External General-Purpose Sequence Trigger Signals Header |
HAPTIC 3 CLICK ELECTRICAL SPECIFICATIONS
Description | Min | Typ | Max | Unit |
---|---|---|---|---|
Supply Voltage | 3.3 | - | 5 | V |
Maximum Output Current | - | 250 | 500 | mA |
LRA Wideband Frequency Range | 25 | - | 1000 | Hz |
LRA Frequency Tracking Range | 50 | - | 300 | Hz |
Operating Temperature Range | -40 | +25 | +85 | °C |
Software Support
We provide a library for the Haptic 3 Click Board™ as well as a demo application (example), developed using MikroElektronika compilers. The demo can run on all the main MikroElektronika development boards.
The package can be downloaded/installed directly from NECTO Studio The package Manager (recommended), downloaded from our LibStock™ or found on MikroE Github account.
Library Description
This library contains API for the Haptic 3 Click Board™ driver.
Key functions
-
haptic3_set_vibration_level
This function sets the motor vibration level. -
haptic3_get_vibration_level
This function reads the motor vibration level. -
haptic3_write_register
This function writes a desired data to the selected register by using I2C serial interface.
Example Description
This example demonstrates the use of the Haptic 3 Click Board™ by controlling the attached motor vibration level.
void application_task ( void )
{
float vibration_level;
if ( HAPTIC3_OK == haptic3_set_vibration_level ( &haptic3, HAPTIC3_VIBRATION_LEVEL_MAX ) )
{
if ( HAPTIC3_OK == haptic3_get_vibration_level ( &haptic3, &vibration_level ) )
{
log_printf( &logger, " Vibration level: %.3f rnn", vibration_level );
}
}
Delay_ms ( 2000 );
if ( HAPTIC3_OK == haptic3_set_vibration_level ( &haptic3, HAPTIC3_VIBRATION_LEVEL_MIN ) )
{
if ( HAPTIC3_OK == haptic3_get_vibration_level ( &haptic3, &vibration_level ) )
{
log_printf( &logger, " Vibration level: %.3f rnn", vibration_level );
}
}
Delay_ms ( 2000 );
}
The full application code, and ready to use projects can be installed directly from NECTO Studio The package Manager (recommended), downloaded from our LibStock™ or found on MikroE Github account.
Other MikroE Libraries used in the example:
- MikroSDK.Board
- MikroSDK.Log
- Click.HAPTIC3
Additional Notes and Information
Depending on the development board you are using, you may need USB UART click, USB UART 2 Click or RS232 Click to connect to your PC, for development systems with no UART to USB interface available on the board. UART terminal is available in all MikroElektronika compilers.
MIKROSDK
The Haptic 3 Click Board™ is supported with mikroSDK - MikroElektronika Software Development Kit. To ensure proper operation of mikroSDK compliant Click board™ demo applications, mikroSDK should be downloaded from the LibStock and installed for the compiler you are using.
Haptische 3-Klick-Platine
Frequently Asked Questions
Have a Question?
Be the first to ask a question about this.