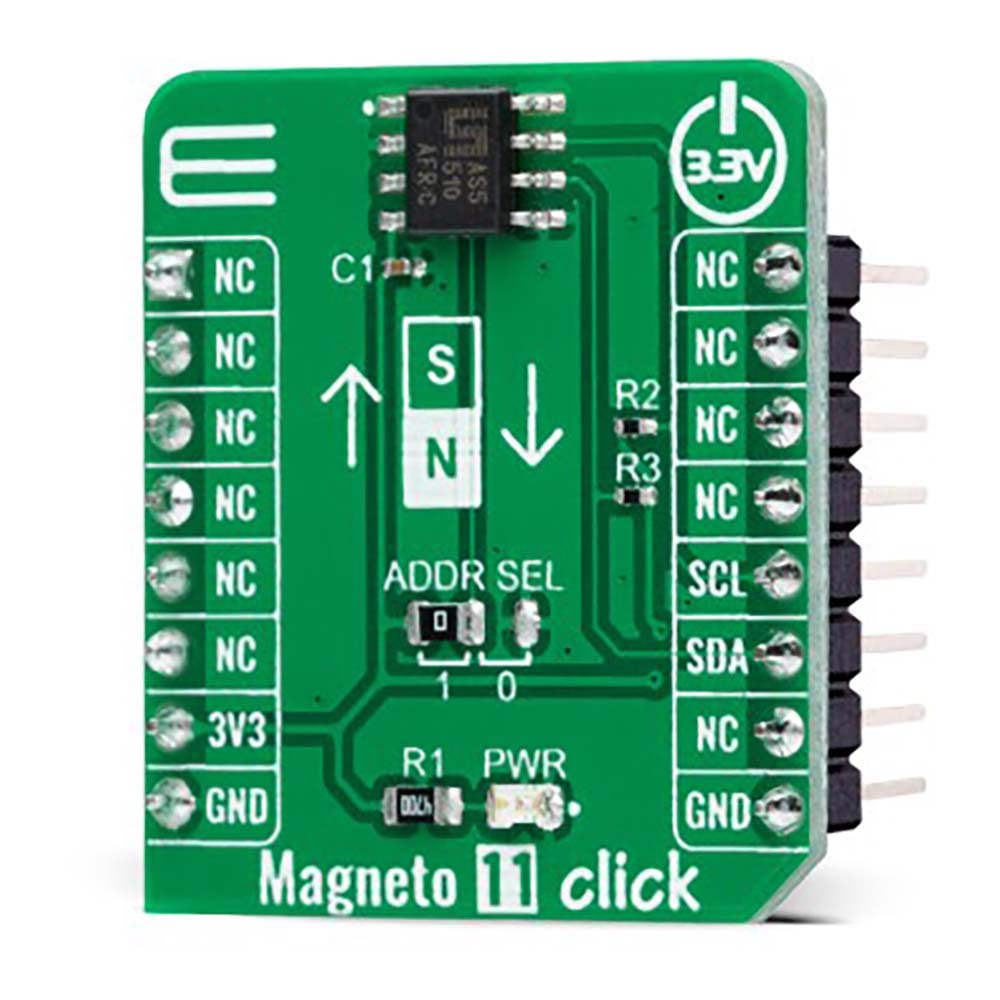
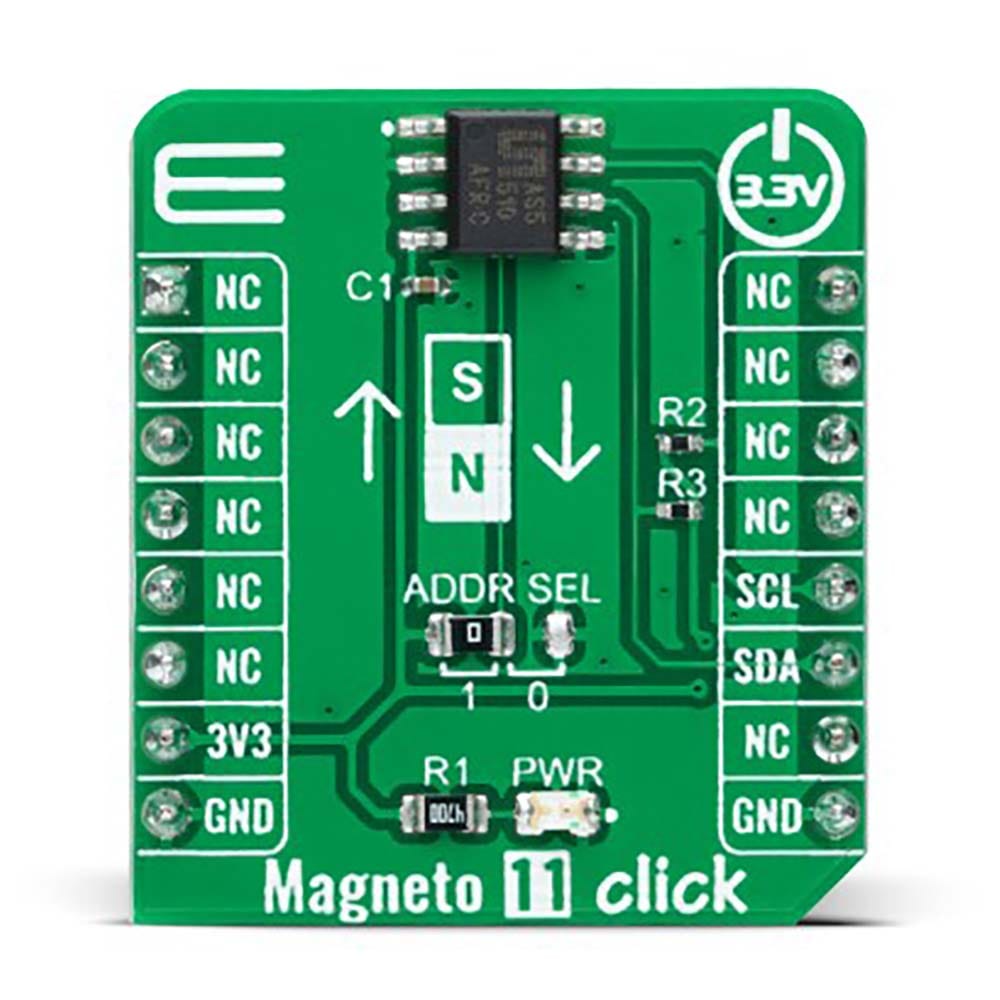
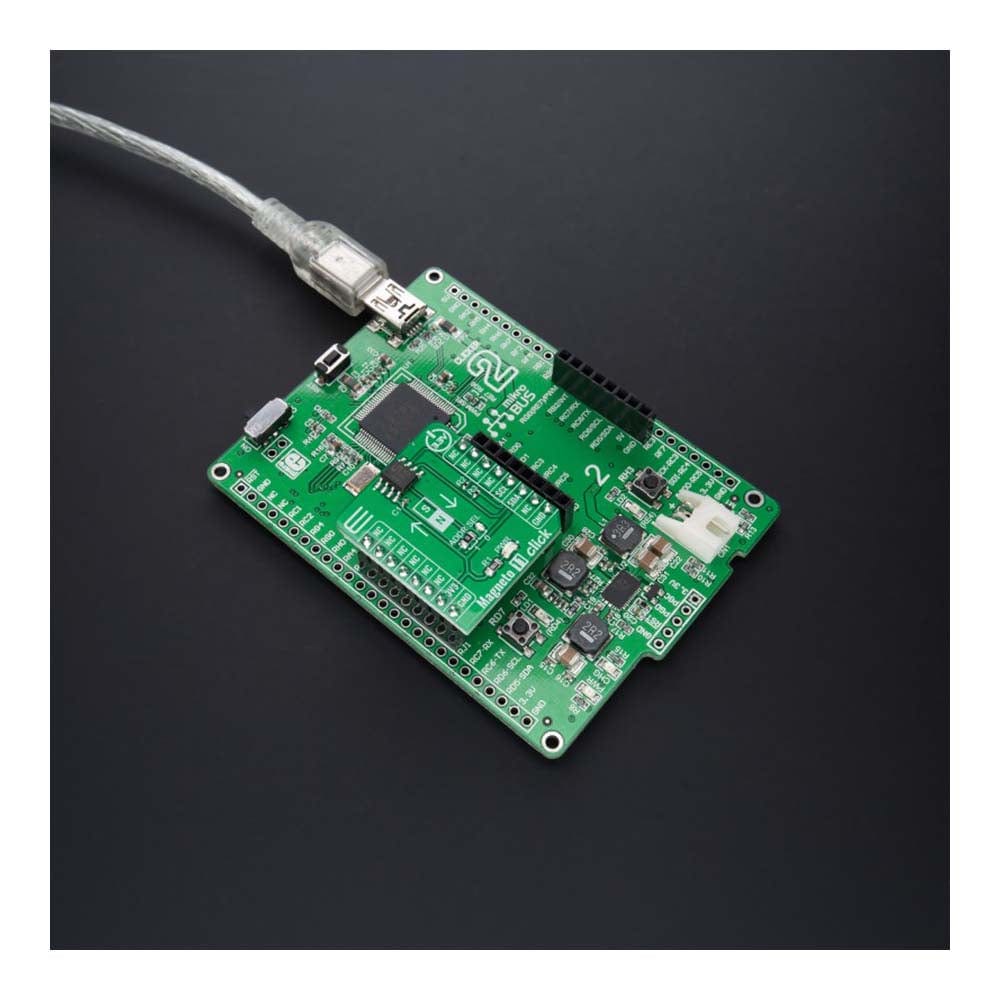
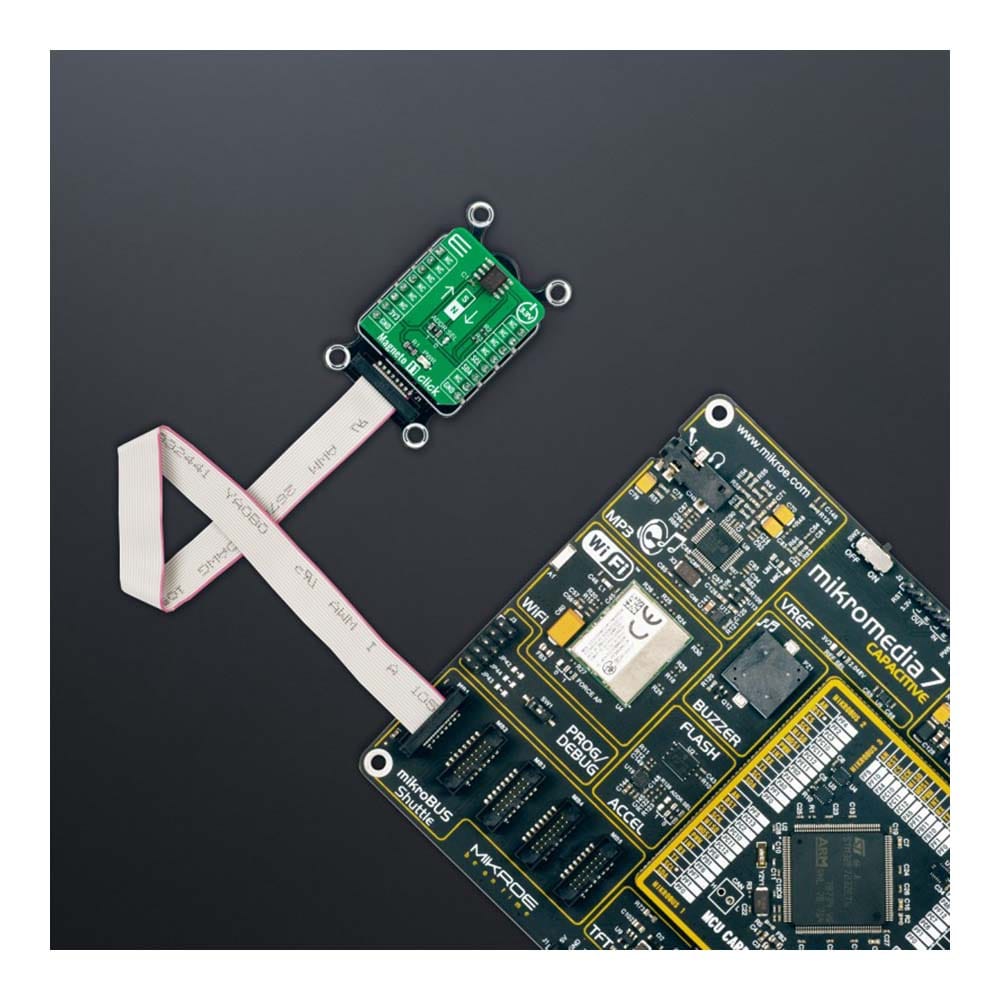
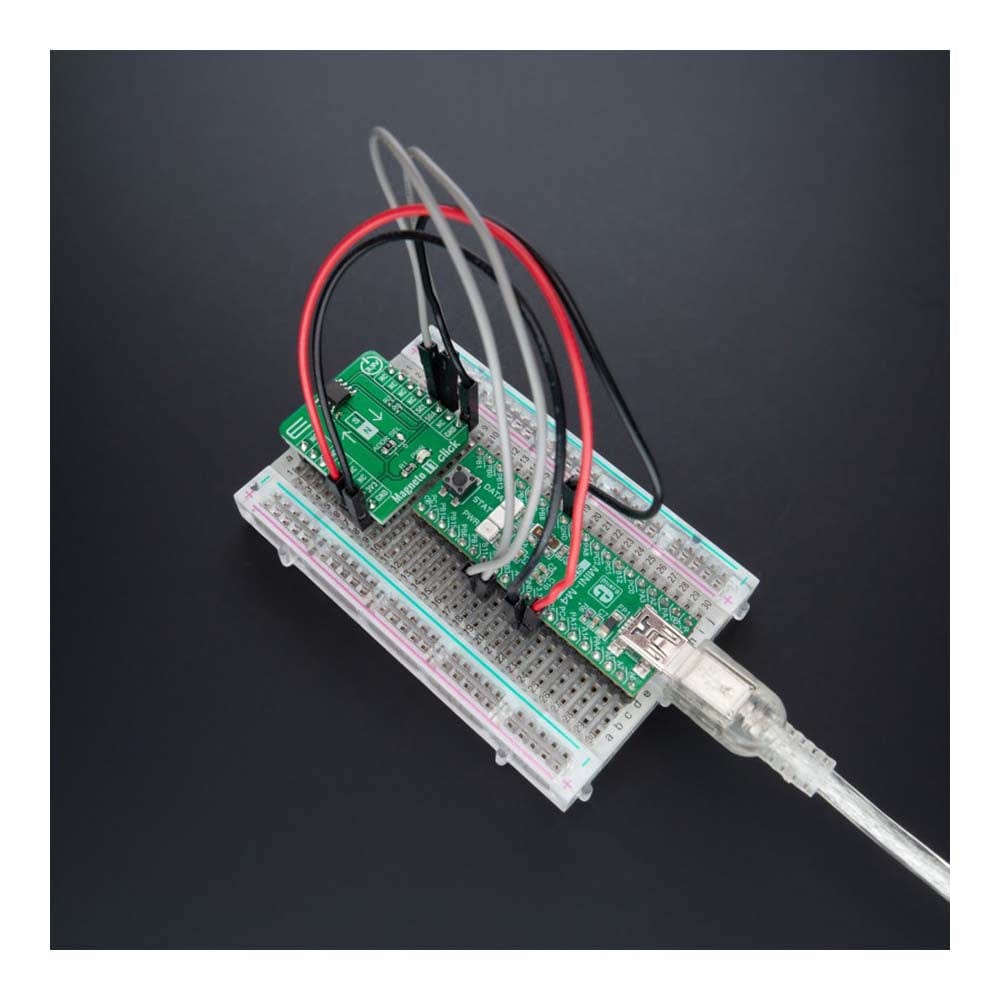
Magneto 11 Click-Platine
Overview
Das Magneto 11 Click Board™ ist eine kompakte Zusatzplatine, die ein genaues und zuverlässiges magnetisches Sensorgerät enthält. Diese Platine verfügt über den AS5510, einen linearen Hall-Sensor mit 10-Bit-Auflösung und eine I2C-Schnittstelle von AMS AG. Sie kann die absolute Position der seitlichen Bewegung eines einfachen 2-poligen Magneten messen. Ein seitlicher Hub von 0,5 mm bis 2 mm kann mit Luftspalten von etwa 1,0 mm gemessen werden, abhängig von der Magnetgröße. Das AS5510 kann in einen Power-Down-Zustand geschaltet werden, wenn es nicht verwendet wird, um Strom zu sparen. Dieses Click Board™ ist für Positionserfassungsanwendungen geeignet, die einen kleinen magnetischen Bereich erfordern, bei dem Rauschen ein kritischer Designparameter ist.
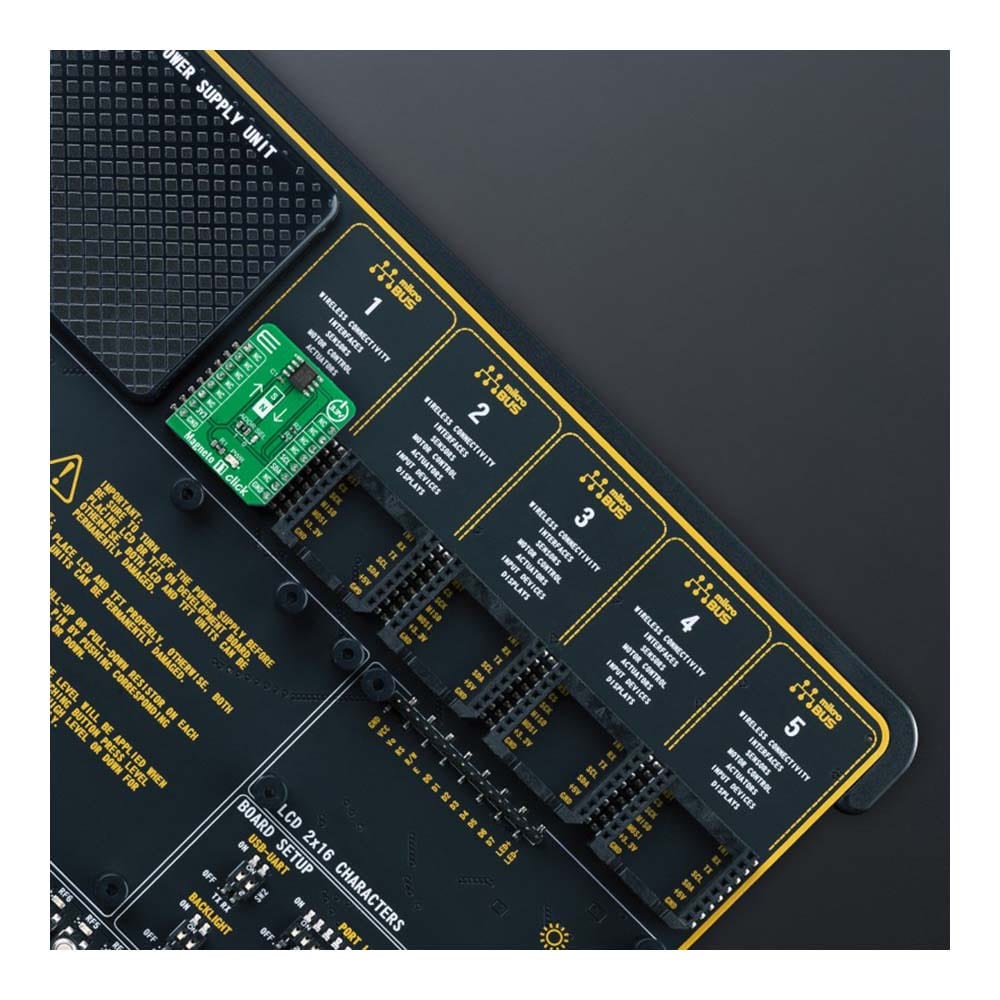
Das Magneto 11 Click Board™ wird von einer mikroSDK-kompatiblen Bibliothek unterstützt, die Funktionen enthält, die die Softwareentwicklung vereinfachen. Dieses Click Board™ wird als vollständig getestetes Produkt geliefert und ist bereit für den Einsatz auf einem System, das mit der mikroBUS™-Buchse ausgestattet ist.
How Does The Magneto 11 Click Board™ Work?
The Magneto 11 Click Board™ as its foundation uses the AS5510, a 10-bit linear position sensor with digital position (interface) output from AMS AG. The AS5510 can measure the absolute position of lateral movement in combination with a diametrical two-pole magnet. The sensor needs a simple 2-pole magnet to measure a lateral movement, and the measured distance depends on the magnet geometry. A lateral stroke of 0.5mm ~ 2mm can be measured with air gaps around 1.0mm, depending on the magnet size. With stronger magnets, even higher lateral strokes and air gaps are possible.
The AS5510 comes in a version of a ±50mT full-scale sensing range to deliver the highest reliability and durability in contactless position measurements. By selecting different measurement ranges, it is possible to choose different sensitivity values; the default sensitivity value of the AS5510 is 97.66µT/LSB. It also features a Power-Down mode that helps save energy and maximize run-time in battery-powered applications.
The Magneto 11 Click Board™ communicates with MCU using the standard I2C 2-Wire interface for switching between four different sensitivity ranges and for simple data transmission to an MCU, supporting Fast Mode Plus operation with a clock frequency up to 1MHz. The absolute position is measured with a resolution of 10 bit = 1024 positions, and it is provided as a digital value on the serial interface. Besides, the AS5510 allows choosing the least significant bit (LSB) of its I2C slave address using the SMD jumper labelled ADDR SEL. The selection can be made by positioning the SMD jumper to an appropriate position marked as 1 or 0.
The Magneto 11 Click Board™ can be operated only with a 3.3V logic voltage level. The board must perform appropriate logic voltage level conversion before using MCUs with different logic levels. However, the Click board™ comes equipped with a library containing functions and an example code that can be used, as a reference, for further development.
SPECIFICATIONS
Type | Magnetic |
Applications | The Magneto 11 Click Board™ can be used for position sensing applications requiring a small magnetic range where noise is a critical design parameter |
On-board modules | AS5510 - 10-bit linear position sensor with digital position (interface) output from AMS-AG |
Key Features | Low power consumption, highest reliability and durability, high-resolution output, operates with wide magnetic range, programmable sensitivity, and more |
Interface | I2C |
Compatibility | mikroBUS |
Click board size | S (28.6 x 25.4 mm) |
Input Voltage | 3.3V |
PINOUT DIAGRAM
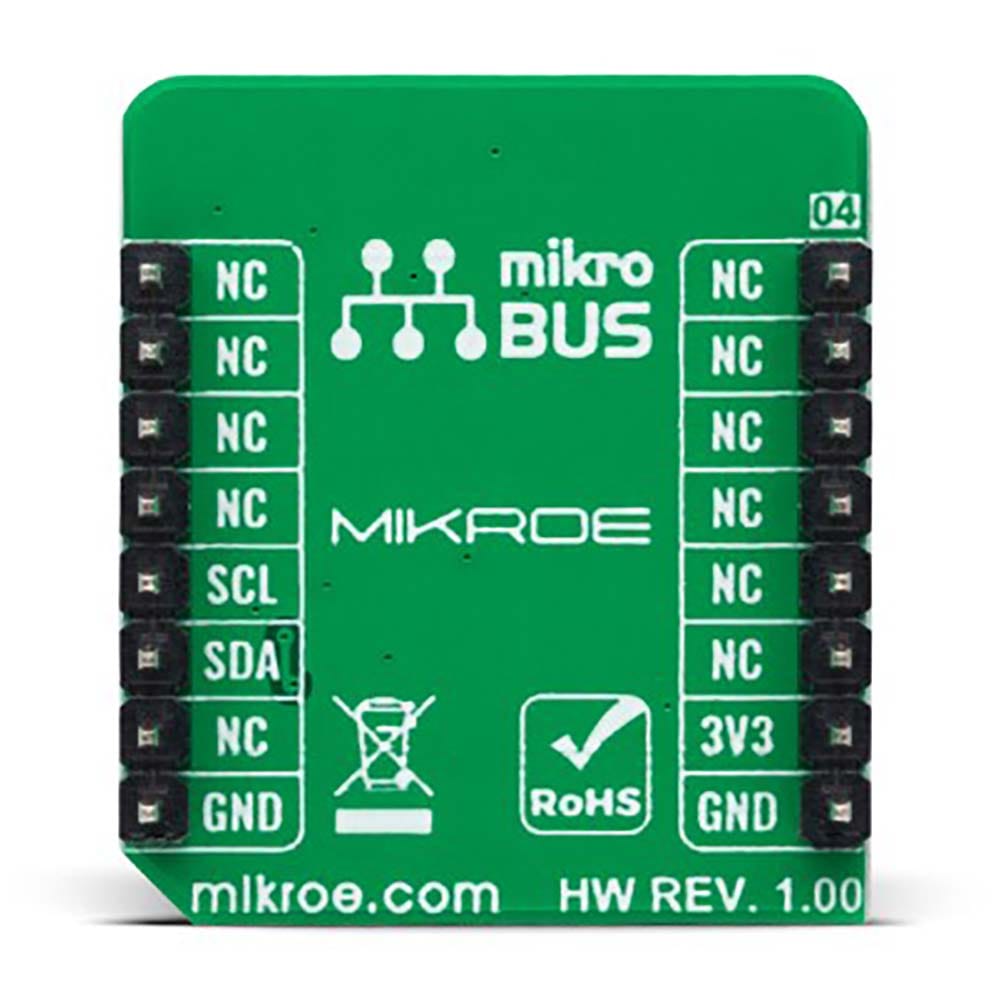
This table shows how the pinout of the Magneto 11 Click Board™ corresponds to the pinout on the mikroBUS™ socket (the latter shown in the two middle columns).
Notes | Pin | Pin | Notes | ||||
---|---|---|---|---|---|---|---|
NC | 1 | AN | PWM | 16 | NC | ||
NC | 2 | RST | INT | 15 | NC | ||
NC | 3 | CS | RX | 14 | NC | ||
NC | 4 | SCK | TX | 13 | NC | ||
NC | 5 | MISO | SCL | 12 | SCL | I2C Clock | |
NC | 6 | MOSI | SDA | 11 | SDA | I2C Data | |
Power Supply | 3.3V | 7 | 3.3V | 5V | 10 | NC | |
Ground | GND | 8 | GND | GND | 9 | GND | Ground |
ONBOARD SETTINGS AND INDICATORS
Label | Name | Default | Description |
---|---|---|---|
LD1 | PWR | - | Power LED Indicator |
JP1 | ADDR SEL | Left | I2C Address Selection 1/0: Left position 1, Right position 0 |
MAGNETO 11 CLICK ELECTRICAL SPECIFICATIONS
Description | Min | Typ | Max | Unit |
---|---|---|---|---|
Supply Voltage | - | 3.3 | - | V |
Magnetic Sensing Range | -50 | - | +50 | mT |
Default Sensitivity | - | 97.66 | - | µT/LSB |
Resolution | - | 10 | - | bit |
Operating Temperature Range | -30 | +25 | +85 | °C |
Software Support
We provide a library for the Magneto 11 Click Board™ as well as a demo application (example), developed using MikroElektronika compilers. The demo can run on all the main MikroElektronika development boards.
The package can be downloaded/installed directly from NECTO Studio The package Manager (recommended), downloaded from our LibStock™ or found on MikroE Github account.
Library Description
This library contains API for the Magneto 11 Click Board™ driver.
Key functions
-
magneto11_get_magnetic_field
This function reads the magnetic field strength in milliTesla. -
magneto11_set_sensitivity
This function writes specified data to the sensitivity register. -
magneto11_set_config
This function writes specified data to the config register.
Example Description
This example demonstrates the use of Magneto 11 Click board™ by reading and displaying the magnetic field strength value.
void application_task ( void )
{
float magnetic_field;
if ( MAGNETO11_OK == magneto11_get_magnetic_field ( &magneto11, &magnetic_field ) )
{
log_printf ( &logger, " Magnetic Field: %.3f mT rnn", magnetic_field );
Delay_ms ( 200 );
}
}
The full application code, and ready to use projects can be installed directly from NECTO Studio The package Manager (recommended), downloaded from our LibStock™ or found on MikroE Github account.
Other MikroE Libraries used in the example:
- MikroSDK.Board
- MikroSDK.Log
- Click.Magneto11
Additional Notes and Information
Depending on the development board you are using, you may need USB UART click, USB UART 2 Click or RS232 Click to connect to your PC, for development systems with no UART to USB interface available on the board. UART terminal is available in all MikroElektronika compilers.
MIKROSDK
The Magneto 11 Click Board™ is supported with mikroSDK - MikroElektronika Software Development Kit. To ensure proper operation of mikroSDK compliant Click board™ demo applications, mikroSDK should be downloaded from the LibStock and installed for the compiler you are using.
Frequently Asked Questions
Have a Question?
Be the first to ask a question about this.