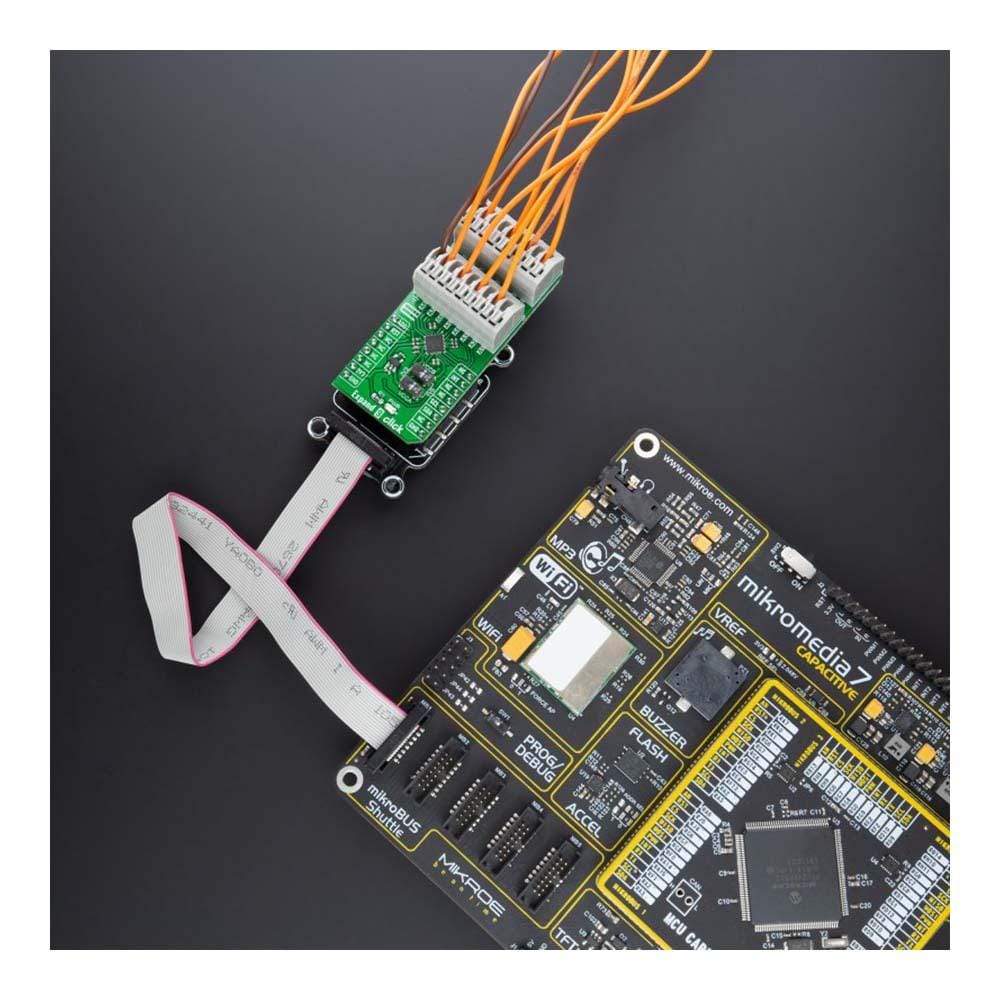
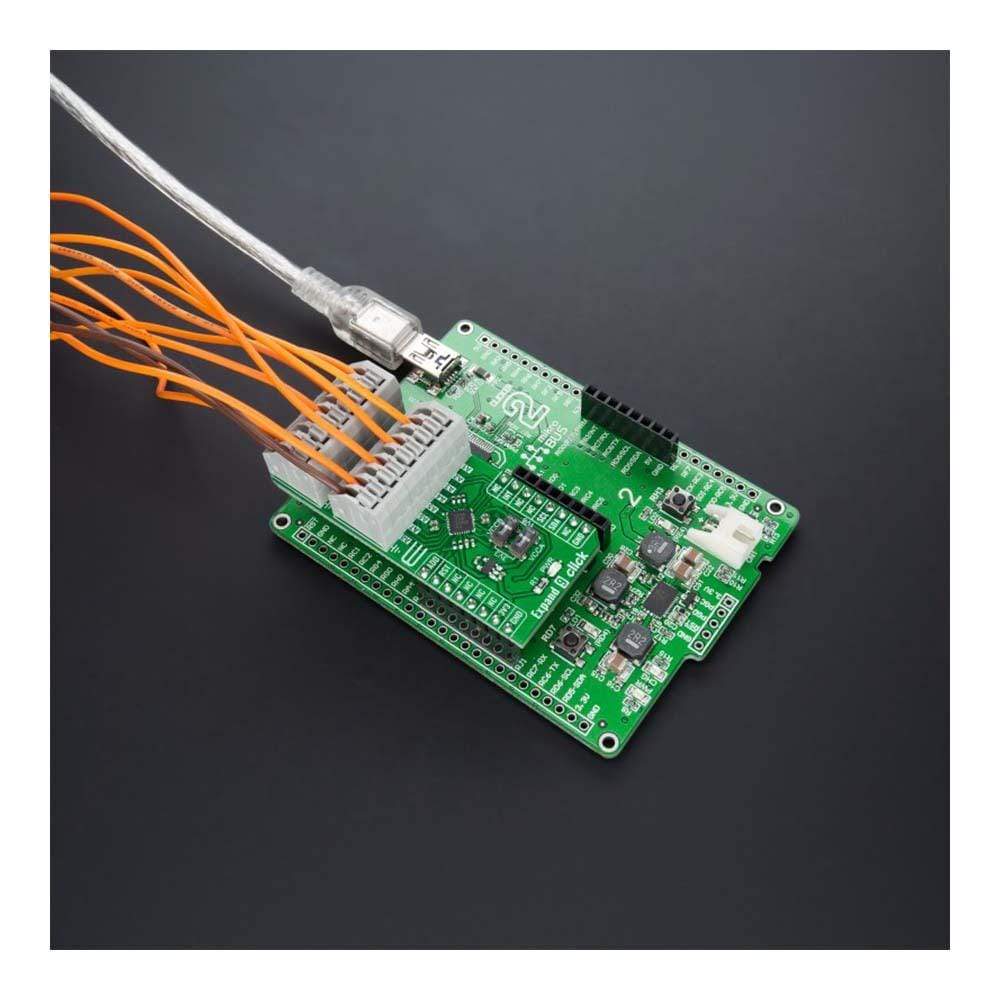
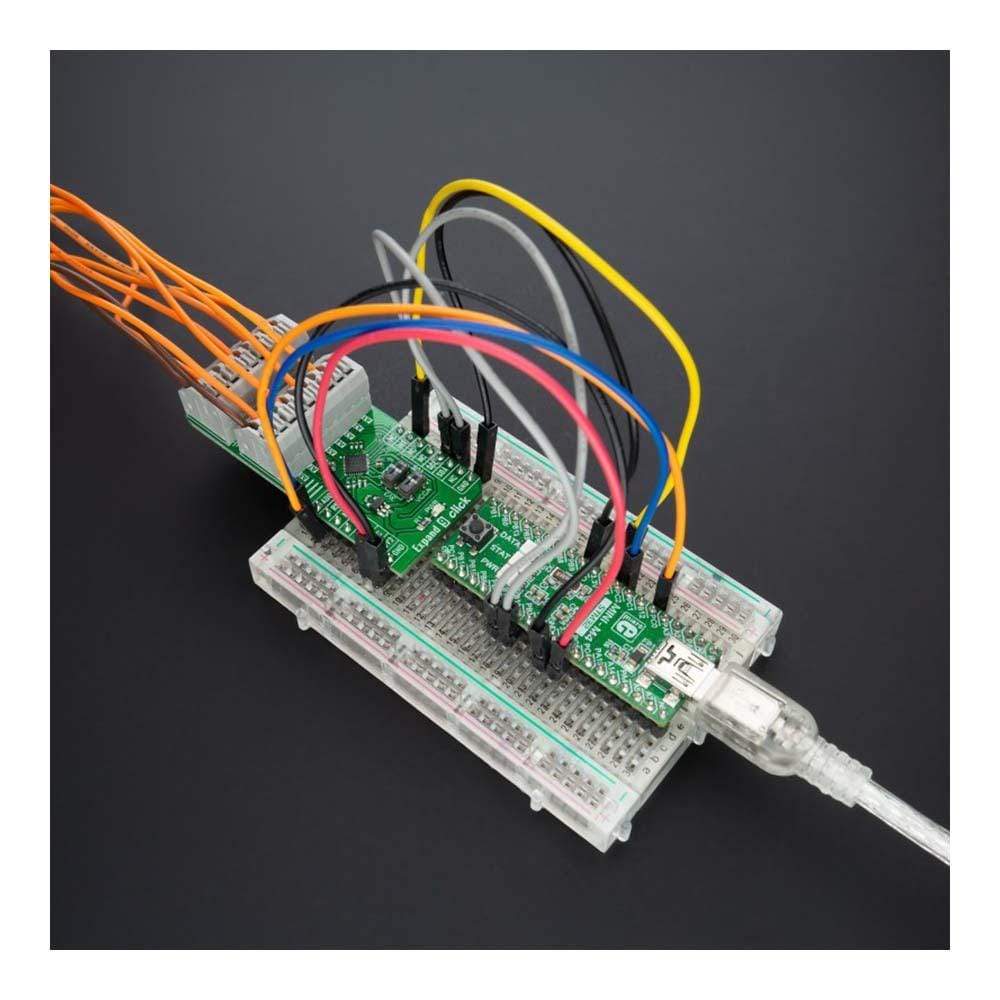
Expand 9 Click Board
Key Features
- Niedriger Stromverbrauch, integrierter LED-Treiber für verbesserte Beleuchtung, On-Chip-Tastatur-Scan-Engine, Interrupt- und Reset-Funktion, wählbare I2C-Slave-Adresse und mehr
- Basierend auf dem SX1509QB - 16-Kanal-GPIO-Expander mit niedrigster Spannungspegelverschiebung von Semtech Corporation
- Kann für tragbare Geräte mit geringem Stromverbrauch, Tastatur-Scanning, Ansteuerung von LEDs und vieles mehr verwendet werden
- mikroBUS: I2C-Schnittstelle
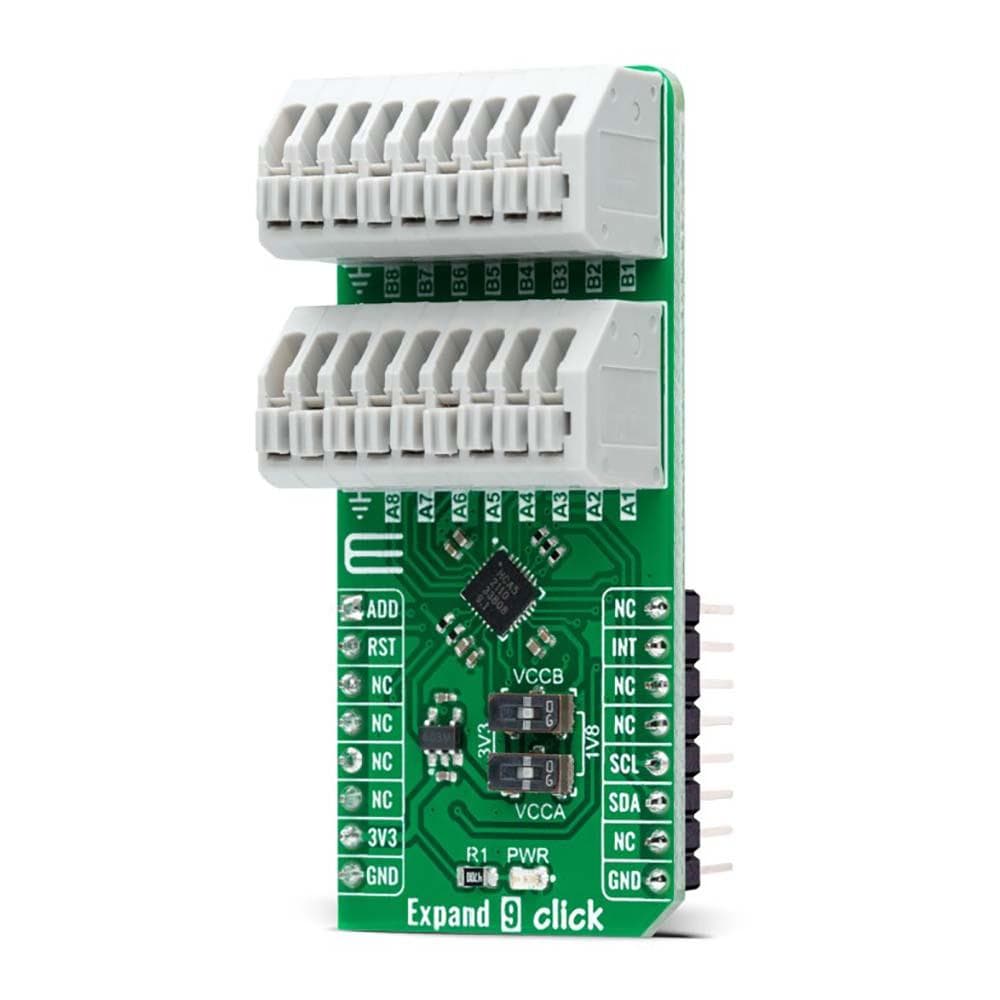
Der Expand 9 Click Board™ ist eine kompakte Zusatzkarte, die einen Multiport-E/A-Expander enthält. Diese Karte verfügt über den SX1509QB, den GPIO-Expander mit der weltweit niedrigsten Spannungspegelverschiebung von Semtech Corporation. Der SX1509QB ist in einer 16-Kanal-Konfiguration erhältlich und ermöglicht eine einfache serielle Erweiterung der E/A über eine standardmäßige serielle I2C-Schnittstelle. Er verfügt außerdem über eine integrierte Pegelverschiebungsfunktion, die ihn sehr flexibel in Stromversorgungssystemen macht, in denen eine Kommunikation zwischen inkompatiblen E/A-Spannungen erforderlich ist, einen integrierten LED-Treiber für verbesserte Beleuchtung und eine Tastatur-Scan-Engine zur Implementierung von Tastaturanwendungen bis zu einer 8x8-Matrix.
Das Expand 9 Click Board™ bietet eine einfache Lösung, wenn zusätzliche E/As benötigt werden, geeignet für tragbare Geräte mit geringem Stromverbrauch, Tastatur-Scanning, Ansteuern von LEDs und vieles mehr.
How Does The Expand 9 Click Board™ Work?
The Expand 9 Click Board™ as its foundation uses the SX1509QB, a 16-channel lowest voltage level shifting GPIO expander from Semtech Corporation. The expander devices, like this one, can provide additional control and monitoring when the MCU has insufficient I/O ports or in systems where serial communication and control from a remote location are advantageous. The SX1509QB has a built-in level shifting feature making it highly flexible in power supply systems where communication between incompatible I/O voltages is required, thus eliminating extra level translating circuits.
The SX1509QB features a fully programmable LED driver with an internal oscillator for enhanced lighting control such as intensity (via 256-step PWM), blinking, and breathing (fade In/Out) which makes them highly versatile for a wide range of LED applications. Also, keypad applications are supported with an on-chip scanning engine enabling continuous keypad monitoring up to 64 keys (8x8 matrix) without any additional host interaction reducing bus activity.
The Expand 9 Click Board™ communicates with MCU using the standard I2C 2-Wire interface to read data and configure settings, supporting a Fast Mode operation up to 400kHz. The selection of the I2C slave address is also possible, using the ADD pin routed to the AN pin of the mikroBUS™ socket. This way, the SX1509QB provides the opportunity of the two possible different I2C addresses by setting ADD pin to an appropriate logic state. In addition to selecting a Slave address, the SX1509QB can generate mask-programmable interrupts based on a falling/rising edge of any of its GPIO lines. A dedicated interrupt pin, routed to the INT pin of the mikroBUS™ socket, indicates to a host controller that a state change occurred on one or more of the expand lines, while the RST pin of the mikroBUS™ socket represents a Reset feature used to reset the chip at any time.
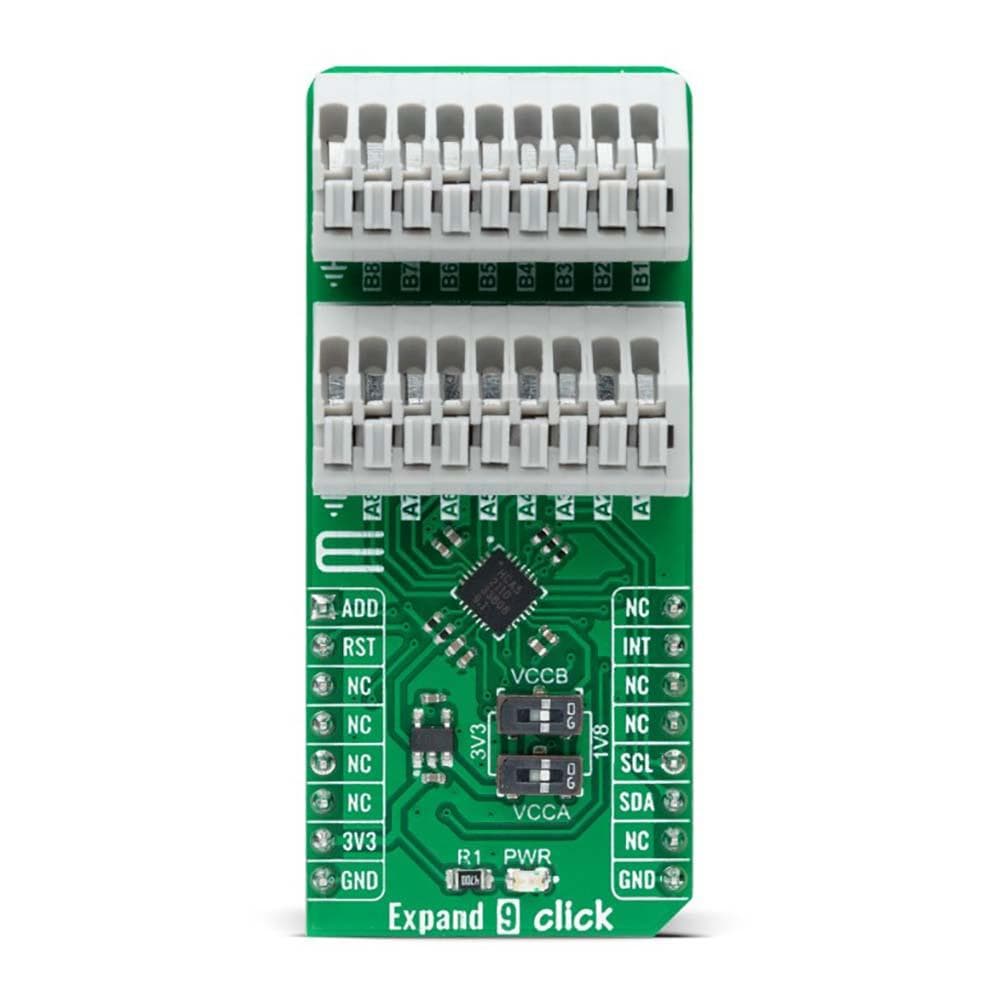
Each GPIO on I/O Expander channels is programmable via a bank of 8-bit configuration registers, including data, direction, pull-up/pull-down, interrupt mask, and interrupt registers. The user is also given an option of selecting the expander port supply voltage, which is realized by two onboard switches labelled as VCCA and VCCB, allowing one to choose between 3.3V and 1.8V. To obtain 1.8V, a small LDO regulator is added, AP2112 from Dialog Incorporated, to provide 1.8V out of mikroBUS™ power rail.
The Expand 9 Click Board™ can be operated only with a 3.3V logic voltage level. The board must perform appropriate logic voltage level conversion before use with MCUs with different logic levels. However, the Click board™ comes equipped with a library containing functions and an example code that can be used, as a reference, for further development.
SPECIFICATIONS
Type | Port expander |
Applications | Can be used for low-power portable equipment, keypad scanning, driving LEDs, and many more |
On-board modules | SX1509QB - 16-channel lowest voltage level shifting GPIO expander from Semtech Corporation |
Key Features | Low power consumption, integrated LED driver for enhanced lighting, on-chip keypad scanning engine, interrupt and reset feature, selectable I2C slave address, and more |
Interface | I2C |
Compatibility | mikroBUS |
Click board size | L (57.15 x 25.4 mm) |
Input Voltage | 3.3V |
PINOUT DIAGRAM
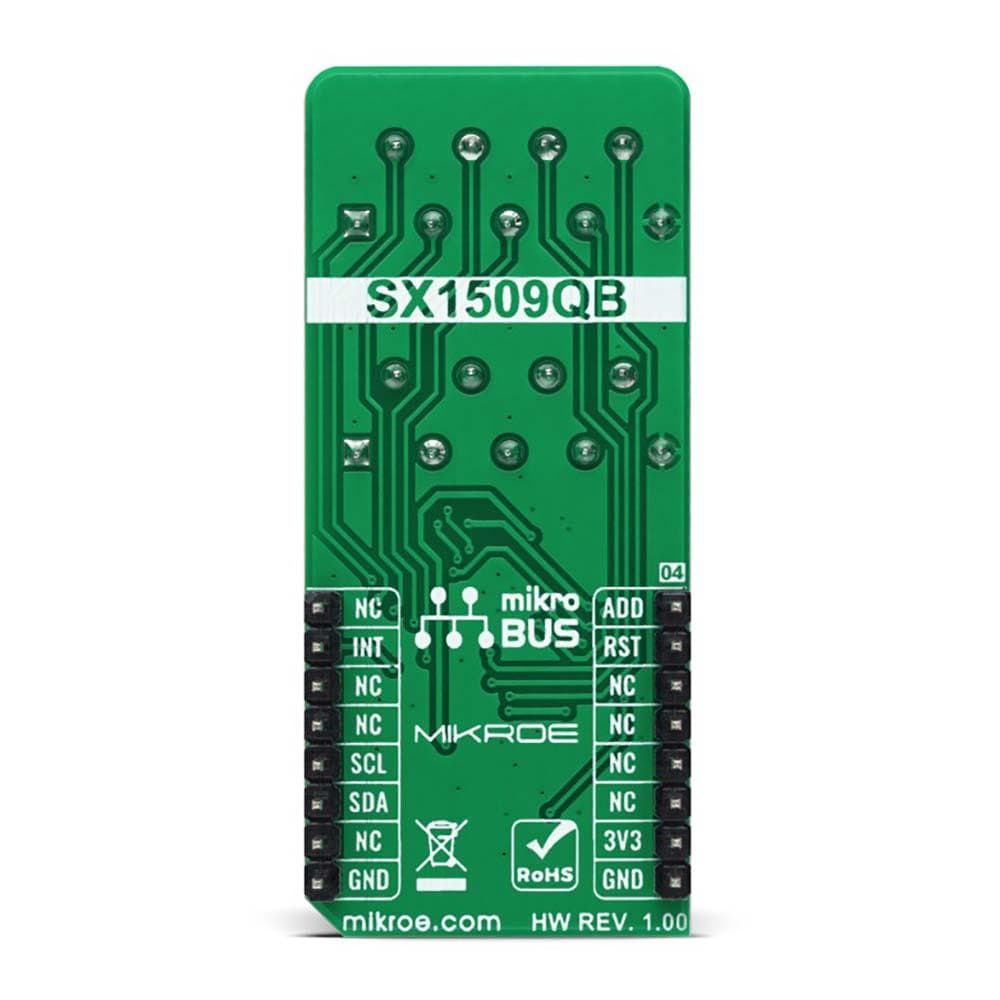
This table shows how the pinout on the Expand 9 Click Board™ corresponds to the pinout on the mikroBUS™ socket (the latter shown in the two middle columns).
Notes | Pin | Pin | Notes | ||||
---|---|---|---|---|---|---|---|
I2C Address Selection | ADD | 1 | AN | PWM | 16 | NC | |
Reset | RST | 2 | RST | INT | 15 | INT | Interrupt |
NC | 3 | CS | RX | 14 | NC | ||
NC | 4 | SCK | TX | 13 | NC | ||
NC | 5 | MISO | SCL | 12 | SCL | I2C Clock | |
NC | 6 | MOSI | SDA | 11 | SDA | I2C Data | |
Power Supply | 3.3V | 7 | 3.3V | 5V | 10 | NC | |
Ground | GND | 8 | GND | GND | 9 | GND | Ground |
ONBOARD SETTINGS AND INDICATORS
Label | Name | Default | Description |
---|---|---|---|
LD1 | PWR | - | Power LED Indicator |
SW1-SW2 | VCCA-VCCB | - | Expander Channels Supply Voltage Selection 3V3/1V8: Left position 3V3, Right position 1V8 |
EXPAND 9 CLICK ELECTRICAL SPECIFICATIONS
Description | Min | Typ | Max | Unit |
---|---|---|---|---|
Supply Voltage | - | 3.3 | - | V |
Maximum GPIO Input Voltage | - | - | 5.5 | V |
Maximum GPIO Output Current | - | - | 15 | mA |
Operating Temperature Range | -40 | +25 | +85 | °C |
Software Support
We provide a library for the Expand 9 Click Board™ as well as a demo application (example), developed using MikroElektronika compilers. The demo can run on all the main MikroElektronika development boards.
Package can be downloaded/installed directly from NECTO Studio Package Manager(recommended way), downloaded from our LibStock™ or found on Mikroe Github account.
Library Description
This library contains API for the Expand 9 Click Board™ driver.
Key functions
-
expand9_set_ch_output_state
Expand 9 set channel output state function. -
expand9_led_driver_config
Expand 9 LED driver configuration function. -
expand9_soft_reset
Expand 9 software reset function.
Example Description
This is an example that demonstrates the use of the Expand 9 Click Board™. The library initializes and defines the I2C bus drivers to write and read data from registers.
void application_task ( void )
{
expand9_soft_reset( &expand9 );
Delay_ms( 100 );
for ( uint8_t cnt = 0; cnt < 16; cnt++ )
{
expand9_set_ch_output_state( &expand9, cnt, CH_OUTPUT_ON );
Delay_ms( 100 );
expand9_set_ch_output_state( &expand9, cnt, CH_OUTPUT_OFF );
Delay_ms( 100 );
}
for ( uint8_t cnt = 15; cnt > 0; cnt-- )
{
expand9_set_ch_output_state( &expand9, cnt, CH_OUTPUT_ON );
Delay_ms( 100 );
expand9_set_ch_output_state( &expand9, cnt, CH_OUTPUT_OFF );
Delay_ms( 100 );
}
expand9_soft_reset( &expand9 );
Delay_ms( 100 );
for ( uint8_t cnt = 0; cnt < 16; cnt++ )
{
expand9_led_driver_config( &expand9, cnt, EXPAND9_FREQ_DIV_1, EXPAND9_LED_MODE_LINEAR );
expand9_set_intensity( &expand9, cnt, 10 );
Delay_ms( 100 );
expand9_led_driver_config( &expand9, cnt, EXPAND9_FREQ_DIV_1, EXPAND9_LED_MODE_LINEAR );
expand9_set_intensity( &expand9, cnt, 200 );
Delay_ms( 100 );
}
for ( uint8_t cnt = 15; cnt > 0; cnt-- )
{
expand9_led_driver_config( &expand9, cnt, EXPAND9_FREQ_DIV_1, EXPAND9_LED_MODE_LINEAR );
expand9_set_intensity( &expand9, cnt, 200 );
Delay_ms( 100 );
expand9_led_driver_config( &expand9, cnt, EXPAND9_FREQ_DIV_1, EXPAND9_LED_MODE_LINEAR );
expand9_set_intensity( &expand9, cnt, 10 );
Delay_ms( 100 );
}
}
The full application code, and ready to use projects can be installed directly from NECTO Studio Package Manager(recommended way), downloaded from our LibStock™ or found on Mikroe Github account.
Other Mikroe Libraries used in the example:
- MikroSDK.Board
- MikroSDK.Log
- Click.Expand9
Additional Notes and Information
Depending on the development board you are using, you may need a USB UART click, USB UART 2 Click or RS232 Click to connect to your PC, for development systems with no UART to USB interface available on the board. UART terminal is available in all MikroElektronika compilers.
MIKROSDK
The Expand 9 Click Board™ is supported with mikroSDK - MikroElektronika Software Development Kit. To ensure proper operation of mikroSDK compliant Click board™ demo applications, mikroSDK should be downloaded from the LibStock and installed for the compiler you are using.
Expand 9 Click Board
Frequently Asked Questions
Have a Question?
Be the first to ask a question about this.