Vibro Motor 2 Click-Platine
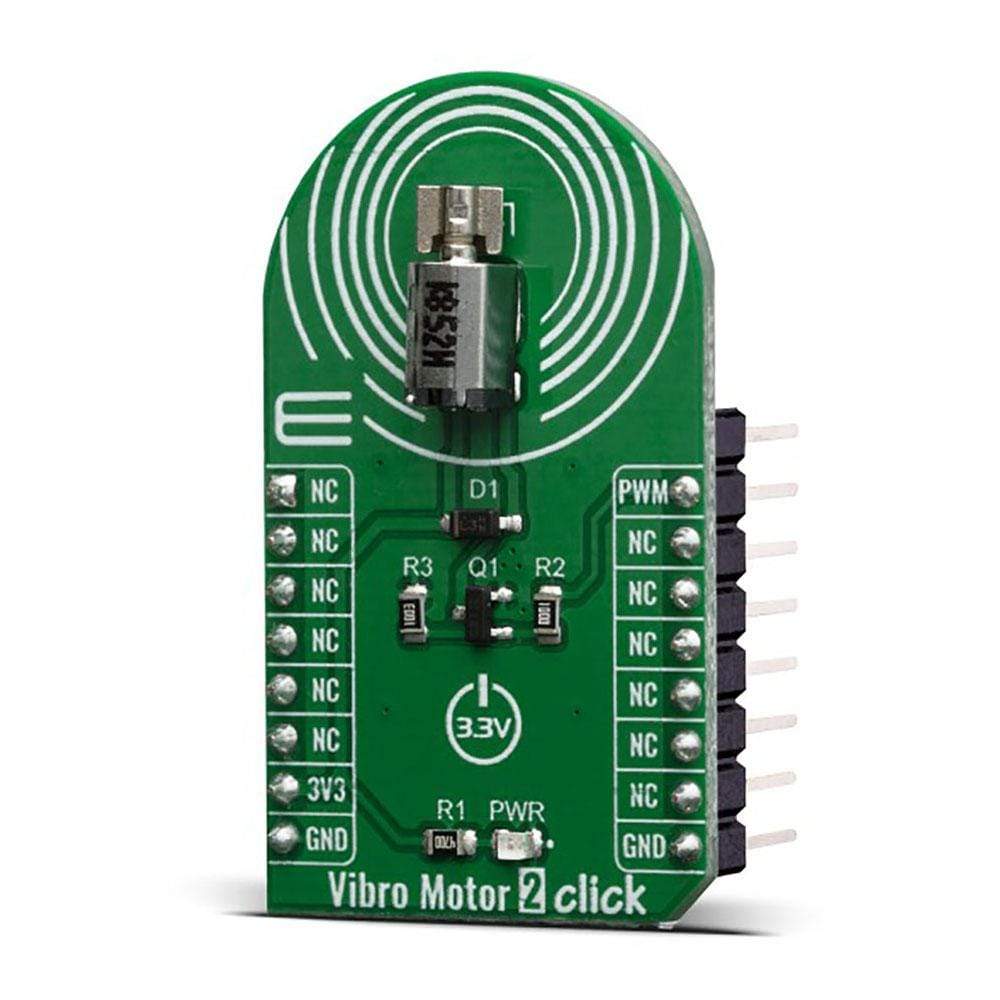
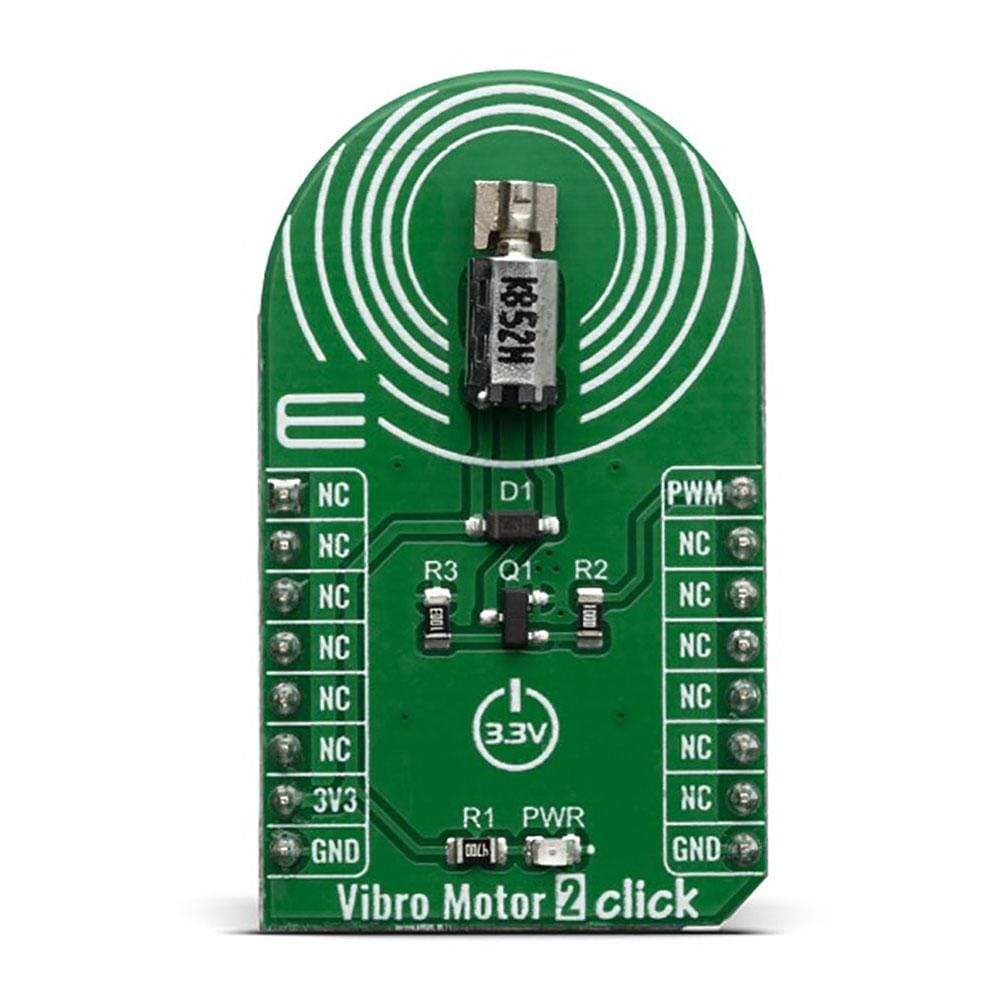
Das Vibro Motor 2 Click Board™ verfügt über einen kompakten ERM-Motor (Excentric Rotating Mass) mit der Bezeichnung Z4FC1B1301781 sowie einen DMG3420U MOSFET zum Antrieb des ERM-Motors, da die MCU selbst nicht genügend Leistung für den Motorantrieb liefern kann. Dieser Motortyp wird häufig für haptisches Feedback bei vielen kleinen Handheld-Geräten wie Mobiltelefonen, Pagern, RFID-Scannern und ähnlichen Geräten verwendet. Dieser Motor enthält ein kleines exzentrisches Gewicht auf seinem Rotor, sodass er beim Drehen auch einen Vibrationseffekt erzeugt. Aufgrund seiner Form wird dieser Motortyp manchmal als Münzmotor bezeichnet.
Neben dem Vibrationsmotor ist das Click auch mit dem DMG3420U ausgestattet, einem kleinen MOSFET, der zum Antrieb des Motors verwendet wird. Das Vibro Motor 2 Click Board™ ist eine ideale Lösung, um jedem Design einfaches, über einen Pin gesteuertes haptisches Feedback hinzuzufügen.
This type of motor is often used for haptic feedback on many small handheld devices, such as the cellphones, pagers, RFID scanners and similar devices. This motor contains a small eccentric weight on its rotor, so while rotating it also produces vibration effect. This kind of motors is sometimes referred to as coin motors, due to its shape. Besides the vibration motor, the click is also equipped with the DMG3420U, a small MOSFET, which is used to drive the motor. The Vibro Motor 2 click is an ideal solution for adding a simple, one pin driven haptic feedback on any design.
How Does The Vibro Motor 2 Click Board™ Work?
The Vibro Motor 2 Click Board™ features a compact size Eccentric Rotating Mass (ERM) motor, labeled as Z4FC1B1301781. The click uses the DMG3420U MOSFET to drive the ERM motor, since the MCU itself cannot provide enough power for the motor driving. The circuit also contains a protection diode, which is used to protect the transistor from the reverse voltage, since the motor represents an inductive load and turning off its current can produce a kickback voltage that can damage the transistor.
The gate of the MOSFET is driven by the PWM signal, routed through the PWM pin of the mikroBUS™. The PWM signal toggles the gate of the MOSFET with the pulses of a certain width. As a result, the current through the motor is varied depending on the pulse width of the PWM signal, which directly affects the speed of the motor, effectively controlling the vibration force that way. The small, eccentric weight attached to the rotor of the coin motor, generates the centrifugal force while it rotates, which in turn results with the wobbling effect of the motor itself. The faster the rotation is, the bigger the force gets. Controlling the motor speed allows for the vibration intensity to be controlled.
MikroElektronika library contains functions that are used to easily drive the motor by changing the PWM pulse width, saving time for the application firmware development.
SPECIFICATIONS
Type | Haptic |
Applications | An ideal solution for adding a simple, one pin driven haptic feedback on any design. |
On-board modules | Z4FC1B1301781, cylindrical core SMT Motor from Jinlong Machinery & Electronics |
Key Features | Low power consumption, compact size |
Interface | PWM |
Compatibility | mikroBUS |
Click board size | M (42.9 x 25.4 mm) |
Input Voltage | 3.3V |
PINOUT DIAGRAM
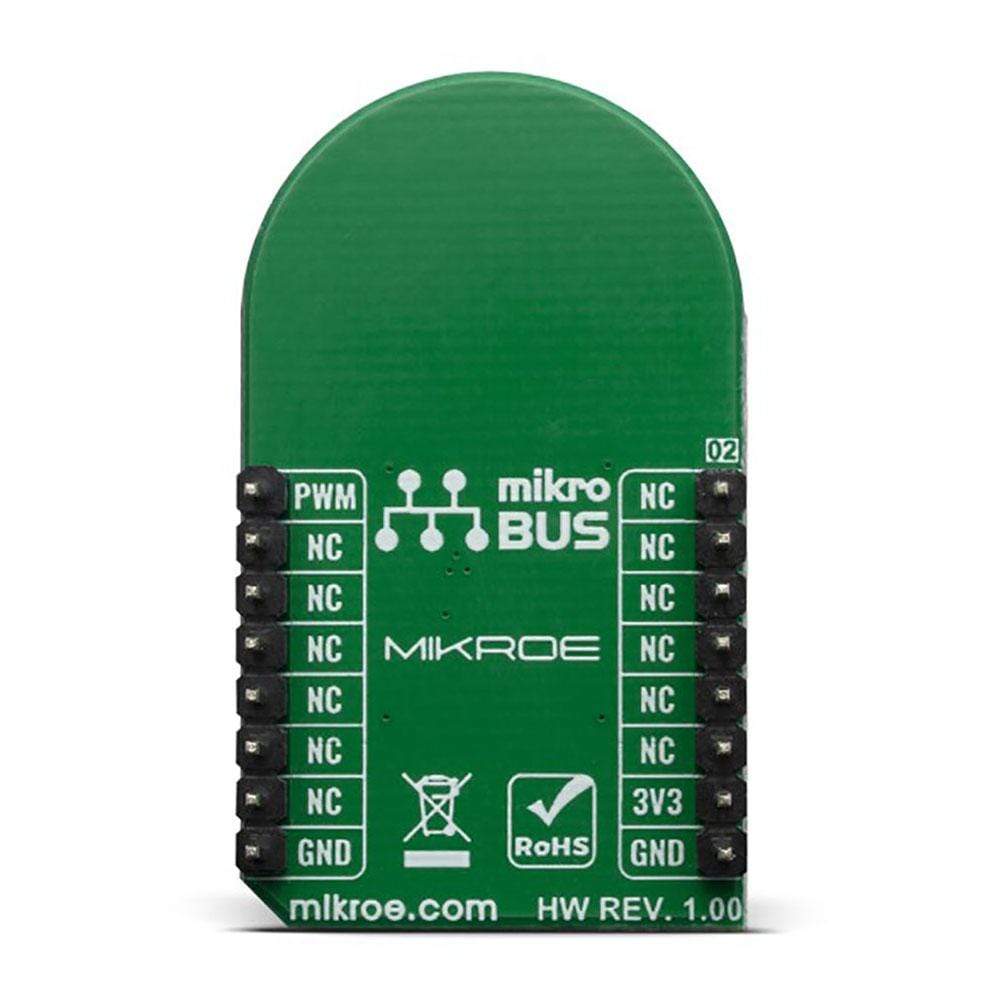
This table shows how the pinout on Vibro Motor 2 Click Board™ corresponds to the pinout on the mikroBUS™ socket (the latter shown in the two middle columns).
Notes | Pin | Pin | Notes | ||||
---|---|---|---|---|---|---|---|
NC | 1 | AN | PWM | 16 | PWM | Motor speed control | |
NC | 2 | RST | INT | 15 | NC | ||
NC | 3 | CS | RX | 14 | NC | ||
NC | 4 | SCK | TX | 13 | NC | ||
NC | 5 | MISO | SCL | 12 | NC | ||
NC | 6 | MOSI | SDA | 11 | NC | ||
Power Supply | 3.3V | 7 | 3.3V | 5V | 10 | NC | |
Ground | GND | 8 | GND | GND | 9 | GND | Ground |
ONBOARD SETTINGS AND INDICATORS
Label | Name | Default | Description |
---|---|---|---|
M1 | Vibro motor | - | Vibration motor |
PWR | Power LED | - | Power LED indicator |
VIBRO MOTOR 2 CLICK ELECTRICAL SPECIFICATIONS
Description | Min | Typ | Max | Unit |
---|---|---|---|---|
Rated ERM motor speed | 7500 | 10000 | 12500 | RPM |
Mechanical noise | 50 | dB | ||
Operating Temperature | -20 | +70 | °C |
Software Support
We provide a library for the Vibro Motor 2 Click Board™ on our LibStock page, as well as a demo application (example), developed using MikroElektronika compilers. The demo can run on all the main MikroElektronika development boards.
Library Description
This library helps user to define the all necessary GPIOs to control vibro motor. The Vibro Motor 2 Click Board™ user only needs PWM pin on MIKROBUS. For more details check documentation.
Key Functions
void vm2_gpioDriverInit( T_VM2_P gpioObj );
- This function initializes GPIO driver.
Example Description
The application is composed of three sections :
- System Initialization - Initializes peripherals and pins.
- Application Initialization - Initializes GPIO driver and PWM. Configures PWM to 20kHz frequency, calculates maximum duty ratio and starts PWM with duty ratio value 0.
- Application Task - (code snippet) - Allows user to enter desired command to control Vibro Motor 2 Click board. The command can be entered from the serial port. The possible commands are :
- characters from '1' to '9' to set duty ratio step (step = character * 5)
- character '0' to set duty ratio step on value 100
- character '+' to increment current duty ratio by selected step
- character '-' to decrement current duty ratio by selected step
- characters 'e' and 'E' to start Vibro Motor 2
- characters 'd' and 'D' to stop Vibro Motor 2
- characters 's' and 'S' to check Vibro Motor 2 (PWM) status
void applicationTask() { rx_dat = UART_Rdy_Ptr(); if (rx_dat != _RX_NOT_READY) { rx_dat = UART_Rd_Ptr(); checkRx(); } }
Additional Functions :
- checkRx - Executes the command (entered by user) processing.
The full application code, and ready to use projects can be found on our LibStock page.
Other mikroE Libraries used in the example:
- Conversions
- C_String
- PWM
- UART
Additional Notes and Information
Depending on the development board you are using, you may need USB UART click, USB UART 2 click or RS232 click to connect to your PC, for development systems with no UART to USB interface available on the board. The terminal available in all MikroElektronika compilers, or any other terminal application of your choice, can be used to read the message.
MIKROSDK
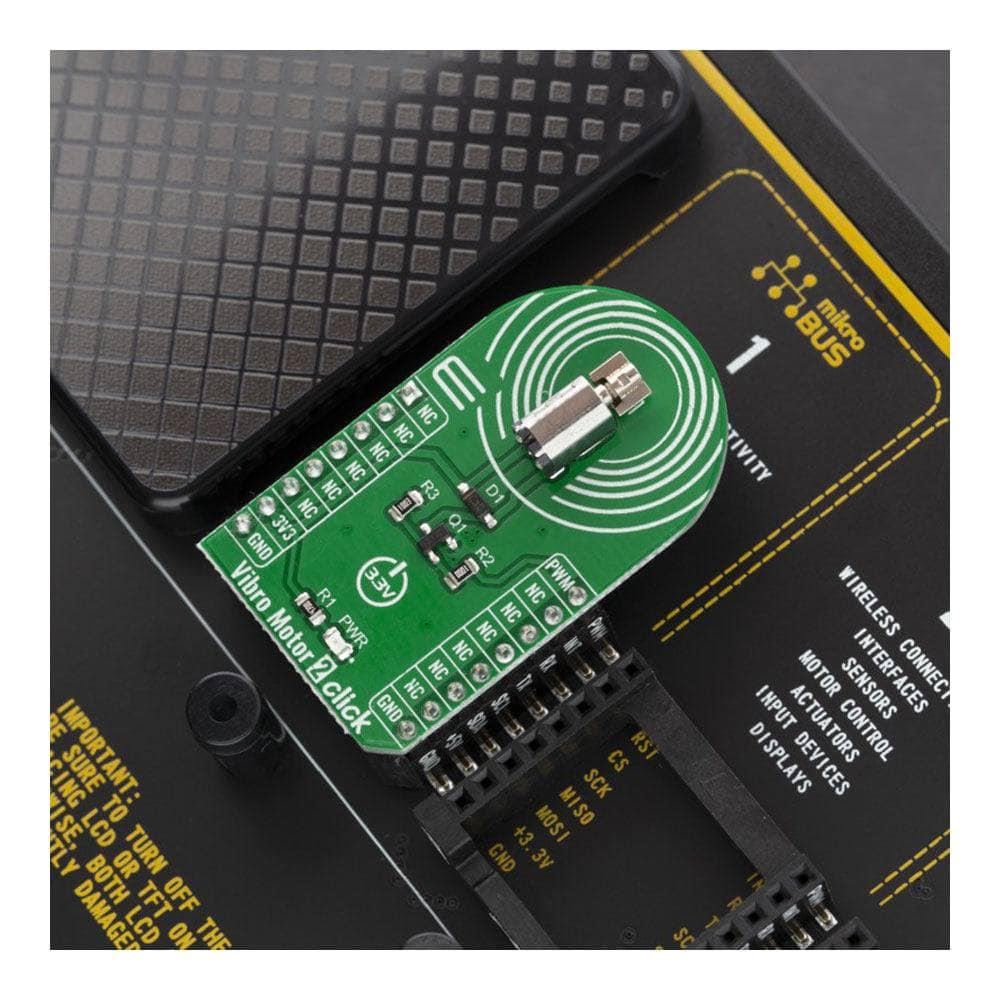
The Vibro Motor 2 Click Board™ is supported with mikroSDK - MikroElektronika Software Development Kit. To ensure proper operation of mikroSDK compliant Click board™ demo applications, mikroSDK should be downloaded from the LibStock and installed for the compiler you are using.
Vibro Motor 2 Click-Platine
Frequently Asked Questions
Have a Question?
Be the first to ask a question about this.