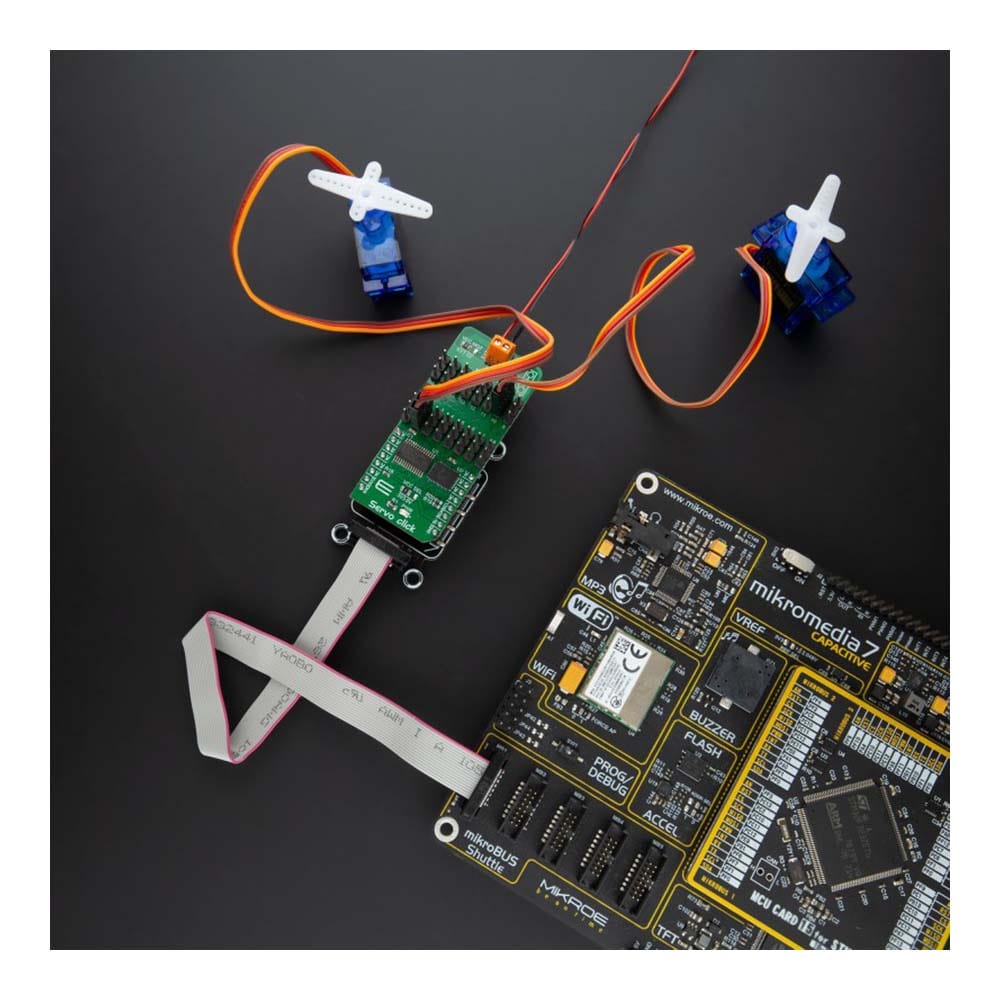
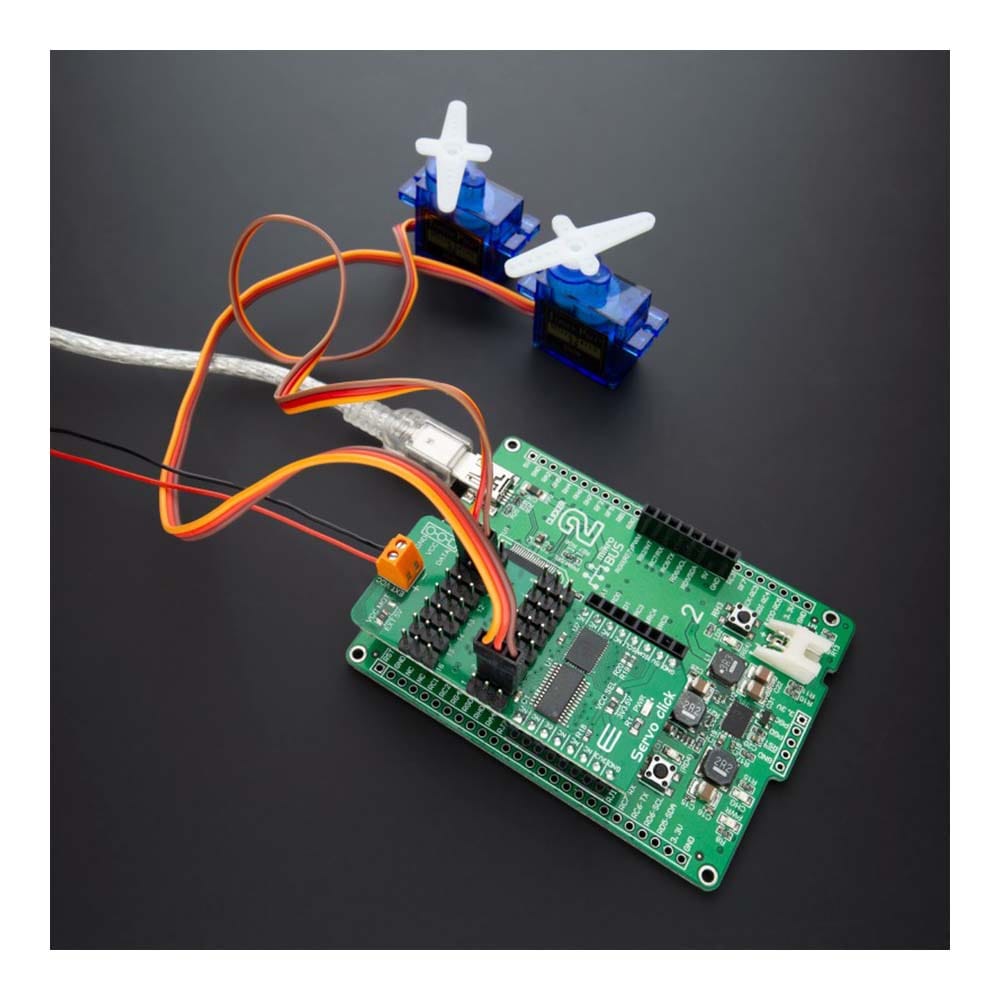
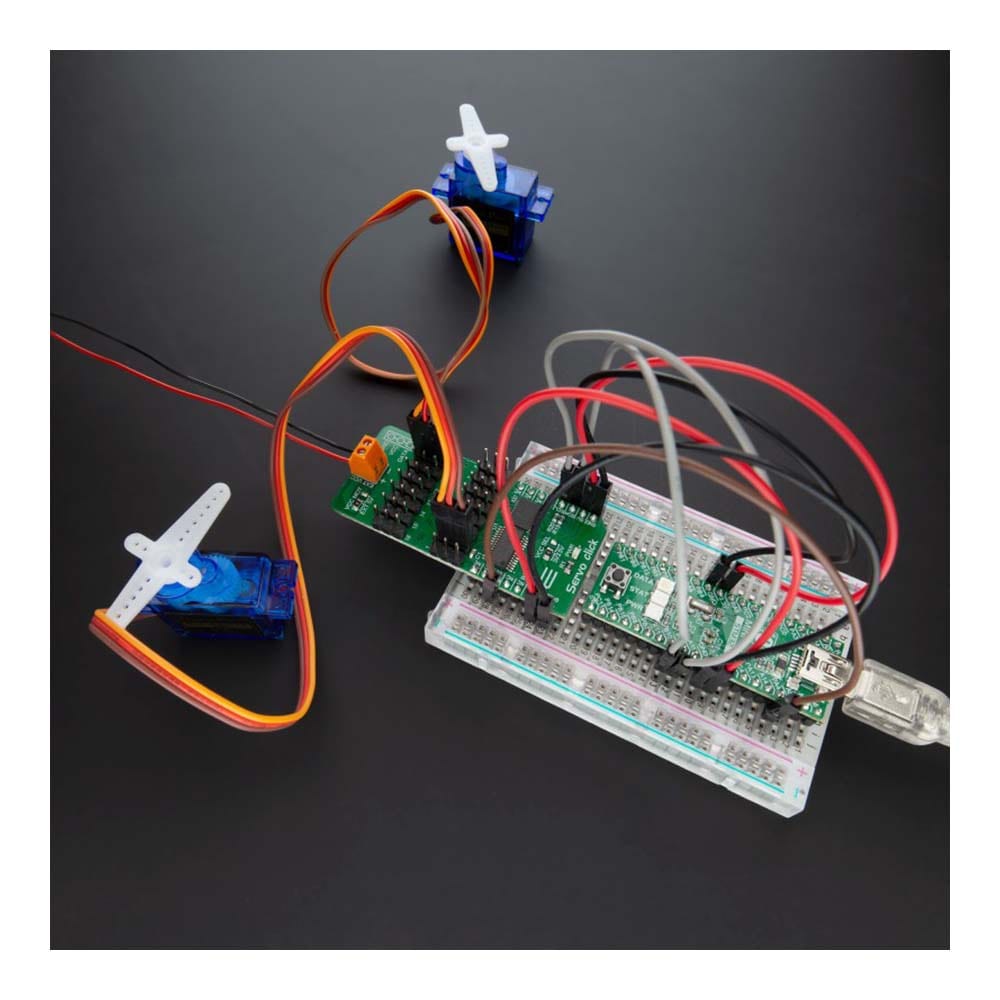
Servo-Click-Platine
Servo-Click-Platine
Overview
Einführung des Servo Click Board™: Revolutionieren Sie Ihre Servosteuerung
Sind Sie es leid, mit begrenzten Servosteuerungsoptionen zu kämpfen? Dann sind Sie hier richtig! Das Servo Click Board™ wird Ihr Servosteuerungserlebnis revolutionieren.
Entfesseln Sie die Leistung der 16-Kanal-PWM-Steuerung
Verabschieden Sie sich von Einkanalbeschränkungen. Mit dem Servo Click Board™ können Sie satte 16 Servomotoren gleichzeitig steuern! Jeder Servo verfügt über sein eigenes programmierbares PWM-Signal, was Ihnen beispiellose Flexibilität und Präzision in Ihren Projekten bietet.
Optimieren Sie die Leistung Ihres Servos
Präzision ist wichtig. Deshalb haben wir das Servo Click Board™ mit einem programmierbaren PWM-Signalfrequenzbereich von 24 Hz bis 1526 Hz ausgestattet. Dieser Bereich wurde sorgfältig ausgewählt, um verschiedenen Servotypen gerecht zu werden und sicherzustellen, dass sich Ihre Kreationen mit höchster Präzision und Genauigkeit bewegen.
Echtzeit-Einblicke mit Spannungsmessung
Was das Servo Click Board™ auszeichnet, ist sein 16-Bit-A/D-Wandler, der den Spannungsabfall über dem Shunt-Widerstand jedes Kanals abtastet. Dies bedeutet, dass Sie Echtzeit-Feedback zum Stromverbrauch des Servos erhalten, sodass Sie die Leistung optimieren und eine Überhitzung verhindern können, ohne Ihre Servos ändern zu müssen.
Warum sollten Sie sich für das Servo Click Board™ entscheiden?
- Mühelose Steuerung : Steuern Sie mühelos bis zu 16 Servos, rationalisieren Sie Ihre Projekte und sparen Sie Zeit.
- Präzision bei jeder Bewegung : Stimmen Sie Ihre Servos mit einem breiten PWM-Signalfrequenzbereich perfekt ab.
- Schützen Sie Ihre Servos : Überwachen Sie den Stromverbrauch in Echtzeit, um Schäden vorzubeugen und die Lebensdauer zu verlängern.
Treffen Sie die kluge Wahl und erleben Sie mit dem Servo Click Board™ eine neue Ebene der Servosteuerung. Optimieren Sie Ihre Projekte, erschließen Sie grenzenlose Möglichkeiten und schließen Sie sich den zufriedenen Kunden an, die bereits umgestiegen sind.
Sind Sie bereit, Ihre Servosteuerung zu revolutionieren? Klicken Sie auf die Schaltfläche unten und machen Sie den ersten Schritt in eine bessere, präzisere Zukunft!
Holen Sie sich jetzt Ihr Servo Click Board™
Verpassen Sie diese bahnbrechende Innovation nicht. Rüsten Sie Ihre Servosteuerung noch heute auf!
How Does The Servo Click Board™ Work?
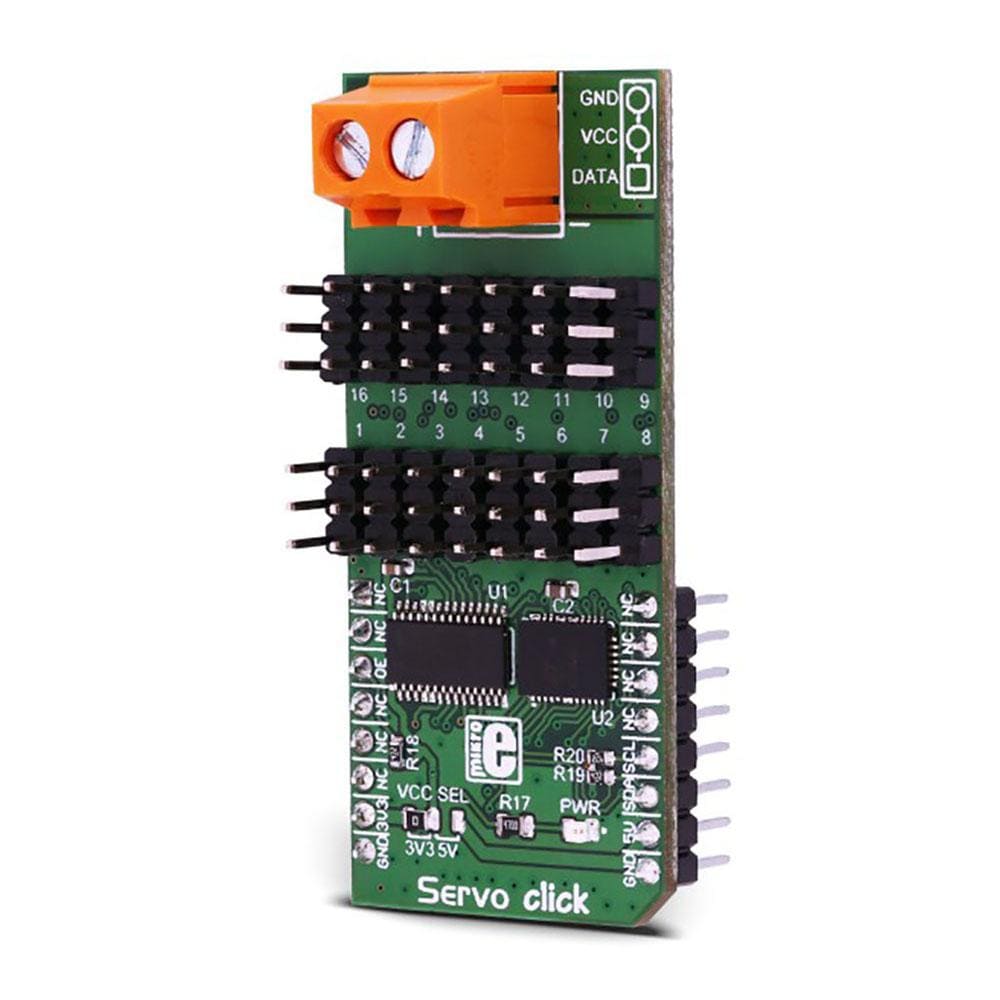
The Servo Click Board™ is based on the PCA9685, an integrated 12-bit 16-channel PWM driver which can be configured to either sink 25mA per channel or drive each channel sourcing up to 10mA from NXP. Each channel has its duty cycle independently set from 0% to 100%. Offering 16 independent channels, each with its own PWM duty cycle and current sensing ability, this Click board™ represents a powerful servo controller, especially useful when a large number of servos needs to be controlled simply and easily. The frequency of the control PWM signal can be programmed in the range from 24 Hz to 1526 Hz.
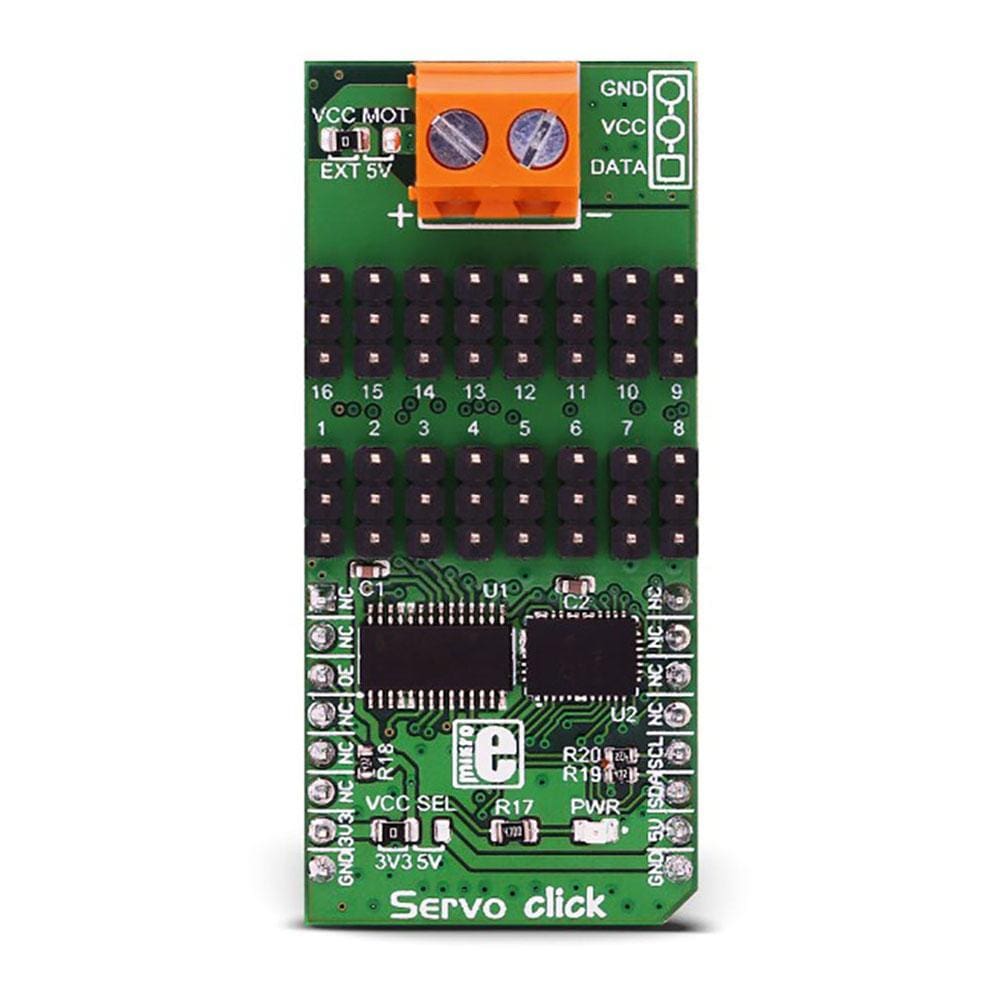
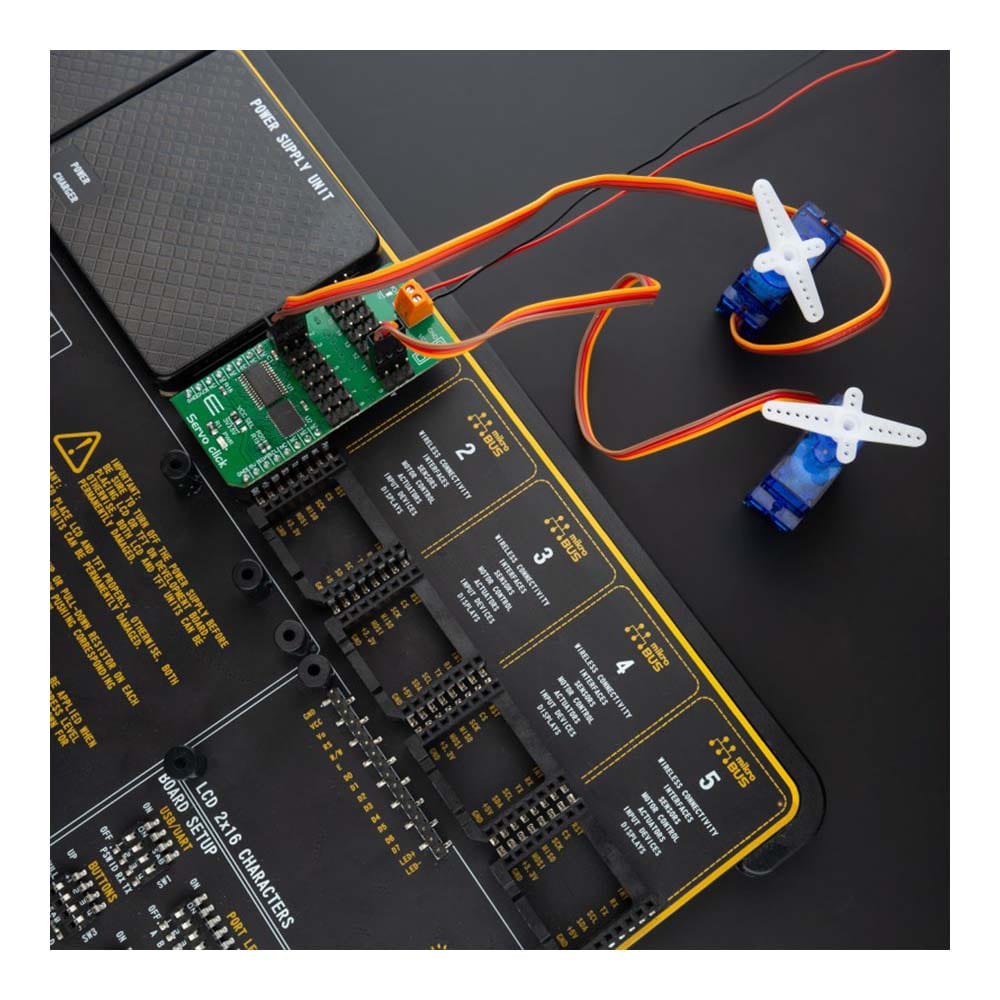
The servo can be connected to any of the sixteen headers located on the Servo Click Board™. The output signal frequency is determined by the Prescaler value, which is written to the appropriate register. The output channels can be set either in the open-drain or in the push-pull configuration. In the first case, they will be able to sink up to 25mA from up to 5V power supply, while in the second case, they will be able to both drive with up to 10mA or sink up to 25mA.
The Servo Click Board™ also has an accurate 16bit A/D converter the LTC2497 from Analog Devices used to sample the voltage drop across the shunt resistor on each of the 16 channels giving feedback on the servo current consumption. The ADC uses an accurate reference of 2.048V provided by an onboard reference voltage regulator MAX6106 from Maxim Integrated. An extremely low noise of this ADC coupled with a low reference voltage allows small voltage drops across the shunt resistor to be accurately converted.
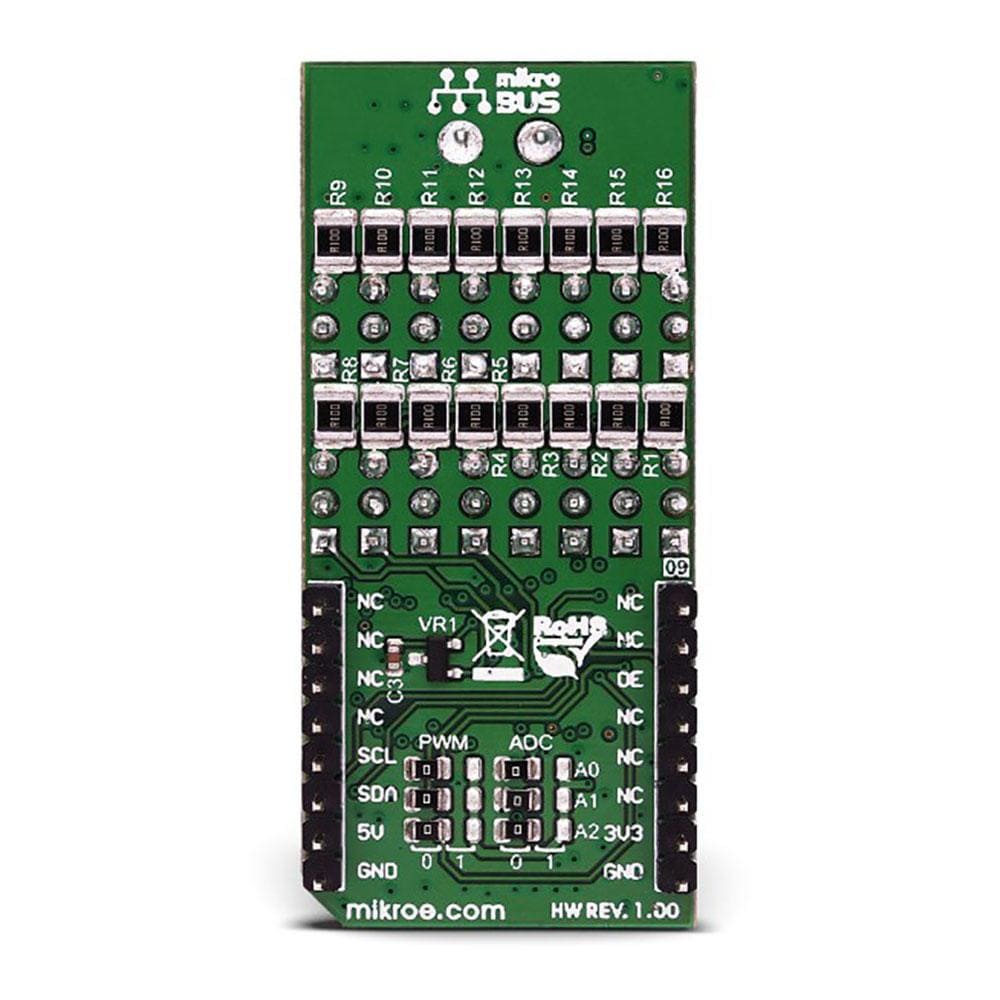
The Servo Click Board™ communicates with MCU using the standard I2C 2-Wire interface with a frequency up to 100kHz in the Standard, up to 400 kHz in the Fast, and up to 1MHz in the Fast-Plus mode. There are two more SMD jumpers, labelled as the PWM and ADC, located at the bottom of the Click board™ that allows selection of the slave I2C address for each of the two onboard ICs. It also has an external connector that can provide more power for servos that operate with heavier loads. That's why the SMD jumper labelled as VCC MOT should be at the EXT position. In this case, an external PSU that can provide more current can be used.
The PCA9685 also offers Output Enable pin, routed to the mikroBUS™ CS pin, labelled as the OE. A LOW logic level on this pin will set all the outputs to the predefined logic state, turning the PWM generators OFF. This may either leave the servo into the fixed position or turn it down completely, depending on the servo model.
The Servo Click Board™ is designed to be operated with both 3.3V and 5V logic voltage levels that can be selected via VCC SEL jumper. This allows for both 3.3V and 5V capable MCUs to use the I2C communication lines properly.
SPECIFICATIONS
Type | Servo |
Applications | The Servo Click Board™ can be used in applications when a large number of servos needs to be easily controlled in the movie or theater industry (animatronics), robotics, RC toys, and similar. |
On-board modules | The Servo Click Board™ is based on the PCA9685, an integrated 12-bit 16-channel PWM driver which can be configured to either sink 25mA per channel or drive each channel sourcing up to 10mA from NXP. |
Key Features | PWM driver with voltage sensing circuitry, programmable frequency, output enable and software reset feature, supports hot insertion, low standby current, and more. |
Interface | I2C |
Compatibility | mikroBUS |
Click board size | L (57.15 x 25.4 mm) |
Input Voltage | 3.3V or 5V |
PINOUT DIAGRAM
This table shows how the pinout on the Servo Click Board™ corresponds to the pinout on the mikroBUS™ socket (the latter shown in the two middle columns).
Notes | Pin | Pin | Notes | ||||
---|---|---|---|---|---|---|---|
NC | 1 | AN | PWM | 16 | NC | ||
NC | 2 | RST | INT | 15 | NC | ||
Output Enable | OE | 3 | CS | RX | 14 | NC | |
NC | 4 | SCK | TX | 13 | NC | ||
NC | 5 | MISO | SCL | 12 | SCL | I2C Clock | |
NC | 6 | MOSI | SDA | 11 | SDA | I2C Data | |
Power supply | 3.3V | 7 | 3.3V | 5V | 10 | 5V | Power supply |
Ground | GND | 8 | GND | GND | 9 | GND | Ground |
ONBOARD SETTINGS AND INDICATORS
Label | Name | Default | Description |
---|---|---|---|
LD1 | PWR | - | Power LED indicator |
JP1 | VCC SEL | Left | Power Supply Voltage Selection 3V3/5V: Left position 3V3, Right position 5V |
JP2 | VCC MOT | Left | Servo Motor Power Source Selection: Left position External, Right position 5V |
JP3-JP5 | PWM ADR | Left | PCA9685 I2C Address Selection: Left position 0, Right position 1 |
JP6-JP8 | ADC ADR | Left | LTC2497 I2C Address Selection: Left position 0, Right position 1 |
HM1-HM16 | 1 - 16 | - | Servo Connection Headers |
SERVO CLICK ELECTRICAL SPECIFICATIONS
Description | Min | Typ | Max | Unit |
---|---|---|---|---|
Supply Voltage | -0.5 | - | 6 | V |
High Level Output Current | -10 | - | +10 | μA |
Low Level Output Current | 12 | 25 | - | mA |
Total Power Dissipation | - | - | 400 | mW |
Operating Temperature Range | -40 | - | +85 | °C |
Software Support
We provide a demo application for the Servo Click Board™ on our Libstock page, as well as a demo application (example), developed using MikroElektronika compilers. The demo can run on all the main MikroElektronika development boards.
Library Description
This library will allow you to control multiple servo motors at once.
Key Functions
void servo_init(uint8_t minPosition, uint8_t maxPosition, uint16_t lowResolution, uint16_t highResolution);
- Main click board initialization routine.void servo_setMode(uint8_t mode,uint8_t _data);
- Set's the operation mode of the click board.servo_sleep();
- The function needs to be set before setting the frequency.void servo_setFREQ(uint16_t freq)
; - Used for setting the frequency.void servo_setPosition(uint8_t motor, uint8_t position);
- Set the position of the selected servo motor.
Example Description
The application is composed of three sections:
- System Initialization - Initializes the I2C module and the CS pin as the output
- Application Initialization - Initializes the driver and the servo (setting the minimum and maximum servo motors position and resolutions). Default resolution is 1ms. The IC is set to Sleep mode in order to set the frequency, after which the working mode of the servo is set
- Application Task - (code snippet) - The servo motor is moved across three different positions: 0, 90, 180 - every two seconds. The current consumption is sampled while the servo transitions between these points
void applicationTask() { servo_setPosition(_SERVO_MOTOR_1, 0); Delay_ms( 2000 ); servo_setPosition(_SERVO_MOTOR_1, 90); Delay_ms( 1000 ); servo_setPosition(_SERVO_MOTOR_1, 180); Delay_ms( 2000 ); servo_setPosition(_SERVO_MOTOR_1, 90); Current = setvo_getCurrent(_SERVO_POSITIVE_CH0); IntToStr(Current , text); mikrobus_logWrite( "Current - ", _LOG_TEXT ); mikrobus_logWrite( text, _LOG_TEXT ); mikrobus_logWrite( " mA", _LOG_LINE ); Delay_ms( 1000 ); }
The full application code, and ready to use projects can be found on our Libstock page.
Other MikroElektronika libraries used in the example:
- I2C Library
- UART Library
- Conversions Library
- C_String Library
ADDITIONAL NOTES AND INFORMATION
Depending on the development board you are using, you may need a USB UART click, USB UART 2 click or RS232 click to connect to your PC, for development systems with no UART to USB interface available on the board. The terminal available in all MikroElektronika compilers, or any other terminal application of your choice, can be used to read the message.
MIKROSDK
The Servo Click Board™ is supported with mikroSDK - MikroElektronika Software Development Kit. To ensure proper operation of mikroSDK compliant click board demo applications, mikroSDK should be downloaded from the LibStock and installed for the compiler you are using.
Frequently Asked Questions
Have a Question?
Be the first to ask a question about this.