Fingerabdruck 3 Click Board
Overview
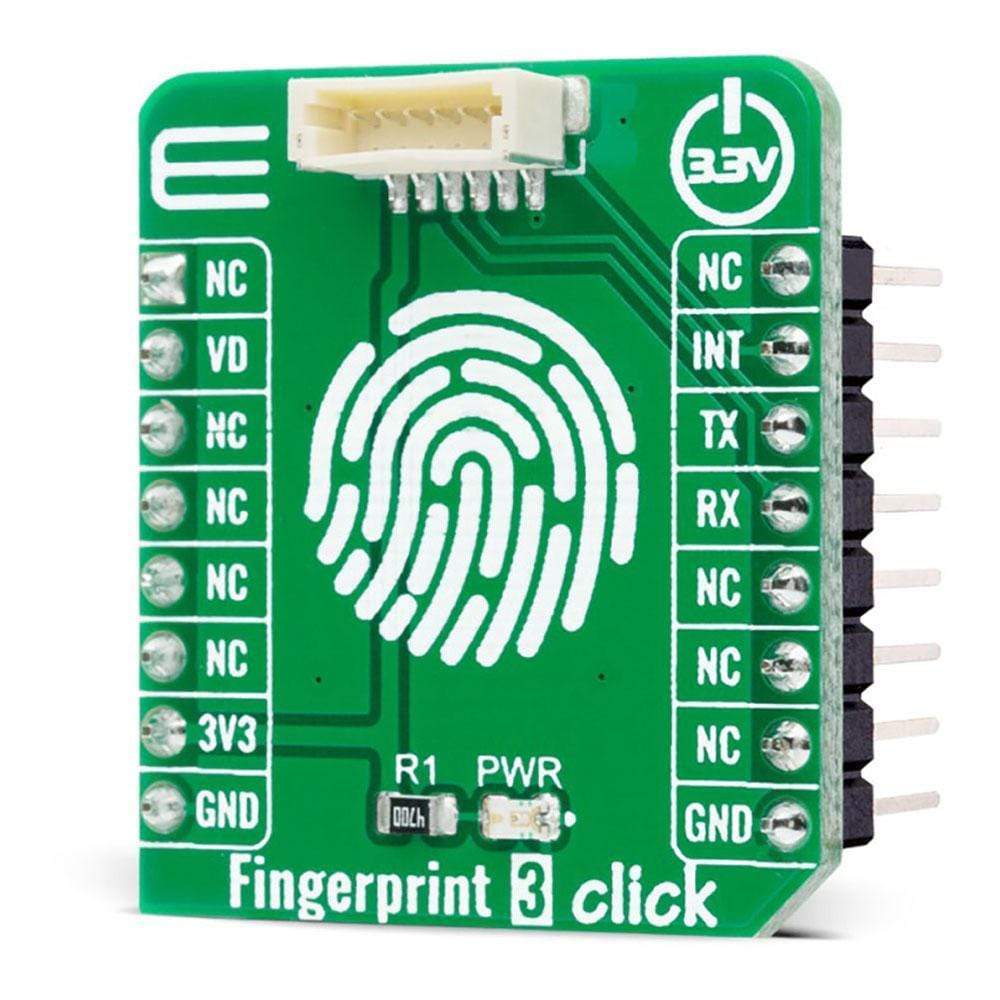
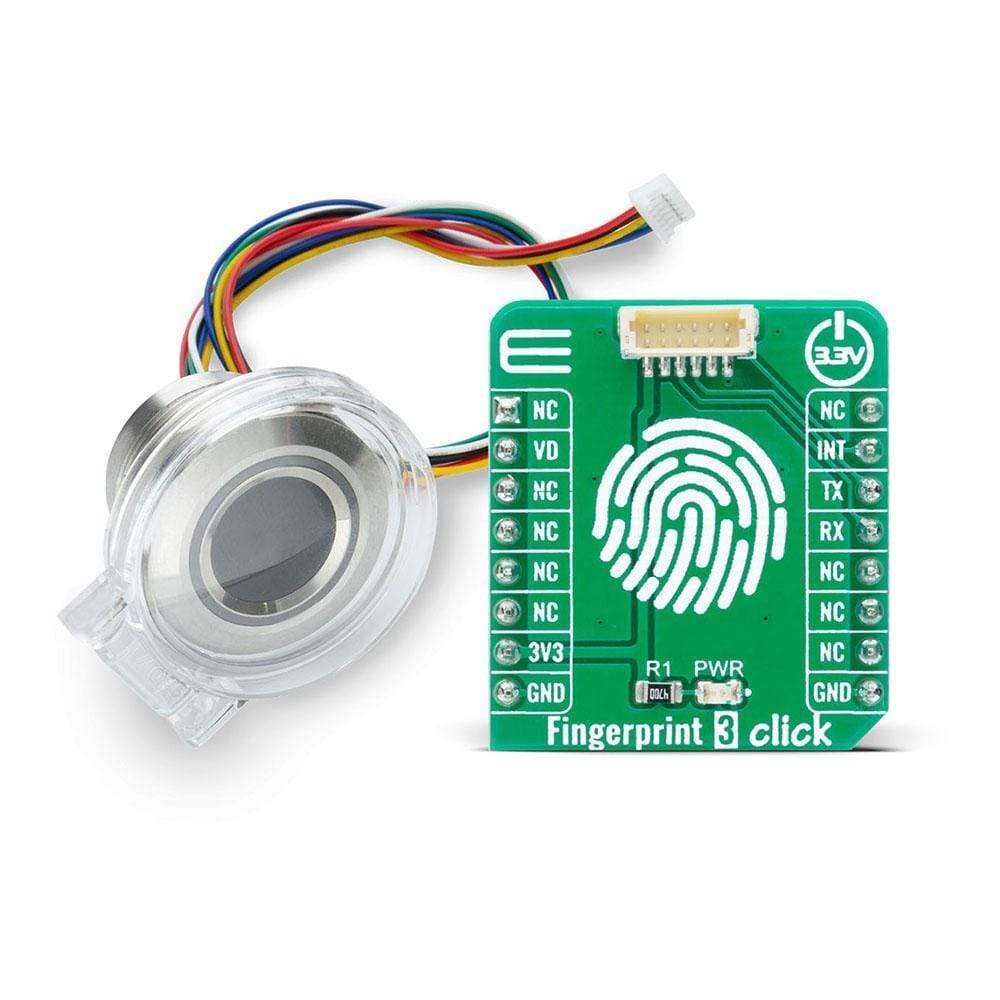
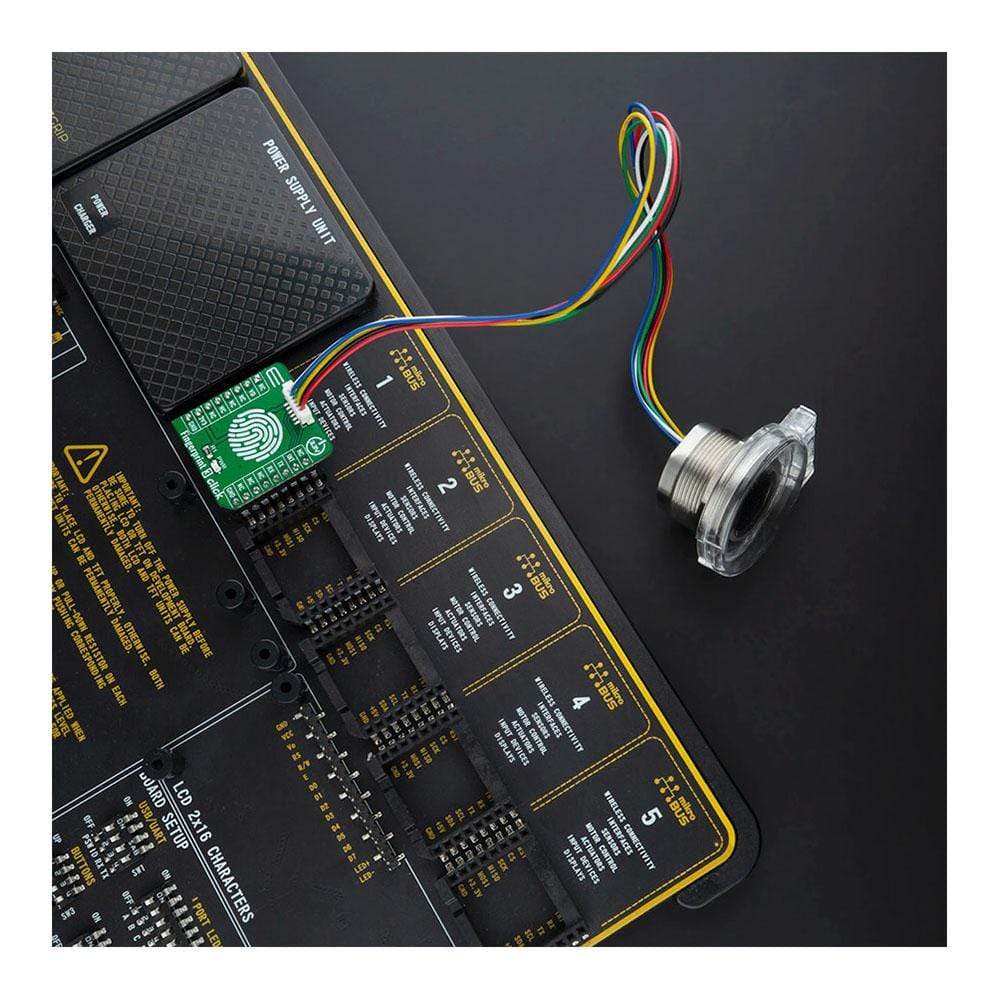
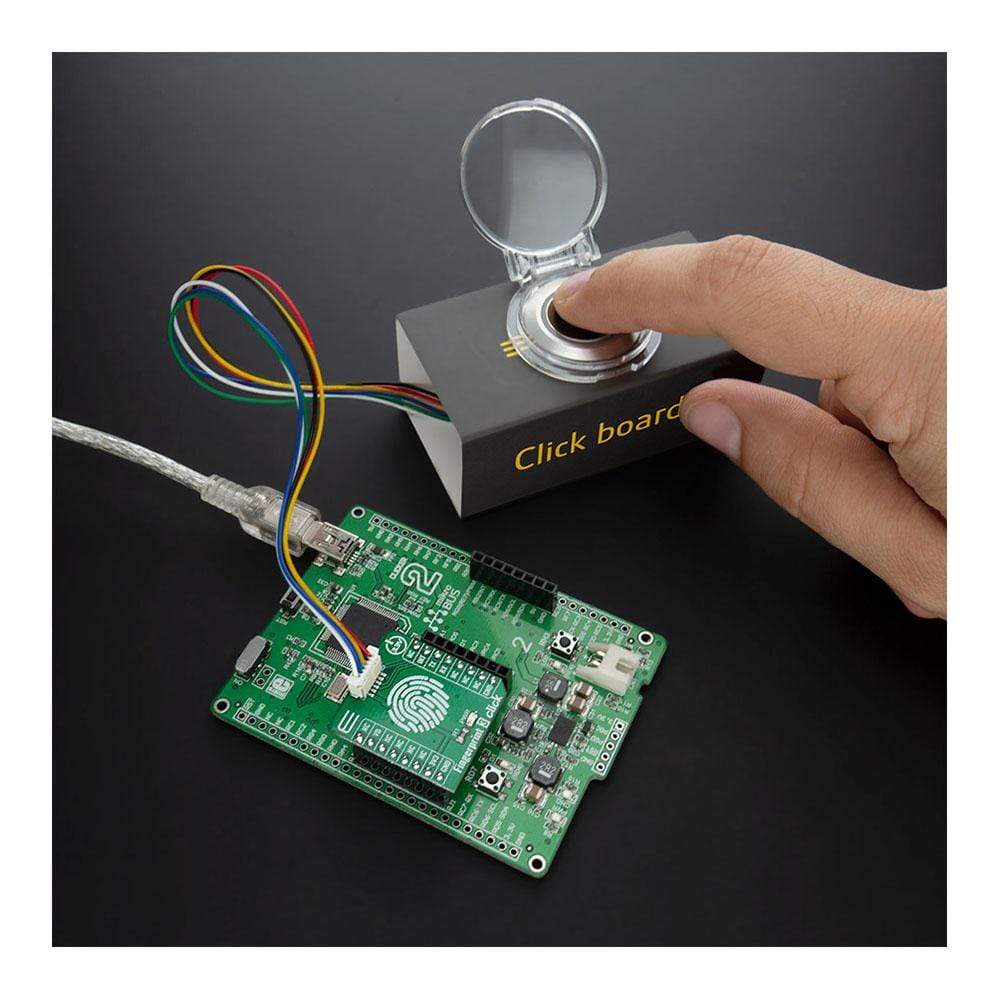
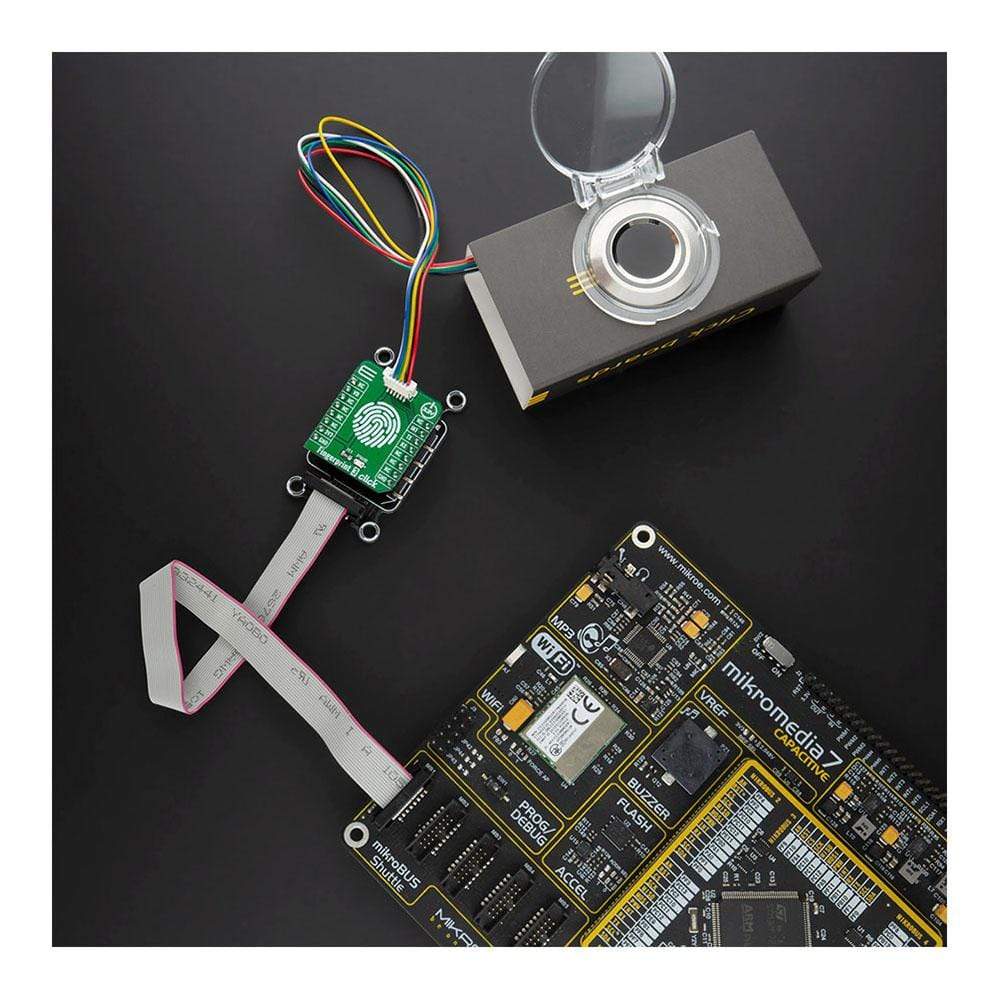
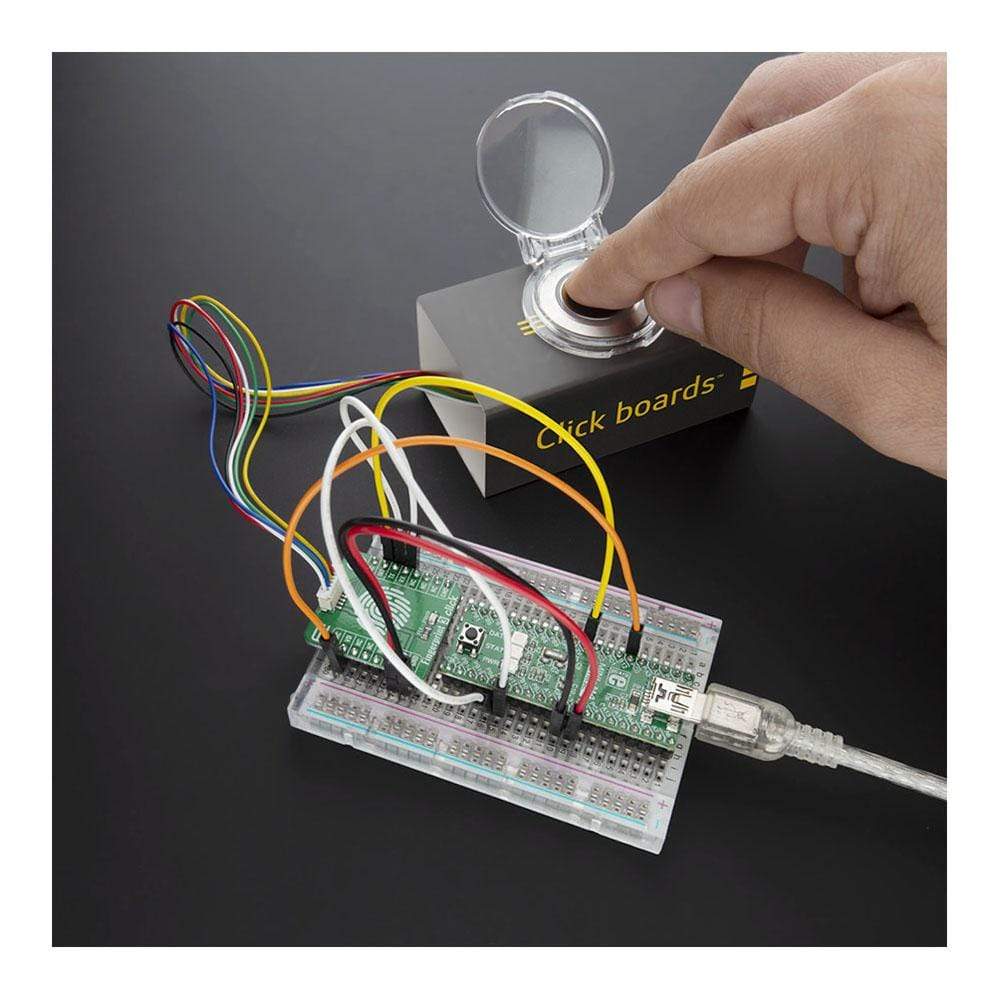
Das Fingerprint 3 Click Board™ ist ein Adapter Click Board™, der zur Verbindung eines kompatiblen Fingerabdrucksensors mit zweifarbigem LED-Ring mit der Host-MCU verwendet wird. Mit diesem Click Board™ können Benutzer ihre Projekte mit einem biometrischen All-in-One-Fingerabdrucksensor sichern, der die Fingerabdruckerkennung und -überprüfung supereinfach macht. Es gibt eine breite Palette von Anwendungen, in denen Fingerprint 3 Click implementiert werden kann: Es kann in eine Vielzahl von Endprodukten wie Zugangskontrolle, Anwesenheitskontrolle oder Bankschließfächer eingebettet werden, wodurch der Benutzer biometrische Sicherheit auf einfachste und schnellste Weise in sein Design integrieren kann.
Fingerprint 3 Click wird von einer mikroSDK-kompatiblen Bibliothek unterstützt, die Funktionen enthält, die die Softwareentwicklung vereinfachen. Dieses Click Board™ wird als vollständig getestetes Produkt geliefert und ist bereit für den Einsatz auf einem System, das mit der mikroBUS™-Buchse ausgestattet ist.
HINWEIS: Der Sensor wird nicht im selben Paket wie dieses Click Board™ geliefert. Ein Komplettpaket finden Sie auf der Fingerprint 3 Click-Bundle-Seite.
How Does The Fingerprint 3 Click Board™ Work?
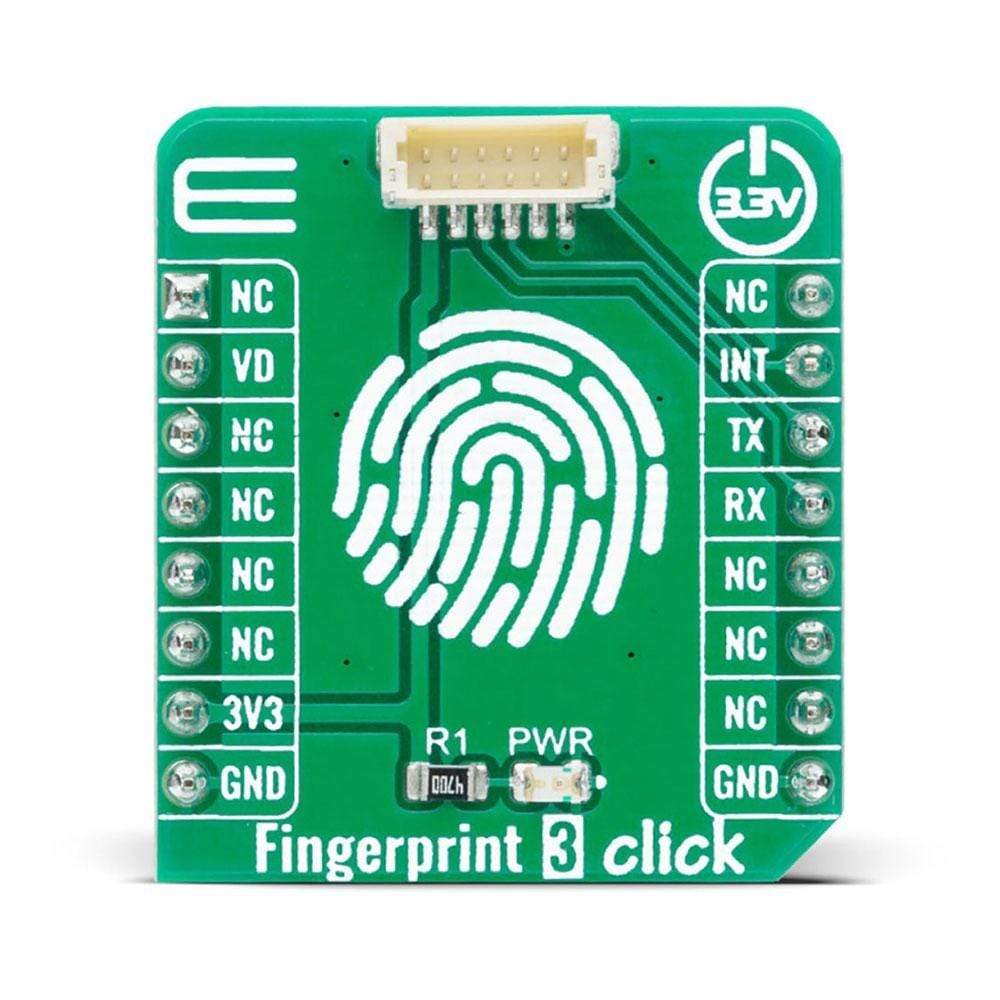
The Fingerprint 3 Click Board™ simplifies the connection of add-on boards to the mikroBUS™ socket. This Click board™ represents a small-size PCB that can be connected to the mikroBUS™ socket like any other Click board™, with a 1x6 1.0mm pitch vertical type wire to board connector placed on itself. Each of the header pins is corresponding to a pin on the mikroBUS™ socket being used such as UART lines (TX, RX), 3V3 power supply, finger detection signal and Ring LED enable for GROW R503 module, and ground. This Click board™ allows easy pin access and manipulation while retaining a perfect connection quality at all times.
Fingerprint processing includes two parts: fingerprint recording and fingerprint matching. The first step is the initialization of all the necessary drivers, peripherals, and pins. At power-on, it takes about 200ms for initialization, and during this period the module can't accept any commands. This is followed by checking the sensor and verifying the module password, after which, if everything is done correctly, the creation of a new fingerprint pattern begins. The user needs to enter the finger two times. The system will process the two-time finger images, generate a template of the finger based on processing results, and store the template. When matching, a user enters the finger through an optical sensor, and the system will generate a template of the finger and compare it with templates of the finger library. In both circumstances, the system will return the matching result, success, or failure. This can also be seen in an example code that contains easy to use functions that may be used as a reference for further development.
The Fingerprint 3 Click Board™ communicates with MCU using the UART interface with the default baud rate of 57600bps for the data transfer, while the GPIO pins on this Click board™ are used for finger detection and ring indicator LED enable. Ring indicator LED light labeled as VD can be enabled by toggling the signal routed to the RST pin on the mikroBUS™, while the signal routed to the INT pin on the mikroBUS™ represents an interrupt and indicates detection of a finger on the module. When the indicator glow with purple color, that means the module is in its Stand-By mode and waits for a finger to be pressed. In addition to purple, the module can also glow blue or red, which indicates the correctness of the fingerprint match (blue indicates that a pair is found, while red indicates that a pair was not found).
This Click board™ is designed to be operated only with a 3.3V logic voltage level. A proper logic voltage level conversion should be performed before the Click board™ is used with MCUs with different logic levels. However, the Click board™ comes equipped with a library that contains easy to use functions and an example code that can be used as a reference for further development.
SPECIFICATIONS
Type | Adapter,Fingerprint |
Applications | The Fingerprint 3 Click Board™ is adapter with socket for the capacitive fingerprint sensor module scanner with a two-color ring indicator. |
On-board modules | The Fingerprint 3 Click Board™ is adapter with socket for the capacitive fingerprint sensor module scanner with a two-color ring indicator. |
Key Features | Integrated image collecting, ring indicator, dust resistant, high recognition rate and the flexibility to adapt on different conditions of human finger, and more. |
Interface | UART |
Compatibility | mikroBUS |
Click board size | S (28.6 x 25.4 mm) |
Input Voltage | 3.3V |
PINOUT DIAGRAM
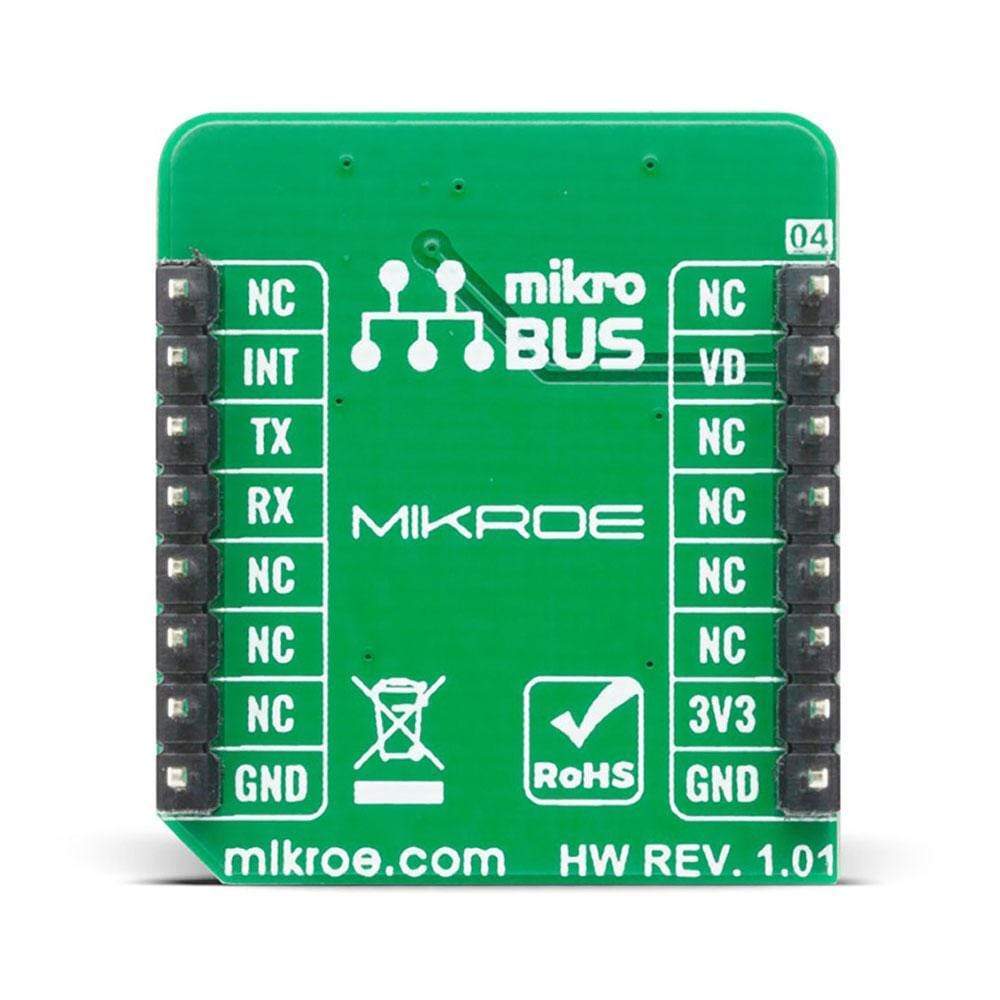
This table shows how the pinout on the Fingerprint 3 Click Board™ corresponds to the pinout on the mikroBUS™ socket (the latter shown in the two middle columns).
Notes | Pin | Pin | Notes | ||||
---|---|---|---|---|---|---|---|
NC | 1 | AN | PWM | 16 | NC | ||
Ring Indicator LED Enable | VD | 2 | RST | INT | 15 | INT | Fingerprint Detection |
NC | 3 | CS | RX | 14 | RX | UART RX | |
NC | 4 | SCK | TX | 13 | TX | UART TX | |
NC | 5 | MISO | SCL | 12 | NC | ||
NC | 6 | MOSI | SDA | 11 | NC | ||
Power Supply | 3.3V | 7 | 3.3V | 5V | 10 | NC | |
Ground | GND | 8 | GND | GND | 9 | GND | Ground |
ONBOARD SETTINGS AND INDICATORS
Label | Name | Default | Description |
---|---|---|---|
LD1 | PWR | - | Power LED Indicator |
Software Support
We provide a library for the Fingerprint 3 Click Board™ on our LibStock page, as well as a demo application (example), developed using MikroElektronika compilers. The demo can run on all the main MikroElektronika development boards.
Library Description
The library covers all the necessary functions to control the Fingerprint 3 Click Board™. A library performs the communication with the device via UART interface.
Key Functions
void fingerprint3_parser_rsp ( fingerprint3_rsp_t *response )
- Response parser function.uint8_t fingerprint3_byte_ready ( void )
- Check for new byte received.void fingerprint3_uart_write ( uint8_t *tx_data, uint8_t n_bytes )
- Uart write function.
Example Description
The application is composed of three sections :
- System Initialization - Initializes UART used for communication and another UART bus used for data logging.
- Application Initialization - Initializes UART driver, check the sensor, verify module password and then start registering a new fingerprint pattern.
- Application Task - (code snippet) - This is an example that demonstrates the use of the Fingerprint 3 Click board. Fingerprint 3 Click stores the new fingerprint pattern which shortly after compares with new fingerprint scans for a match, infinitely. Results are being sent to the Usart Terminal where you can track their changes.
void application_task ( ) { if ( fingerprint3_finger_indicator( ) == FINGERPRINT3_DETECT_FINGER ) { fingerprint3_buf_clear( ); mikrobus_logWrite( "---------------------------------", _LOG_LINE ); mikrobus_logWrite( " >>> Verification in progress... ", _LOG_LINE ); Delay_ms( 2000 ); fingerprint3_uart_write( &gen_img[ 0 ], 12 ); Delay_ms( 500 ); fingerprint3_parser_rsp( &rsp ); Delay_ms( 100 ); if ( rsp.confirm_code == FINGERPRINT3_OK ) { fingerprint3_uart_write( &img_2_tz_2[ 0 ], 13 ); Delay_ms( 500 ); fingerprint3_buf_clear( ); } fingerprint3_uart_write( ®_model[ 0 ], 12 ); Delay_ms( 100 ); fingerprint3_buf_clear( ); fingerprint3_uart_write( &fingerprint_match[ 0 ], 12 ); Delay_ms( 500 ); fingerprint3_parser_rsp( &rsp ); fingerprint3_display_match_score( ); Delay_ms( 3000 ); mikrobus_logWrite( " >>> Comparing Fingerprints <<< ", _LOG_LINE ); mikrobus_logWrite( "- - - - - - - - - - - - - - - - -", _LOG_LINE ); mikrobus_logWrite( " Place your finger on the sensor ", _LOG_LINE ); } else { fingerprint3_uart_write( &aura_led_config_purple[ 0 ], 16 ); Delay_ms( 2000 ); fingerprint3_buf_clear( ); } }
void fingerprint3_display_rsp ( void )
- Display response function.void fingerprint3_display_match_score ( void )
- Display match score function.void log_write ( uint8_t *str_buf, uint8_t str_type )
- Wrapper mikrobus_logWrite for driver function.void byte_to_str ( uint8_t byte_buf, uint8_t *log_text )
- Wrapper ByteToStr for driver function.void byte_to_hex ( uint8_t byte_buf, uint8_t *log_text )
- Wrapper ByteToHex for driver function.void long_word_to_hex ( uint32_t long_word_buf, uint8_t *log_text )
- Wrapper LongWordToHex for driver function.
The full application code, and ready to use projects can be found on our LibStock page.
Other mikroE Libraries used in the example:
- UART
- Conversions
Additional notes and informations
Depending on the development board you are using, you may need USB UART click, USB UART 2 click or RS232 click to connect to your PC, for development systems with no UART to USB interface available on the board. The terminal available in all MikroElektronika compilers, or any other terminal application of your choice, can be used to read the message.
mikroSDK
The Fingerprint 3 Click Board™ is supported with mikroSDK - MikroElektronika Software Development Kit. To ensure proper operation of mikroSDK compliant Click board™ demo applications, mikroSDK should be downloaded from the LibStock and installed for the compiler you are using.
Frequently Asked Questions
Have a Question?
Be the first to ask a question about this.