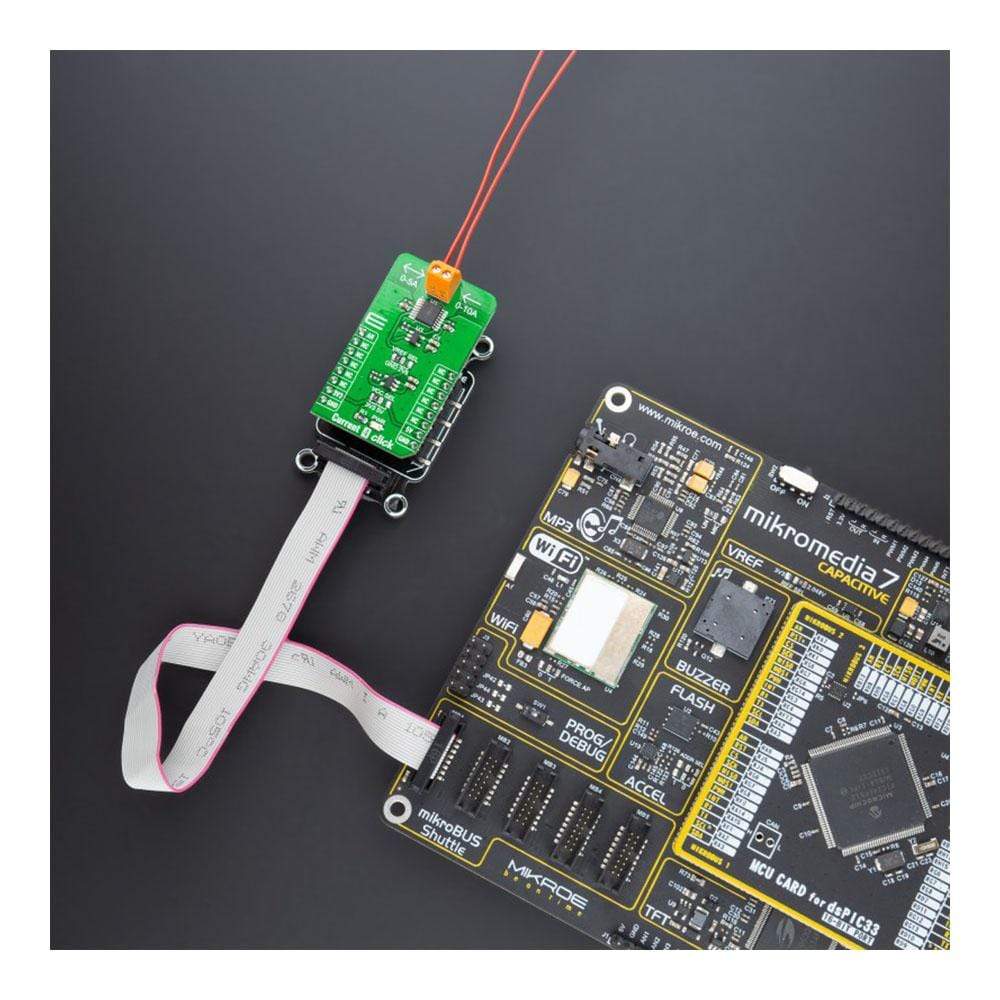
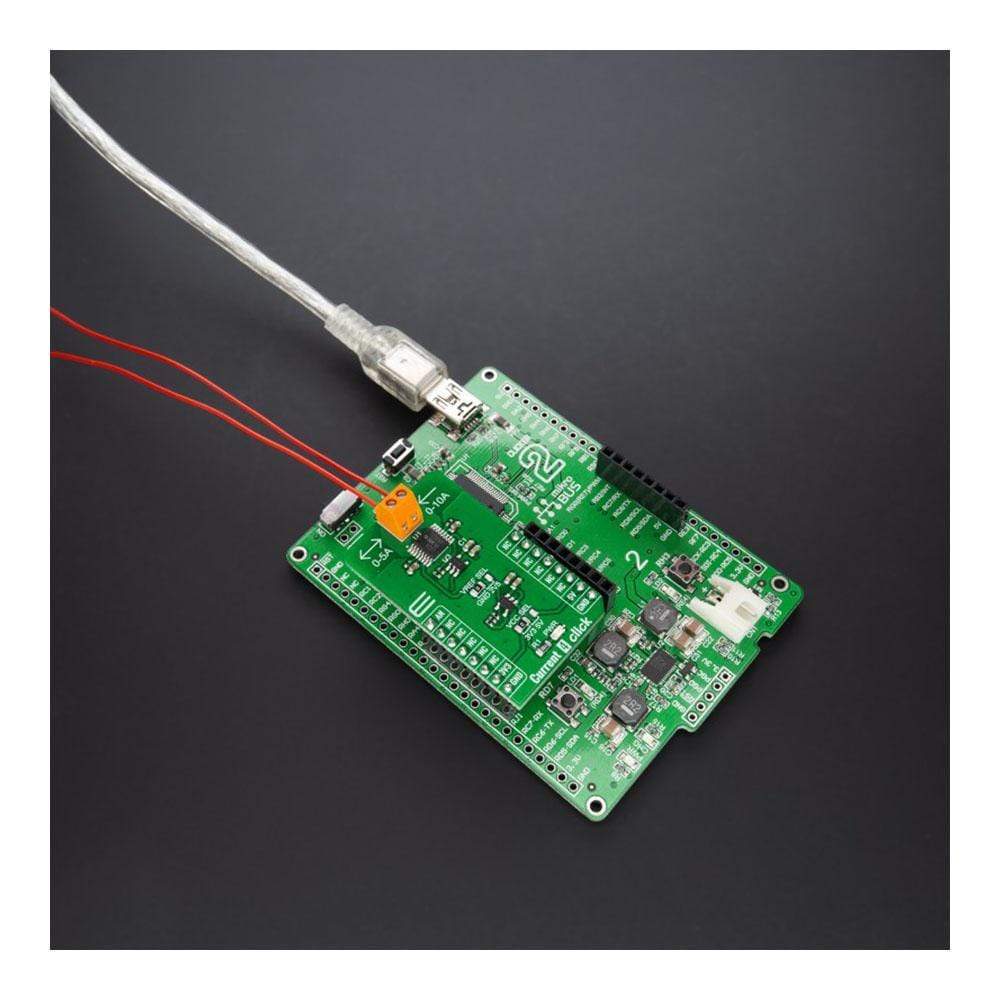
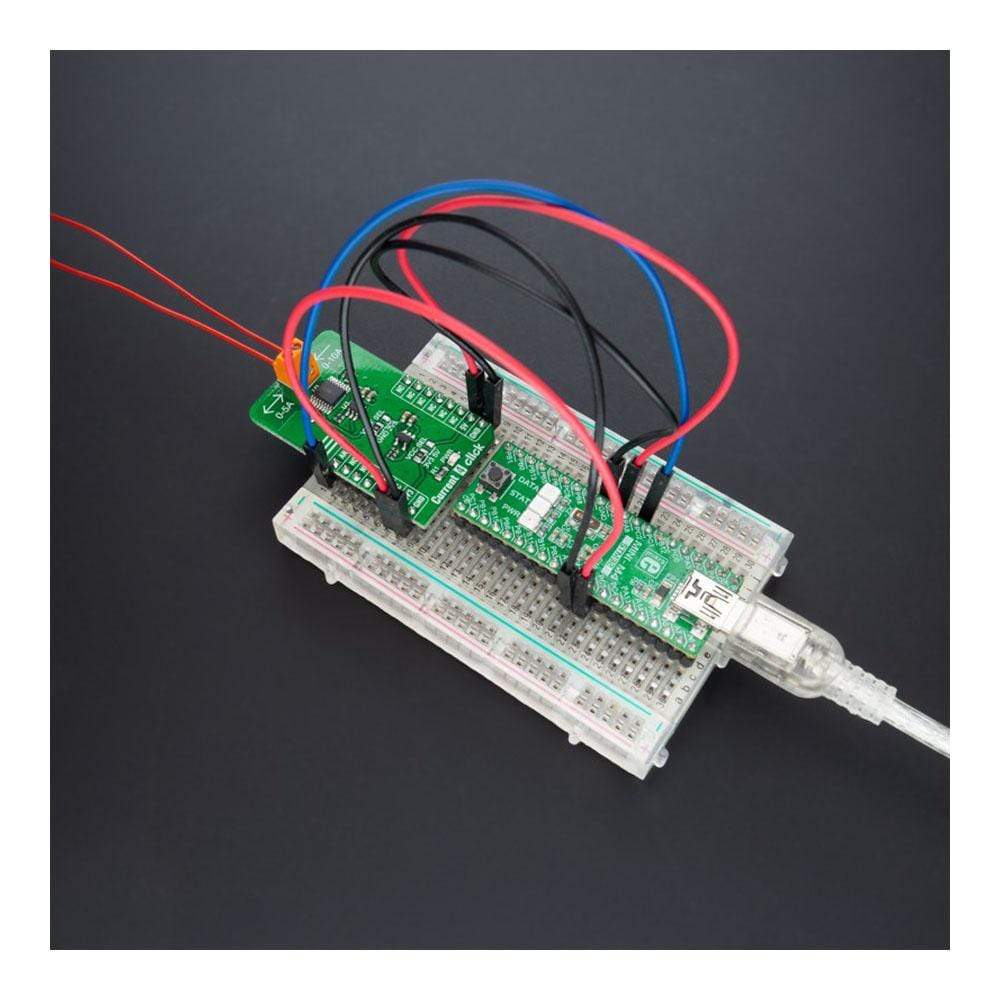
Aktuelles 4 Click Board
Overview
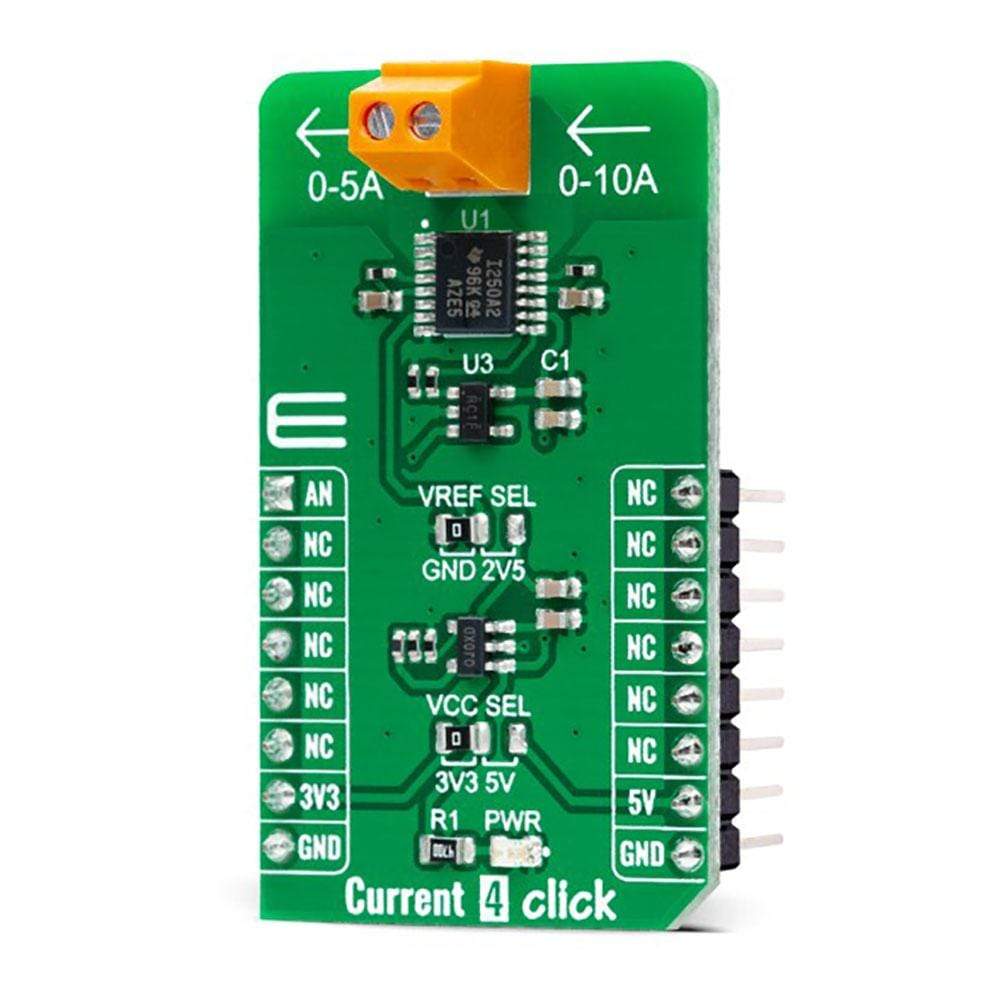
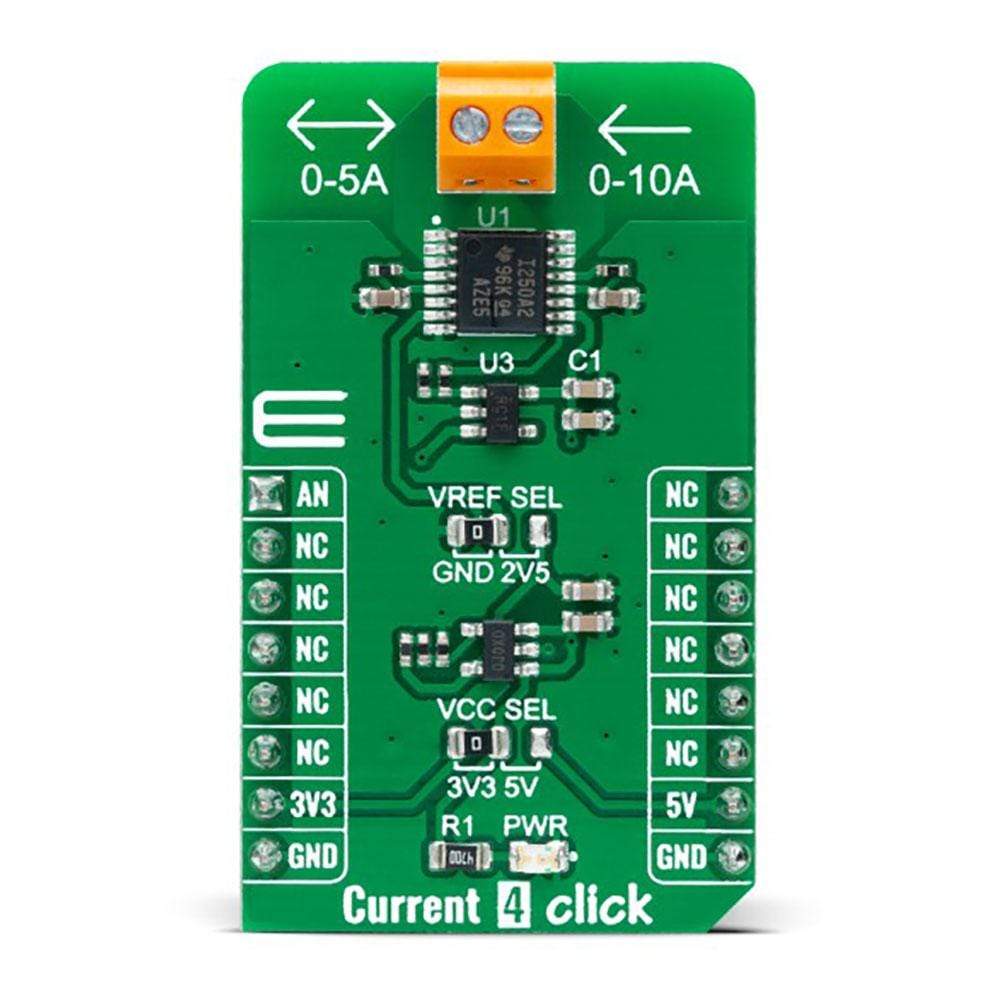
Der Aktuelles 4 Click Board™ ist eine kompakte Zusatzplatine, die eine präzise und genaue Stromerfassungslösung bietet. Diese Platine verfügt über den INA250, einen bidirektionalen Stromshunt-Monitor mit Nulldrift von Texas Instruments. Dieser Stromerfassungsverstärker mit Spannungsausgang misst die Spannung, die über dem internen Stromerfassungswiderstand entsteht, wenn Strom durch ihn fließt. Durch Auswahl der Referenzspannung ermöglicht der INA250 Benutzern außerdem, sowohl unidirektionale als auch bidirektionale Ströme durch den Stromerfassungswiderstand zu messen. Dieses Click Board™ bietet höhere Leistung für Anwendungen wie Test und Messung, Lastüberwachung und Stromversorgung, Automobil und vieles mehr.
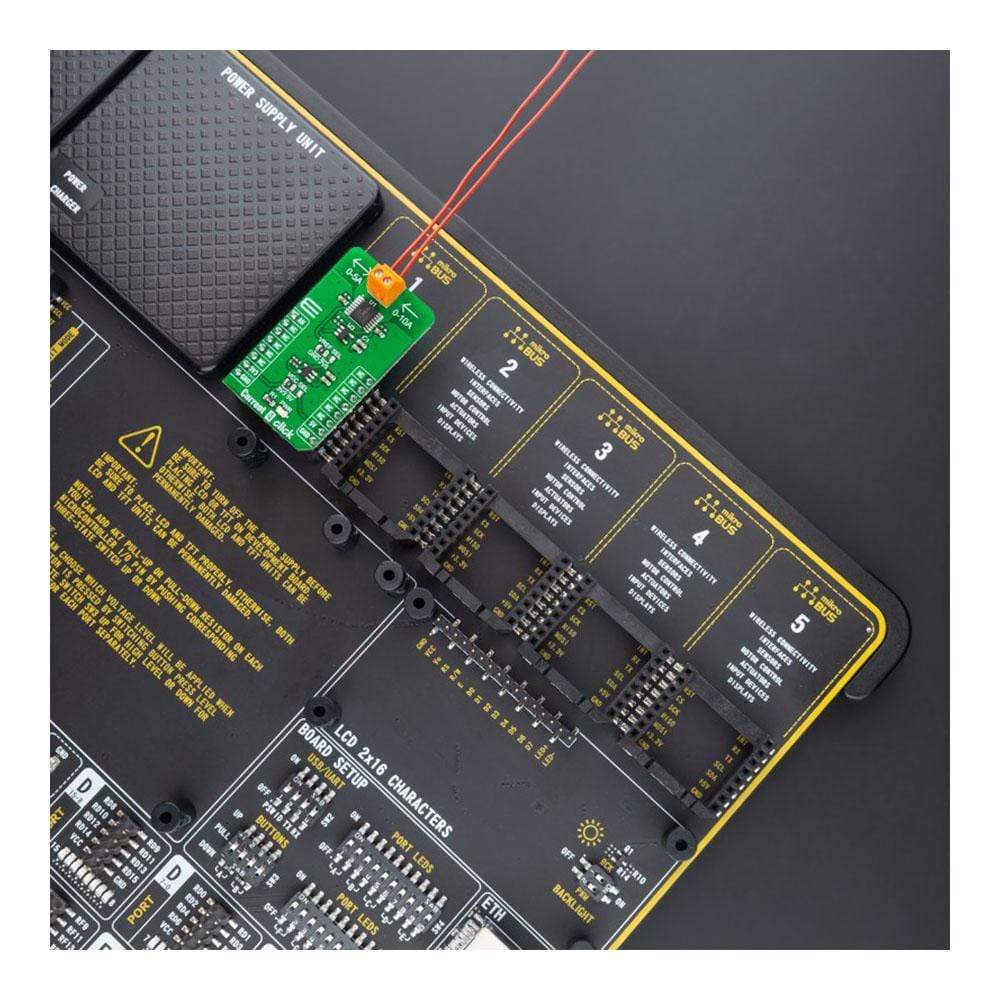
Der Aktuelles 4 Click Board™ wird durch eine mikroSDK-kompatible Bibliothek unterstützt, die Funktionen enthält, die die Softwareentwicklung vereinfachen. Dieses Click Board™ wird als vollständig getestetes Produkt geliefert und ist bereit für den Einsatz auf einem System, das mit der mikroBUS™-Buchse ausgestattet ist.
How Does The Current 4 Click Board™ Work?
The Current 4 Click Board™ as its foundation uses the INA250, a current-sense amplifier with a high-precision, low-drift shunt resistor which can deliver highly accurate measurements over a wide temperature range from Texas Instruments. The INA250 measures the voltage developed across the internal current-sensing resistor when current passes through it. The integrated 2mΩ shunt resistor offers 0.1% tolerance and a low drift of 15pmm/°C, enabling the higher performance of the end equipment. This amplifier allows for high-accuracy current measurements at common-mode voltages and offers a maximum error of 0.84% over the temperature range from -40 to +125°C.
The Current 4 Click Board™ communicates with MCU using only one pin routed on the AN pin of the mikroBUS™ socket. The output analogue signal from INA250 is forwarded to the input of the operational amplifier, the LMV321 low-voltage rail-to-rail OpAmp from Texas Instruments, which represents the most cost-effective solution for applications where low voltage operation is needed. The output of the LMV321 OpAmp has a stable unity-gain, acting as a buffer so that the host MCU can sample the output voltage of the INA250 via the AN pin of the mikroBUS™ socket.
The INA250 can be configured to measure both unidirectional and bidirectional currents through the reference voltage level. For unidirectional operation, the reference pin should be tied to the ground. When the current increases, the output signal also increases upwards from this reference voltage (or ground in this case). For bidirectional currents, an external voltage source can be used as the reference voltage, in this case, a low dropout linear regulator AP7331 from Diodes Incorporated to provide the 2.5V reference supply voltage for the INA250. The reference voltage level can be selected by positioning the SMD jumper labelled VREF SEL to an appropriate position choosing between 2.5V provided by AP7331 or GND.
The Current 4 Click Board™ can operate with both 3.3V and 5V logic voltage levels selected via the VCC SEL jumper. This way, it allows both 3.3V and 5V capable MCUs to use the communication lines properly. However, the Click board™ comes equipped with a library containing easy-to-use functions and an example code that can be used, as a reference, for further development.
Specifications
Type | Measurements |
Applications | Can be used for applications such as test and measurement, load monitoring and power supplies, automotive, and many more |
On-board modules | INA250 - current-sense amplifier with a high-precision, low-drift shunt resistor which can deliver highly accurate measurements over a wide temperature range from Texas Instruments |
Key Features | Low power consumption, a precise integrated shunt resistor, high accuracy, 500mV/A gain, zero-drift, uni/bidirectional current measurements, and more |
Interface | Analog |
Compatibility | mikroBUS |
Click board size | M (42.9 x 25.4 mm) |
Input Voltage | 3.3V or 5V |
Pinout diagram
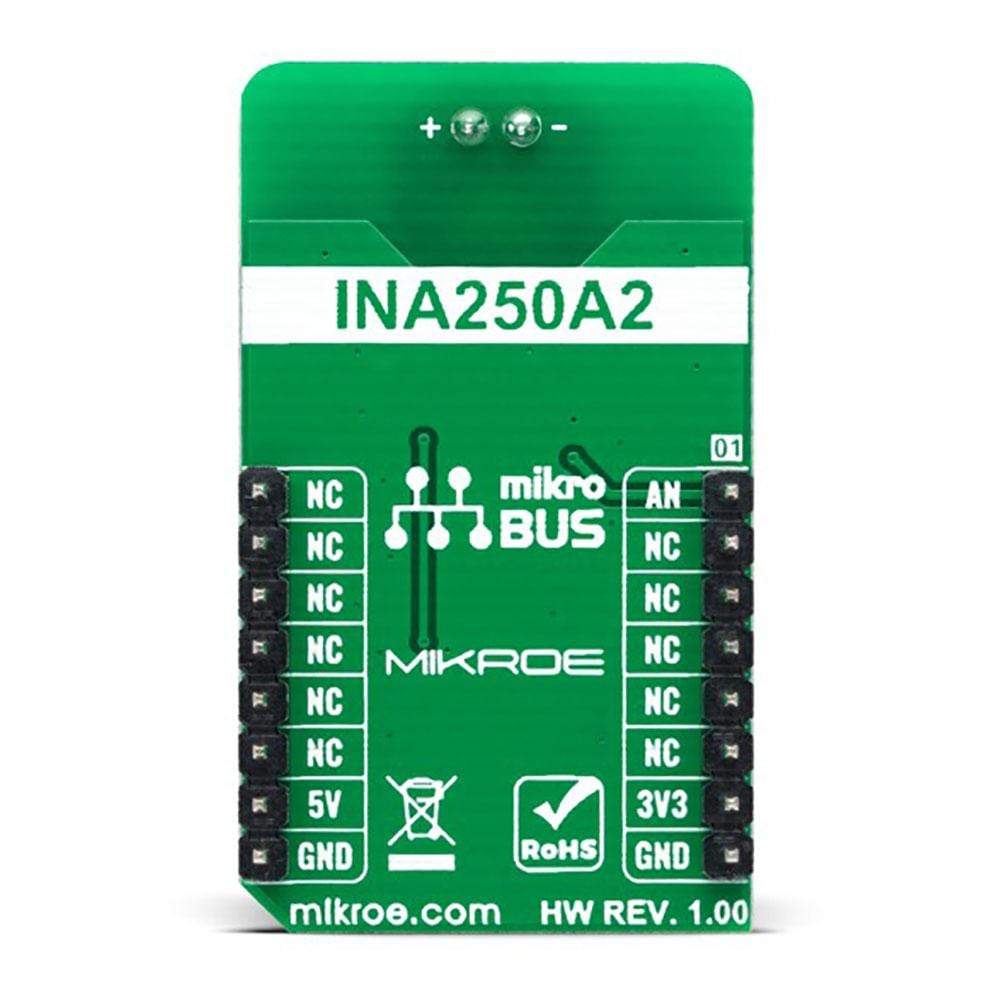
This table shows how the pinout on Current 4 Click corresponds to the pinout on the mikroBUS™ socket (the latter shown in the two middle columns).
Notes | Pin | Pin | Notes | ||||
---|---|---|---|---|---|---|---|
Analog Signal | AN | 1 | AN | PWM | 16 | NC | |
NC | 2 | RST | INT | 15 | NC | ||
NC | 3 | CS | RX | 14 | NC | ||
NC | 4 | SCK | TX | 13 | NC | ||
NC | 5 | MISO | SCL | 12 | NC | ||
NC | 6 | MOSI | SDA | 11 | NC | ||
Power Supply | 3.3V | 7 | 3.3V | 5V | 10 | 5V | Power Supply |
Ground | GND | 8 | GND | GND | 9 | GND | Ground |
Onboard settings and indicators
Label | Name | Default | Description |
---|---|---|---|
LD1 | PWR | - | Power LED Indicator |
JP1 | VCC SEL | Left | Logic Level Voltage Selection 3V3/5V: Left position 3V3, Right position 5V |
JP2 | VREL SEL | Left | Reference Voltage Level Selection GND/2V5: Left position GND, Right position 2V5 |
Current 4 Click electrical specifications
Description | Min | Typ | Max | Unit |
---|---|---|---|---|
Supply Voltage | 3.3 | - | 5 | V |
Analog Input Current | - | - | ±15 | A |
Shunt Resistance | - | 2 | - | mΩ |
Gain | - | 500 | - | mV/A |
Operating Temperature Range | -40 | +25 | +125 | °C |
Software Support
We provide a library for the Current 4 Click Board™ as well as a demo application (example), developed using MikroElektronika compilers. The demo can run on all the main MikroElektronika development boards.
The package can be downloaded/installed directly from NECTO Studio Package Manager(recommended way), downloaded from our LibStock™ or found on Mikroe GitHub account.
Library Description
This library contains an API for the Current 4 Click driver.
Key Functions
current4_cfg_setup
- Config Object Initialization function.current4_init
- Initialization function.
Example Description
The demo application is composed of two sections :
void application_task ( void ) { float current4_load_current = 0; if ( ADC_ERROR != current4_read_load_current ( ¤t4, ¤t4_load_current ) ) { log_printf( &logger, " > Load current : %.2f[A]rn", current4_load_current ); log_printf( &logger, "**********************rn" ); } Delay_ms( 500 ); }
The full application code, and ready to use projects can be installed directly from NECTO Studio Package Manager(recommended way), downloaded from our LibStock™ or found on Mikroe GitHub account.
Other Mikroe Libraries used in the example:
- MikroSDK.Board
- MikroSDK.Log
- Click.Current4
Additional Notes and Information
Depending on the development board you are using, you may need a USB UART click, USB UART 2 click or RS232 click to connect to your PC, for development systems with no UART to USB interface available on the board. The terminal available in all MikroElektronika compilers, or any other terminal application of your choice, can be used to read the message.
mikroSDK
The Current 4 Click Board™ is supported with mikroSDK - MikroElektronika Software Development Kit. To ensure proper operation of mikroSDK compliant Click board™ demo applications, mikroSDK should be downloaded from the LibStock and installed for the compiler you are using.
Frequently Asked Questions
Have a Question?
Be the first to ask a question about this.