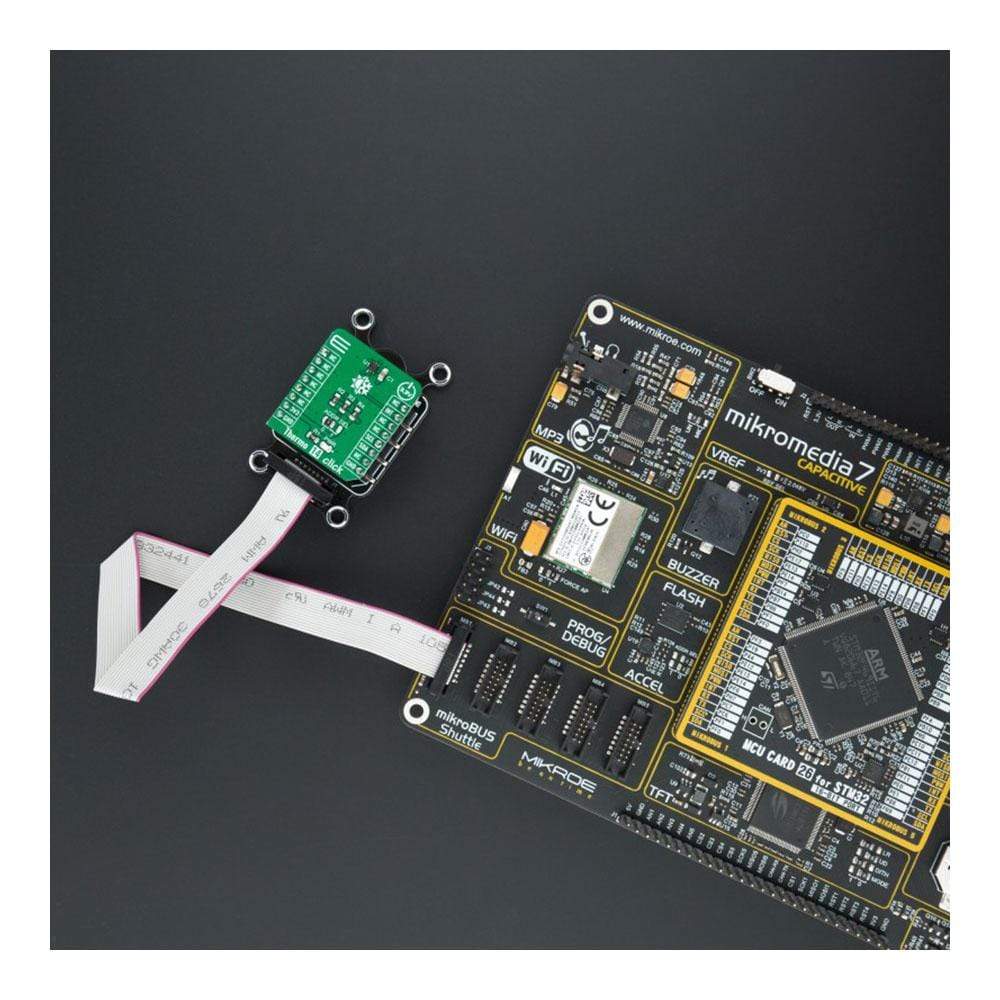
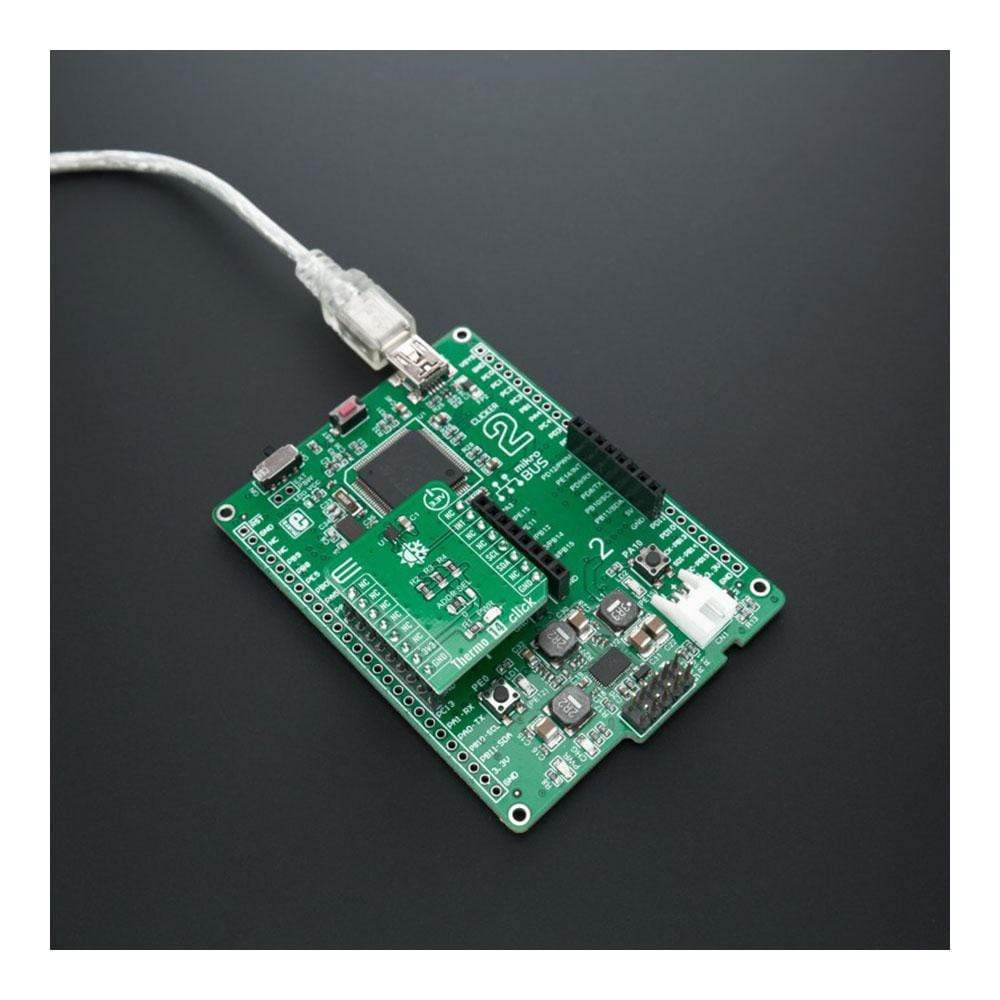
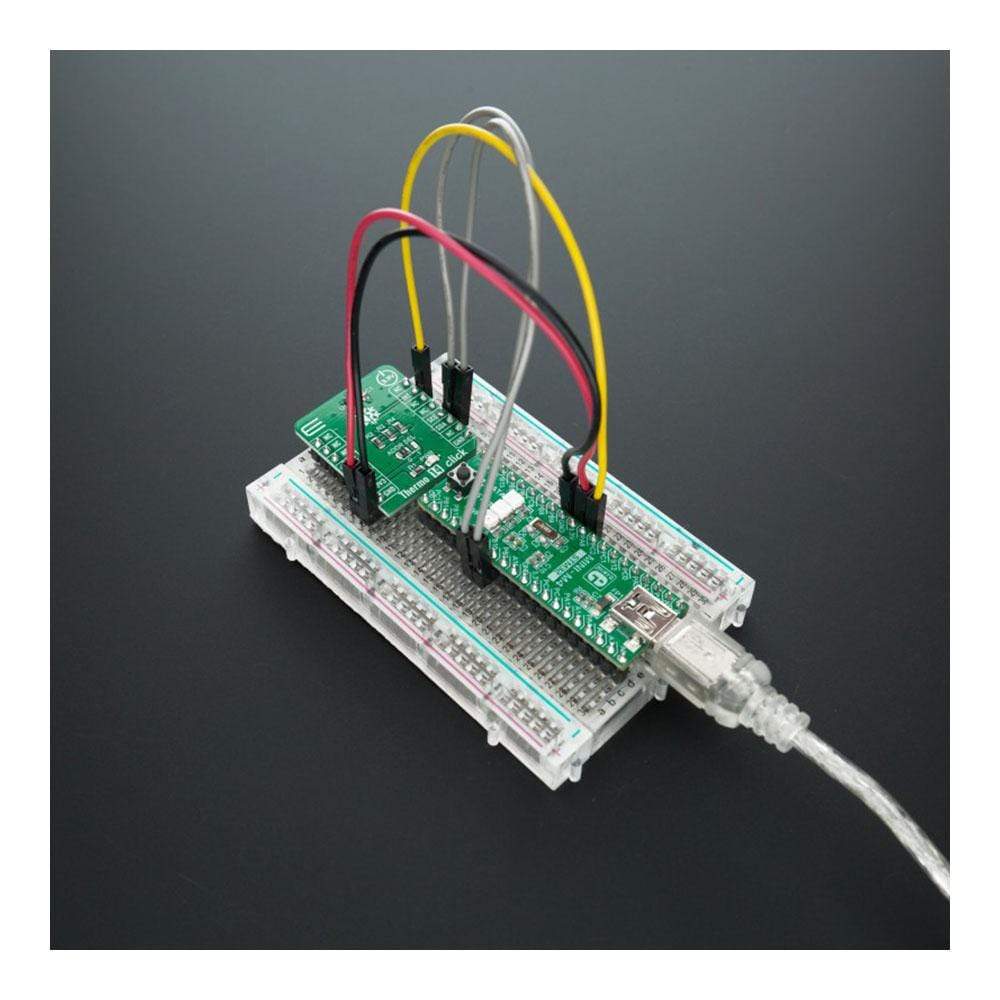
Carte à clic Thermo 14
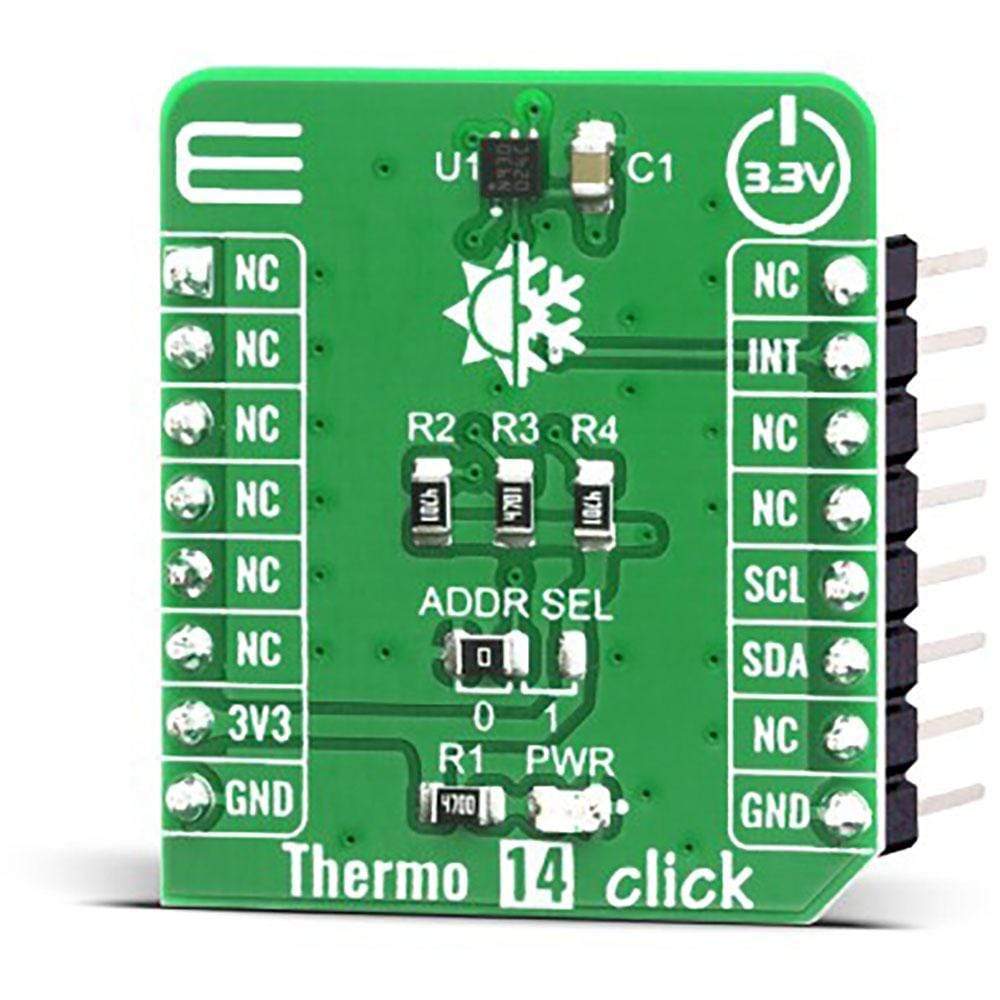
Le Thermo 14 Click Board™ utilise le capteur de température numérique STTS22H et le dispositif de surveillance thermique, qui peuvent mesurer des températures entre -40 °C et +125 °C afin que les données de mesure de température puissent être traitées par le microcontrôleur hôte. Le Thermo 14 Click Board™ offre une précision de ± 0,5 °C dans la plage de -10 °C à 60 °C.
Le capteur utilisé sur le Thermo 14 Click Board™ présente une excellente combinaison de fonctionnalités qui en font un choix parfait pour toute application de mesure de température : faible dérive de température, faible consommation d'énergie, moteur d'alerte programmable, taille de capteur compacte, avertissements de température critique, etc. Le capteur lui-même ne nécessite quasiment aucun composant externe, ce qui simplifie la conception, réduit les coûts et raccourcit les délais de mise sur le marché.
How Does The Thermo 14 Click Board™ Work?
The active temperature sensing component on the Thermo 14 Click Board™ is the STTS22H, a high accuracy temperature sensor IC with the 2-Wire interface, from STMicroelectronics. The sensor operating mode is user-configurable and allows selecting between different ODRs (down to 1 Hz) or the one-shot mode for battery saving. In one-shot mode, the sensor current consumption falls to 1.75 µA.
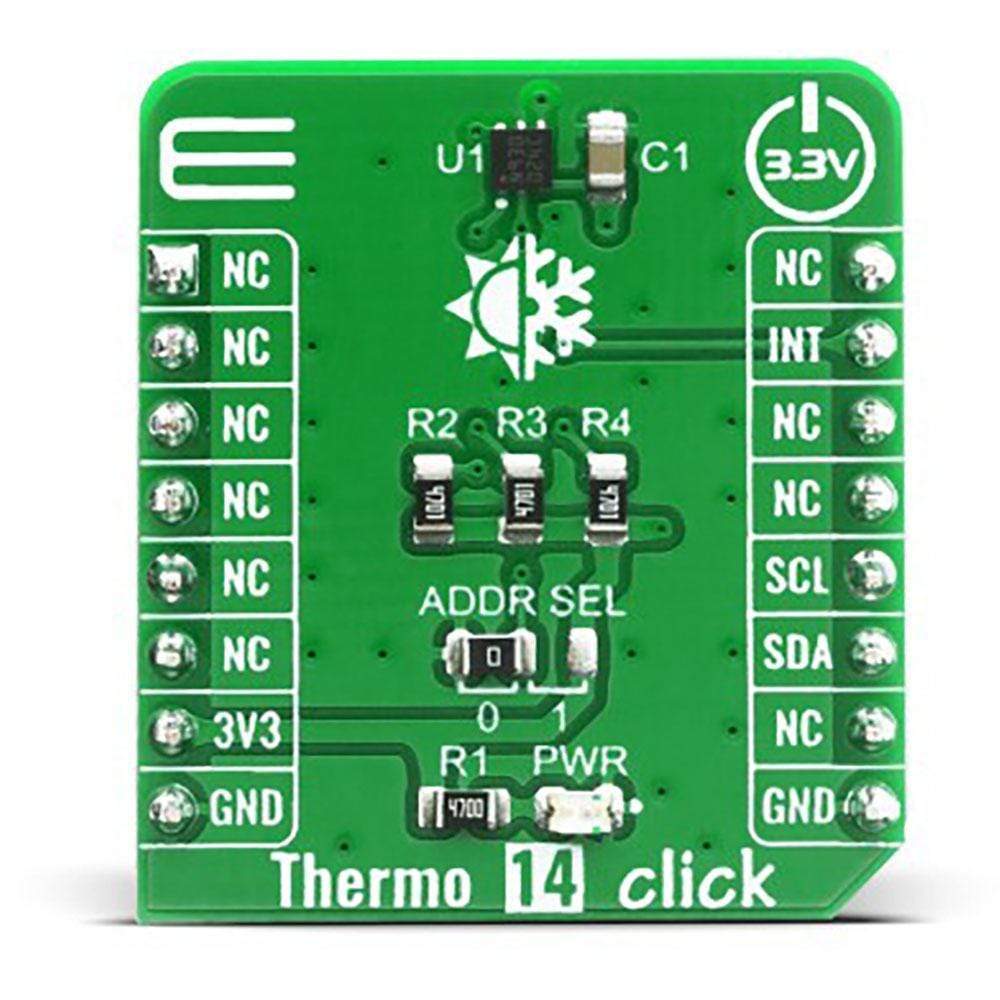
The Thermo 14 Click Board™ itself has a reasonably small number of components because most of the measurement circuitry is already integrated on the STTS22H sensor. The I2C / SMBus 3.0 compatible serial interface lines, along with the INT pin, which also works in the open drain configuration, are pulled up by the onboard resistors. The 2-Wire lines are routed to the respective I2C lines of the mikroBUS (SCK and SDA), while the INT pin is routed to the INT pin of the mikroBUS.
The STTS22H INT pin is asserted (low) whenever the temperature is equal to or exceeds the high limit or is below the low limit. Once asserted, the output will remain asserted until the STTS22H receives an SMBus Alert Response Address (ARA) from the host and acknowledges with its slave address.
The I2C address can be selected with the ADDR SEL onboard SMD jumper. The I2C address can be changed by this jumper, allowing for more than one of these Click Board™s to be used on a system, each with the different I2C address.
The Thermo 14 Click Board™ is designed to be operated only with 3.3V logic level. A proper logic voltage level conversion should be performed before the Click Board™ is used with MCUs with logic levels of 5V.
SPECIFICATIONS
Type | Temperature & humidity |
Applications | can be used for a rapid development and testing of various applications based on wereable devices, smart home automation, smartphones, HVAC, refrigerators, white goods, thermostats… |
On-board modules | Thermo 14 Click Board™ uses the STTS22H IC, a high accuracy temperature sensor, from STMicroelectronics. |
Key Features | Low temperature drift, low-power consumption, programmable alert engine, compact sensor size, critical temperature warnings |
Interface | I2C |
Compatibility | mikroBUS |
Click Board™ size | S (28.6 x 25.4 mm) |
Input Voltage | 3.3V |
PINOUT DIAGRAM
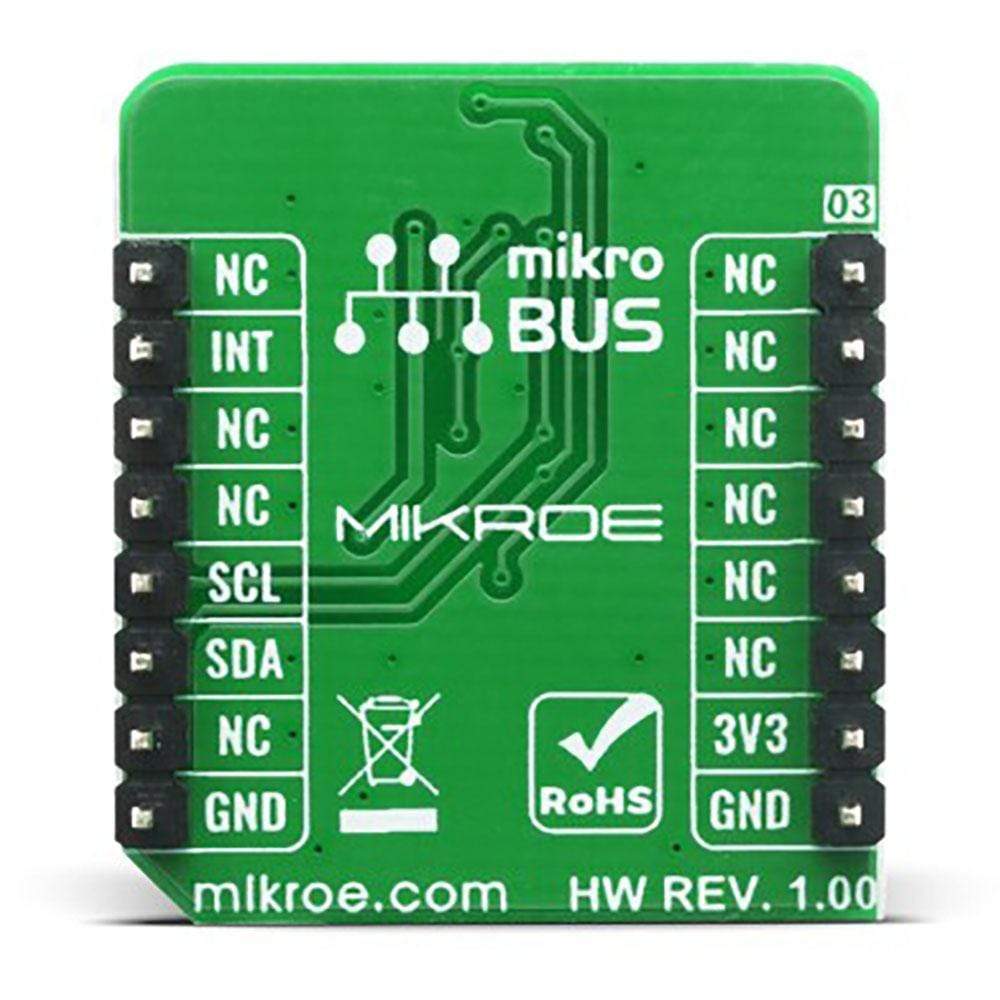
This table shows how the pinout on the Thermo 14 Click Board™ corresponds to the pinout on the mikroBUS socket (the latter shown in the two middle columns).
Notes | Pin | Pin | Notes | ||||
---|---|---|---|---|---|---|---|
NC | 1 | AN | PWM | 16 | NC | ||
NC | 2 | RST | INT | 15 | INT | Interrupt | |
NC | 3 | CS | RX | 14 | NC | ||
NC | 4 | SCK | TX | 13 | NC | ||
NC | 5 | MISO | SCL | 12 | SCL | I2C Clock | |
NC | 6 | MOSI | SDA | 11 | SDA | I2C Data | |
Power Supply | 3.3V | 7 | 3.3V | 5V | 10 | NC | |
Ground | GND | 8 | GND | GND | 9 | GND | Ground |
ONBOARD SETTINGS AND INDICATORS
Label | Name | Default | Description |
---|---|---|---|
LD1 | PWR | - | Power LED Indicator |
JP1 | ADDR SEL | Left | Communication interface selection: left position 0, right position 1 |
Software Support
We provide a library for the Thermo 14 Click Board™ on our LibStock page, as well as a demo application (example), developed using MikroElektronika compilers. The demo can run on all the main MikroElektronika development boards.
Library Description
The library covers all the necessary functions that enables the usage of the Thermo 14 Click Board™. It holds functions that allow full control of the device to the user. User can calibrate the device, read temperature or read raw values if necessary.
Key Functions
float thermo14_get_temperature ( );
- Function is used to get the temperature.float thermo14_raw_to_celsius ( int16_t temp_raw );
- Function is used to perform necessary calculacion in order to get temperature freom raw data.int16_t thermo14_temp_raw_get ( );
- Function is used to get the raw value.
Example Description
The application is composed of three sections :
- System Initialization - Initializes GPIO, SPI and LOG structures.
- Application Initialization - Initalizes SPI driver, sets up the device and makes an initial log.
- Application Task - (code snippet) This example shows capabilities of Thermo 14 Click Board™ by measuring temperature every 3 seconds and displaying temperature in degrres Celsius via USART terminal.
void application_task ( ) { temp_val = thermo14_get_temperature( ); mikroBUS_logWrite( " Temperature: ", _LOG_TEXT ); log_display( temp_val ); mikroBUS_logWrite( deg_cel, _LOG_LINE ); mikroBUS_logWrite( "----------------------", _LOG_LINE ); Delay_ms( 3000 ); }
Additional Functions :
- void log_display( float value ) - Function displays readings as floating point value with two decimal places
The full application code, and ready to use projects can be found on our LibStock page.
Other mikroE Libraries used in the example:
- I2C
- UART
- Conversions
Additional Notes and Information
Depending on the development board you are using, you may need a USB UART Click Board™, USB UART 2 Click Board™ or RS232 Click Board™ to connect to your PC, for development systems with no UART to USB interface available on the board. The terminal available in all MikroElektronika compilers, or any other terminal application of your choice, can be used to read the message.
MIKROSDK
The Thermo 14 Click Board™ is supported with mikroSDK - MikroElektronika Software Development Kit. To ensure proper operation of mikroSDK compliant Click Board™ demo applications, mikroSDK should be downloaded from the LibStock and installed for the compiler you are using.
Carte à clic Thermo 14
Frequently Asked Questions
Have a Question?
Be the first to ask a question about this.