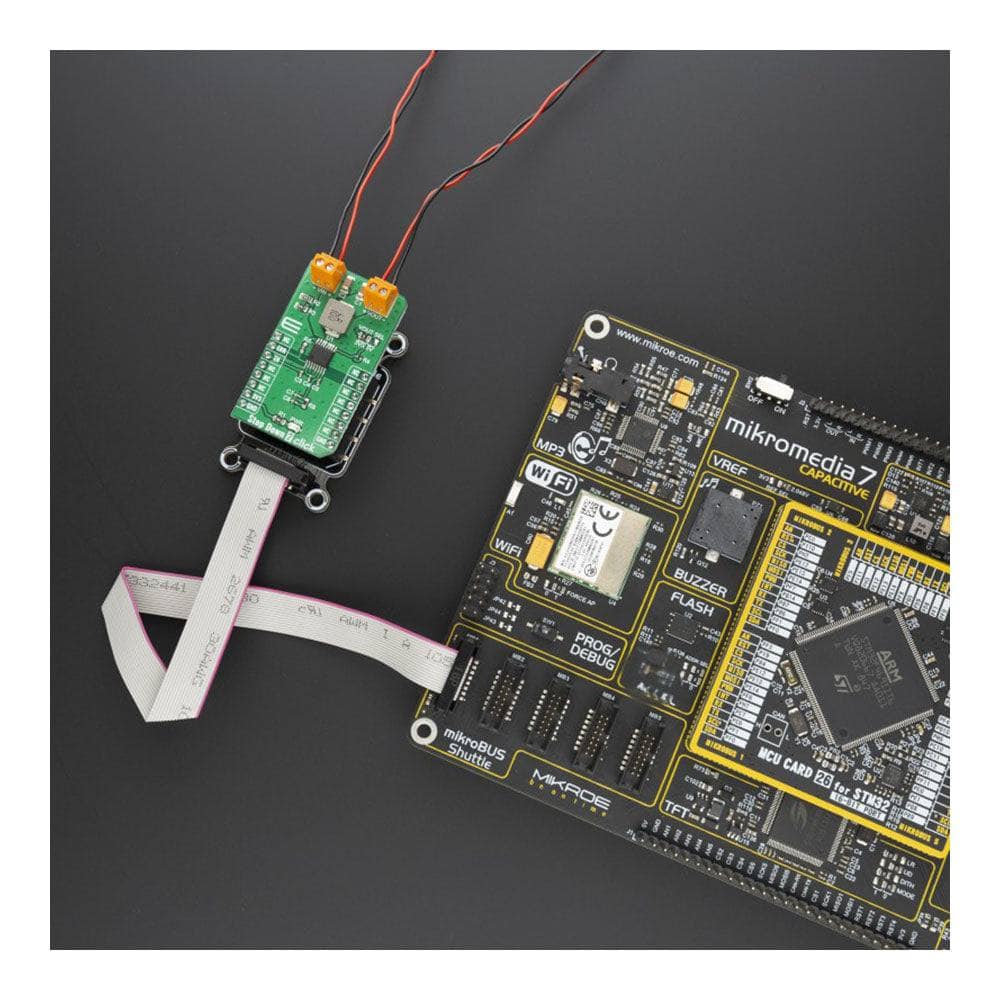
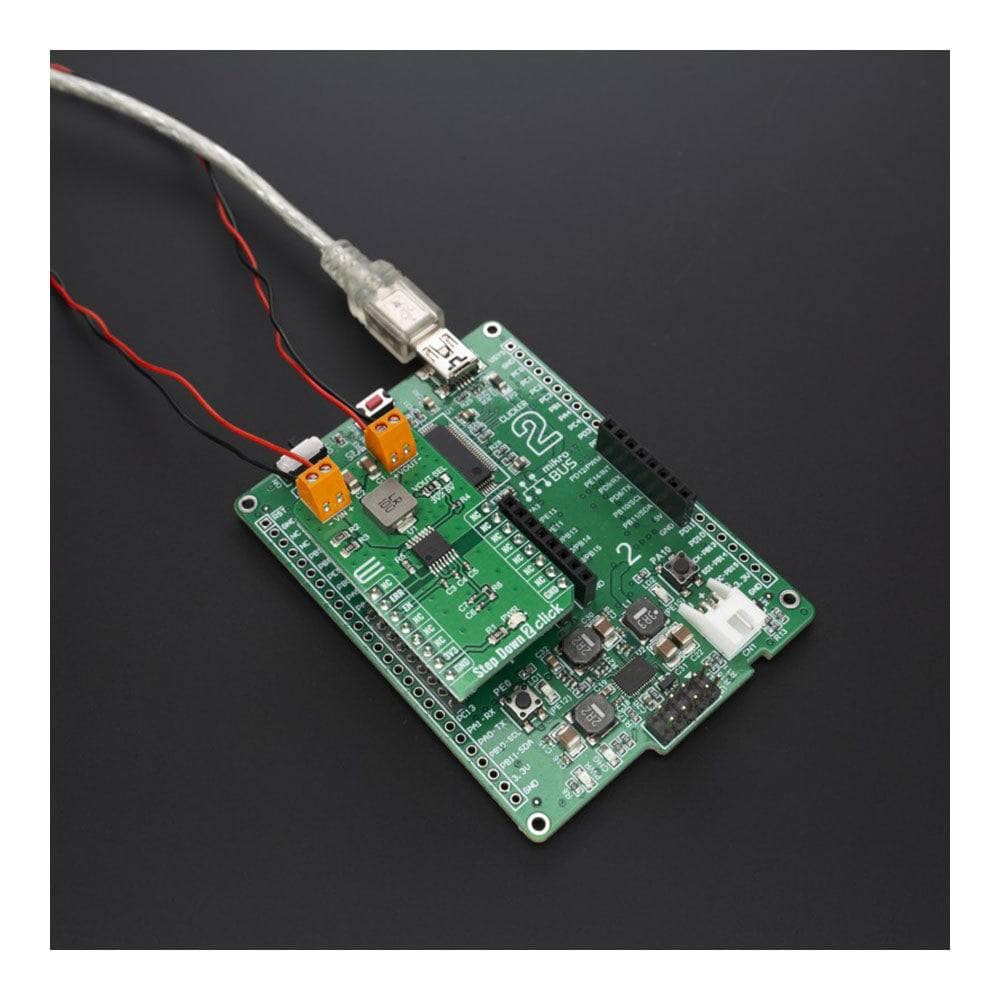
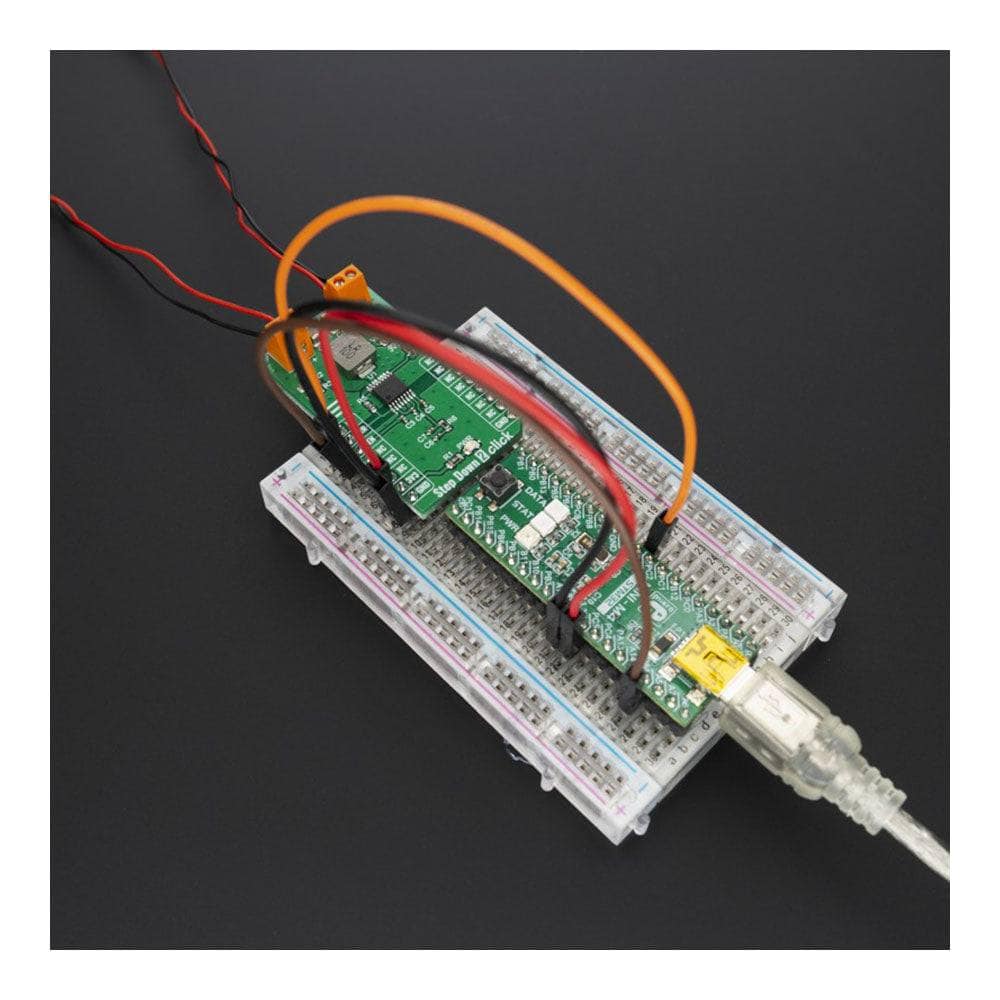
Planche à cliquer Step Down 2
Overview
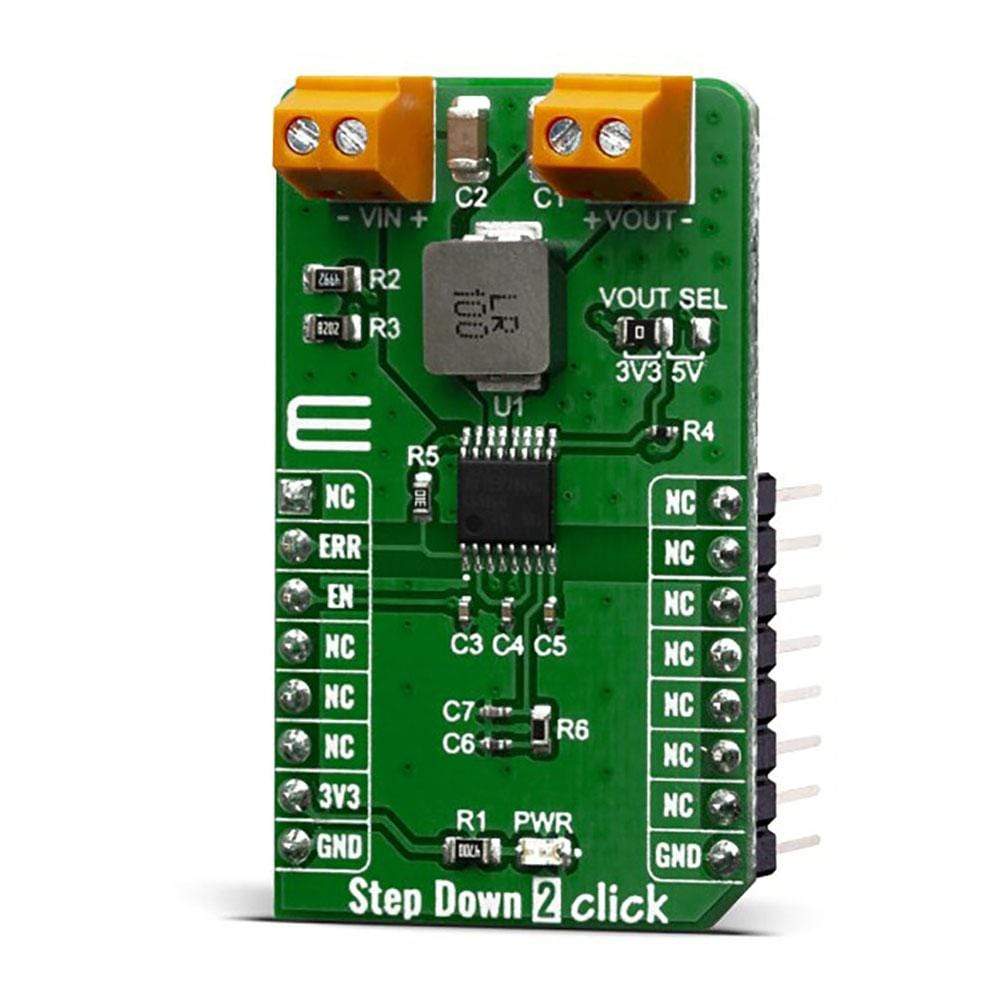
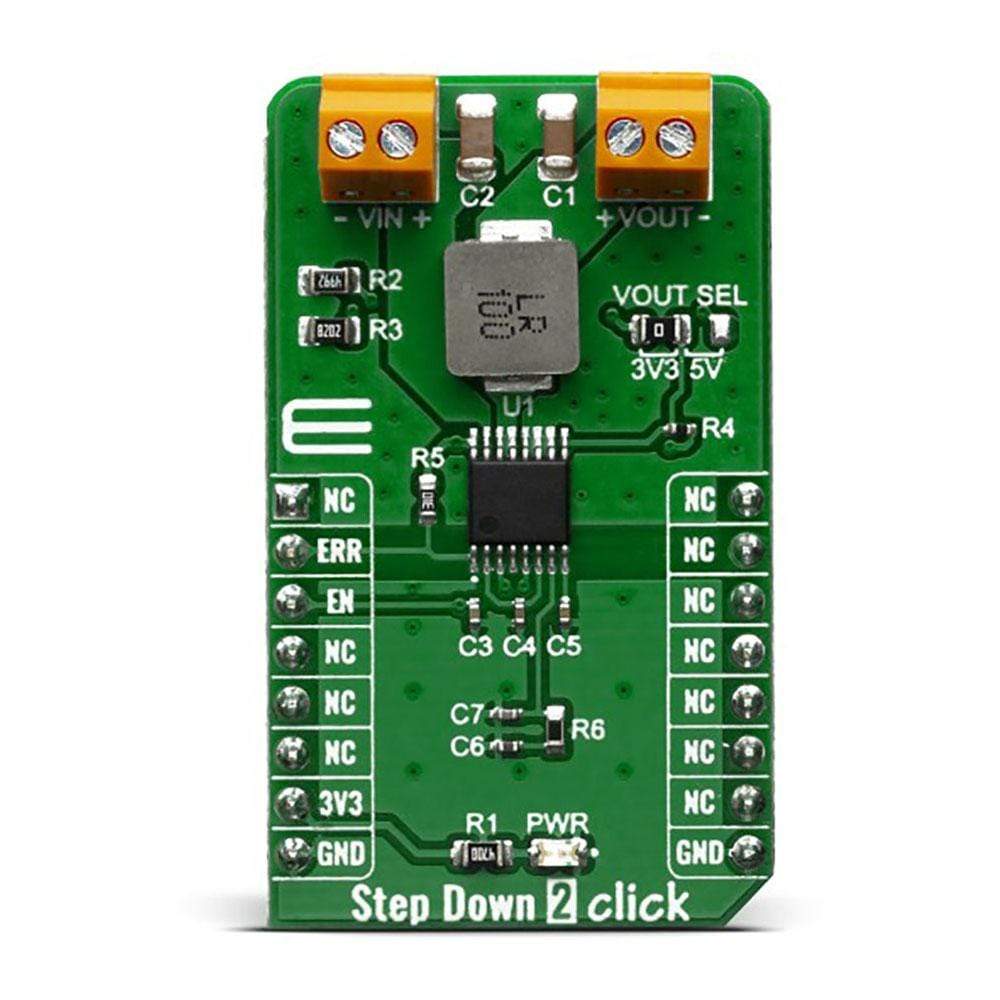
Le Step Down 2 Click Board™ est équipé du L6986HTR, un régulateur de commutation abaisseur synchrone avec des tensions d'entrée de fonctionnement de 4 V à 38 V et des plages de réglage de la tension de sortie de 0,85 V à VIN. En raison des principales possibilités de ses fonctionnalités, le Step Down 2 Click Board™ est idéalement utilisé pour les contrôleurs logiques programmables (PLC), les nœuds intelligents décentralisés, les capteurs et les applications à faible bruit (LNM).
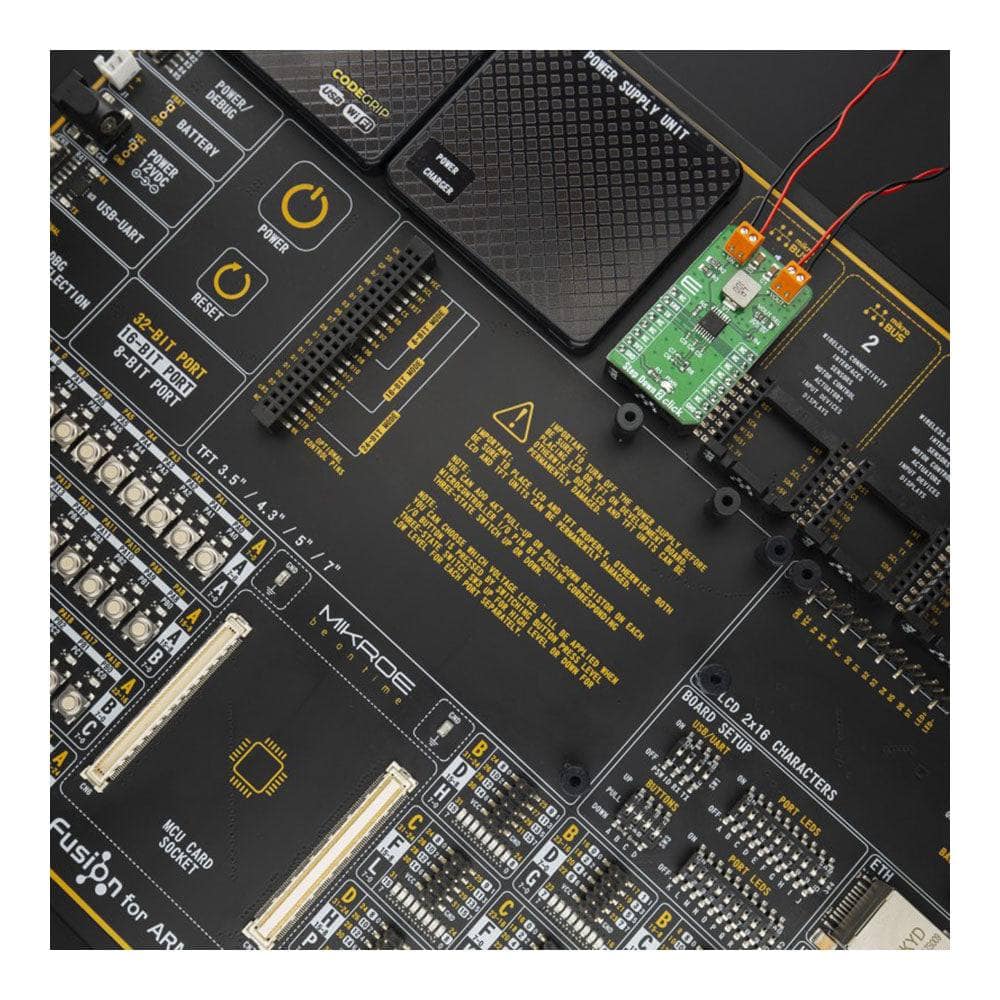
Le Step Down 2 Click Board™ est pris en charge par une bibliothèque compatible mikroSDK, qui comprend des fonctions qui simplifient le développement logiciel. Ce Click Board™ est un produit entièrement testé, prêt à être utilisé sur un système équipé du socket mikroBUS™.
How Does The Step Down 2 Click Board™ Work?
The L6986HTR is a step-down monolithic switching regulator able to deliver up to 2 A DC from STMicroelectronics. The output voltage adjustability ranges from 0.85 V to VIN. The "low consumption mode" (LCM) is designed for applications active during idle mode, so it maximizes the efficiency at light-load with controlled output voltage ripple. The "low noise mode" (LNM) makes the switching frequency constant and minimizes the output voltage ripple overload current range, meeting the low noise application specifications.
The output voltage supervisor manages the reset phase for any digital load (µC, FPGA). The RST open collector output can also implement output voltage sequencing during the power-up phase. The synchronous rectification, designed for high efficiency at medium - heavy load, and the high switching frequency capability make the size of the application compact. Pulse by pulse current sensing on both power elements implements an effective constant current protection.
The L6986H device is based on a "peak current mode", constant frequency control. Consequently, the intersection between the error amplifier output and the sensed inductor current generates the PWM control signal to drive the power switch. The device features LNM (low noise mode) which implements a forced PWM operation over the different loading conditions. The LNM features a constant switching frequency to minimize the noise in the final application and a constant voltage ripple at fixed VIN. The regulator in steady loading conditions never skips pulses and it operates in continuous conduction mode (CCM) over the different loading conditions, thus making this operation mode ideal for noise-sensitive applications.
The overvoltage protection monitors the VOUT pin and enables the low-side MOSFET to discharge the output capacitor if the output voltage is 20% over the nominal value. This is a second level protection and should never be triggered in normal operating conditions if the system is appropriately dimensioned. In other words, the selection of the external power components and the dynamic performance determined by the compensation network should guarantee an output voltage regulation within the overvoltage threshold even during the worst case scenario in term of load transitions. The protection is reliable and can operate even during normal load transitions for a system whose dynamic performance is not in line with the load dynamic request. As a consequence, the output voltage regulation would be affected.
Because of its features' main possibilities, the Step Down 2 Click Board™ is ideally used for programmable logic controllers (PLCs), decentralized intelligent nodes, sensors, and low noise applications (LNM).
SPECIFICATIONS
Type | Buck |
Applications | Programmable logic controllers (PLCs), decentralized intelligent nodes, sensors, and low noise applications (LNM) |
On-board modules | L6986HTR, a synchronous step-down switching regulator from STMicroelectronics |
Key Features | Low consumption mode, Overvoltage protection, Embedded output voltage supervisor |
Interface | GPIO |
Compatibility | mikroBUS |
Click board size | M (42.9 x 25.4 mm) |
Input Voltage | 3.3V |
PINOUT DIAGRAM
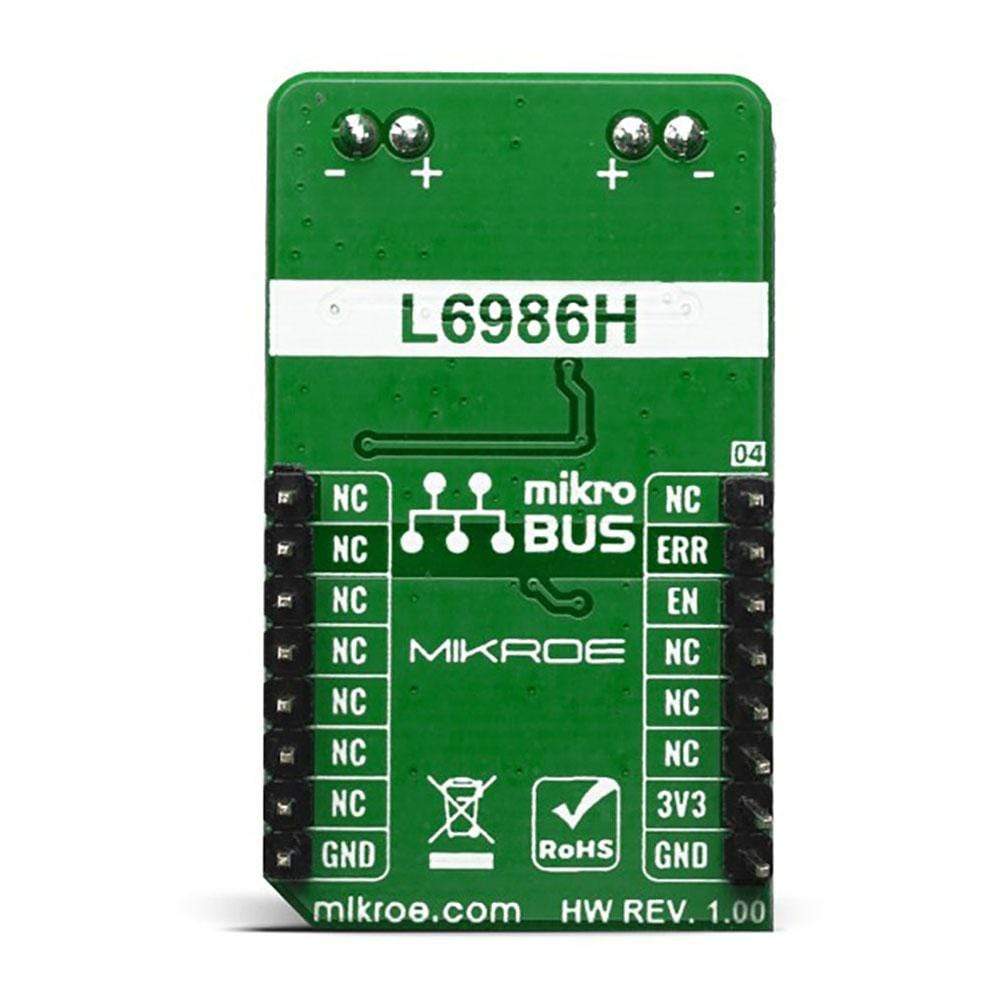
This table shows how the pinout of the Step Down 2 Click Board™ corresponds to the pinout on the mikroBUS™ socket (the latter shown in the two middle columns).
Notes | Pin | Pin | Notes | ||||
---|---|---|---|---|---|---|---|
NC | 1 | AN | PWM | 16 | NC | ||
Error | ERR | 2 | RST | INT | 15 | NC | |
Enable | EN | 3 | CS | RX | 14 | NC | |
NC | 4 | SCK | TX | 13 | NC | ||
NC | 5 | MISO | SCL | 12 | NC | ||
NC | 6 | MOSI | SDA | 11 | NC | ||
Power Supply | 3.3V | 7 | 3.3V | 5V | 10 | NC | |
Ground | GND | 8 | GND | GND | 9 | GND | Ground |
ONBOARD SETTINGS AND INDICATORS
Label | Name | Default | Description |
---|---|---|---|
LD1 | PWR | - | Power LED Indicator |
TB1 | VIN | - | Input terminal for connecting the external power source |
TB2 | VOUT | - | Output terminal for connecting the load |
JP1 | VOUT SEL | Left | Output voltage selection: Left position 3.3V, right position 5V |
STEP DOWN 2 CLICK ELECTRICAL SPECIFICATIONS
Description | Min | Typ | Max | Unit |
---|---|---|---|---|
Input voltage | 4 | - | 38 | V |
Output voltage | 0.85 | - | VIN | V |
Output current | -30 | - | 2 | A |
Software Support
We provide a library for the Step Down 2 Click Board™ on our LibStock page and a demo application (example), developed using MikroElektronika compilers. The demo can run on all the main MikroElektronika development boards.
Library Description
The library covers all the necessary functions to the Step Down 2 Click Board™. Users can enable or disable the device and check for fault occurrence.
Key Functions
void stepdown2_dev_enable ( uint8_t state );
- Function is used to enable or disable the device.uint8_t stepdown2_check_fault ( );
- Function is used to check whether the the fault has occured.
Example Description
The application is composed of three sections :
- System Initialization - Initializes LOG structure and sets CS as output and RST as input.
- Application Initialization - Initializes GPIO driver and starts log.
- Application Task - (code snippet) This example demonstrates the use of Sthe Step Down 2 Click Board™ by enabling the device and determining whether the output voltage is suitable.
void application_task ( ) { if ( stepdown2_check_fault( ) ) { mikrobus_logWrite( "Device working properly!", _LOG_LINE ); } else { mikrobus_logWrite( "Fault detected!", _LOG_LINE ); } Delay_ms( 1000 ); mikrobus_logWrite( "--------------------", _LOG_LINE ); }
The complete application code and ready-to-use projects can be found on our LibStock page.
Other mikroE Libraries used in the example:
- UART
Additional Notes and Information
Depending on the development board you are using, you may need USB UART Click Board™, USB UART 2 Click Board™ or RS232 Click Board™ to connect to your PC, for development systems with no UART to USB interface available on the board. The terminal available in all MikroElektronika compilers, or any other terminal application of your choice, can be used to read the message.
MIKROSDK
The Step Down 2 Click Board™ is supported with mikroSDK - MikroElektronika Software Development Kit. To ensure proper operation of mikroSDK compliant Click board™ demo applications, mikroSDK should be downloaded from the LibStock and installed for the compiler you are using.
Frequently Asked Questions
Have a Question?
Be the first to ask a question about this.