Tableau à clic EVC
Tableau à clic EVC
Overview
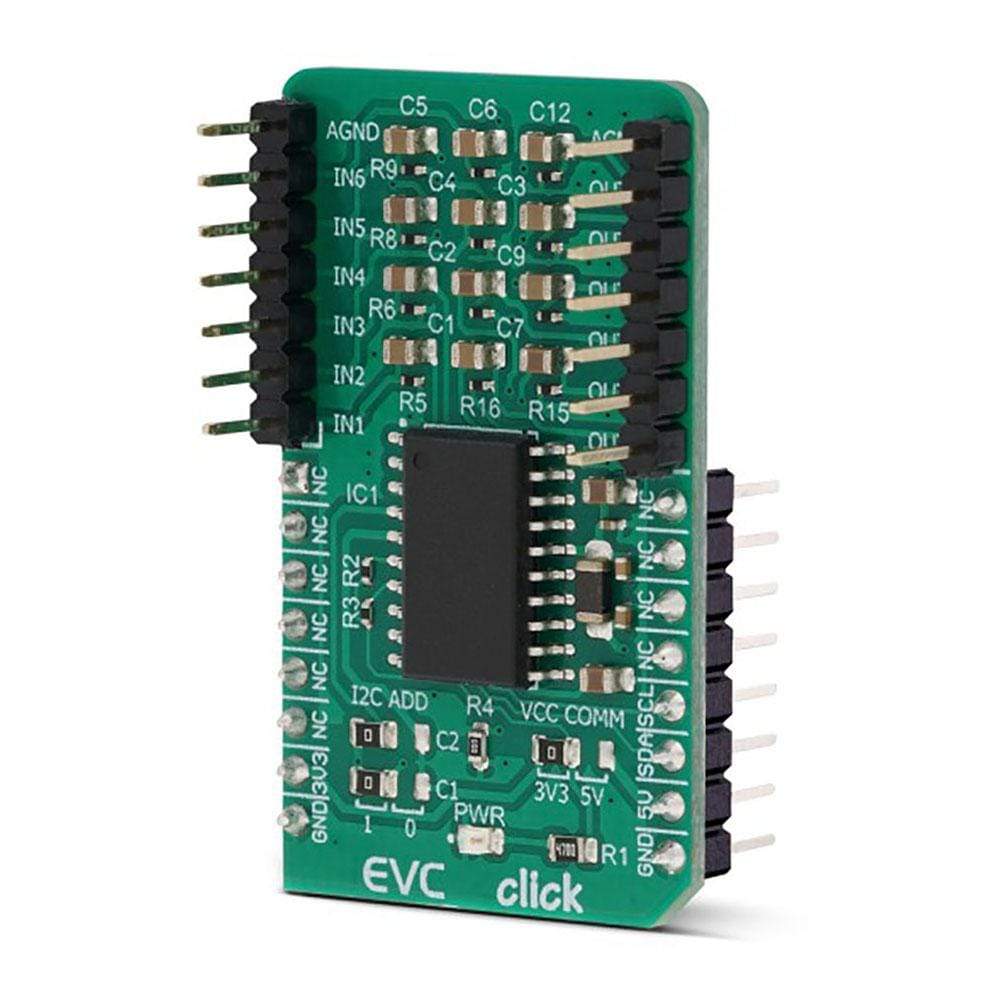
Le EVC Click Board™ est un contrôleur de volume numérique à six canaux, équipé d'un circuit de contrôle de volume électronique intégré, qui peut être contrôlé via l'interface I2C. Le circuit intégré PT2258 offre six canaux d'entrée individuels, chacun avec une plage d'atténuation comprise entre 0 et -79 dB, par pas de 1 dB. Cette puce nécessite un nombre minimum de composants externes, ce qui simplifie sa mise en œuvre dans une large gamme d'applications audio modernes.
En tant que circuit audio, l'EVC Click Board™ présente un très faible bruit et un rapport signal/bruit (SNR) élevé de plus de 100 dB. Une faible distorsion harmonique totale (THD) de 0,005 % garantit une clarté sonore absolue.
Equipped with six digitally controlled attenuators, featuring high channel separation, extremely low noise, great SNR ratio of more than 100dB, and low count of required external components.
How Does The EVC Click Board™ Work?
The main component of the EVC Click Board™ is the PT2258, a six-channel electronic volume controller IC, by Princeton Technology Corp. This IC contains six digitally controlled audio attenuators, which can attenuate signals between 0dB and -79dB. Each channel can be individually controlled by two-byte commands, sent over the I2C interface.
Although digitally controlled, sound signals within the PT2258 remain in the analog domain. The PT2258 offers a very clear and undistorted sound. The Signal to Noise Ratio (SNR) of the PT2258 is specified to be 105dB (1V RMS at any input), while the Total Harmonic Distortion (THD) is only 0.005% (200mV RMS at any input). THD gets worse as the input signal rises: 2.8V RMS results in THD of 1%. The maximum input signal should stay below 2.8V, else too much audible distortion may appear at the output.
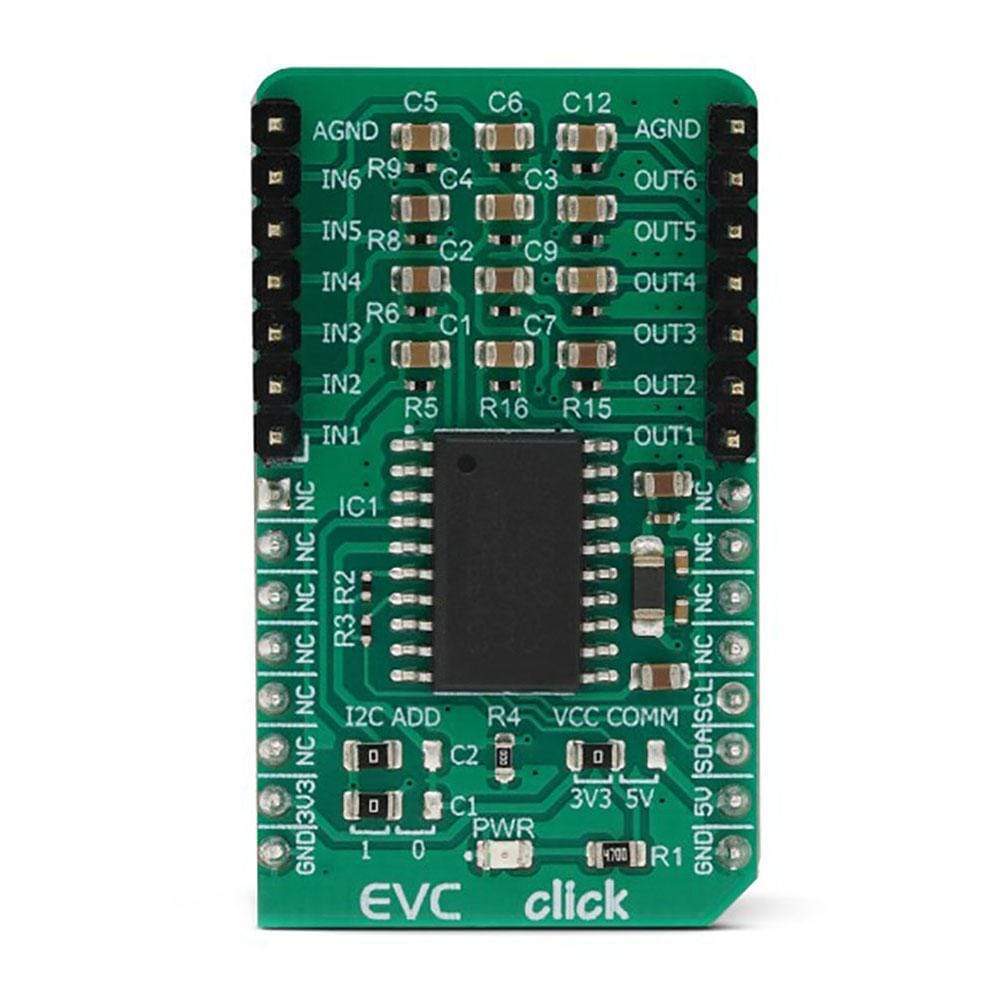
The EVC Click Board™ is equipped with two rows of standard 2.54mm (100 mil) headers. There are six pins at each row, allowing the inputs and the outputs to be easily interfaced with the existing multichannel equipment. This Click board™ should be connected on the signal path, either in front of the amplifier itself, or in front or behind other sound processing equipment (e.g. equalizer, delay, room correction…). That way, an optimal audio signal level will be ensured for the Click board™.
Each input/output pair runs through an internal attenuator, which provides up to -79dB of attenuation, in 1dB steps. Although it seems like a very high attenuation, using it with amplifiers with high gain values may lead to still hear the sound, even after the full attenuation. Therefore, the PT2258 features a MUTE function, that completely cuts the audio output.
To set attenuation of a certain level, two bytes must be consequently sent over the I2C interface. There are both -1dB step commands and -10dB step commands for each channel. To achieve the desired attenuation at the specific channel, two commands should be sent consequently: one for -10 dB attenuation, and one for -1 dB attenuation. These commands can be sent in any order. However, sending a single command or adding a MUTE command between two attenuation commands may lead to unpredictable results. This Click board™ is supported by a mikroSDK compliant library of functions, which greatly accelerate software development, by simplifying the software development.
The I2C slave address of the EVC Click Board™ can be set using two SMD jumpers, grouped under the I2C ADD label. First SMD jumper is labelled as C1, while the second jumper is labelled as C2. These jumpers are used to configure bits CODE1 and CODE2, allowing several different I2C addresses to be selected. These jumpers can be independently moved to either position, allowing to select the desired slave address. Please refer to the PT2258 datasheet for more information about configuring the I2C slave address.
The EVC Click Board™ uses the I2C interface for the communication. It can be interfaced with both 3.3V and 5V microcontrollers (MCUs) by simply switching the SMD jumper labelled as VCC COMM to a desired position. However, thePT2258 itself still requires 5V for its operation, since it requires a power supply voltage between 5V and 9V.
SPECIFICATIONS
Type | Amplifier |
Applications | The EVC Click Board™ is perfectly suited to be used for all kinds of audio processing equipment, audio distributing systems, multichannel and surround systems, car audio systems, and similar applications that require digital multichannel sound level control. |
On-board modules | PT2258, a six-channel electronic volume controller IC, by Princeton Technology Corp. |
Key Features | Six high-quality digitally controlled audio attenuators, attenuation range from 0dB to -79dB, very high Signal to Noise Ratio (SNR) of 105 dB typically, very low Total Harmonic Distortion (THD) of 0.005% for 200mV RMS, etc. |
Interface | I2C |
Compatibility | mikroBUS |
Click board size | M (42.9 x 25.4 mm) |
Input Voltage | 3.3V or 5V |
PINOUT DIAGRAM
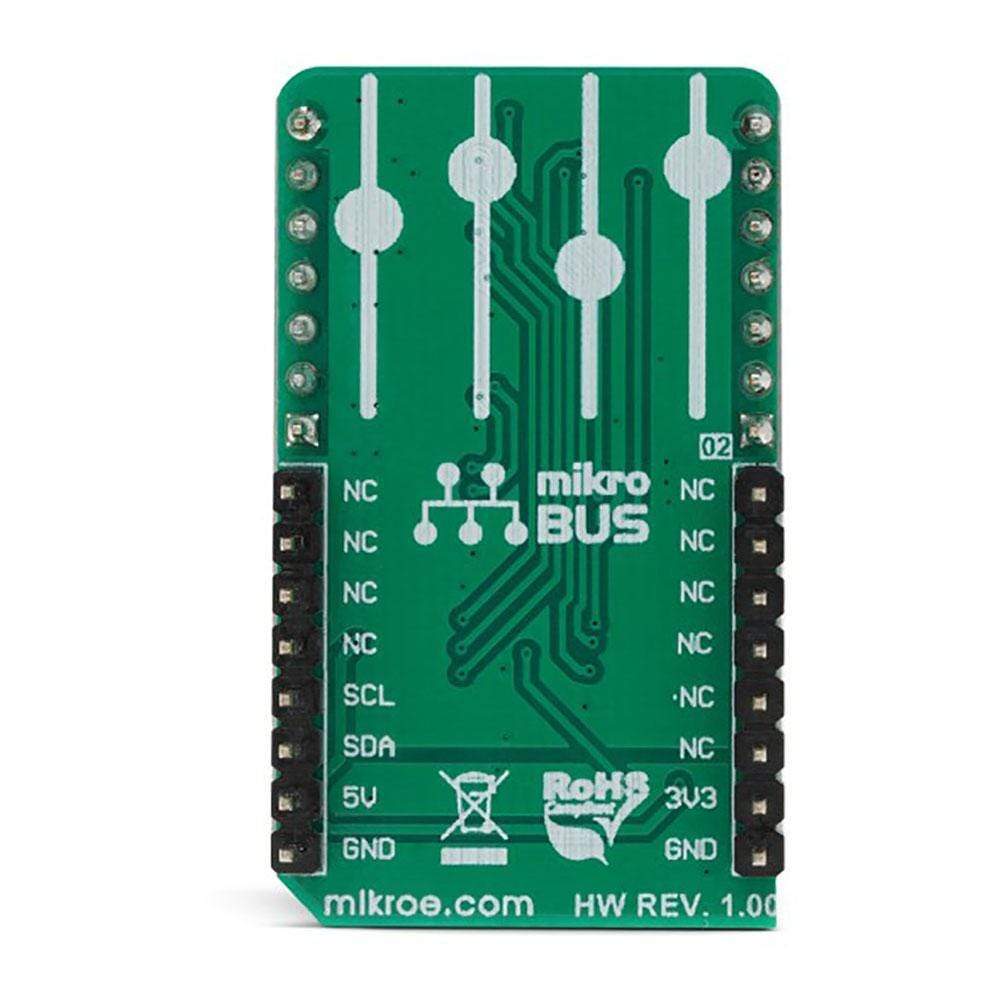
This table shows how the pinout of the EVC Click Board™ corresponds to the pinout on the mikroBUS™ socket (the latter shown in the two middle columns).
Notes | Pin | Pin | Notes | ||||
---|---|---|---|---|---|---|---|
NC | 1 | AN | PWM | 16 | NC | ||
NC | 2 | RST | INT | 15 | NC | ||
NC | 3 | CS | RX | 14 | NC | ||
NC | 4 | SCK | TX | 13 | NC | ||
NC | 5 | MISO | SCL | 12 | SCL | I2C Clock | |
NC | 6 | MOSI | SDA | 11 | SDA | I2C Data | |
Power Supply | 3.3V | 7 | 3.3V | 5V | 10 | 5V | Power Supply |
Ground | GND | 8 | GND | GND | 9 | GND | Ground |
ONBOARD SETTINGS AND INDICATORS
Label | Name | Default | Description |
---|---|---|---|
PWR | PWR | - | Power LED indicator |
JP1 | VCC COM | Left | Logic voltage level selection: left position 3.3V, right position 5V |
JP2 | I2C ADD (C1) | Left | I2C Slave Address Selection: left position CODE 1 bit = 1, right position CODE 1 bit = 0 |
JP3 | I2C ADD (C2) | Left | I2C Slave Address Selection: left position CODE 2 bit = 1, right position CODE 2 bit = 0 |
Software Support
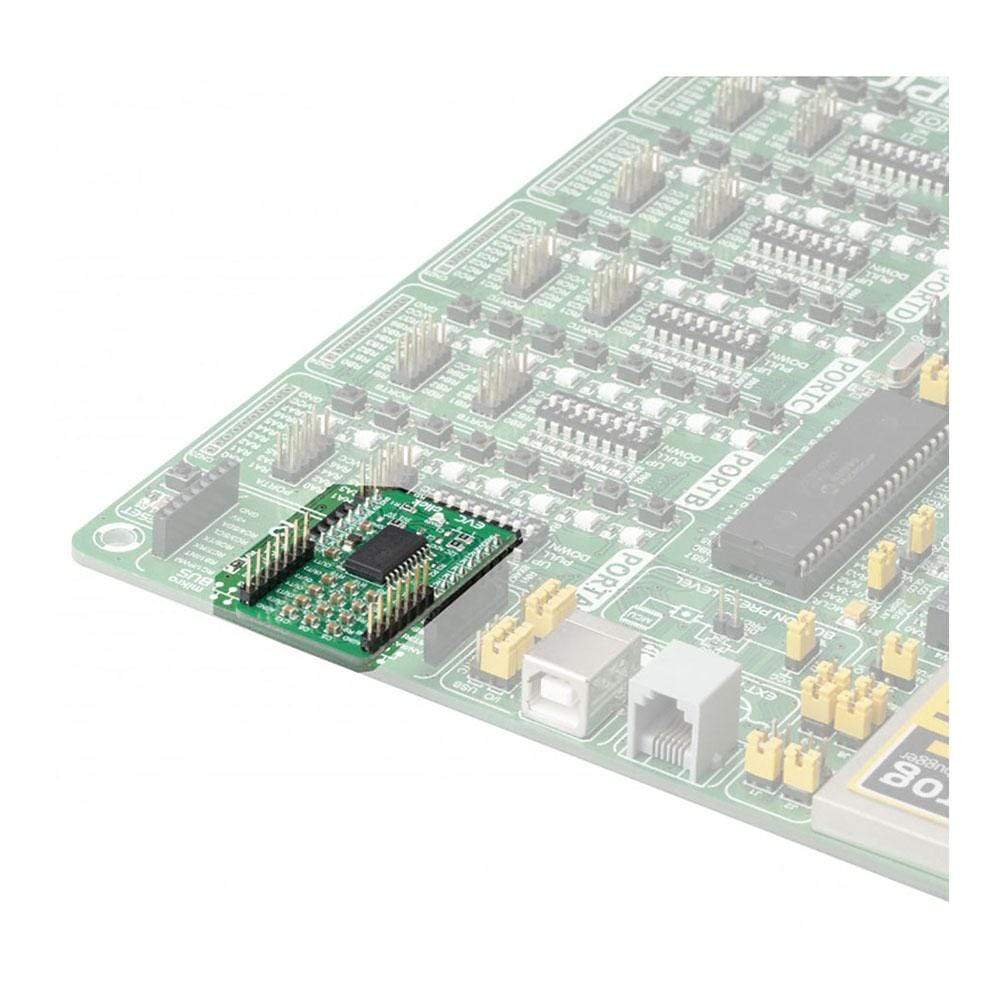
We provide a library for the EVC Click Board™ on our LibStock page, as well as a demo application (example), developed using MikroElektronika compilers. The demo can run on all the main MikroElektronika development boards.
Library Description
The library includes function sets the volume for the selected channel, uses two variables or one volume variable. The user has a function for mute/unmute sounds, default settings and function for clears all registers.
Key Functions
void equalizer_setVolumeFull(uint8_t channel, int8_t volume)
- Set volume for the channelvoid equalizer_defaultConfiguration()
- Default configurationvoid equalizer_mute(uint8_t mute)
- Mute and Unmute
Example Description
The application is composed of the three sections :
- System Initialization - Initialzes I2C module.
- Application Initialization - Initialization driver init, default configuration and sets first volume.
- Application Task - Waits for valid user input and executes functions based on set of valid commands.
- Commands : '+' - volume up '-' - volume down 'x' - channel up 'z' - channel down 'm' - mute and unmute
void applicationTask() { uint8_t dataReady_; char receivedData_; dataReady_ = UART_Rdy_Ptr( ); if (dataReady_ != 0) { receivedData_ = UART_Rd_Ptr( ); switch (receivedData_) { case 'z' : { /* Change channel */ _channel --; if(_channel < 1) { _channel = 1; } _playFlag = 1; break; } case 'x' : { /* Change channel */ _channel ++; if(_channel > 6) { _channel = 6; } _playFlag = 1; break; } case '+' : { /* Set volume */ _volume++; if(_volume > 0) { _volume = 0; } _playFlag = 1; break; } case '-' : { /* Set volume */ _volume--; if(_volume < -79) { _volume = -79; } _playFlag = 1; break; } case 'm' : { _mute(); break; } } _play(); } }
Additional Functions :
void _getCurrentChannel( )
- Return current channelvoid _play( )
- Start new settings of the channelvoid _mute( )
- mute and unmute
The full application code, and ready to use projects can be found on our LibStock page.
Other mikroE Libraries used in the example:
I2C
UART
Conversions
Additional Notes and Information
Depending on the development board you are using, you may need a USB UART click, USB UART 2 click or RS232 click to connect to your PC, for development systems with no UART to USB interface available on the board. The terminal available in all MikroElektronika compilers, or any other terminal application of your choice, can be used to read the message.
MIKROSDK
The EVC Click Board™ is supported with mikroSDK - MikroElektronika Software Development Kit. To ensure proper operation of mikroSDK compliant click board demo applications, mikroSDK should be downloaded from the LibStock and installed for the compiler you are using.
Frequently Asked Questions
Have a Question?
Be the first to ask a question about this.