Tableau de clics Flicker
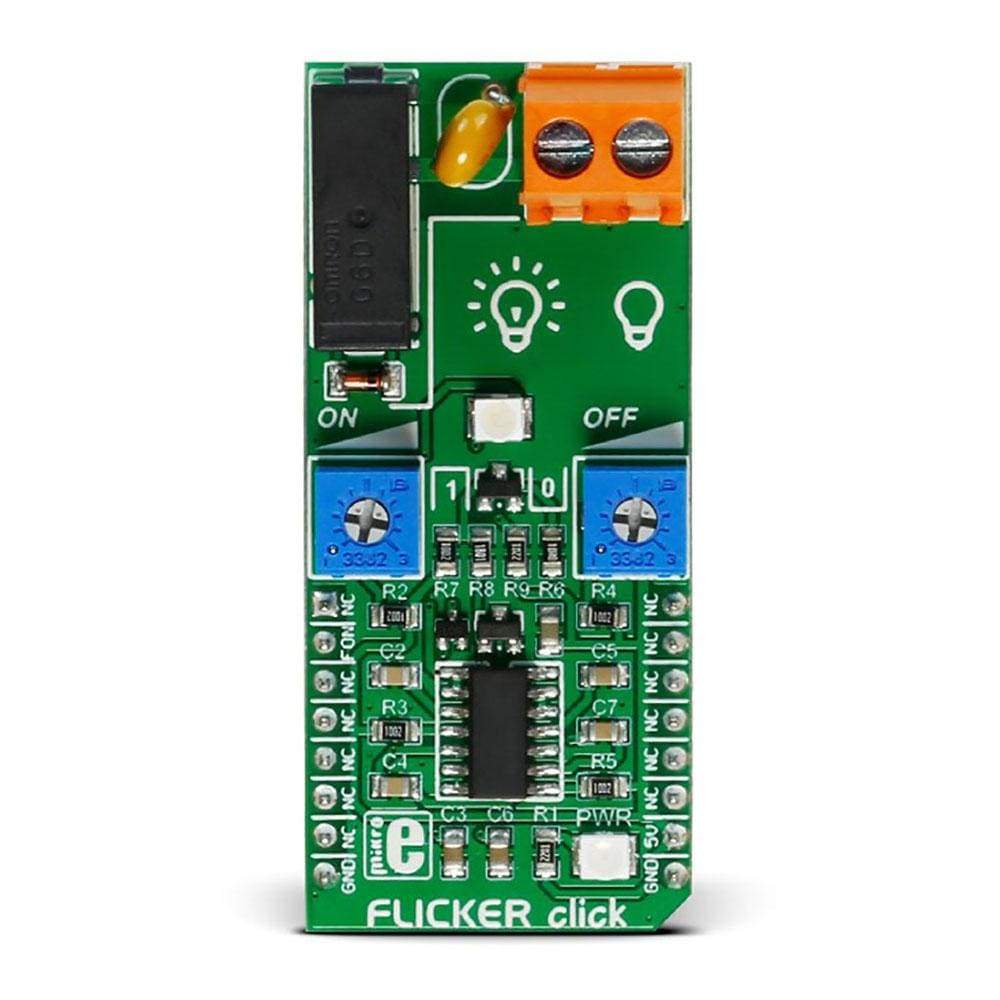
Grâce au temporisateur de double précision NA556 intégré de Texas Instruments et au relais PCB de puissance G6D-ASI d'Omron, le FLICKER Click Board™ peut contrôler des charges jusqu'à 5 A, 250 VAC/30 VDC à un intervalle de temps prédéfini.
La période marche/arrêt peut durer de 0,1 à 6 secondes, ce qui peut être réglé par les deux potentiomètres ON/OFF intégrés. La charge externe peut être connectée à la carte via le bornier à vis. FLICKER Click Board™ fonctionne sur une alimentation 5 V et communique avec le MCU via la broche RST.
FLICKER Click Board™
Thanks to the onboard NE556DR dual precision timer from Texas Instruments and the G6D-ASI power PCB relay from Omron, the FLICKER Click Board™ can control loads up to 5A, 250 VAC/30 VDC at a predefined time interval.
The on/off period can last from 0.1 to 6 seconds, that can be set by the two ON/OFF onboard potentiometers. The external load can be connected to the board through the screw terminal. The FLICKER Click Board™ runs on 5V power supply and it communicates with the MCU over RST pin.
DO NOT TOUCH THE BOARD WHILE THE EXTERNAL POWER SUPPLY IS ON!
Note: The FLICKER Click Board™ has exposed pins/pads. To stay safe take precaution when applying high voltage to the click. The click is to be used by trained personnel only when applying high voltage.
Applications
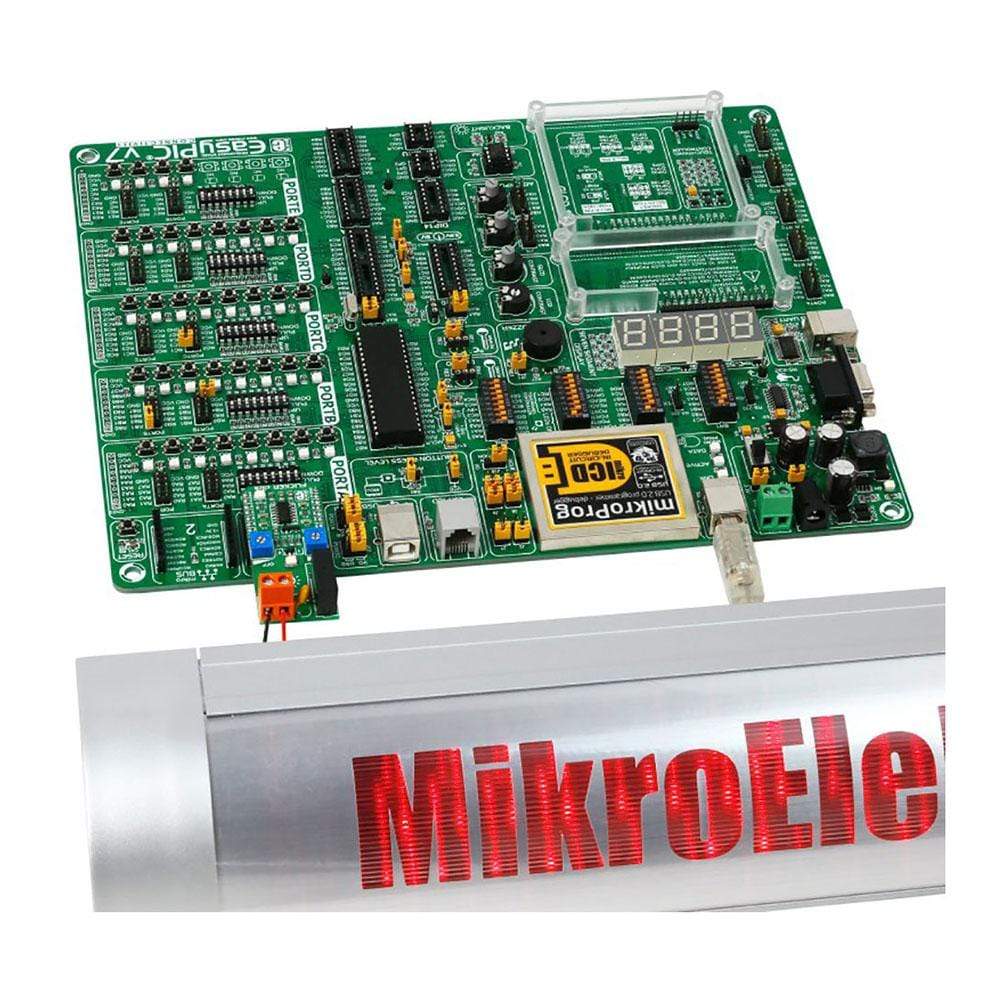
The FLICKER Click Board™ is the perfect, simple solution if you need to turn a device on and off at specific time intervals, like blinking LED commercials, alarm system lights, or any other signaling lights.
SPECIFICATIONS
Type | Relay |
Applications | The FLICKER Click Board™ is the perfect, simple solution if you need to turn a device on and off at specific time intervals, like blinking LED commercials, alarm system lights, or any other signalling lights |
On-board modules | NA556 dual precision timer from Texas Instruments and the G6D-ASI power PCB relay from Omron |
Key Features | G6D-ASI power PCB relay, Max. loads up to 5 A, 250 VAC/30 VDC, Min. permissible load 10 mA at 5 VDC, Contact resistance 100 mΩ max |
Interface | GPIO |
Compatibility | mikroBUS |
Click board size | L (57.15 x 25.4 mm) |
Input Voltage | 5V |
PINOUT DIAGRAM
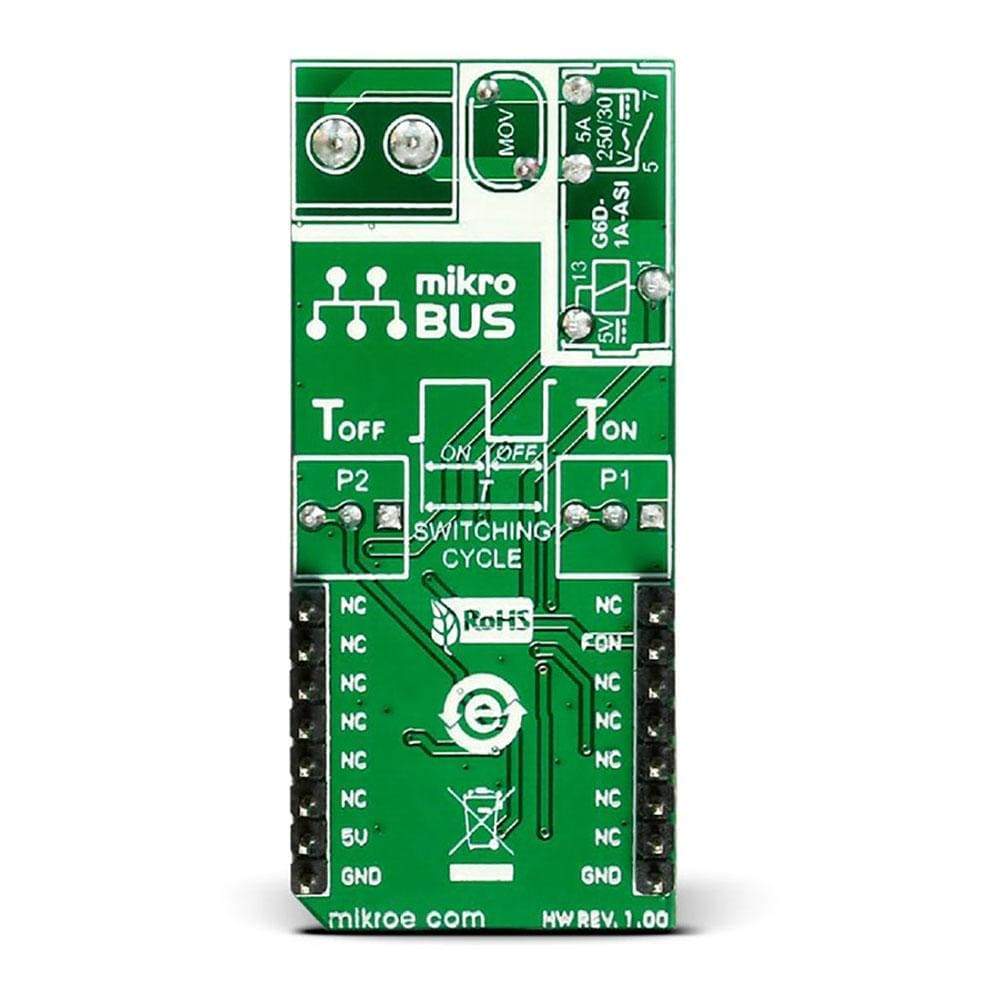
This table shows how the pinout of the FLICKER Click Board™ corresponds to the pinout on the mikroBUS™ socket (the latter shown in the two middle columns).
Notes | Pin | Pin | Notes | ||||
---|---|---|---|---|---|---|---|
NC | 1 | AN | PWM | 16 | NC | ||
Turns the NE556 on and off | FON | 2 | RST | INT | 15 | NC | |
NC | 3 | CS | RX | 14 | NC | ||
NC | 4 | SCK | TX | 13 | NC | ||
NC | 5 | MISO | SCL | 12 | NC | ||
NC | 6 | MOSI | SDA | 11 | NC | ||
NC | 7 | +3.3V | +5V | 10 | +5V | +5V power supply | |
Ground | GND | 8 | GND | GND | 9 | GND |
ONBOARD PCB RELAY
Maximum switching capacity of the G6D-ASI PCB relay is 1250VA at 150W. Maximum contact resistance is 100 mΩ.
POTENTIOMETERS
The two potentiometers (P1 and P2) set the switching on and off time.
Designator | Name | Type | Description |
---|---|---|---|
P1 | Potentiometer | Adjusting Ton | |
P2 | Potentiometer | Adjusting Toff | |
CN1 | Terminal block | Connector | for connecting the device |
MAXIMUM RATINGS
Description | Min | Typ | Max | Unit |
---|---|---|---|---|
Contact resistance | 100m | Ω | ||
Operate time | 10m | s | ||
Ambient temperature | -25 | 70 | C | |
Operating current | 5 | A | ||
Operating voltage | 250 | VAC |
Software Support
This code snippet configures required port E as digital, sets pins 1 and 2 as input and enters an infinite loop. While in an infinite loop, use potentiometers P1 and P2 to adjust the ON / OFF time period.
- Supply voltage within range of 5 – 15 V.
- Maximum output current detected : 225 mA.
- Usable on : ARM, PIC, PIC32, AVR and FTDI compilers.
1 2 void main() 3 { 4 ANSELE = 0; // Configure PORTE pins as digital 5 TRISE2_bit = 1; // Set RE2 pin as input 6 PORTE = 0; 7 while(1); // Endless loop 8 // While Button is held, the onboard LED will blink according to ON/OFF timer 9 // For example, connect beeper from digital multimeter on terminal 10 }
Tableau de clics Flicker
Frequently Asked Questions
Have a Question?
Be the first to ask a question about this.