Carte double clic EE
Overview
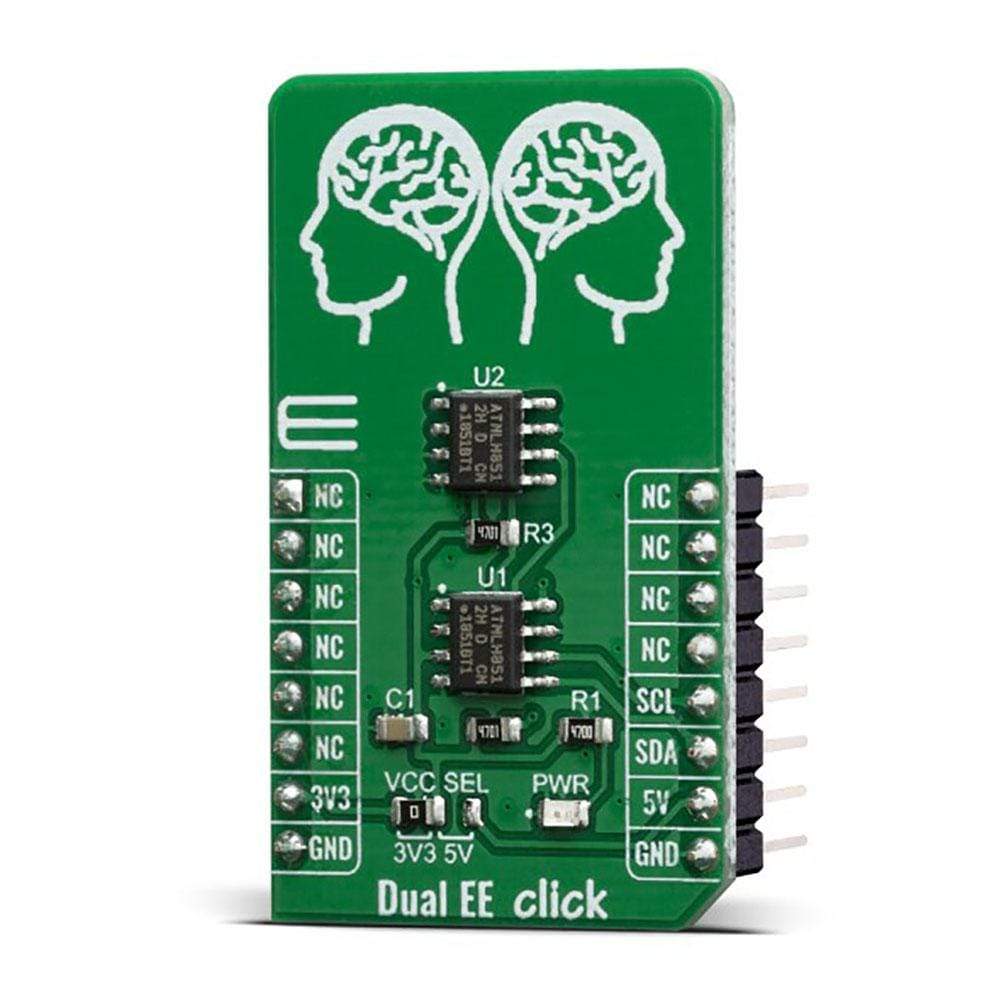
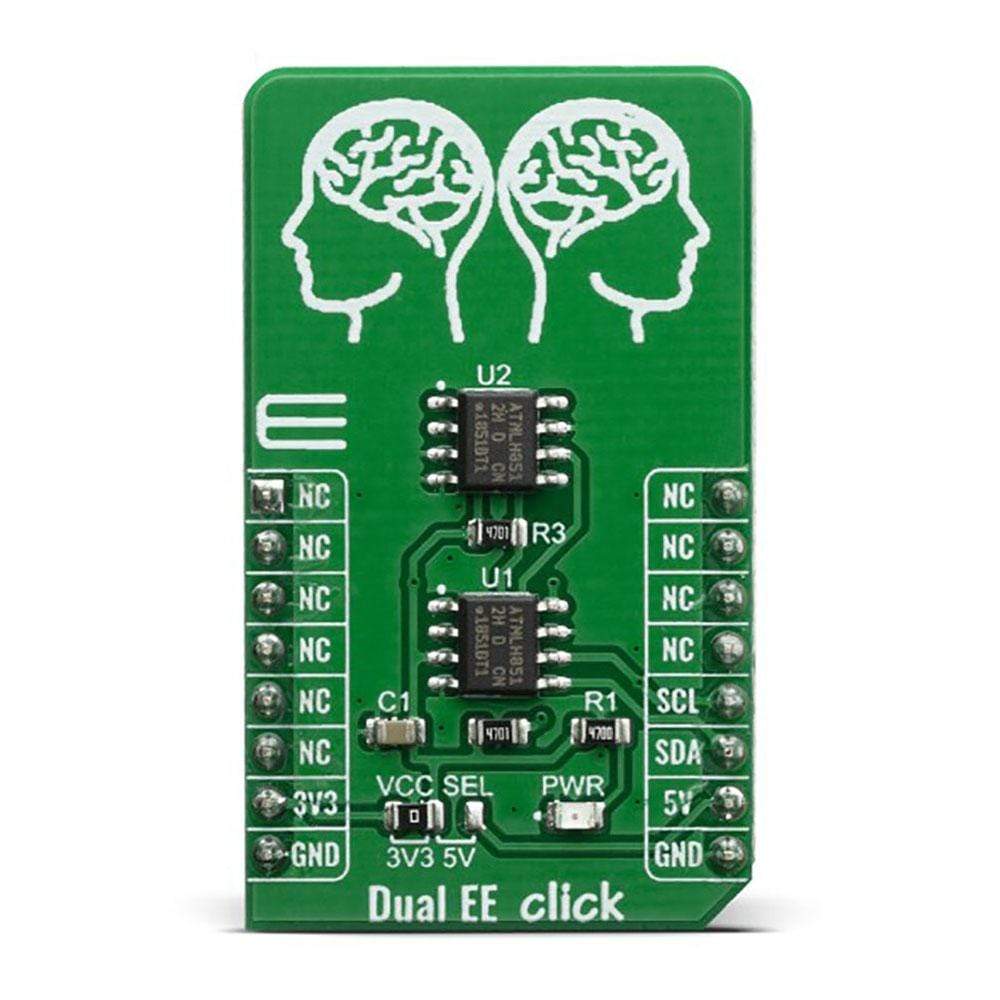
La carte Dual EE Click Board™ contient deux circuits intégrés EEPROM AT24CM02 intégrés, ce qui donne un total de 4 Mo de mémoire. Chaque circuit intégré de mémoire peut être adressé via l'interface I2C avec une vitesse de transfert de 400 kHz. Cette carte Click Board™ offre tout type de stockage de données temporaire ou permanent pour divers appareils électroniques intégrés, ainsi qu'un enregistrement simple des données ou même le stockage de divers paramètres de fonctionnement d'un certain module ou appareil. Elle peut également protéger toutes les données sensibles en cas de cycle d'alimentation particulier et dispose de nombreuses autres capacités.
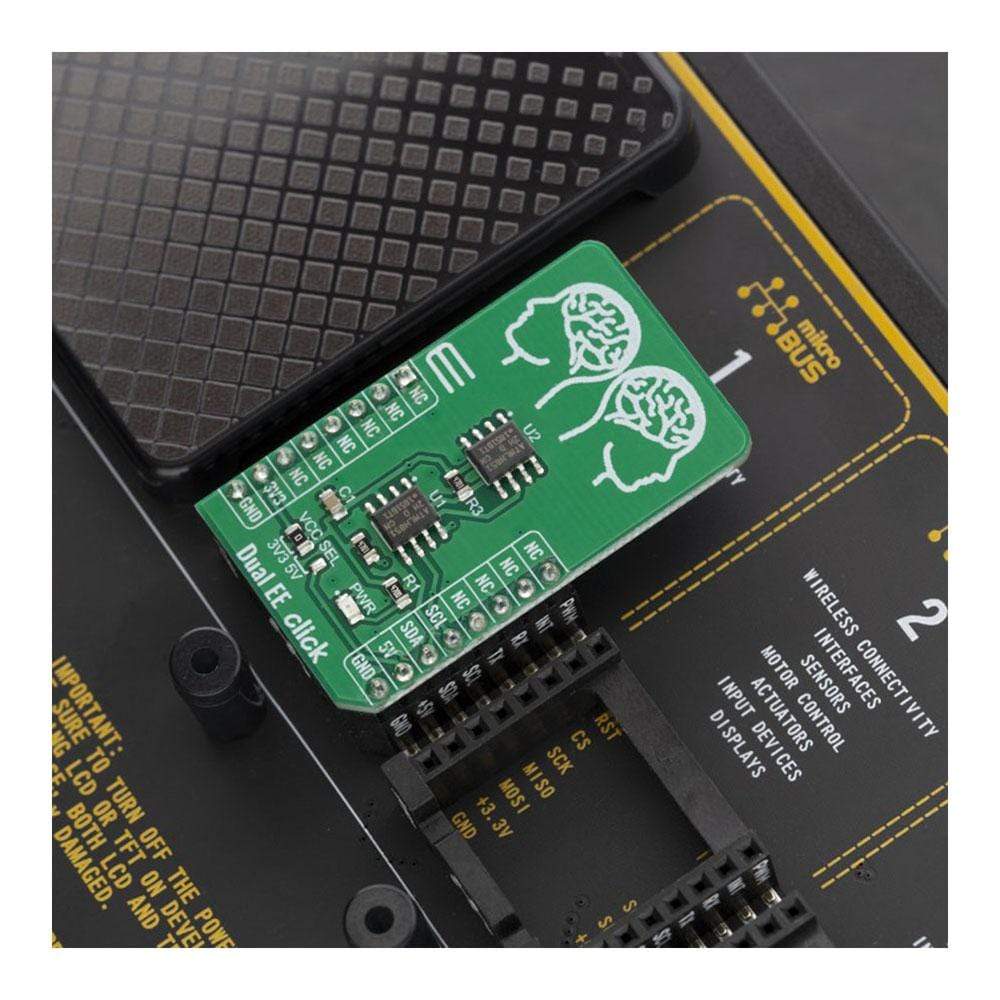
Dual EE Click est pris en charge par une bibliothèque compatible mikroSDK, qui comprend des fonctions qui simplifient le développement logiciel. Cette Click Board™ est un produit entièrement testé, prêt à être utilisé sur un système équipé du socket mikroBUS™.
Dual EE click is aimed towards industrial and commercial applications, which require low voltage and low power operational capabilities. It can be used for any kind of temporary or permanent data storage for various embedded electronic devices, simple data logging, storing various working parameters of a module or device, safeguarding the sensitive data in case of a power cycle, and other similar applications where EEPROM memory is needed.
How Does The Dual EE Click Board™ Work?
The Dual EE Click Board™ contains 2 EEPROM ICs onboard – the AT24CM02, an I2C serial EEPROM from Microchip. This means that the Ics can have a different I2C address so that users can actually choose which one they would like to use at a particular time. This is achieved by wiring the I2C address selection lines from one of the Ics to the vcc, while the other IC is wired to the gnd. Given this feature, it is important to note that this click board has a total of 4 MB of memory.
This Click board™ uses the I2C communication protocol. Therefore, every data transaction event is initiated by the host MCU, transmitting the I2C START condition, followed by the AT24CM02 device ID byte. Upon receiving the device ID byte, the AT24CM02 IC expects two more address bytes, completing the 18bit address word.
The EEPROM density is usually expressed in bits, so exactly 2.097.152 bits are organized in units or words of 8 bits, which gives 262.144 bytes of data memory. Furthermore, the EEPROM is organized in so-called pages. One page holds 256 bytes and there are 1024 pages (1024 pages x 256 bytes = 262.144 bytes total). Given that this click contains two separate EEPROM Ics this Click board™ has twice as many memory which equals 4 MB.
Having insight into how the memory cells are organized, is important for Write and Erase operations. The I2C pins are routed to the mikroBUS™ so the communication is easy and straightforward. Both 100KHz and 400KHz transfer speeds are supported by the AT24CM02 IC, as well as the 1MHz Fast Mode Plus (FM+) I2C communication, for the MCUs with I2C modules that can support that speed.
One of the key features of the AT24CM02 IC is the Error Detection and Correction scheme (EDC), which allows error correction by utilizing six additional bits, internally assigned to a group of four bytes. This protection scheme is capable of correcting some types of bit errors, staying transparent to the end user. The bit comparison and error correction are done internally.
The Dual EE Click board™ offers a selection between 3.3V and 5V operation, with the onboard SMD jumper, labeled as PWR SEL. This allows both 3.3V and 5V MCUs to be interfaced with this Click board™.
The attached device datasheet contains an in-depth explanation of all the mentioned functions. However, Mikroe provides a library with functions that make the final code clean and readable, simplifying working with this device. These functions internally employ the aforementioned communication mechanism and expose only a simple and clean interface to the user. The provided example code demonstrates the functionality of these functions. It can be used as a reference point for a custom development.
SPECIFICATIONS
Type | EEPROM |
Applications | Any kind of temporary or permanent data storage for various embedded electronic devices, simple data logging, storing various working parameters of a module or device, safeguarding the sensitive data in case of a power cycle, etc. |
On-board modules | AT24CM02 – 2 Mbit (262,144 x 8) EEPROM from Microchip. |
Key Features | Data storage, safeguarding sensitive data, 2 EEPROM ICs |
Interface | I2C |
Compatibility | mikroBUS |
Click board size | M (42.9 x 25.4 mm) |
Input Voltage | 3.3V or 5V |
PINOUT DIAGRAM
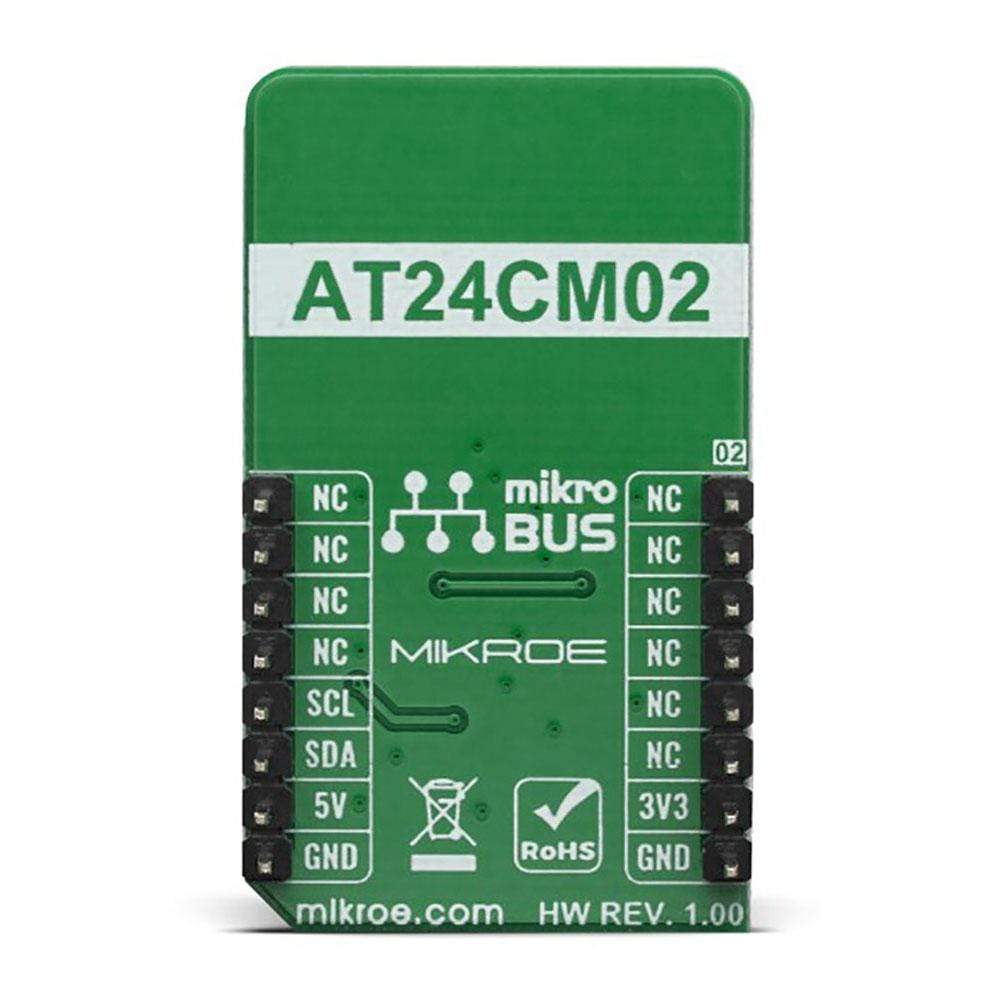
This table shows how the pinout on Dual EE Click corresponds to the pinout on the mikroBUS™ socket (the latter shown in the two middle columns).
Notes | Pin | Pin | Notes | ||||
---|---|---|---|---|---|---|---|
NC | 1 | AN | PWM | 16 | NC | ||
NC | 2 | RST | INT | 15 | NC | ||
NC | 3 | CS | RX | 14 | NC | ||
NC | 4 | SCK | TX | 13 | NC | ||
NC | 5 | MISO | SCL | 12 | SCL | I2C Clock | |
NC | 6 | MOSI | SDA | 11 | SDA | I2C Data | |
Power Supply | 3.3V | 7 | 3.3V | 5V | 10 | 5V | Power Supply |
Ground | GND | 8 | GND | GND | 9 | GND | Ground |
ONBOARD SETTINGS AND INDICATORS
Label | Name | Default | Description |
---|---|---|---|
LD1 | PWR | - | Power LED Indicator |
JP1 | VCC SEL | Left | Power Supply Voltage Selection 3V3/5V, left position 3v3, right position 5v |
We provide a library for the DualEE Click on our LibStock page, as well as a demo application (example), developed using MikroElektronika compilers. The demo can run on all the main MikroElektronika development boards.
Library Description
The library includes functions to write data to memory and read data from memory.
Key Functions
uint8_t dualee_read(uint32_t regAddress, uint8_t *dataBuff, uint8_t nBytes)
- Reading data from memoryuint8_t dualee_write(uint32_t regAddress, uint8_t *dataBuff, uint8_t nBytes)
- Writing data to memory
Example Description
The application is composed of three sections :
- System Initialization - Initializes I2C module
- Application Initialization - Initializes driver init
- Application Task - Reads your command and then execute i
- Commands : '+' - increment current address '-' - decrement current address 'r' - read from current address 'w' - write from current address and then read it
void applicationTask() { uint8_t dataReady_; uint16_t addressTemp; char receivedData_; char addressStr[10]; if (inputDone == 1) { mikrobus_logWrite( "", _LOG_LINE); mikrobus_logWrite("Current page address is 0x", _LOG_TEXT); addressTemp = (pageAddress >> 16) & 0x00FF; IntToHex(addressTemp, addressStr); mikrobus_logWrite( addressStr, _LOG_TEXT); IntToHex(pageAddress, addressStr); mikrobus_logWrite( addressStr, _LOG_LINE); mikrobus_logWrite( "", _LOG_LINE); mikrobus_logWrite( "Enter '+' if you want to increment current address or '-' if you want to decrement current address", _LOG_LINE); mikrobus_logWrite( "Enter 'w' write text in current address or 'r' to read from current address:", _LOG_LINE); mikrobus_logWrite( "", _LOG_LINE); inputDone = 0; } dataReady_ = UART_Rdy_Ptr( ); if (dataReady_ != 0) { receivedData_ = UART_Rd_Ptr( ); switch (receivedData_) { case '+' : { if(pageAddress < _DUALEE_ADDRESS_END) { pageAddress ++; } else { mikrobus_logWrite( "Can't increment address, this is last address!", _LOG_LINE); } inputDone = 1; break; } case '-' : { if(pageAddress > _DUALEE_ADDRESS_START) { pageAddress --; } else { mikrobus_logWrite( "Can't decrement address, this is first address!", _LOG_LINE); } inputDone = 1; break; } case 'w' : { dualee_textWrite(); inputDone = 1; break; } case 'r' : { dualee_textRead(); inputDone = 1; break; } } } Delay_ms(1000); }
Additional Functions :
- void dualee_textRead() - Reads current address and logs that data to USBUART
- void dualee_textWrite() - Writes on current address, reads that and then logs that data to USBUART
Note :
- When you want to stop writing, you need to send '|'
- After you read or write something you should set slight delay
The full application code, and ready to use projects can be found on our LibStock page.
Other mikroE Libraries used in the example:
- I2C
- Conversions
Additional Notes and Information
Depending on the development board you are using, you may need USB UART click, USB UART 2 click or RS232 click to connect to your PC, for development systems with no UART to USB interface available on the board. The terminal available in all MikroElektronika compilers, or any other terminal application of your choice, can be used to read the message.
MIKROSDK
This Click board™ is supported with mikroSDK - MikroElektronika Software Development Kit. To ensure proper operation of mikroSDK compliant Click board™ demo applications, mikroSDK should be downloaded from the LibStock and installed for the compiler you are using.
Frequently Asked Questions
Have a Question?
Be the first to ask a question about this.