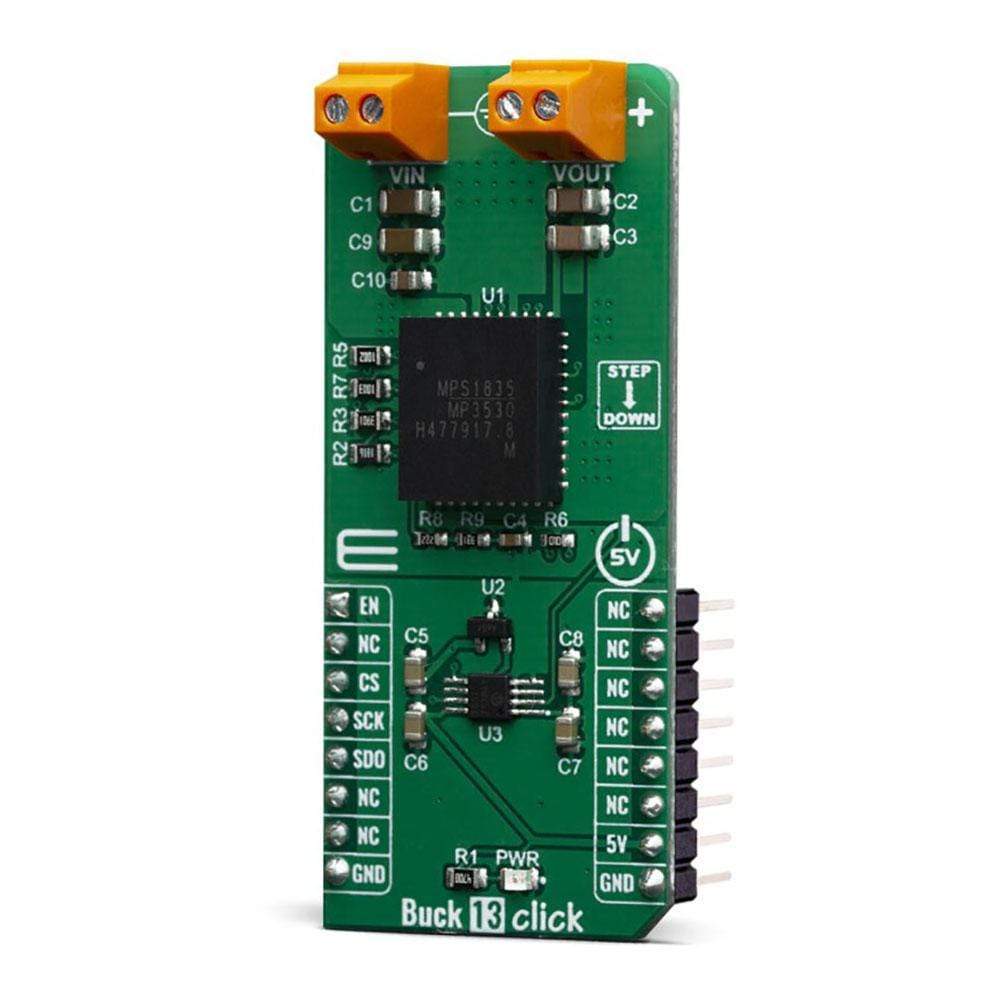
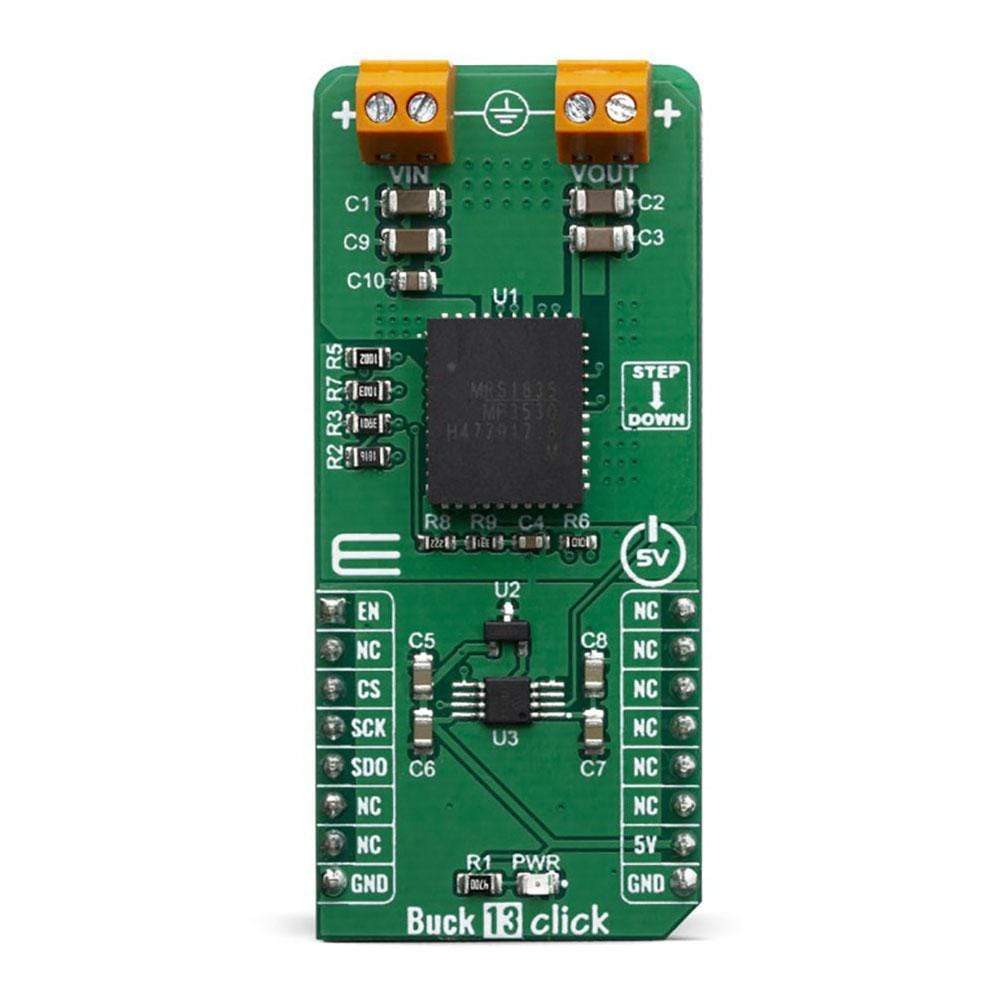
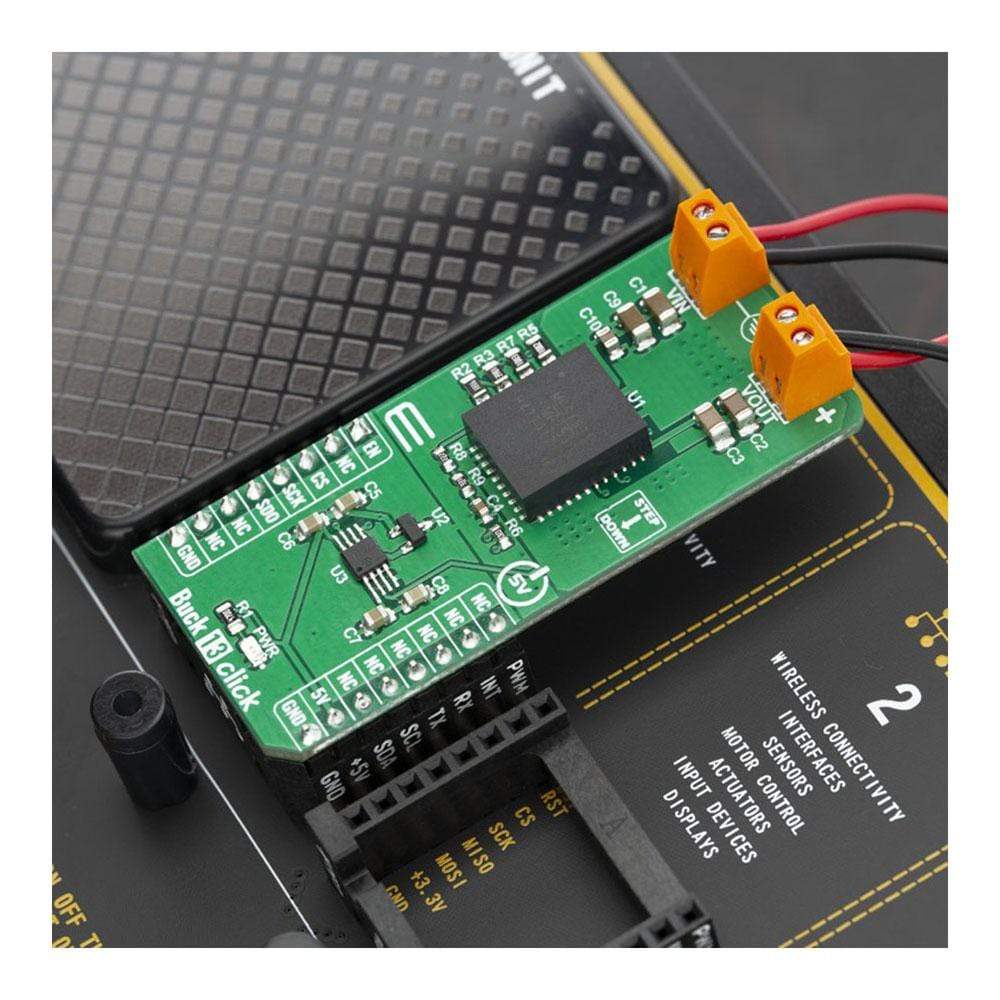
Planche à clic Buck 13
Overview
Le Buck 13 Click Board™ est un convertisseur abaisseur à haut rendement qui fournit une tension de sortie hautement régulée dérivée de la source d'alimentation connectée, évaluée de 4,5 V à 5,5 V. La tension de sortie régulée est de 3,3 V, le choix le plus courant pour diverses applications embarquées. Le Buck 13 Click Board™ est basé sur un convertisseur CC-CC intégré, étiqueté MPM3530.
Grâce à son rendement élevé, le MPM3530 permet au Click Board™ de fournir facilement jusqu'à 3 A de courant. Le MPM3530 est très fiable, offrant une protection contre les surintensités et les surtensions, ainsi qu'un arrêt thermique.
Equipped with a number of different protection features such as the overload protection, thermal protection, soft startup, this step-down converter offers a very secure and convenient way of reducing the input voltage from a VIN terminal. It provides a clean, low noise and reliable power source. It can be used for different types of power supplies, regulation of the wall transformers output, single board applications powered by high voltage, and for any application that requires clean and efficient step-down voltage conversion.
How Does The Buck 13 Click Board™ Work?
The step down DC-DC regulator used on the Buck 13 Click Board™ is the MPM3530, a 55V 3A ultra-low profile DC-to-DC power module by Monolithic Power Systems (MPS). This IC is a valley current mode controlled power module, meaning that it has a faster response than the traditional peak current mode control, thus better response to transients. This IC requires a minimal number of external components, which makes the whole device pretty robust and easy to work with.
The output voltage is determined by the feedback voltage on the FB pin. Therefore, Buck 13 Click Board™ is equipped with a fixed voltage divider calculated to ensure stable, the most frequently used, 3.3V output. The MPM3530 operates at very high switching frequency of 520 kHz, which allows a good compromise between the efficiency and the size of the device with no external coil needed and minimal number of other external components.
The Buck 13 Click Board™ uses the MCP3001, a 10-bit A/D converter (ADC) which uses the SPI interface, from Microchip. It allows monitoring the output voltage over the SPI interface. This ADC is powered from the +5V mikroBUS power rail. The same voltage is used to supply the MCP1541 voltage reference, as well. That way, the stable 4.096V rference voltage is obtained in order to ensure precise measurement of the output voltage. The Buck 13 Click Board™ itself requires an external power supply to be connected at the input terminal, labelled as VIN. The VOUT terminal provides the connected load with the regulated 3.3V voltage.
The over-current protection is based on cycle-by-cycle limiting of the inductor current. If the output voltage starts to drop during the current limiting interval, causing the FB voltage to drop under 50% of the internal reference, the device enters the hiccup mode, shutting down the output. After a fixed period, the device will try to re-enable the output. If the short-circuit condition still exists, it will shut down the output again, repeating the whole process, until the short-circuit condition disappears. The hiccup mode greatly reduces the short-circuit current, protecting the device when the output is shorted to ground.
Thanks to its ability to work with the high duty cycle of the internal switching PWM signal, the MPM3530 requires the input voltage to be only about 0.7V above the output voltage, in order to maintain the regulation. However, if the input voltage drops under 3.5V, the device will not be able to operate properly. Therefore, the under-voltage protection shuts down the device, as a protection measure. The under-voltage protection is disabled once the input voltage exceeds 3.9V. This small hysteresis of 0.4V prevents erratic behavior in border-cases.
As mentioned before, the voltage of the power supply at the input terminal should stay within the range between 4V and 55V. However, the voltage at the input is desirable to be approximately 5.7V to 6V at least, in order to provide a good regulation at the output.
SPECIFICATIONS
Type | Buck |
Applications | The Buck 13 Click Board™ is the perfect choice for step-down applications for embedded electronic devices, servers, routers, data storage devices, low-power ICs, etc |
On-board modules | MPM3530, 3A ultra-low profile DC-to-DC power module by Monolithic Power Systems (MPS) MCP3001, a 10-bit A/D converter (ADC) which uses the SPI interface, from Microchip. |
Key Features | Buck 13 Click Board™ features a wide range of input voltages, pin configurable working parameters, internal soft start, thermal shutdown, hiccup mode short-circuit protection and high switching efficiency |
Interface | SPI |
Compatibility | mikroBUS |
Click Board™ size | L (57.15 x 25.4 mm) |
Input Voltage | 5V |
PINOUT DIAGRAM
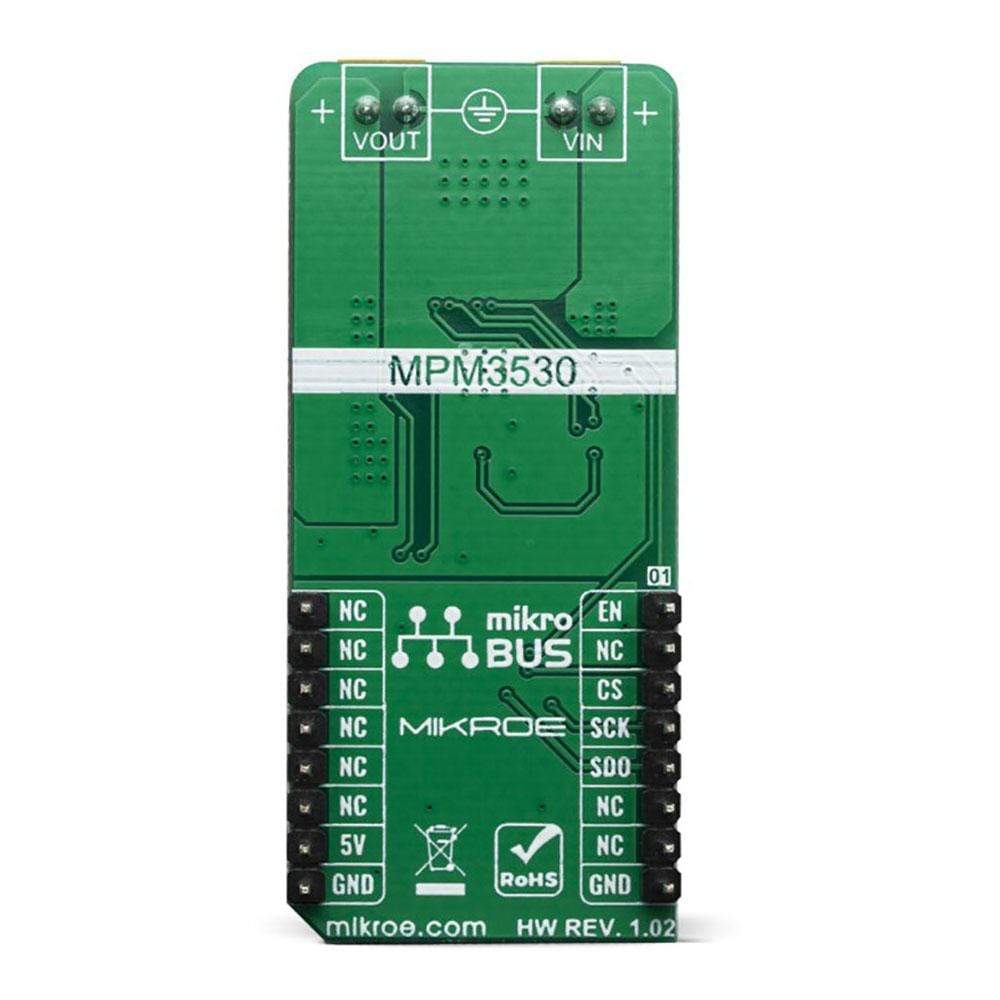
This table shows how the pinout on Buck 13 Click Board™ corresponds to the pinout on the mikroBUS socket (the latter shown in the two middle columns).
Notes | Pin | Pin | Notes | ||||
---|---|---|---|---|---|---|---|
Enable Input | EN | 1 | AN | PWM | 16 | NC | |
NC | 2 | RST | INT | 15 | NC | ||
Chip Select | CS | 3 | CS | RX | 14 | NC | |
SPI Clock | SCK | 4 | SCK | TX | 13 | NC | |
SPI Data Out | SDO | 5 | MISO | SCL | 12 | NC | |
NC | 6 | MOSI | SDA | 11 | NC | ||
NC | 7 | 3.3V | 5V | 10 | 5V | Power supply | |
Ground | GND | 8 | GND | GND | 9 | GND | Ground |
ONBOARD SETTINGS AND INDICATORS
Label | Name | Default | Description |
---|---|---|---|
LD1 | PWR | - | Power LED Indicator |
TB1 | VIN-EXT | - | Screw terminal for connecting an external voltage source |
TB2 | VOUT | - | Screw terminal for connecting the load |
BUCK 13 Click Board™ ELECTRICAL SPECIFICATIONS
Description | Min | Typ | Max | Unit |
---|---|---|---|---|
Input voltage range | 4.5 | 5 | 55 | V |
Output voltage range | - | 3.3 | - | V |
Output current | 0 | - | 3 | A |
Software Support
We provide a library for the Buck 13 Click Board™ on our LibStock page, as well as a demo application (example), developed using MikroElektronika compilers. The demo can run on all the main MikroElektronika development boards.
Library Description
This library performs a control of the Buck 13 Click Board™, which is used to convert the input DC voltage, in the range from 6.5V to 50V, to output DC voltage of 3.3V, with maximal current of 3A. Library uses SPI serial interface to allow the ADC output reading from the Buck 13. For more details check documentation.
Key Functions
void buck13_spiDriverInit( T_BUCK13_P gpioObj, T_BUCK13_P spiObj )
- This function initializes SPI serial interface.void buck13_enable( T_BUCK13_STATE pwr_state )
- This function allows user to perform a control of the Buck 13 output.uint16_t buck13_getVoltage( void )
- This function returns the output voltage value calculated to millivolts.
Example Description
The application is composed of three sections :
- System Initialization - Initializes peripherals and pins.
- Application Initialization - Initializes SPI serial interface and turns OFF the Buck 13 output as default state. Also writes possible commands to the uart terminal.
- Application Task - (code snippet) - Checks the command entered by user and executes the operation determined by selected command. If entered command was invalid sends a report to the uart terminal. Also the report will be sent to the uart terminal after each entered command and executed operation. Note: Input voltage range is from 6.5V to 50V Output voltage is about 3.3V Current limit is 3A.
void applicationTask() { rx_dat = UART_Rdy_Ptr(); if (rx_dat != 0) { rx_dat = UART_Rd_Ptr(); switch (rx_dat) { case 'e' : { if (out_state == _BUCK13_DISABLE) { buck13_enable( _BUCK13_ENABLE ); out_state = _BUCK13_ENABLE; mikrobus_logWrite( "** Buck 13 output is enabled now.", _LOG_LINE ); } else { mikrobus_logWrite( "** Buck 13 output is already enabled.", _LOG_LINE ); } break; } case 'd' : { if (out_state == _BUCK13_ENABLE) { buck13_enable( _BUCK13_DISABLE ); out_state = _BUCK13_DISABLE; mikrobus_logWrite( "** Buck 13 output is disabled now.", _LOG_LINE ); } else { mikrobus_logWrite( "** Buck 13 output is already disabled.", _LOG_LINE ); } break; } case 'v' : { out_voltage = buck13_getVoltage(); WordToStr( out_voltage, text ); Ltrim( text ); mikrobus_logWrite( "** VOUT = ", _LOG_TEXT ); mikrobus_logWrite( text, _LOG_TEXT ); mikrobus_logWrite( " mV.", _LOG_LINE ); break; } case 'c' : { writeCmd(); break; } default : { mikrobus_logWrite( "***** Invalid command. *****", _LOG_LINE ); writeCmd(); break; } } } } Additional Functions :
- writeCmd - Writes possible commands for the user to the uart terminal.
The full application code, and ready to use projects can be found on our LibStock page.
Other mikroE Libraries used in the example:
- Conversions
- C_String
- SPI
- UART
Additional Notes and Information
Depending on the development board you are using, you may need a USB UART Click Board™, USB UART 2 Click Board™ or RS232 Click Board™ to connect to your PC, for development systems with no UART to USB interface available on the board. The terminal available in all MikroElektronika compilers, or any other terminal application of your choice, can be used to read the message.
MIKROSDK
The Buck 13 Click Board™ is supported with mikroSDK - MikroElektronika Software Development Kit. To ensure proper operation of mikroSDK compliant Click Board™ demo applications, mikroSDK should be downloaded from the LibStock and installed for the compiler you are using.
Frequently Asked Questions
Have a Question?
Be the first to ask a question about this.