Overview
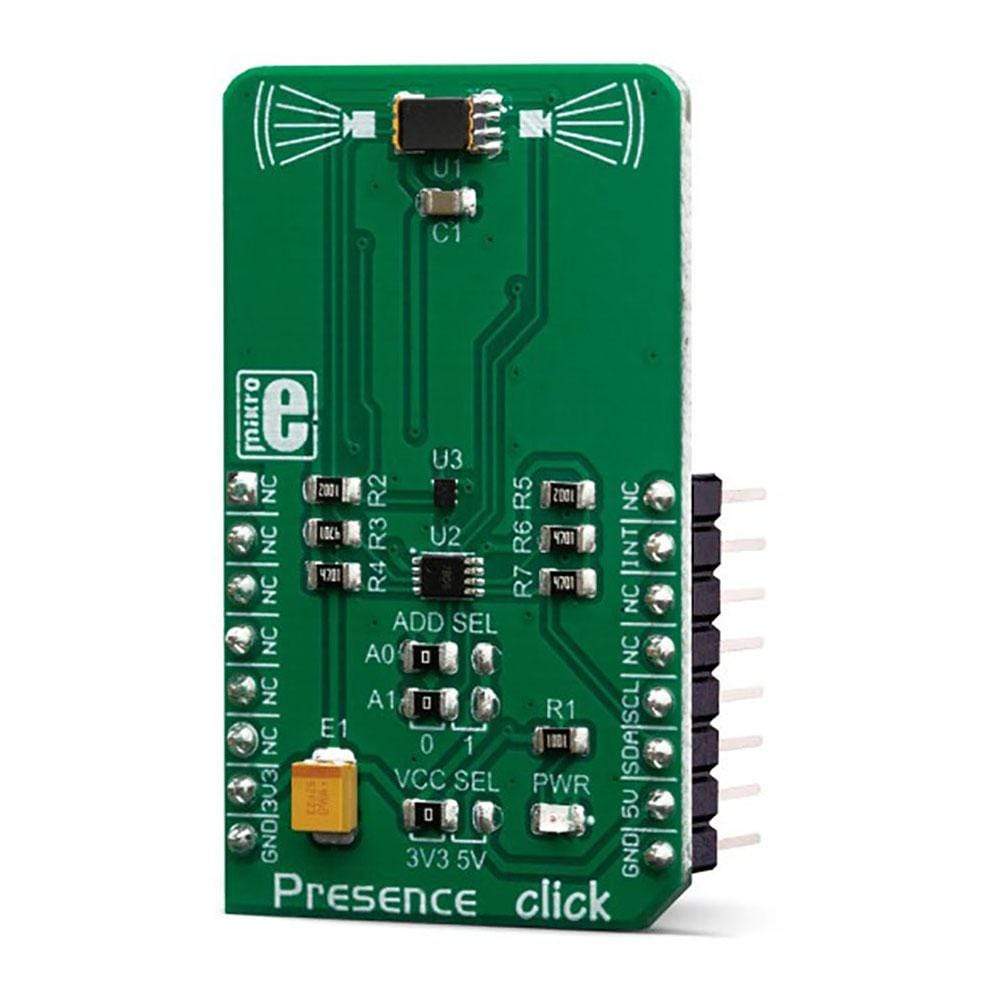
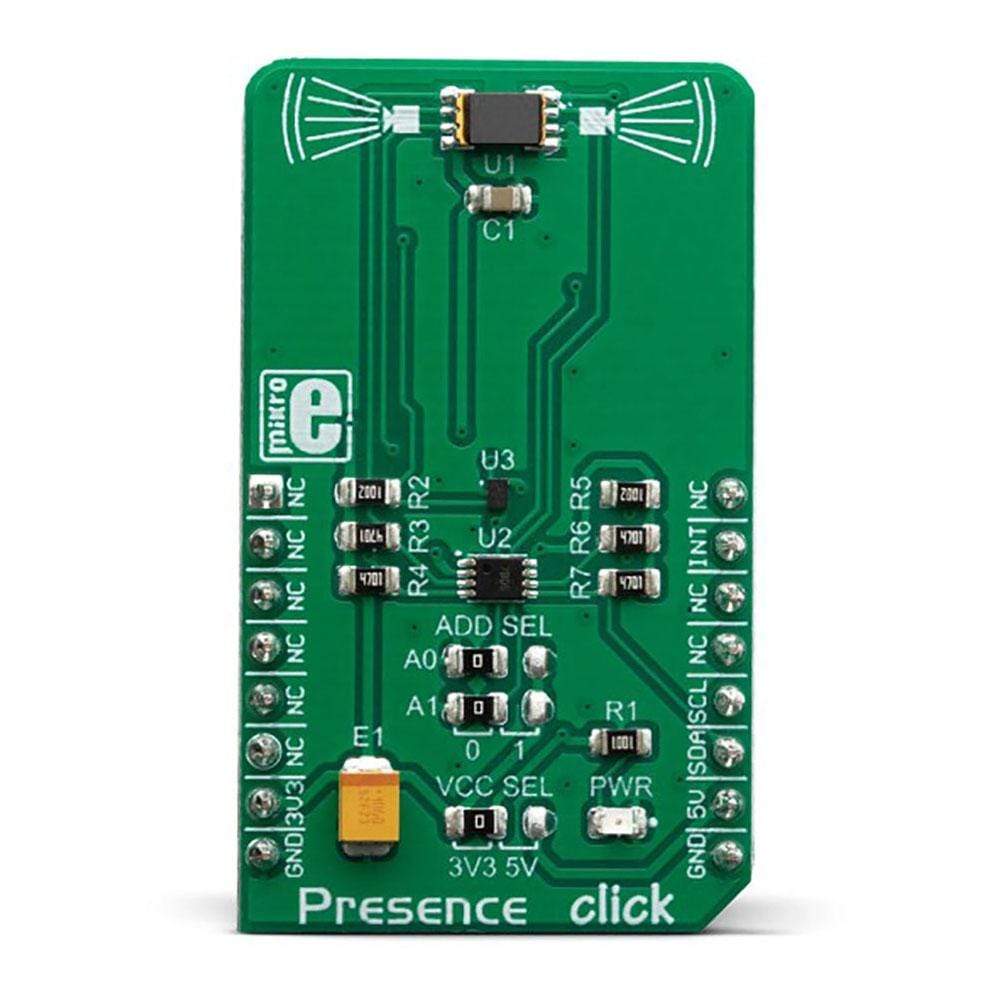
The Presence Click Board™ is an infrared sensing Click Board™ which can be used for presence sensing, motion detection, and a remote overtemperature protection. Presence Click Board™ is equipped with the TPiS 1S 1385, a thermophile sensor from CaliPile™ series.
The TPiS 1S 1385 has an integrated signal processing circuitry, making it perfectly suited for portable and battery-operated applications. A wide field-of-view (FOV) and high resolution allow for both high sensitivity and operation without lenses, which makes the TPiS 1S 1385 an ideal solution for low-profile and space constrained applications.
Downloads
Based on a very sensitive thermopile sensor, and coupled with the advanced signal processing, the TPiS 1S 1385 can be used for more than just traditional temperature measurement: presence sensing, motion detection, and overtemperature protection algorithms can report an event over the interrupt pin, allowing many of their parameters to be configured according to specific requirements of an application. This makes the Presence Click Board™ an ideal platform for the development of a range of applications including proximity wake-up of battery-powered applications, near-field human presence sensing applications, remote overtemperature protection applications, short-range temperature measurement, and similar.
How Does The Presence Click Board™ Work?
The Presence Click Board™ is based on the TPiS 1S 1385, a device from CaliPile™ multi-function infrared sensor series, from Excelitas Technologies. Despite its very compact design (4.4 x 2.6 x 1.75 mm2), it features an integrated signal processing ASIC, which allows detection of several different events, common to all the sensors from CaliPile™ series. The TPiS 1S 1385 features near-field motion detection, presence detection, and remote temperature measurement. The infrared light emitted from the object is detected by the thermopile sensor, converted by a highly sensitive 17-bit ADC, and digitally processed to allow event detection. Event detection can be fine-tuned over the I2C interface, by accessing corresponding config registers.
The CaliPile™ series sensors can utilize the embedded processing engine to detect several different events, including motion, presence, and temperature shock events. Each of these events is based on measuring the temperature and then comparing it with a value which is taken after a time interval. The device does not consume much power while processing the data; significantly more power is consumed during the sampling intervals. Since the measurement is done in just a few points of time, not much power is consumed overall. This feature allows using the sensor IC on battery-operated systems.
A particularly interesting feature is ambient temperature shock detection. This allows detecting fast changes of the temperature, which can be used to remotely detect overtemperature event in some power installations or similar inaccessible locations.
The TPiS 1S 1385 is able to perform data processing. However, the firmware running on the host MCU has to perform some calculations, taking calibration parameters from the EEPROM into account, in order to determine the temperature of the target object. The thermopile sensor reacts to IR light reflection; therefore, some external parameters have to be taken into consideration. More information about these parameters and how to calculate the output can be found in the TPiS 1S 1385 datasheet.
The interrupt pin allows the detected event to be reported to the host MCU. This is crucial for wakeup-on-proximity applications. The interrupt will be cleared only after reading the Interrupt Status register. The interrupt pin is an active LOW output, routed to the INT pin of the mikroBUS™. It is pulled to a HIGH logic state by an onboard resistor, when not asserted.
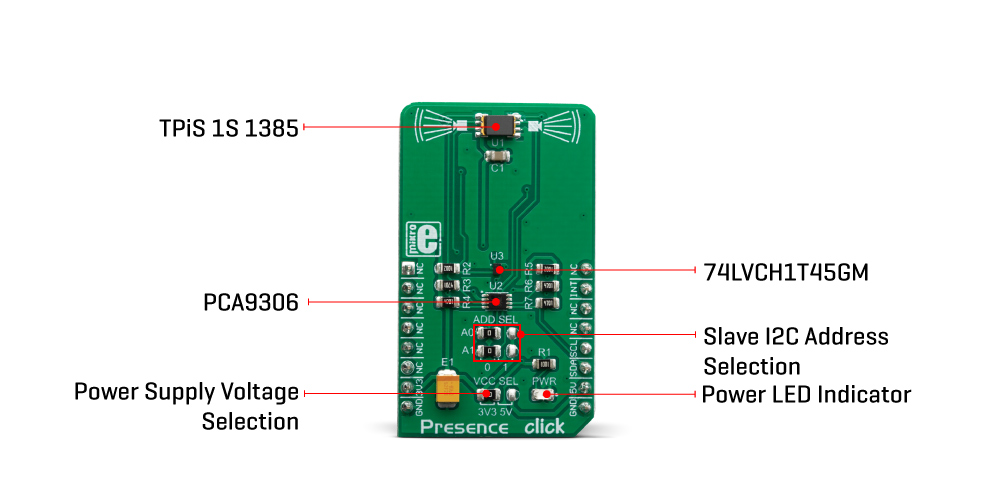
After the power on, the device only responds to the General Call Address, which is 0x00. After it receives a general call, it loads its I2C address which is stored in the EEPROM register. Depending on the most significant bit (MSB) within this register, the states of the two physical pins A0 and A1 will replace the values of the two least significant bits (LSB). Pins A0 and A1 are routed to the SMD jumpers grouped under the ADR SEL label, allowing the developer to select an I2C slave address when more than a single device exists on the I2C bus. The datasheet of the TPiS 1S 1385 illustrates the use of the EEPROM register, along with the A0 and A1 pins. However, the Click board™ is supported by a set of mikroSDK library functions which simplify the use of this IC, along with a demo example which can be used as a reference for a custom design.
In addition to TPiS 1S 1385, Presence click features two additional ICs: the PCA9306, and the 74LVCH1T45. The PCA9306 is a bi-directional level shifter for the I2C signals, while the 74LVCH1T45 is a single bit level shifter, used for the INT line. Both ICs are produced by NXP. They allow both 3.3V and 5V MCUs to be interfaced with the Presence Click Board™, vastly expanding its usability.
SPECIFICATIONS
| Type | Miscellaneous |
| Applications | The Presence Click Board™ is an ideal platform for development of a range of applications, including proximity wake-up of battery-powered applications, near-field human presence sensing applications, remote overtemperature protection applications, short-range temperature measurement, and similar. |
| On-board modules | TPiS 1S 1385, a device from CaliPile™ multi-function infrared sensor series, from Excelitas Technologies. |
| Key Features | On-chip processing and event detection, 17-bit ADC signal conversion, I2C interface, programmable interrupt engine, low power consumption, ability to fine-tune event detection algorithms, etc. |
| Interface | I2C |
| Compatibility | mikroBUS |
| Click board size | M (42.9 x 25.4 mm) |
| Input Voltage | 3.3V or 5V |
PINOUT DIAGRAM
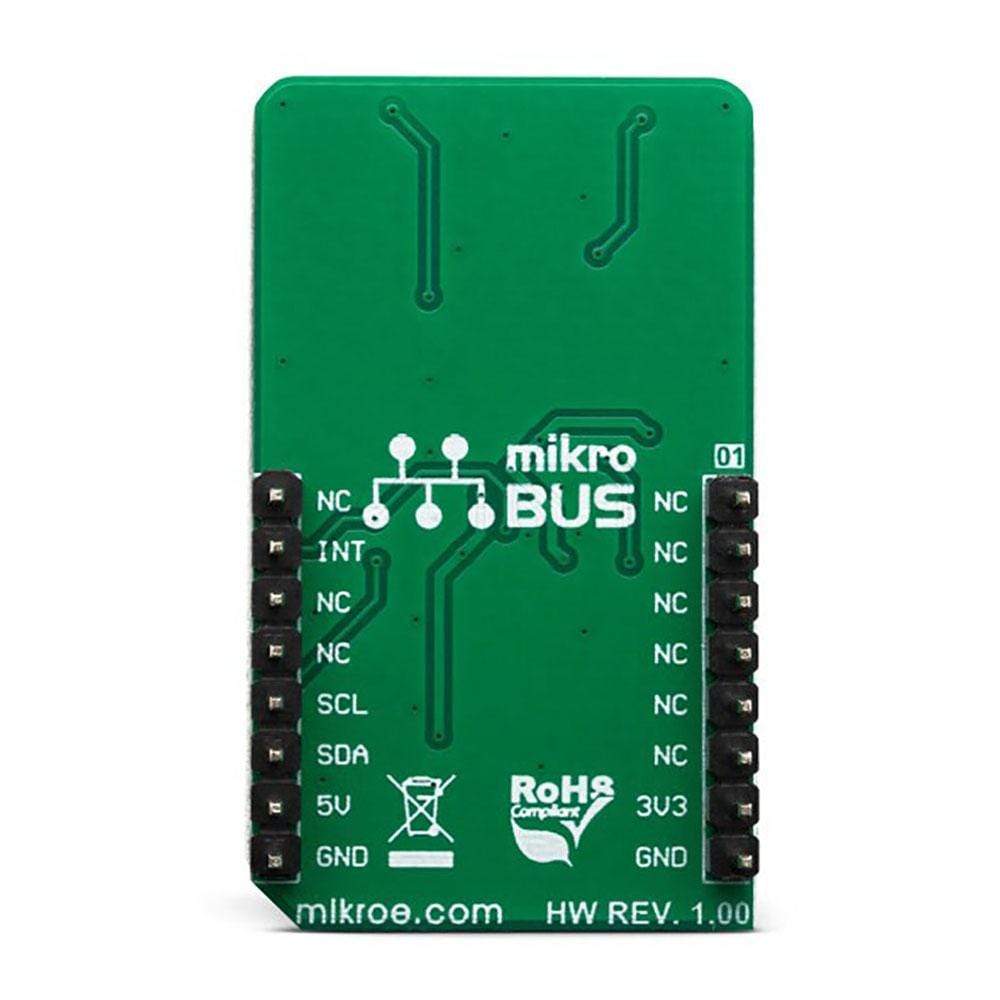
This table shows how the pinout of the Presence Click Board™ corresponds to the pinout on the mikroBUS™ socket (the latter shown in the two middle columns).
| Notes | Pin |  |
Pin | Notes | |||
|---|---|---|---|---|---|---|---|
| NC | 1 | AN | PWM | 16 | NC | ||
| NC | 2 | RST | INT | 15 | INT | Interrupt | |
| NC | 3 | CS | RX | 14 | NC | ||
| NC | 4 | SCK | TX | 13 | NC | ||
| NC | 5 | MISO | SCL | 12 | SCL | I2C Clock | |
| NC | 6 | MOSI | SDA | 11 | SDA | I2C Data | |
| Power Supply | 3.3V | 7 | 3.3V | 5V | 10 | 5V | Power supply |
| Ground | GND | 8 | GND | GND | 9 | GND | Ground |
ONBOARD SETTINGS AND INDICATORS
| Label | Name | Default | Description |
|---|---|---|---|
| PWR | PWR | - | Power LED Indicator |
| A0, A1 | A0, A1 | Left | I2C slave address LSBs: left position 0, right position 1 |
| VCC SEL | VCC SEL | Left | Power supply selection: left position 3V3, right position 5V |
| General Information | |
|---|---|
Part Number (SKU) |
MIKROE-3575
|
Manufacturer |
|
| Physical and Mechanical | |
Weight |
0.018 kg
|
| Other | |
Country of Origin |
|
HS Code Customs Tariff code
|
|
EAN |
8606018715886
|
Warranty |
|
Frequently Asked Questions
Have a Question?
Be the first to ask a question about this.

