CapSense 2 Click Board
Key Features
- Slider with acceleration and position detection, programmable sensitivity, low power consumption, automatic recalibration, I2C interface, two touch buttons, LED indicators, and more
- Based on the CAP1114 - multi-channel capacitive touch sensor from Microchip
- Can be used for reliable and accurate sensing for any application that uses capacitive touch sensing functions
- mikroBUS: I2C Interface
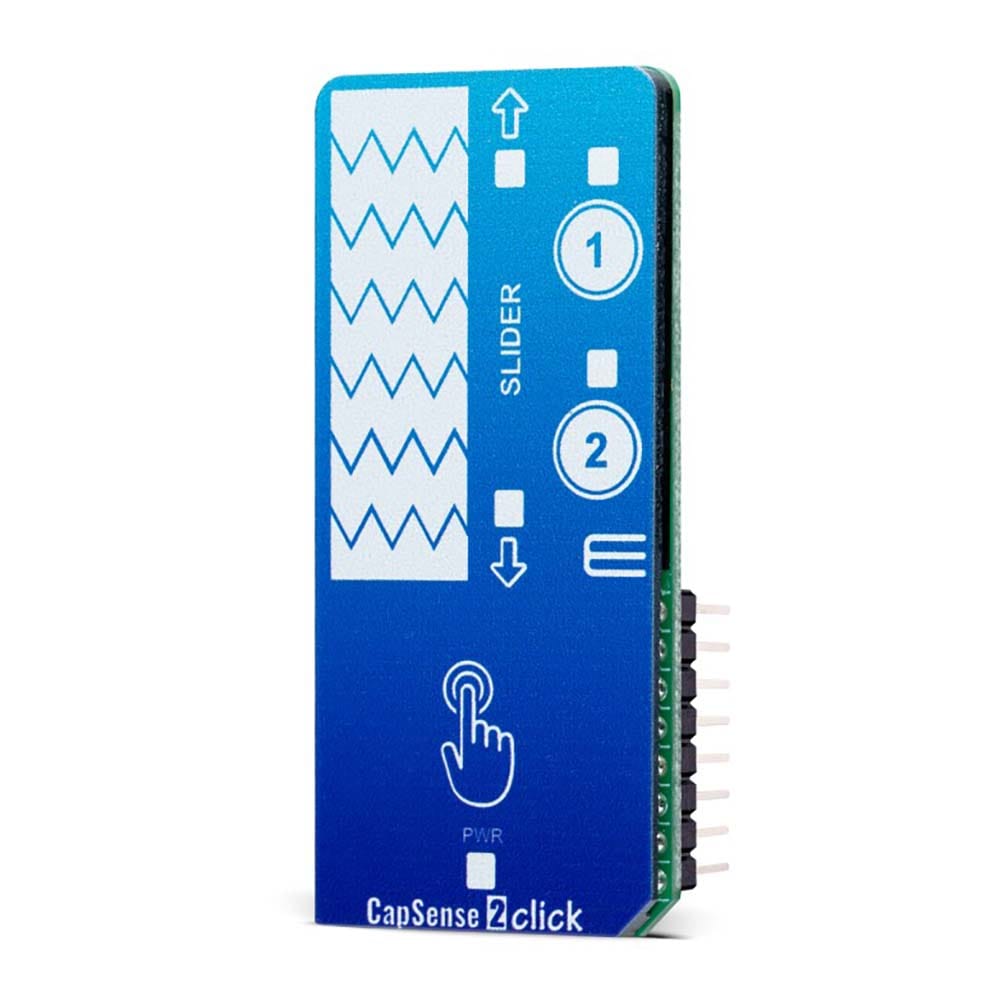
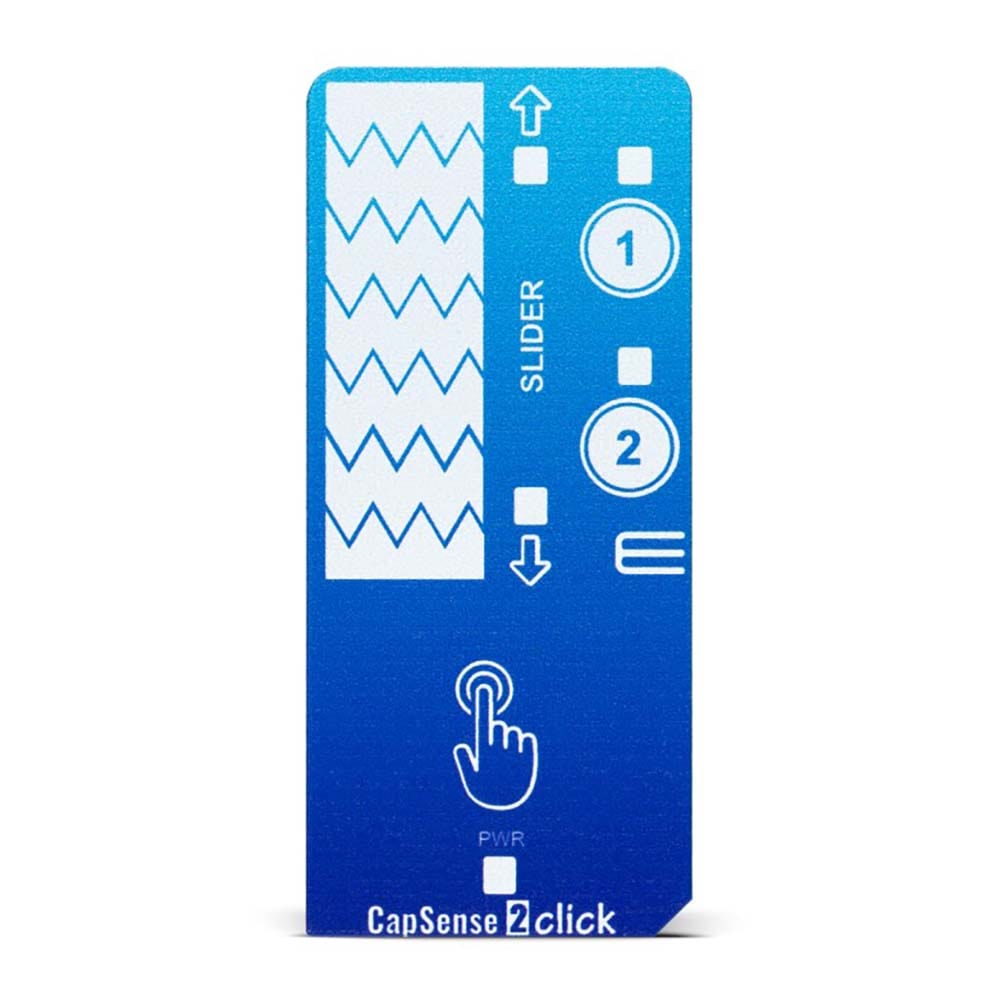
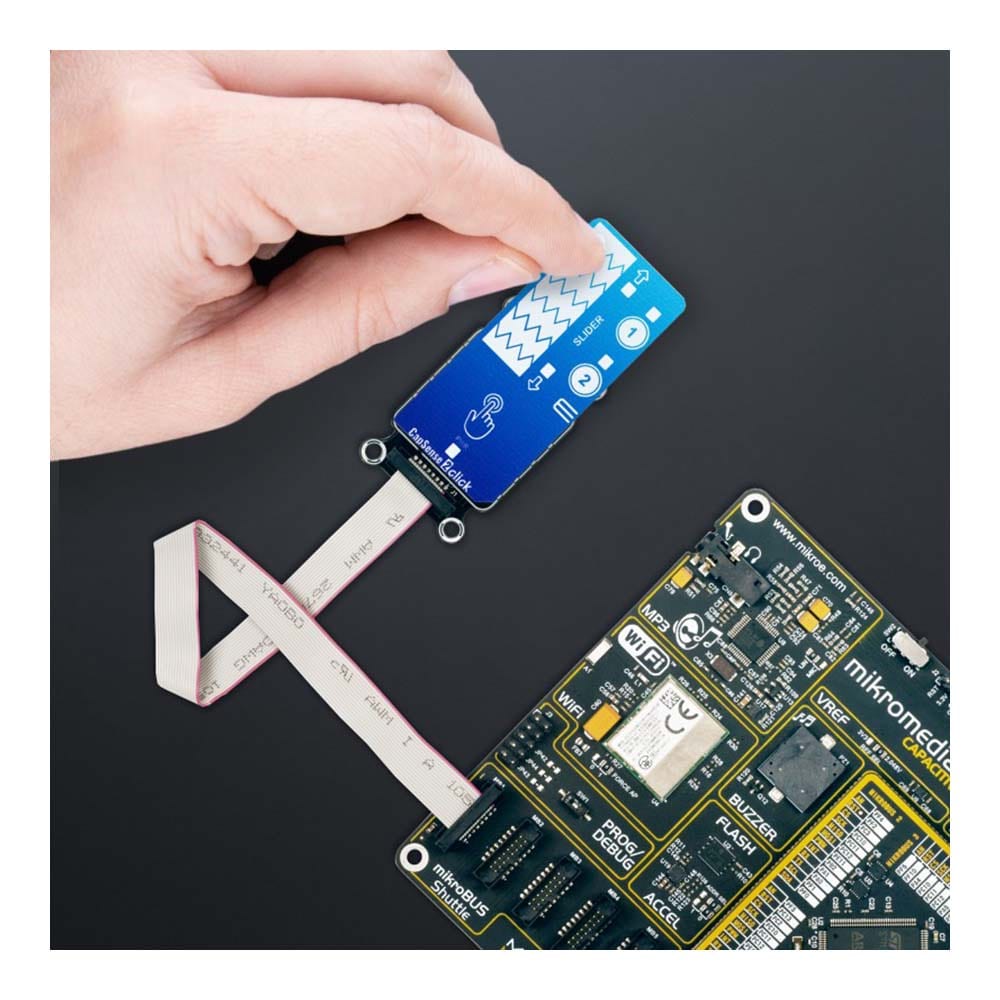
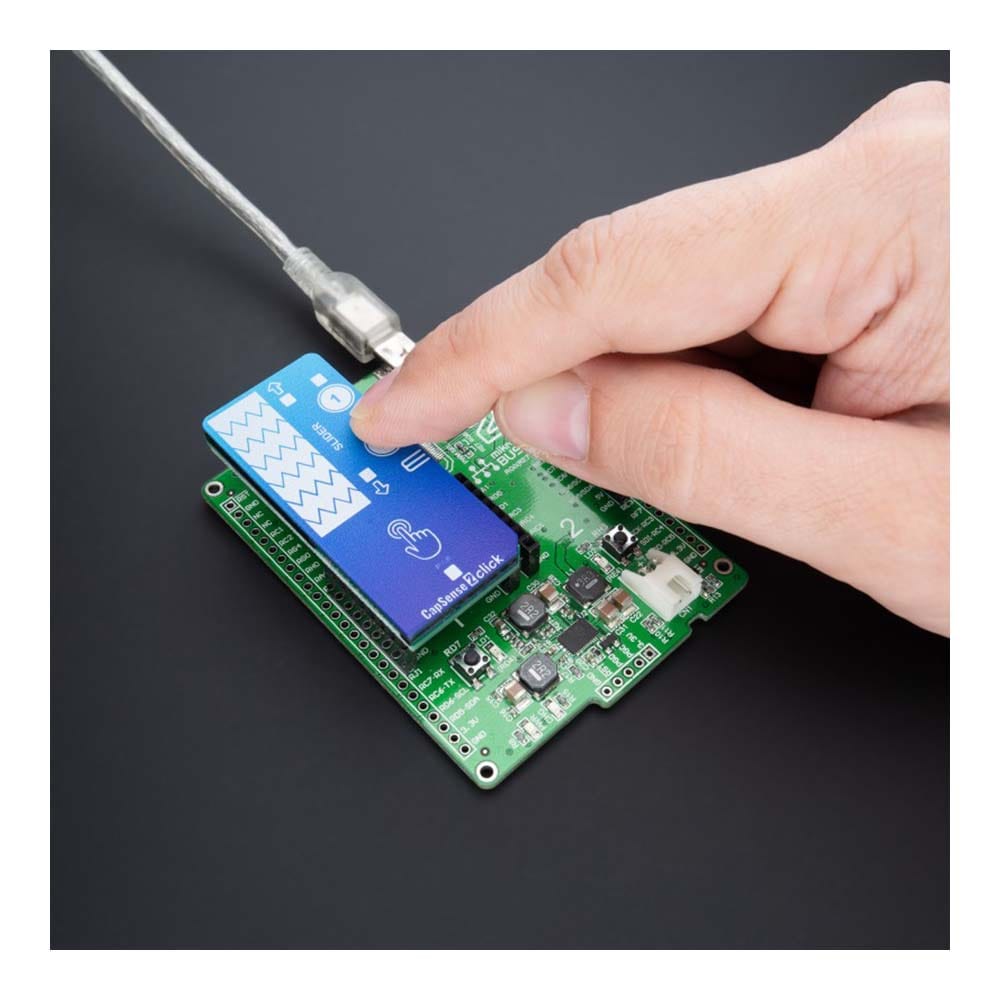
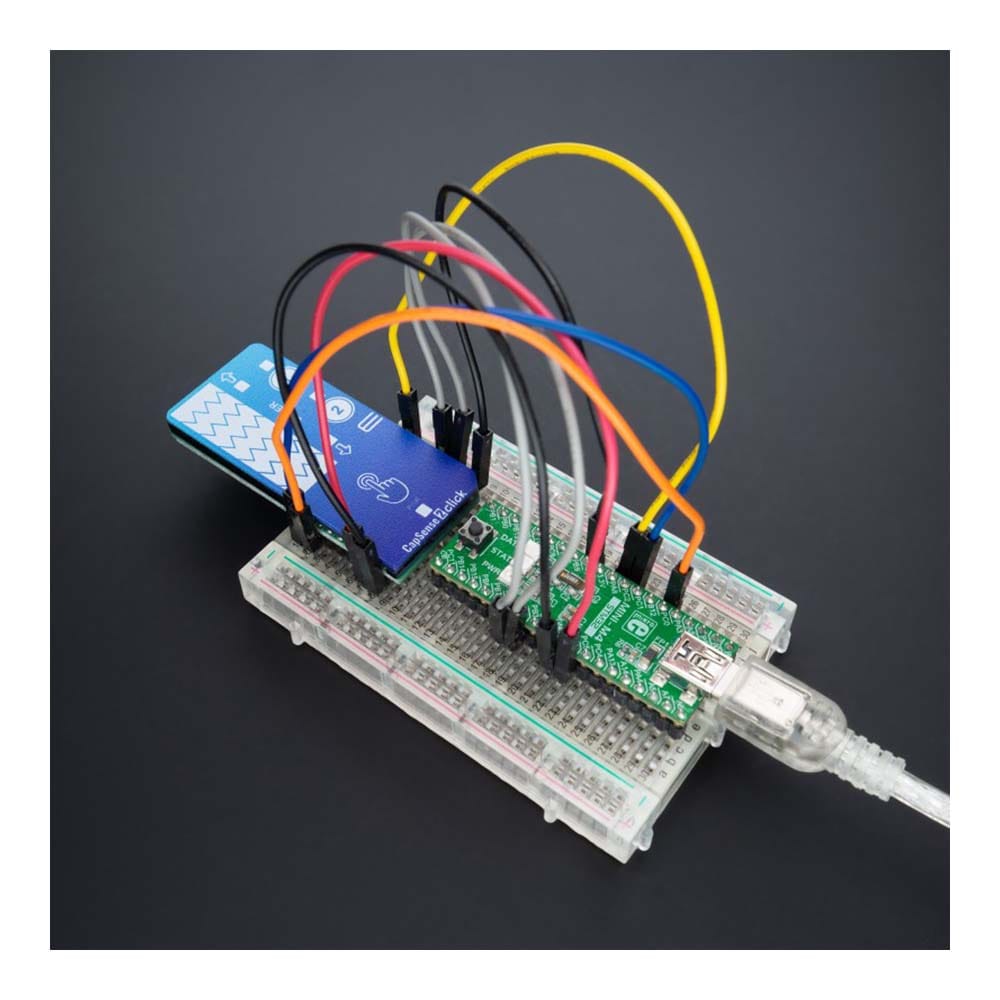
The CapSense 2 Click Board™ is a compact add-on board that easily integrates projected capacitive touch into user's applications. This board features the CAP1114, a multi-channel capacitive touch sensor that takes human body capacitance as an input and directly provides the real-time sensor information via the I2C serial interface from Microchip. This board contains capacitive sensing elements, a 7-segment slider, two buttons, and four LED indicators that visually detect the activation on some of these parts. This Click board™ offers reliable and accurate sensing for any application that uses capacitive touch sensing functions.
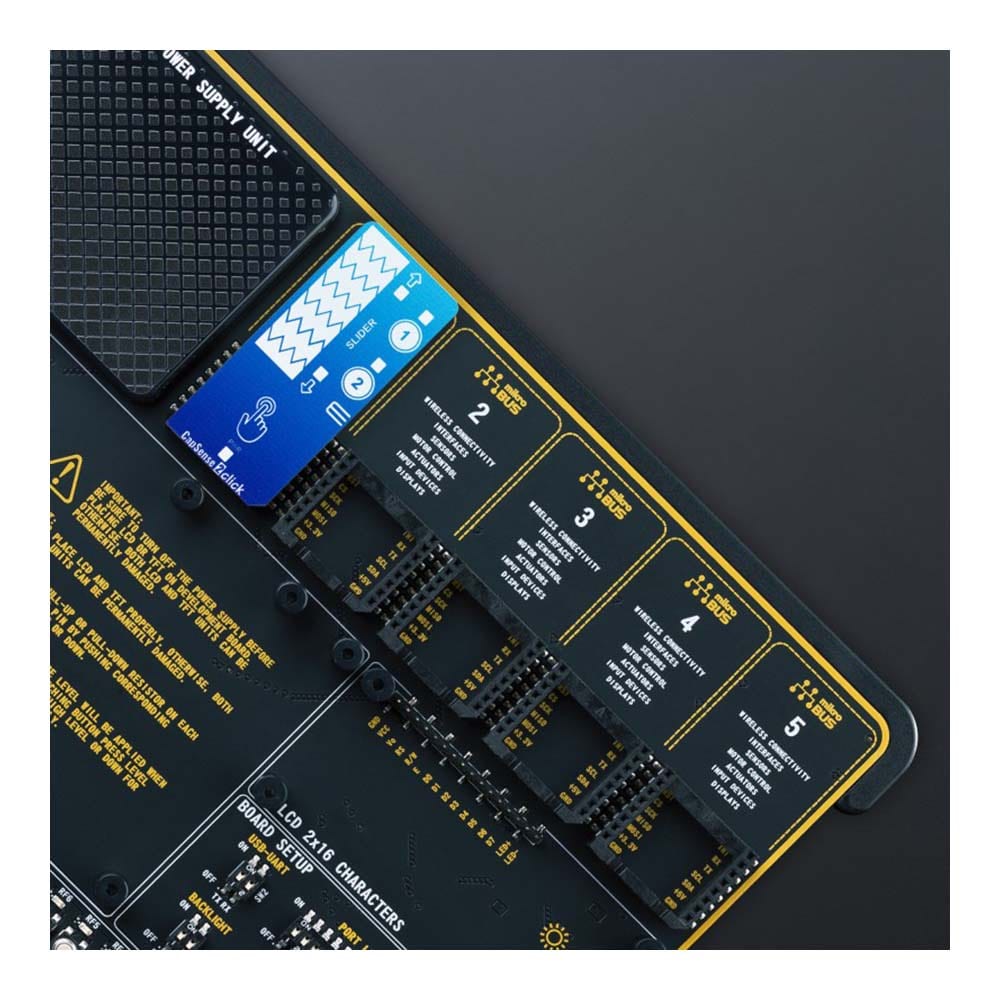
The CapSense 2 Click Board™ is supported by a mikroSDK compliant library, which includes functions that simplify software development. This Click board™ comes as a fully tested product, ready to be used on a system equipped with the mikroBUS™ socket.
How Does The CapSense 2 Click Board™ Work?
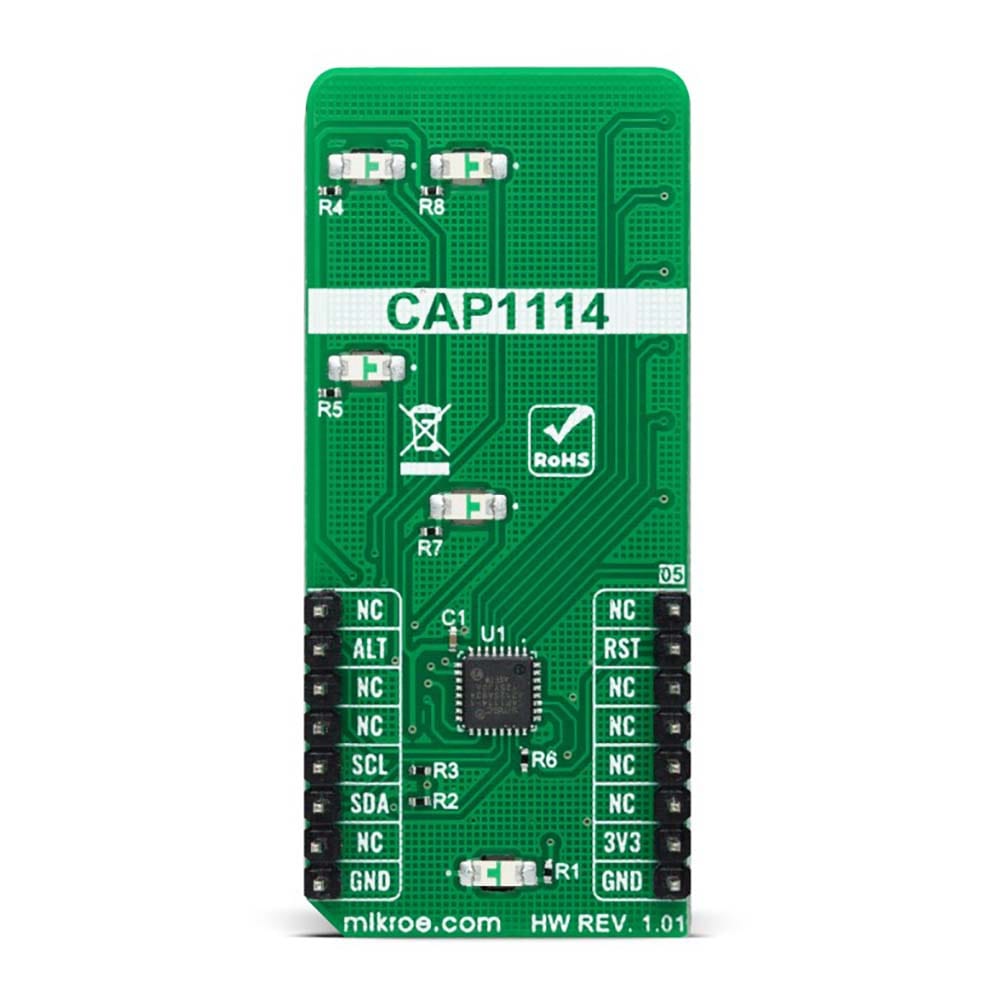
The CapSense 2 Click Board™ is based on the the CAP1114, a multi-channel capacitive touch sensor from Microchip. The CAP1114 takes human body capacitance as an input and directly provides real-time sensor information via a serial interface. It also comes with programmable sensitivity for touch buttons and slider switch applications.
The CAP1114 contains multiple power states, including several low-power operating states. It has four operational states: Fully Active, Sleep, Deep Sleep, and Inactive depending on the status of the SLEEP, DEACT, and DSLEEP register bits. When the device transitions between power states, previously detected touches (for deactivated channels) are cleared, and the status bits reset.
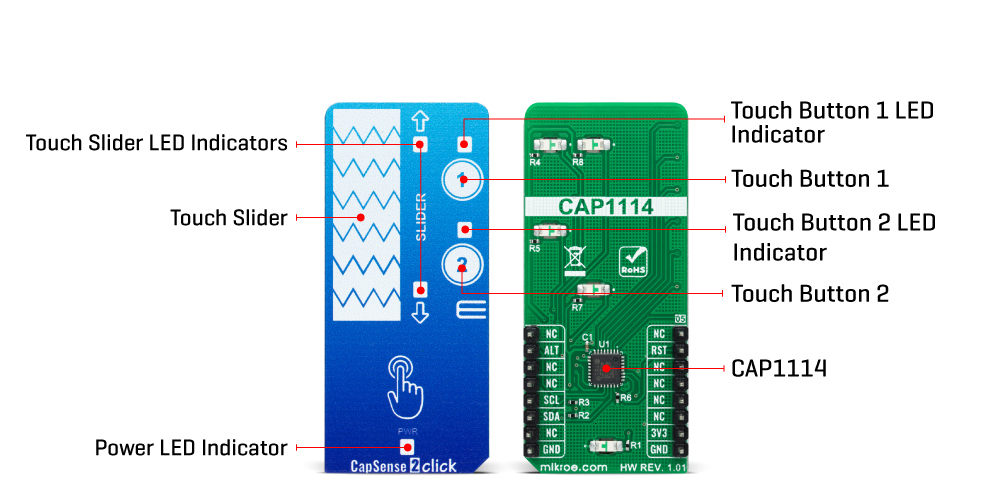
As mentioned earlier, this board contains a 7-segment capacitive sensing slider that can detect a slide in either the UP or DOWN direction, as well as two touch buttons. These pads are the only elements on the top side of the board, allowing the protective acrylic plexiglass layer placement. Each of these features has an LED indicator representing the activity in that field. If a touch event is detected on one of these onboard pads, the state of the corresponding LED will be changed, indicating an activated channel; more precisely, touch has been detected on that specific field.
The CapSense 2 Click Board™ communicates with MCU using the standard I2C 2-Wire interface to read data and configure settings. It also possesses an additional alert interrupt signal, routed on the INT pin of the mikroBUS™ socket labelled as ALT, indicating when a specific interrupt event occurs (touch detection), and Reset pin routed to the RST pin of the mikroBUS™ socket used to hold all internal blocks of the CAP1114 in a reset state.
The CapSense 2 Click Board™ can be operated only with a 3.3V logic voltage level. The board must perform appropriate logic voltage level conversion before using MCUs with different logic levels. However, the Click board™ comes equipped with a library containing functions and an example code that can be used, as a reference, for further development.
SPECIFICATIONS
Type | Capacitive |
Applications | The CapSense 2 Click Board™ can be used for reliable and accurate sensing for any application that uses capacitive touch sensing functions |
On-board modules | CAP1114 - multi-channel capacitive touch sensor from Microchip |
Key Features | Slider with acceleration and position detection, programmable sensitivity, low power consumption, automatic recalibration, I2C interface, two touch buttons, LED indicators, and more |
Interface | I2C |
Compatibility | mikroBUS |
Click board size | L (57.15 x 25.4 mm) |
Input Voltage | 3.3V |
PINOUT DIAGRAM
This table shows how the pinout of the CapSense 2 Click Board™ corresponds to the pinout on the mikroBUS™ socket (the latter shown in the two middle columns).
Notes | Pin | Pin | Notes | ||||
---|---|---|---|---|---|---|---|
NC | 1 | AN | PWM | 16 | NC | ||
Reset | RST | 2 | RST | INT | 15 | ALT | Interrupt |
NC | 3 | CS | RX | 14 | NC | ||
NC | 4 | SCK | TX | 13 | NC | ||
NC | 5 | MISO | SCL | 12 | SCL | I2C Clock | |
NC | 6 | MOSI | SDA | 11 | SDA | I2C Data | |
Power Supply | 3.3V | 7 | 3.3V | 5V | 10 | NC | |
Ground | GND | 8 | GND | GND | 9 | GND | Ground |
ONBOARD SETTINGS AND INDICATORS
Label | Name | Default | Description |
---|---|---|---|
LD1 | PWR | - | Power LED Indicator |
LD2 | - | - | Touch Button 1 LED Indicator |
LD3 | - | - | Touch Button 2 LED Indicator |
LD4-LD5 | - | - | Touch Slider LED Indicators |
CAPSENSE 2 CLICK ELECTRICAL SPECIFICATIONS
Description | Min | Typ | Max | Unit |
---|---|---|---|---|
Supply Voltage | - | 3.3 | - | V |
Operating Temperature Range | 0 | +25 | +85 | °C |
Software Support
We provide a library for the CapSense 2 Click Board™ as well as a demo application (example), developed using MikroElektronika compilers. The demo can run on all the main MikroElektronika development boards.
The package can be downloaded/installed directly from NECTO Studio The package Manager (recommended), downloaded from our LibStock™ or found on MikroE Github account.
Library Description
This library contains API for the CapSense 2 Click Board™ driver.
Key functions
-
capsense2_read_register
This function reads a data byte from the selected register by using I2C serial interface. -
capsense2_get_alert_pin
This function returns the alert pin logic state. -
capsense2_clear_interrupt
This function clears the INT bit of the main status register if the interrupt pin is asserted.
Example Description
This example demonstrates the use of the CapSense 2 Click Board™ by reading and displaying the sensor's events.
void application_task ( void )
{
if ( capsense2_get_alert_pin ( &capsense2 ) )
{
uint8_t button_status = 0;
if ( CAPSENSE2_OK == capsense2_read_register ( &capsense2, CAPSENSE2_REG_BUTTON_STATUS_1, &button_status ) )
{
static uint8_t button_press_state = 0;
static uint8_t swipe_state = 0;
if ( button_status & CAPSENSE2_BUTTON_STATUS_1_UP_SLIDER )
{
if ( CAPSENSE2_BUTTON_STATUS_1_UP_SLIDER != swipe_state )
{
log_printf ( &logger, " Swipe UP rnn" );
swipe_state = CAPSENSE2_BUTTON_STATUS_1_UP_SLIDER;
}
}
if ( button_status & CAPSENSE2_BUTTON_STATUS_1_DOWN_SLIDER )
{
if ( CAPSENSE2_BUTTON_STATUS_1_DOWN_SLIDER != swipe_state )
{
log_printf ( &logger, " Swipe DOWN rnn" );
swipe_state = CAPSENSE2_BUTTON_STATUS_1_DOWN_SLIDER;
}
}
if ( button_status & CAPSENSE2_BUTTON_STATUS_1_BUTTON_1 )
{
if ( !( button_press_state & CAPSENSE2_BUTTON_STATUS_1_BUTTON_1 ) )
{
log_printf ( &logger, " Button 1 pressed rnn" );
button_press_state |= CAPSENSE2_BUTTON_STATUS_1_BUTTON_1;
}
}
if ( button_status & CAPSENSE2_BUTTON_STATUS_1_BUTTON_2 )
{
if ( !( button_press_state & CAPSENSE2_BUTTON_STATUS_1_BUTTON_2 ) )
{
log_printf ( &logger, " Button 2 pressed rnn" );
button_press_state |= CAPSENSE2_BUTTON_STATUS_1_BUTTON_2;
}
}
capsense2_clear_interrupt ( &capsense2 );
// check if buttons are released
if ( CAPSENSE2_OK == capsense2_read_register ( &capsense2, CAPSENSE2_REG_BUTTON_STATUS_1, &button_status ) )
{
if ( ( button_press_state & CAPSENSE2_BUTTON_STATUS_1_BUTTON_1 ) &&
!( button_status & CAPSENSE2_BUTTON_STATUS_1_BUTTON_1 ) )
{
log_printf ( &logger, " Button 1 released rnn" );
button_press_state &= ~CAPSENSE2_BUTTON_STATUS_1_BUTTON_1;
}
if ( ( button_press_state & CAPSENSE2_BUTTON_STATUS_1_BUTTON_2 ) &&
!( button_status & CAPSENSE2_BUTTON_STATUS_1_BUTTON_2 ) )
{
log_printf ( &logger, " Button 2 released rnn" );
button_press_state &= ~CAPSENSE2_BUTTON_STATUS_1_BUTTON_2;
}
}
// check if swipe event is finished and display the slider position
uint8_t slider = 0;
if ( CAPSENSE2_OK == capsense2_read_register ( &capsense2, CAPSENSE2_REG_SLIDER_POSITION_DATA, &slider ) )
{
if ( slider )
{
log_printf ( &logger, " Slider position: %u rnn", ( uint16_t ) slider );
}
else
{
swipe_state = 0;
}
}
}
capsense2_clear_interrupt ( &capsense2 );
}
}
The full application code, and ready to use projects can be installed directly from NECTO Studio The package Manager (recommended), downloaded from our LibStock™ or found on MikroE Github account.
Other MikroE Libraries used in the example:
- MikroSDK.Board
- MikroSDK.Log
- Click.CapSense2
Additional Notes and Information
Depending on the development board you are using, you may need a USB UART click, USB UART 2 Click or RS232 Click to connect to your PC, for development systems with no UART to USB interface available on the board. UART terminal is available in all MikroElektronika compilers.
MIKROSDK
The CapSense 2 Click Board™ is supported with mikroSDK - MikroElektronika Software Development Kit. To ensure proper operation of mikroSDK compliant Click board™ demo applications, mikroSDK should be downloaded from the LibStock and installed for the compiler you are using.
CapSense 2 Click Board
Frequently Asked Questions
Have a Question?
Be the first to ask a question about this.