Overview
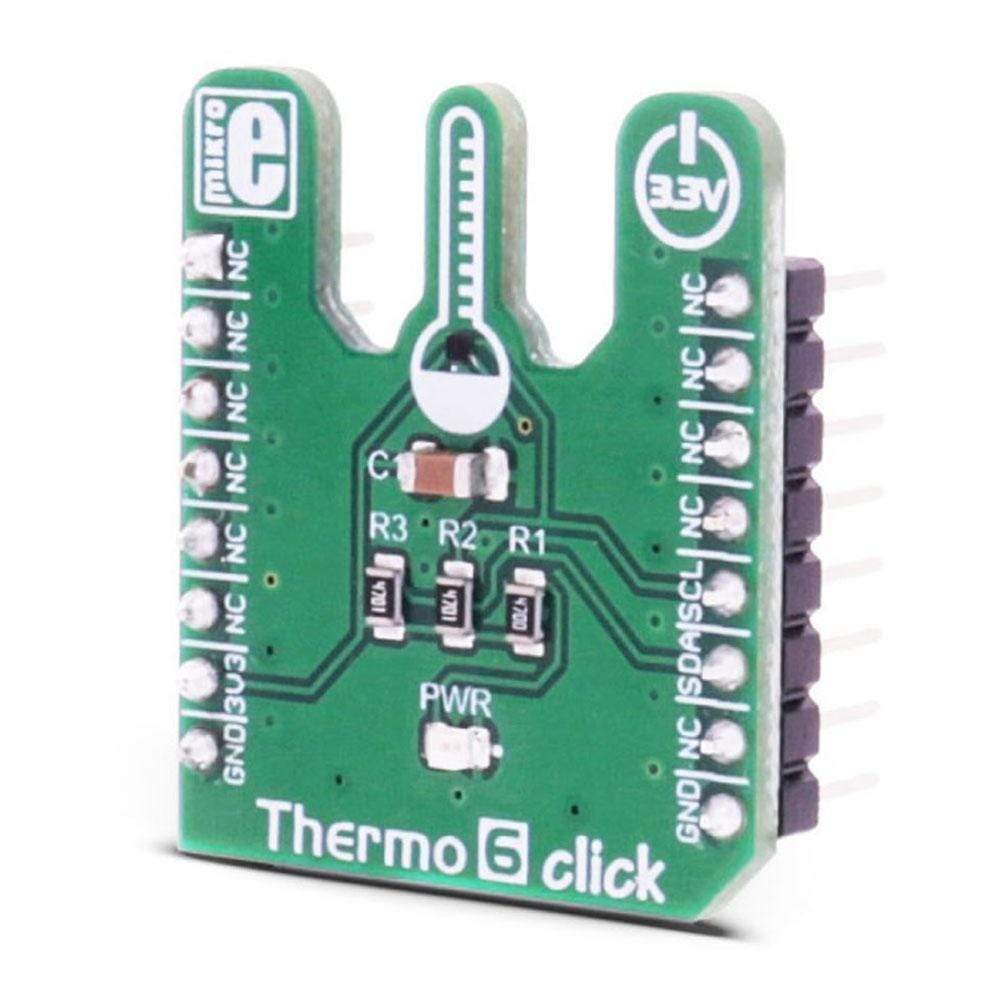
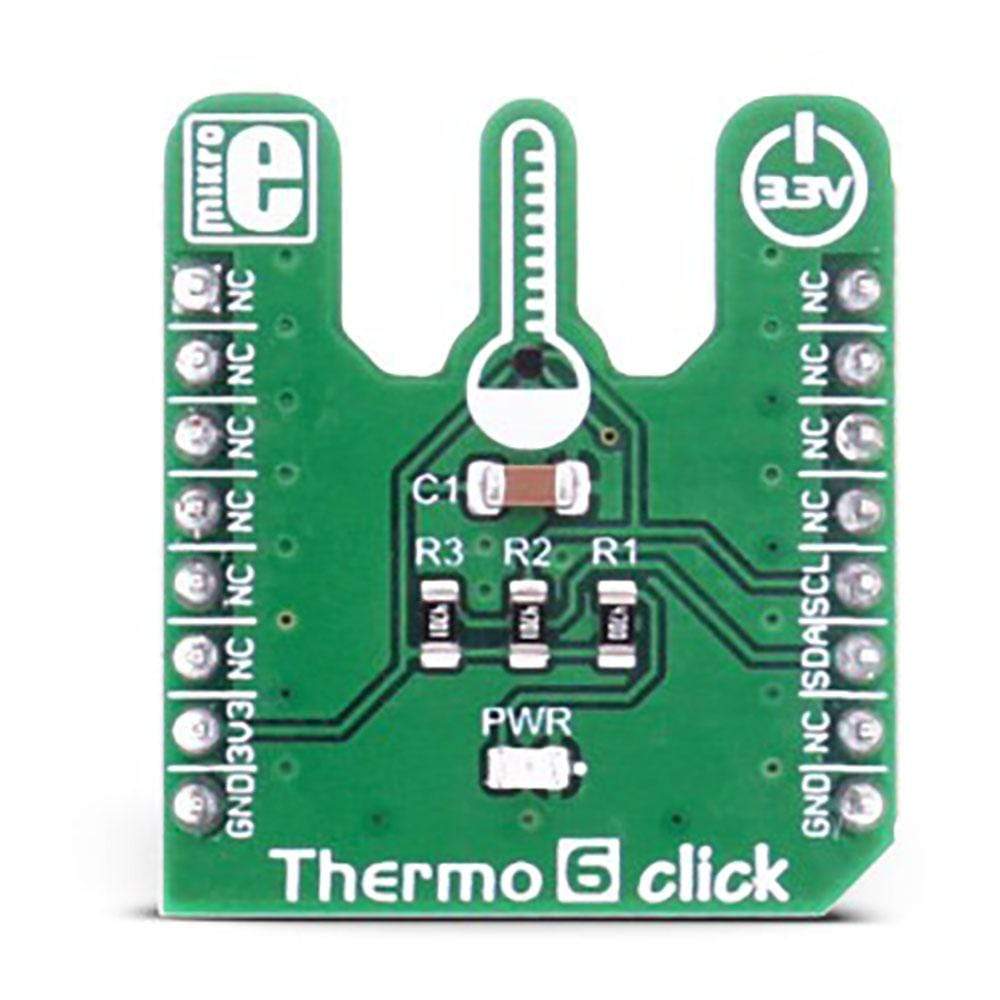
The Thermo 6 Click Board™ is a precise and versatile ambient temperature measurement Click Board™, based on the Maxim Integrated MAX31875 temperature sensor.
This sensor has a great combination of features, such as a wide range of temperature measurements, excellent measuring accuracy, and small die size, coupled with the very low power consumption - attributes that make this sensor a great choice for many different applications.
Downloads
The Thermo 6 Click Board™ is a precise and versatile ambient temperature measurement click board™, based on the Maxim Integrated MAX31875 temperature sensor. This sensor has a great combination of features, such as wide range of temperature measurement, excellent measuring accuracy, and small die size, coupled with the very low power consumption - attributes that make this sensor a great choice for many different applications.
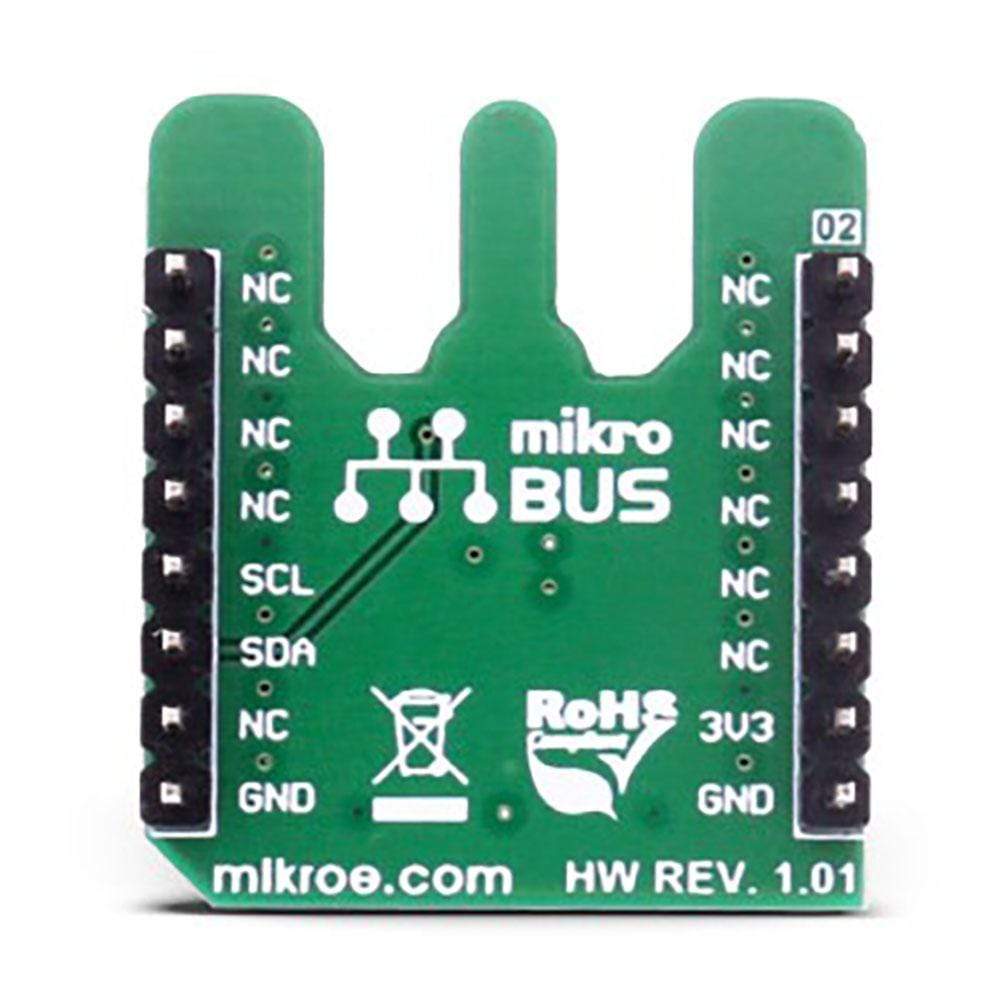
The Thermo 6 Click Board™ supports bidirectional serial communication by utilizing the standard I2C/SMBus interface, routed through the mikroBUS I2C pins. This allows for an easy and secure connection with the MCU itself. Advanced I2C features such as the Packet Error Checking (PEC) and the Timeout Interface Reset, ensure that there are no errors during the communication.
Small die dimensions of the sensor and the specially designed shape of the Thermo 6 Click Board™ PCB, ensure that there is a minimal interference from the surrounding components heat during the measurement of the ambient temperature. Pull-up resistors are included on the PCB of the Thermo 6 click, so the device is ready to be used out of the box.
How Does The Thermo 6 Click Board™Work?
The central part of the Thermo 6 Click Board™ is the MAX 31875 sensor, which has only four connections, two of which are used for the power supply and the other two are the standard I2C interface lines: SDA and SCL. The normal transaction consists of two bytes long reads and writes as the registers are 16 bits wide. There are 8 different factory predefined I2C addresses, so the exact sensor I2C address can be determined by checking the part I2C address table in the datasheet.
The sensor is exposed on a specially designed PCB, so the measurement of the ambient temperature can remain accurate and without interference.
.jpg)
Sensor measures its die temperature and converts the thermal measurement into a digital information, which can be accessed via the I2C/SMBus interface. Information is stored in the temperature register, in MSB - LSB format. In addition to the normal temperature data format, there is an optional extended data format, which allows temperatures greater than +128 C to be read. The temperature format and other sensor settings can be configured via the configuration registers. Check the MAX31875 datasheet for more detailed information.
All of the power down, standby, read and write commands are intelligently managed, so the device is waiting for the pending communication to be completed, before executing those commands. Also, while reading the thermal data, the conversion process is halted, so the value won't change before the reading is completed.
MAX31875 FEATURES
MAX31875 temperature sensor can be set to sample the thermal data with 8bit, 9bit, 10bit and 12bit resolution. Using the higher precision conversion directly affects the power consumption, so if there is a demand for the low power application, resolution can be set down to 8bit. Power consumption can be reduced even further, by using the lower sample rate, which results in longer idle periods. While idling, the power consumption of the sensor itself goes down to 500 nA. 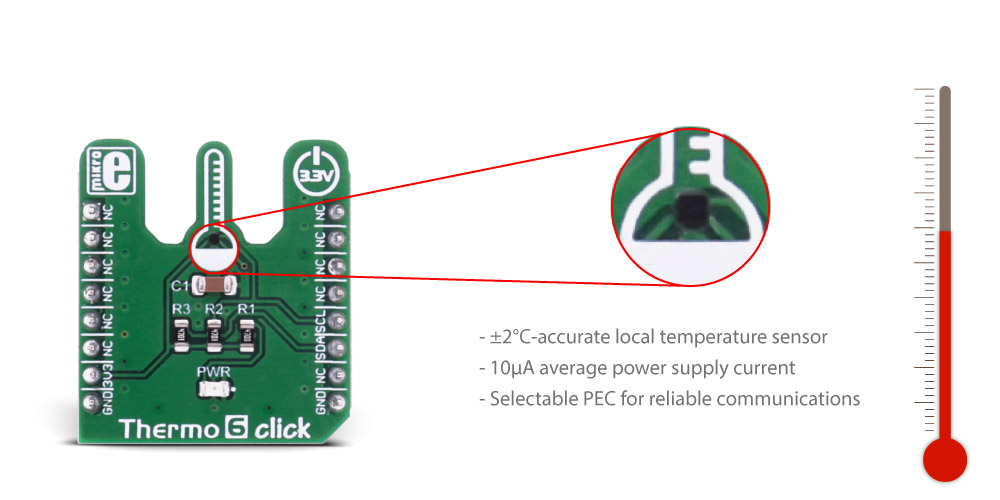
One shot reading allows for the lowest power consumption - down to 5uA, if there is no demand for continuous temperature conversion. The device remains in standby state, as long as there is no read command. Read command (writing 1 to the bit 0 of the config register) will wake up the device and read the temperature data immediately, after which it will revert to standby mode again. This allows for a very low average power consumption.
Other advanced features such as the PEC, I2C bus timeout reset, temperature comparator, can also be configured by setting the corresponding bits of the config registers.
SPECIFICATIONS
| Type | Temperature & humidity |
| Applications | battery-powered equipment, handheld electronics, industrial equipment |
| On-board modules | MAX31875 integrated circuit |
| Key Features | Wide temperature measurement range, low power consumption, smart data output management |
| Interface | I2C |
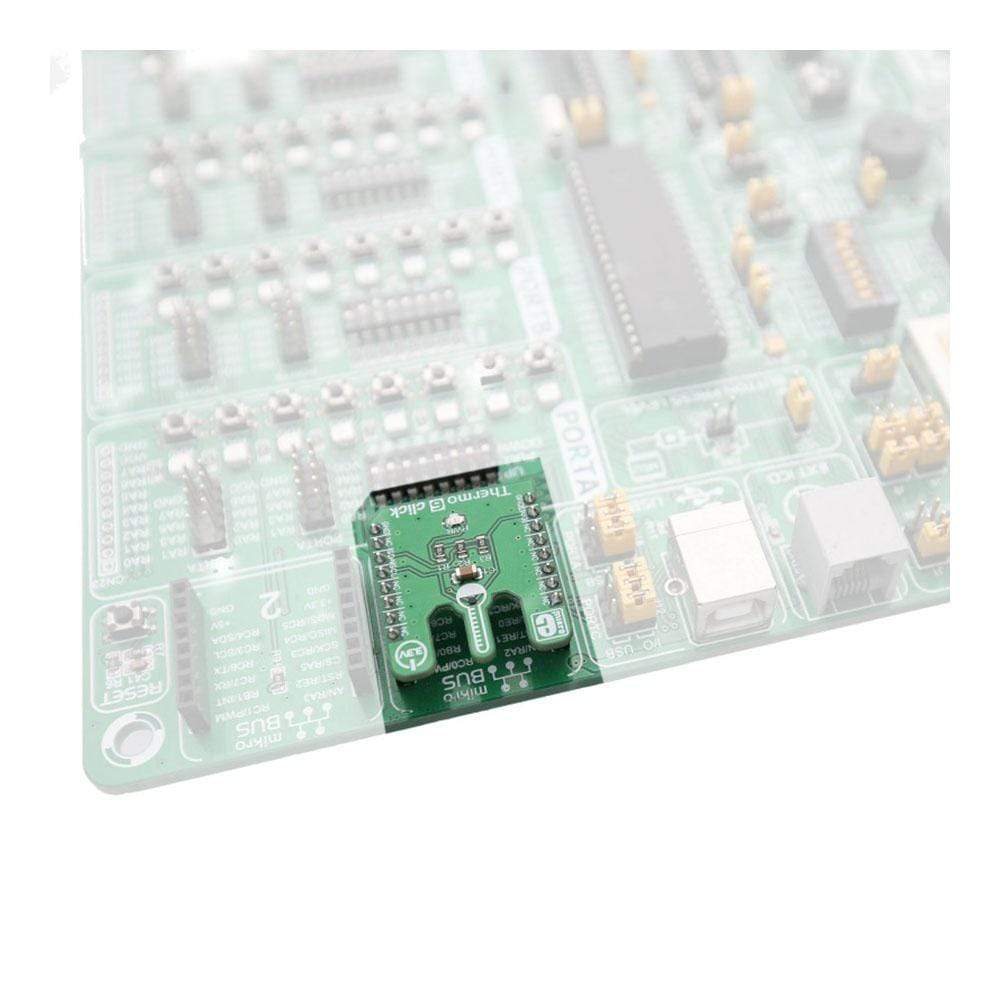
| Compatibility | mikroBUS |
| Click board size | S (28.6 x 25.4 mm) |
| Input Voltage | 3.3V |
PINOUT DIAGRAM
This table shows how the pinout on the Thermo 6 Click Board™ corresponds to the pinout on the mikroBUS™ socket (the latter shown in the two middle columns).
| Notes | Pin |  |
Pin | Notes | |||
|---|---|---|---|---|---|---|---|
| NC | 1 | AN | PWM | 16 | NC | ||
| NC | 2 | RST | INT | 15 | NC | ||
| NC | 3 | CS | TX | 14 | NC | ||
| NC | 4 | SCK | RX | 13 | NC | ||
| NC | 5 | MISO | SCL | 12 | SCL | I2C clock | |
| NC | 6 | MOSI | SDA | 11 | SDA | I2C data | |
| Power supply | +3.3V | 7 | 3.3V | 5V | 10 | NC | |
| Ground | GND | 8 | GND | GND | 9 | GND | Ground |
LEDS AND BUTTONS
| Designator | Name | Type | Description |
|---|---|---|---|
| LD1 | PWR | LED | Power indication LED, lights green when device is on |
| General Information | |
|---|---|
Part Number (SKU) |
MIKROE-2769
|
Manufacturer |
|
| Physical and Mechanical | |
Weight |
0.017 kg
|
| Other | |
Country of Origin |
|
HS Code Customs Tariff code
|
|
EAN |
8606018711567
|
Warranty |
|
Frequently Asked Questions
Have a Question?
Be the first to ask a question about this.


