Key Features
Overview
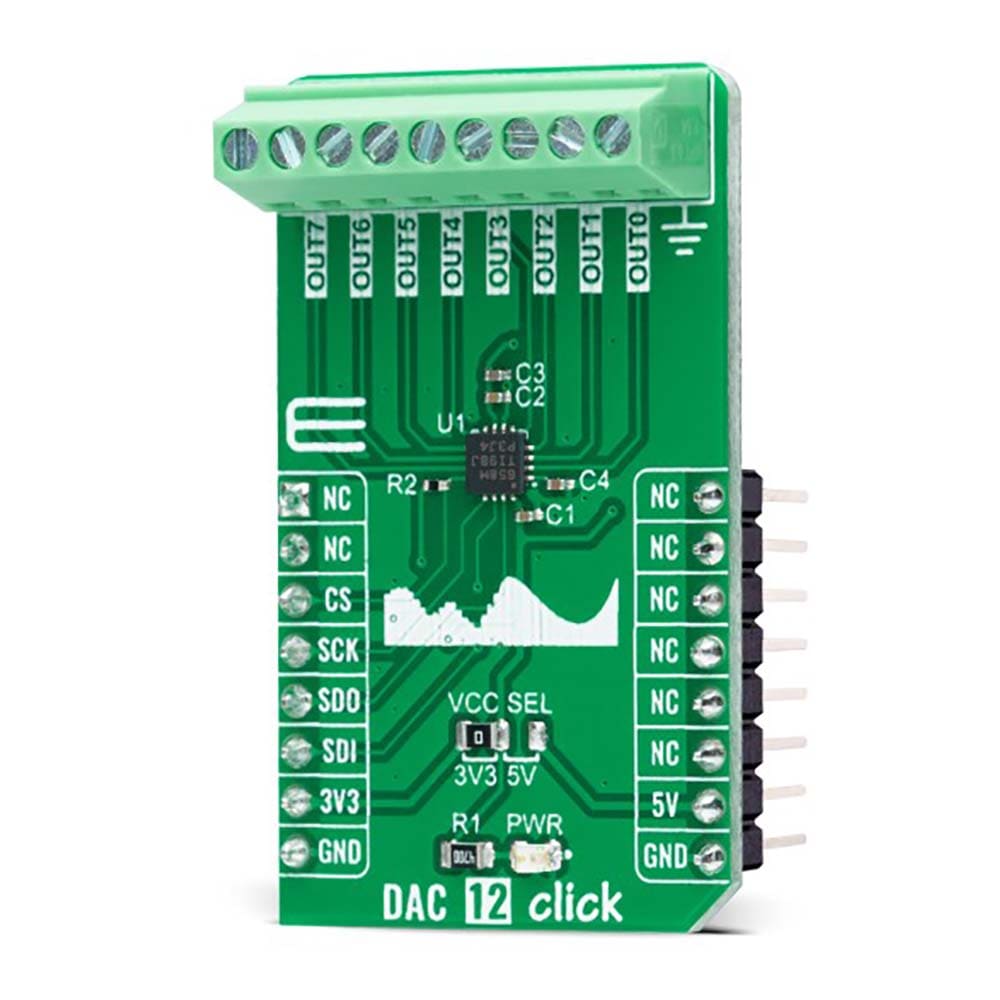
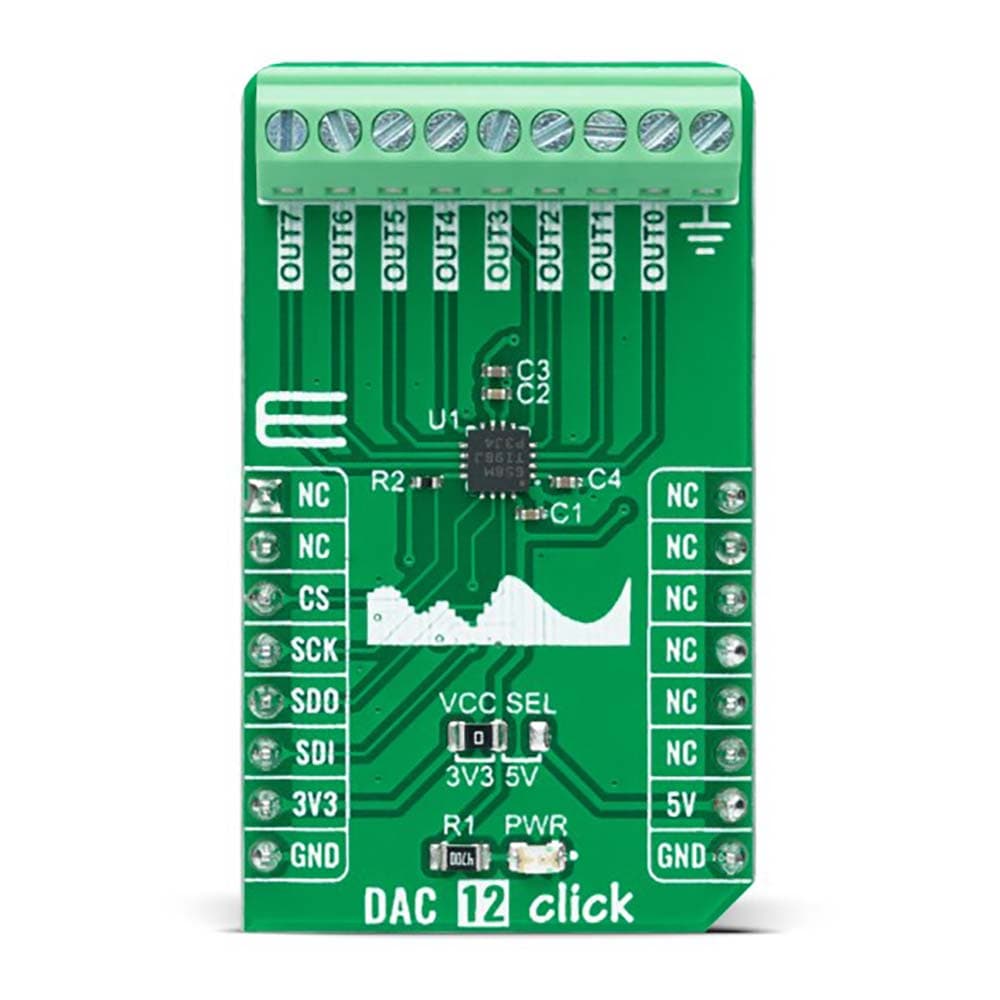
The DAC 12 Click Board™ is a compact add-on board that contains a highly accurate digital-to-analog converter. This board features the DAC60508, a general-purpose octal 12-bit analog voltage-output DAC from Texas Instruments. It includes a 2.5V, 5ppm/°C internal reference, eliminating the need for an external precision reference in most applications, and supports the SPI serial interface, which operates at clock rates up to 40MHz. A user interface-selectable gain configuration provides full-scale output voltages of 1.25V, 2.5V, or 5 V. This Click board™ represents an excellent choice for digital gain and offset adjustment applications, programmable voltage, and current sources, programmable reference, and many more.
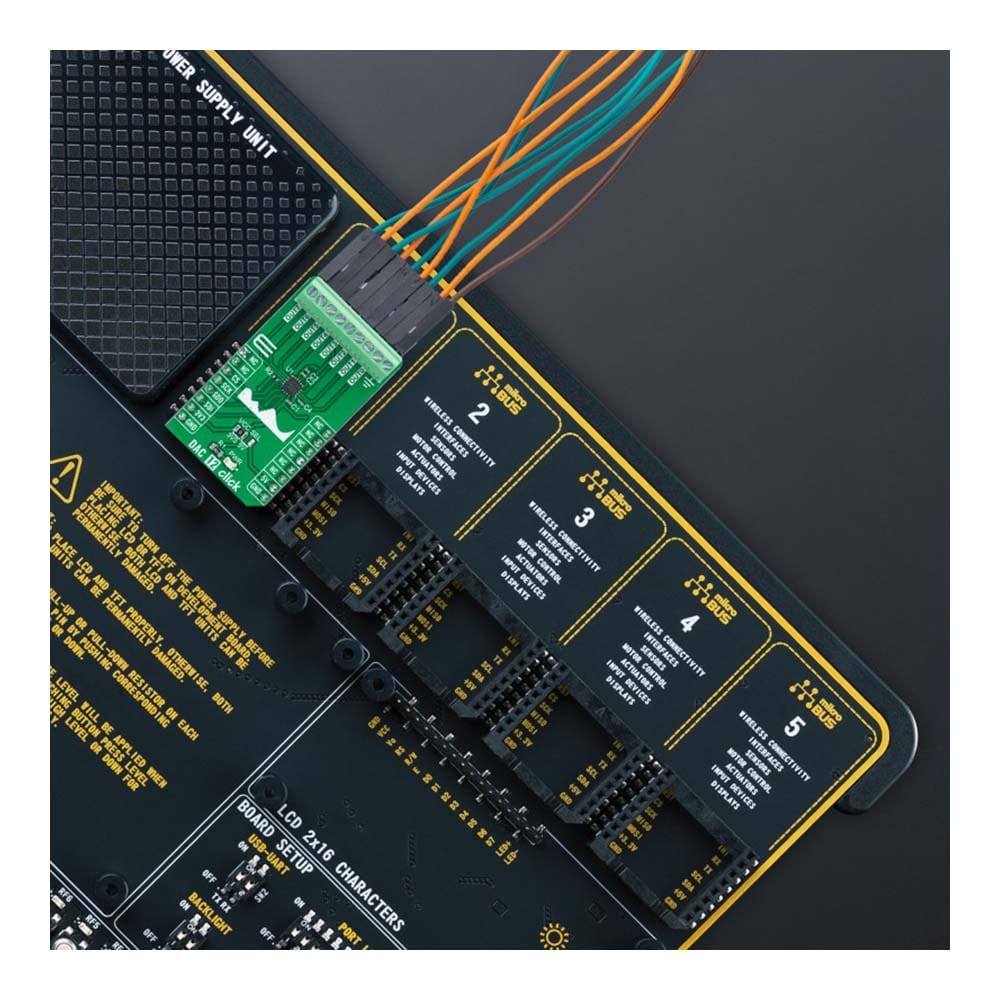
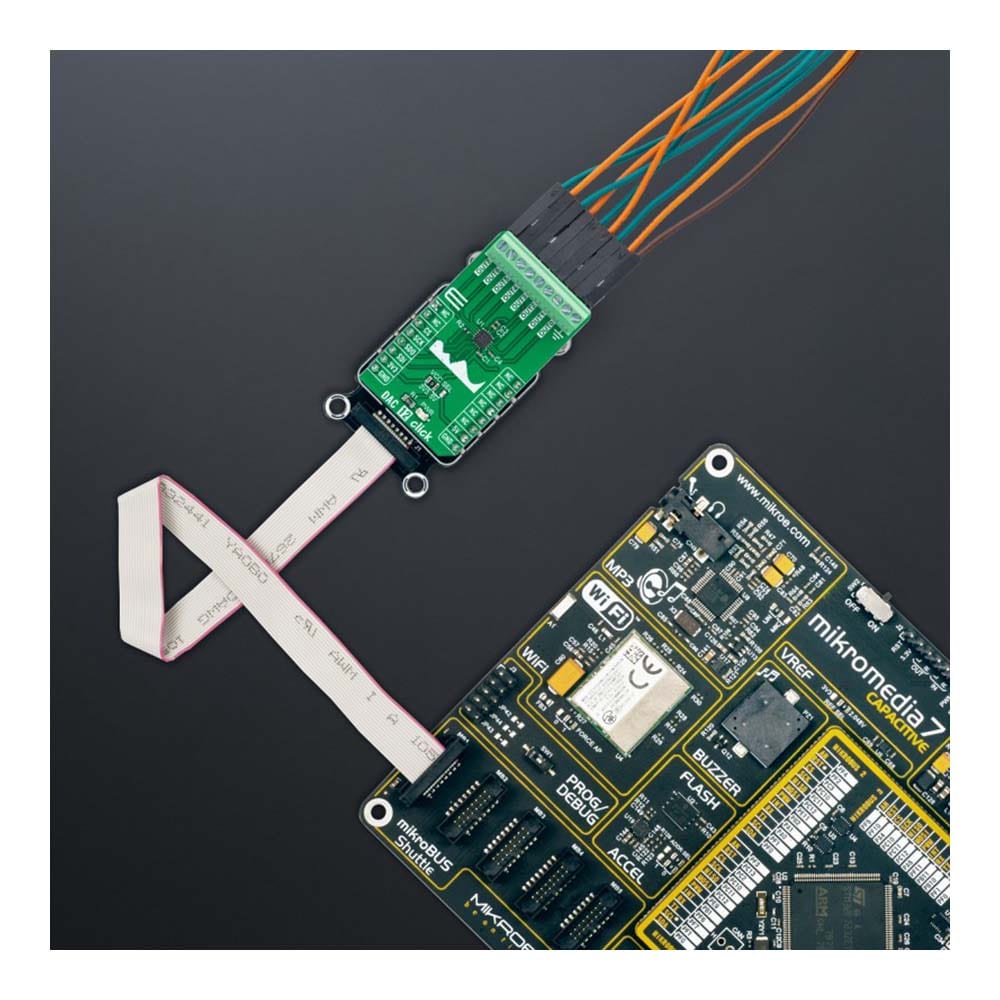
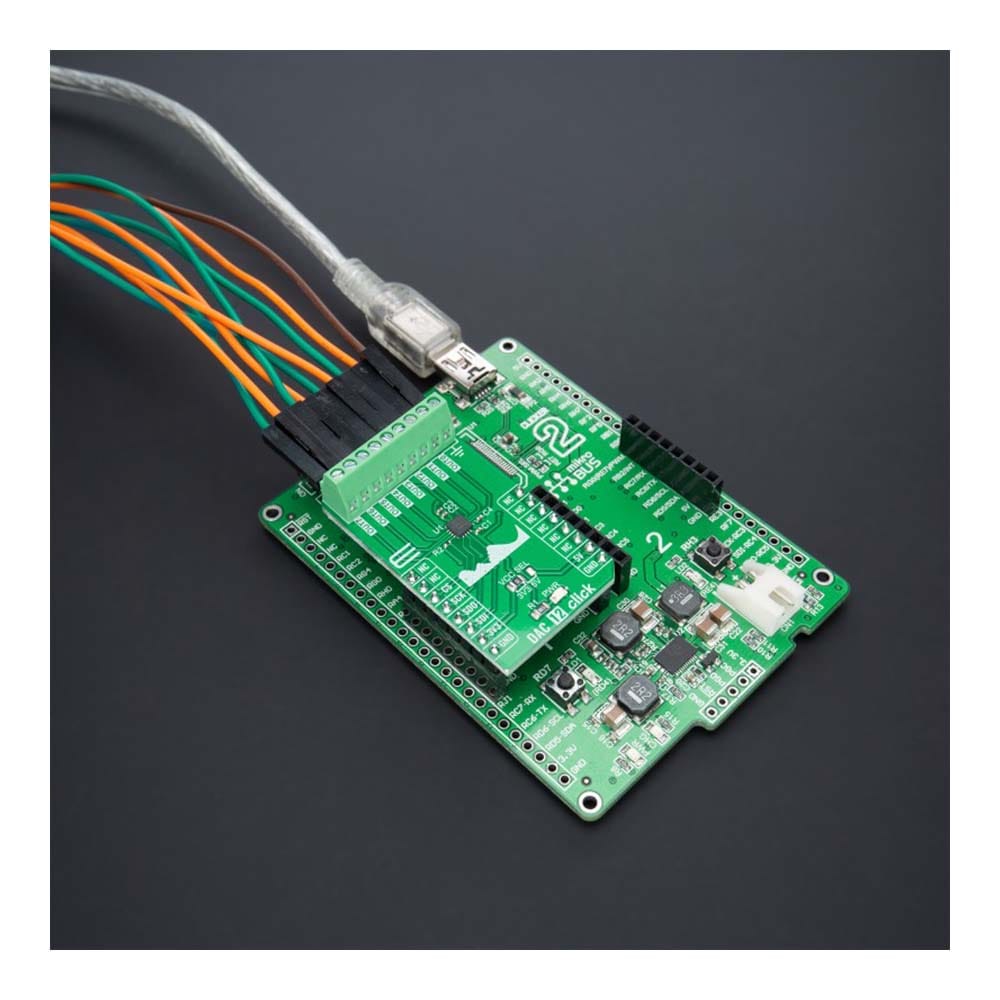
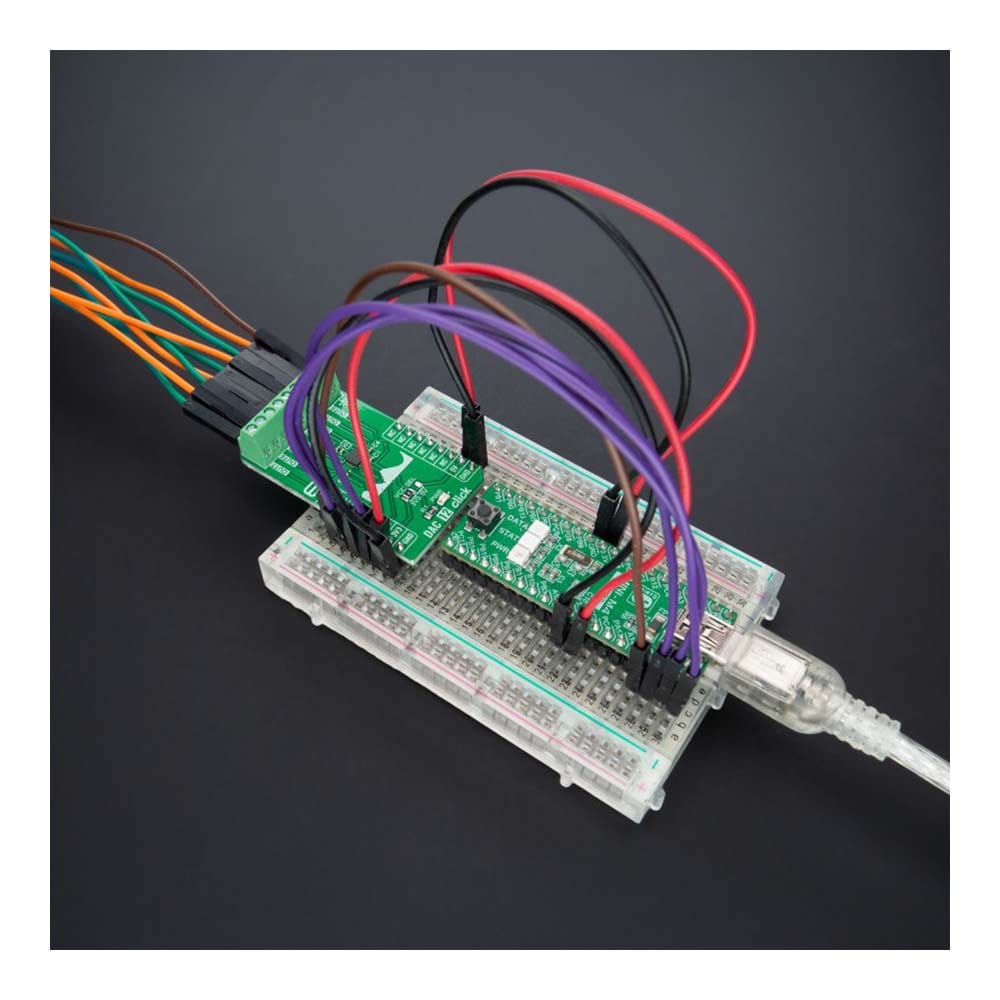
The DAC 12 Click Board™ is supported by a mikroSDK compliant library, which includes functions that simplify software development. This Click board™ comes as a fully tested product, ready to be used on a system equipped with the mikroBUS™ socket.
Downloads
How Does The DAC 12 Click Board™ Work?
The DAC 12 Click Board™ is based on the DAC60508, a low-power voltage-output 8-channel 12-bit digital-to-analog converter (DAC) from Texas Instruments. Each output channel in the DAC60508 consists of an R-2R ladder architecture, followed by an output buffer amplifier. It also includes a 2.5V, 5ppm/°C internal reference, eliminating the need for an external precision reference in most applications, and a user interface-selectable gain configuration that provides full-scale output voltages of 1.25V, 2.5V, or 5 V.
The DAC 12 Click Board™ communicates with MCU through a flexible serial interface compatible with SPI-type interfaces used on many microcontrollers and DSP controllers, with a maximum frequency of 50 MHz. The input data are written to the individual DAC data registers in straight binary format, where after a Power-On or a reset event, all DAC registers are set to a mid-scale code.
Data written to the DAC data registers are initially stored in the DAC buffer registers. Data transfer from the DAC buffer registers to the active DAC registers can be configured to happen immediately using the asynchronous mode or initiated by an LDAC trigger in synchronous mode. Once the DAC active registers are updated, the DAC outputs change to new values. When the host reads from a DAC data register, the value held in the DAC buffer register is returned (not the value stored in the DAC active register).
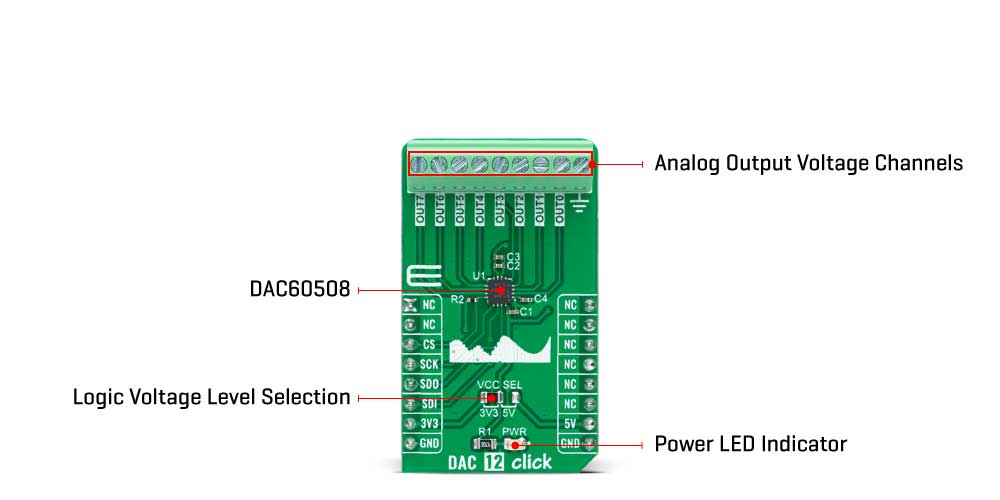
The DAC 12 Click Board™ can operate with both 3.3V and 5V logic voltage levels selected via the VCC SEL jumper. This way, it is allowed for both 3.3V and 5V capable MCUs to use the communication lines properly. However, the Click board™ comes equipped with a library that contains easy-to-use functions and an example code that can be used, as a reference, for further development.
SPECIFICATIONS
| Type | DAC |
| Applications | The DAC 12 Click Board™ can be used for digital gain and offset adjustment applications, programmable voltage, and current sources, programmable reference, and many more |
| On-board modules | DAC60508 - octal 12-bit analog voltage-output DAC from Texas Instruments |
| Key Features | Low power consumption, high performance, integrated 2.5V internal reference, high precision, flexible output configuration, SPI compatible interface, and more |
| Interface | SPI |
| Compatibility | mikroBUS |
| Click board size | M (42.9 x 25.4 mm) |
| Input Voltage | 3.3V or 5V |
PINOUT DIAGRAM
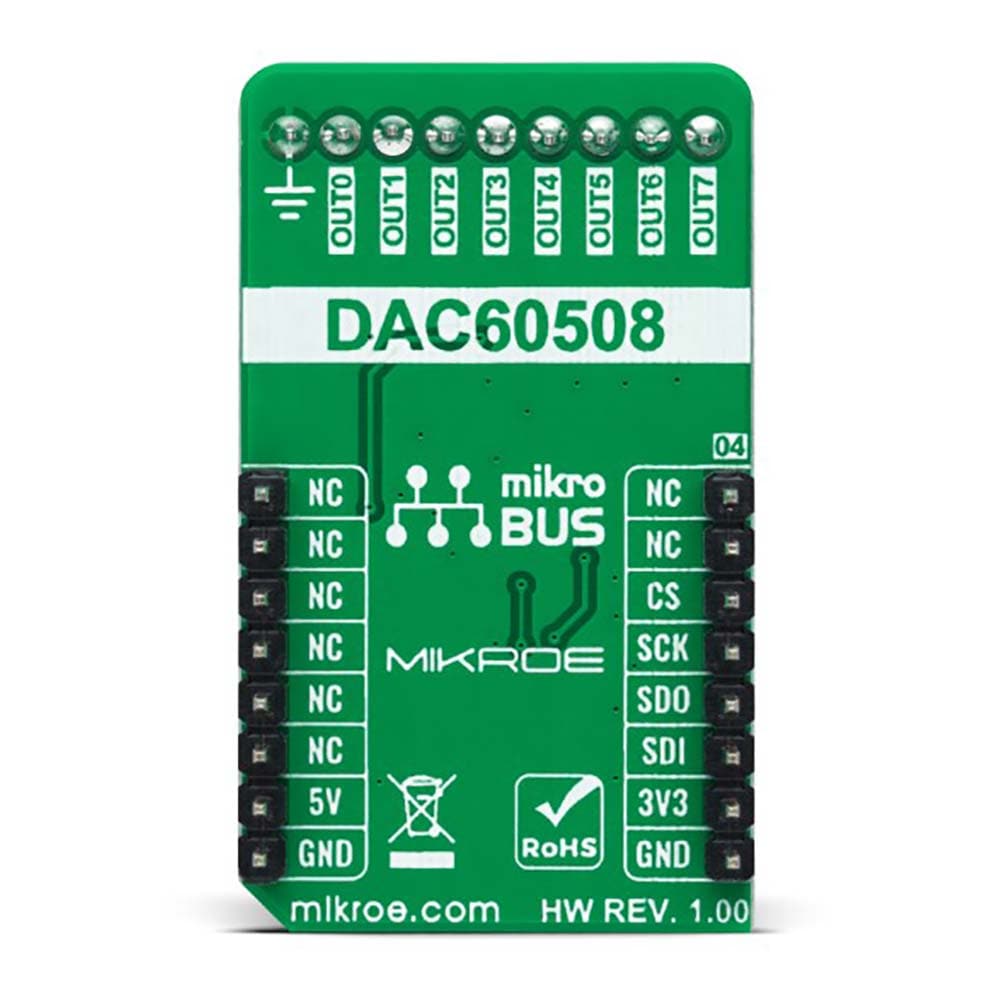
This table shows how the pinout of the DAC 12 Click Board™ corresponds to the pinout on the mikroBUS™ socket (the latter shown in the two middle columns).
| Notes | Pin |  |
Pin | Notes | |||
|---|---|---|---|---|---|---|---|
| NC | 1 | AN | PWM | 16 | NC | ||
| NC | 2 | RST | INT | 15 | NC | ||
| SPI Chip Select | CS | 3 | CS | RX | 14 | NC | |
| SPI Clock | SCK | 4 | SCK | TX | 13 | NC | |
| SPI Data OUT | SDO | 5 | MISO | SCL | 12 | NC | |
| SPI Data IN | SDI | 6 | MOSI | SDA | 11 | NC | |
| Power Supply | 3.3V | 7 | 3.3V | 5V | 10 | 5V | Power Supply |
| Ground | GND | 8 | GND | GND | 9 | GND | Ground |
ONBOARD SETTINGS AND INDICATORS
| Label | Name | Default | Description |
|---|---|---|---|
| LD1 | PWR | - | Power LED Indicator |
| JP1 | VCC SEL | Left | Logic Level Voltage Selection 3V3/5V: Left position 3V3, Right position 5V |
DAC 12 CLICK ELECTRICAL SPECIFICATIONS
| Description | Min | Typ | Max | Unit |
|---|---|---|---|---|
| Supply Voltage | 3.3 | - | 5 | V |
| Output Voltage Range | 0 | - | 5 | V |
| Resolution | 12 | - | - | bits |
| Operating Temperature Range | -40 | +25 | +120 | °C |
| General Information | |
|---|---|
Part Number (SKU) |
MIKROE-5097
|
Manufacturer |
|
| Physical and Mechanical | |
Weight |
0.02 kg
|
| Other | |
Country of Origin |
|
HS Code Customs Tariff code
|
|
EAN |
8606027389108
|
Warranty |
|
Frequently Asked Questions
Have a Question?
Be the first to ask a question about this.

