Overview
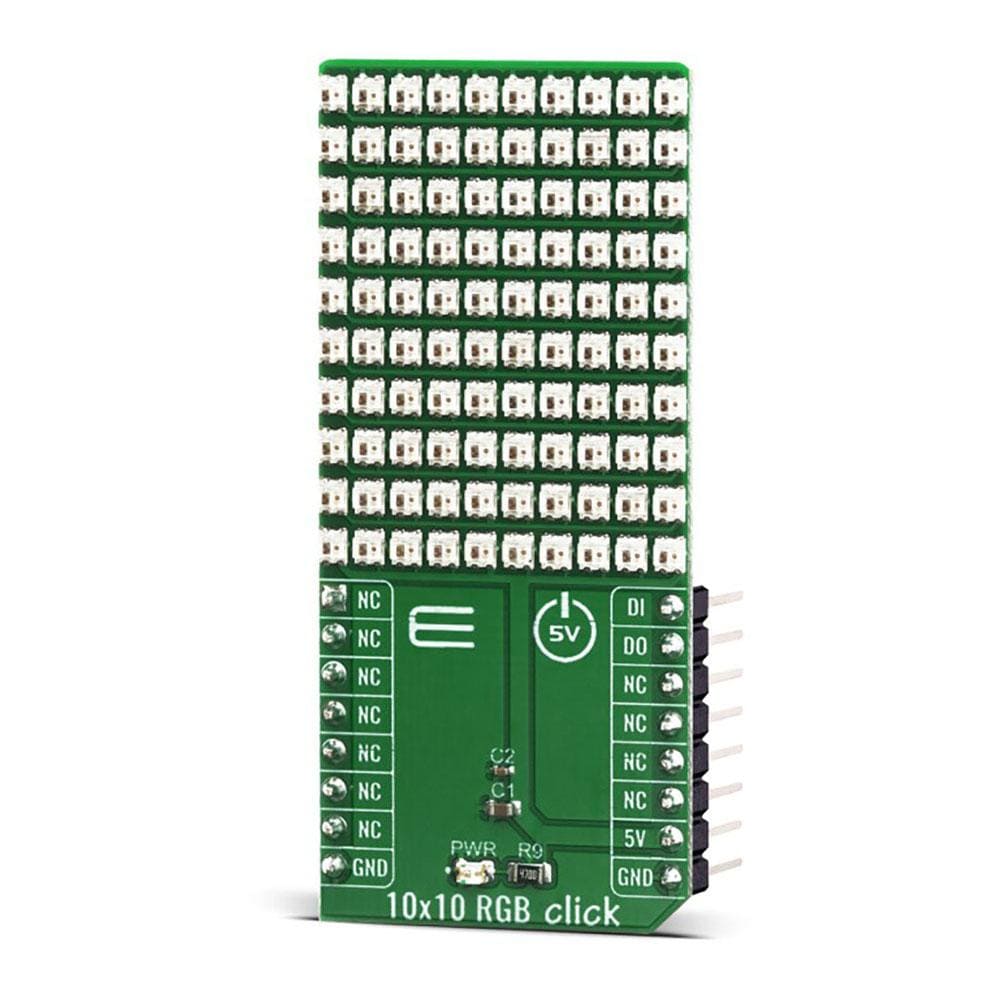
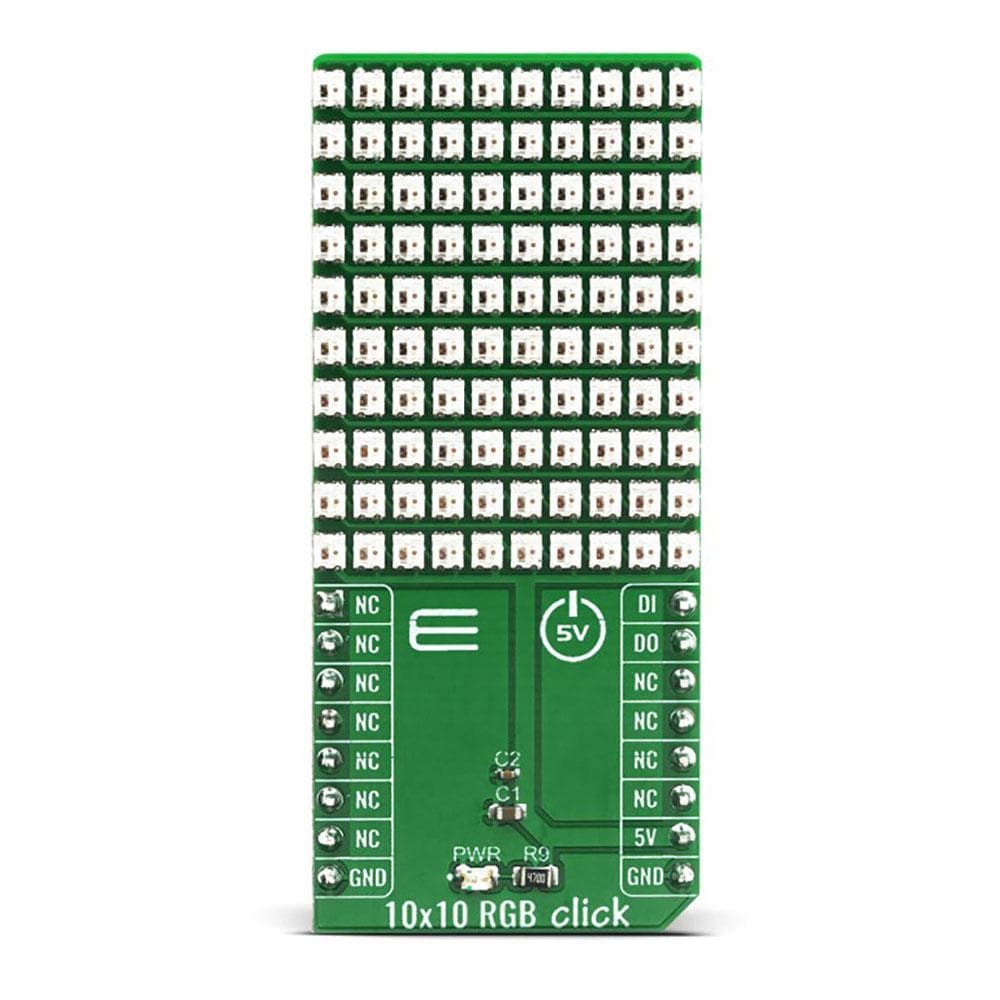
Enhance your projects with the versatile and innovative 10x10 RGB Click Board™. This matrix of 100 RGB elements, arranged in a 10x10 configuration, offers a dynamic display screen for your creative endeavors.
The 10x10 RGB Click Board™ features intelligent RGB elements that incorporate internal logic, enabling direct communication with the MCU. Cascadable design allows seamless data transfer between elements, ensuring minimal losses or distortions in signal quality.
- Experience seamless communication between elements using a single line connection to the host MCU.
- Utilize the signal reshaping section to ensure data integrity as it transfers between adjacent elements.
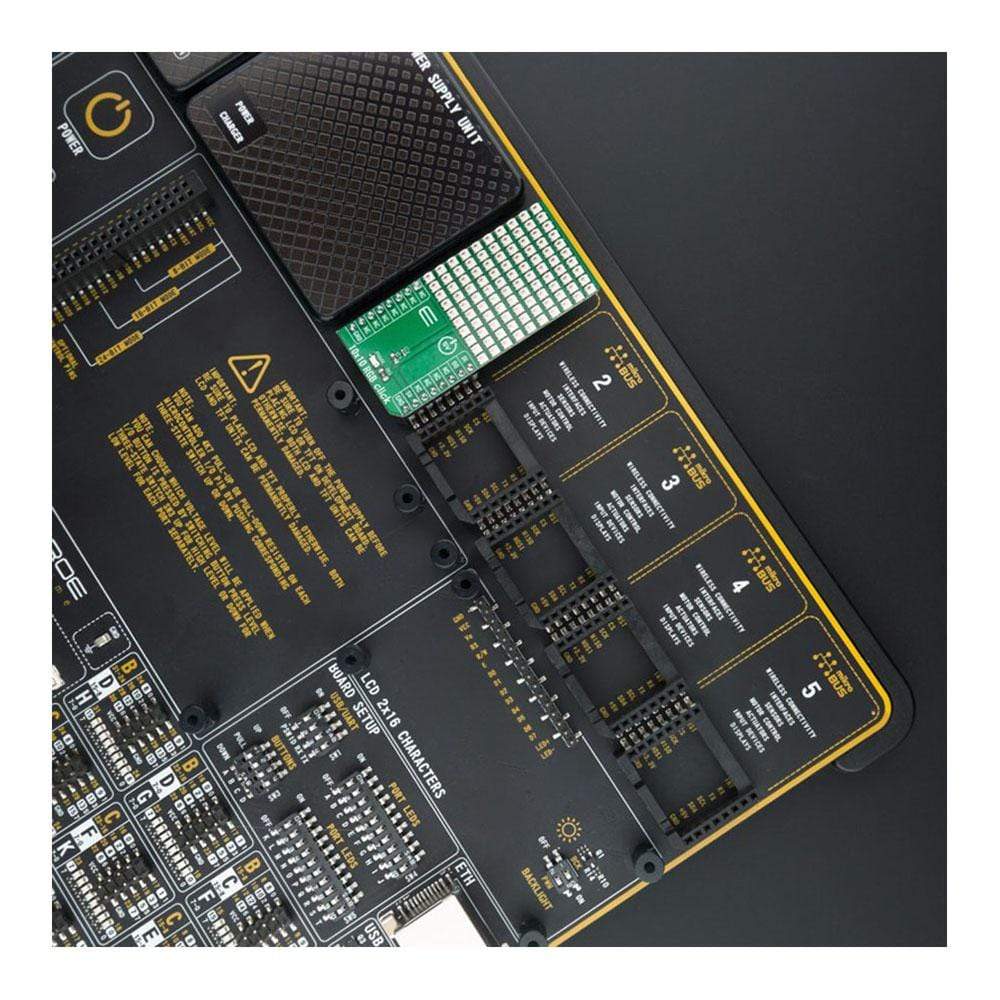
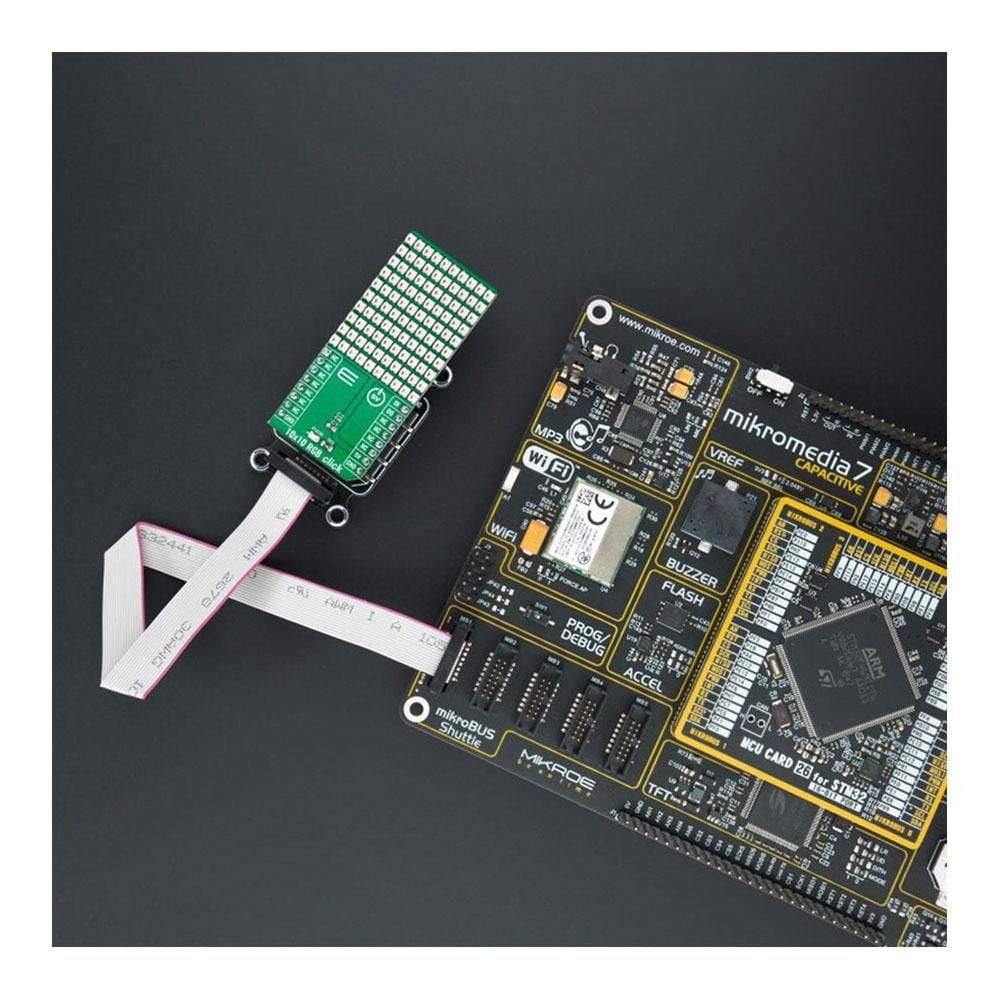
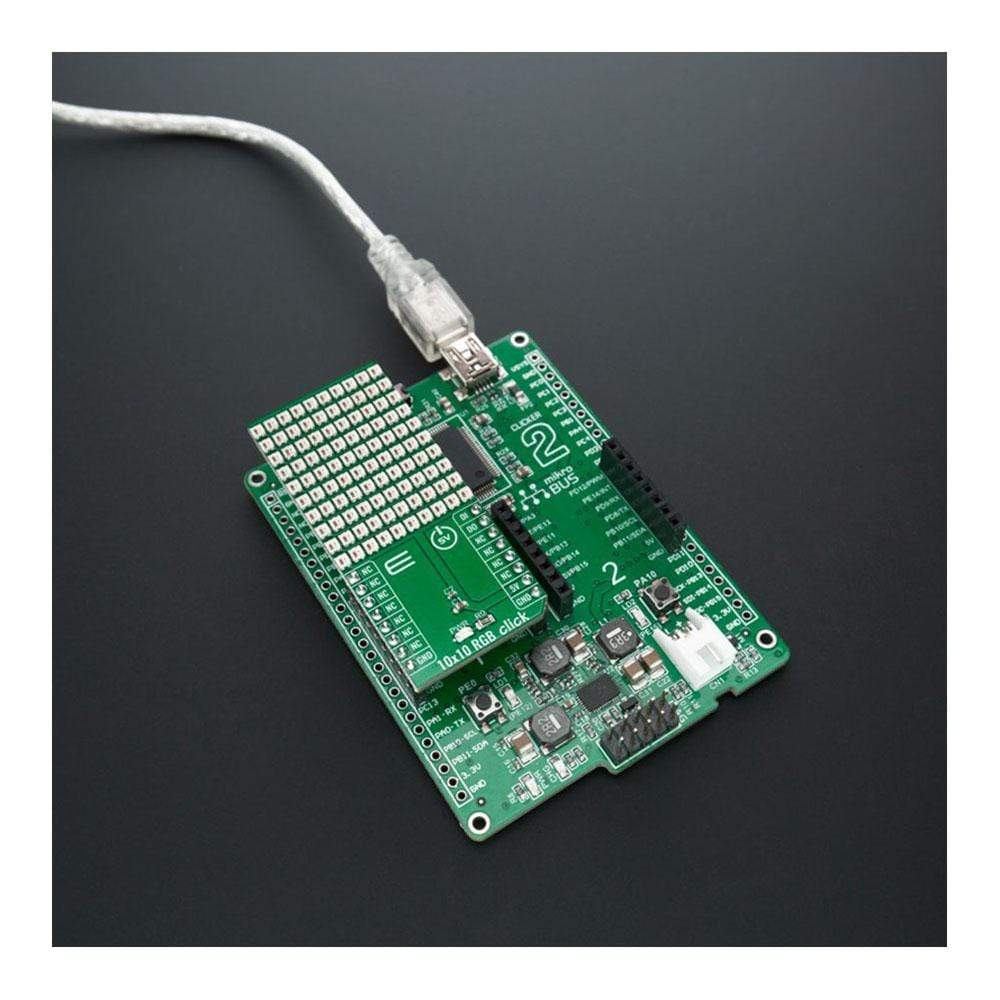
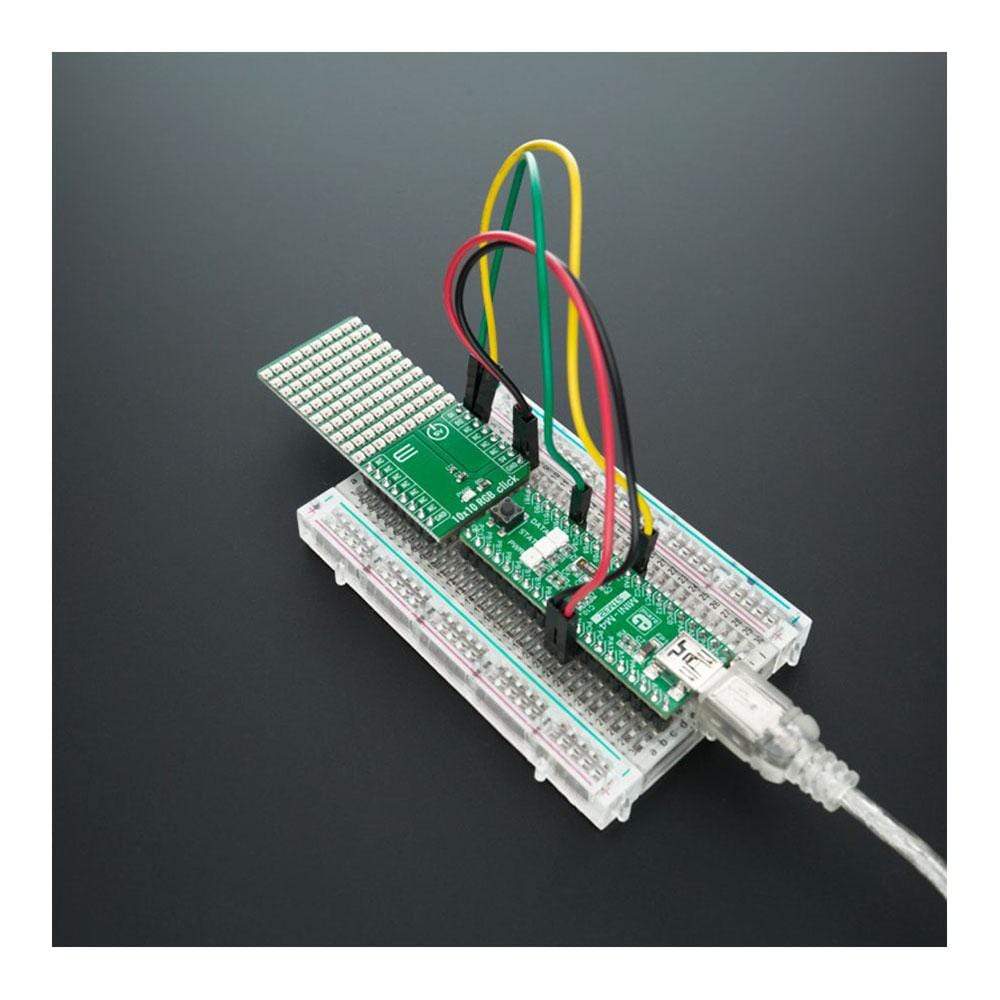
Designed to simplify software development, the 10x10 RGB Click Board™ is supported by a mikroSDK compliant library that offers a range of functions for efficient programming. This fully tested Click Board™ is ready to integrate into systems equipped with a mikroBUS™ socket, providing a hassle-free user experience.
Transform your projects with the 10x10 RGB Click Board™ and unlock a world of possibilities in visual displays and lighting control. Ideal for enthusiasts, hobbyists, and professionals alike, this innovative Click Board™ delivers functionality, reliability, and ease of use in a compact form factor.
Explore the endless potential of the 10x10 RGB Click Board™ and elevate your projects to new heights of creativity and functionality.
Downloads
How Does The 10x10 RGB Click Board™ Work?
The WS2812 is an intelligent control LED light source, its exterior adopts the latest MOLDING packaging technology, the control circuit and RGB chips are integrated in a package of 2020 component. Its internal includes intelligent digital port data latch and signal reshaping amplification drive circuit. Also include a precision internal oscillator and a voltage programmable constant current control part, effectively ensuring the pixel point light colour height consistent.
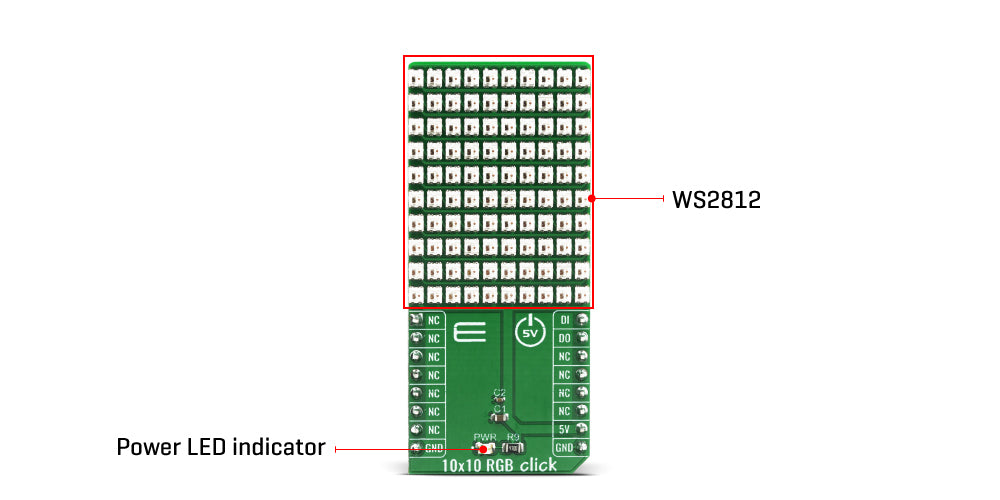
The data transfer protocol use single NZR communication mode. After the pixel power-on reset, the DIN port receive data from controller, the first pixel collect initial 24bit data then sent to the internal data latch, the other data which reshaping by the internal signal reshaping amplification circuit sent to the next cascade pixel through the DO port. After transmission for each pixel, the signal to reduce 24bit. pixel adopt auto reshaping transmit technology, making the pixel cascade number is not limited the signal transmission, only depend on the speed of signal transmission.
RESET time >280μs , it won't cause wrong reset while interruption, it supports the lower frequency and inexpensive MCU.
Refresh Frequency updates to 2KHz, Low Frame Frequency and No Flicker appear in HD Video Camera, it improve excellent display effect.
LED with low driving voltage, environmental protection and energy saving, high brightness, large scattering angle, good consistency, low-power, long life and other advantages. The control chip integrated in LED above becoming more simple circuit, small volume, convenient installation. The 10x10 RGB Click Board™ can be used in many applications, like full-colour module, full colour soft lights a lamp strip, LED decorative lighting, indoor/outdoor LED irregular screen, game machine and amusement equipment etc.
The INT pin of the mikroBUS, which is labelled as DO on this Click Board™, allows cascading of multiple 10x10 RGB Click Board™ devices. It simply routes the data line back to the mikroBUS, allowing it to be re-used for the next 10x10 RGB Click Board™, and so on. The length of the whole chain is limited only by the communication speed, required to scan through all the LED devices, in order to maintain a reasonable refresh speed.
The 10x10 RGB Click Board™ is designed to be operated only with 5V logic level. A proper logic voltage level conversion should be performed before the Click Board™ is used with MCUs with logic levels of 3V3.
SPECIFICATIONS
| Type | Optical |
| Applications | Full-colour module, Full color soft lights a lamp strip, LED decorative lighting, indoor/outdoor LED irregular screen, game machine and amusement equipment etc. |
| On-board modules | WS2812 intelligent control LED |
| Key Features | 256 brightness display, completed 16777216 colour full colour display and scan frequency is of 2KHz, send data speed of 800Kbps, 5mA operating current per channel |
| Interface | GPIO |
| Compatibility | mikroBUS |
| Click Board™ size | L (57.15 x 25.4 mm) |
| Input Voltage | 5V |
PINOUT DIAGRAM
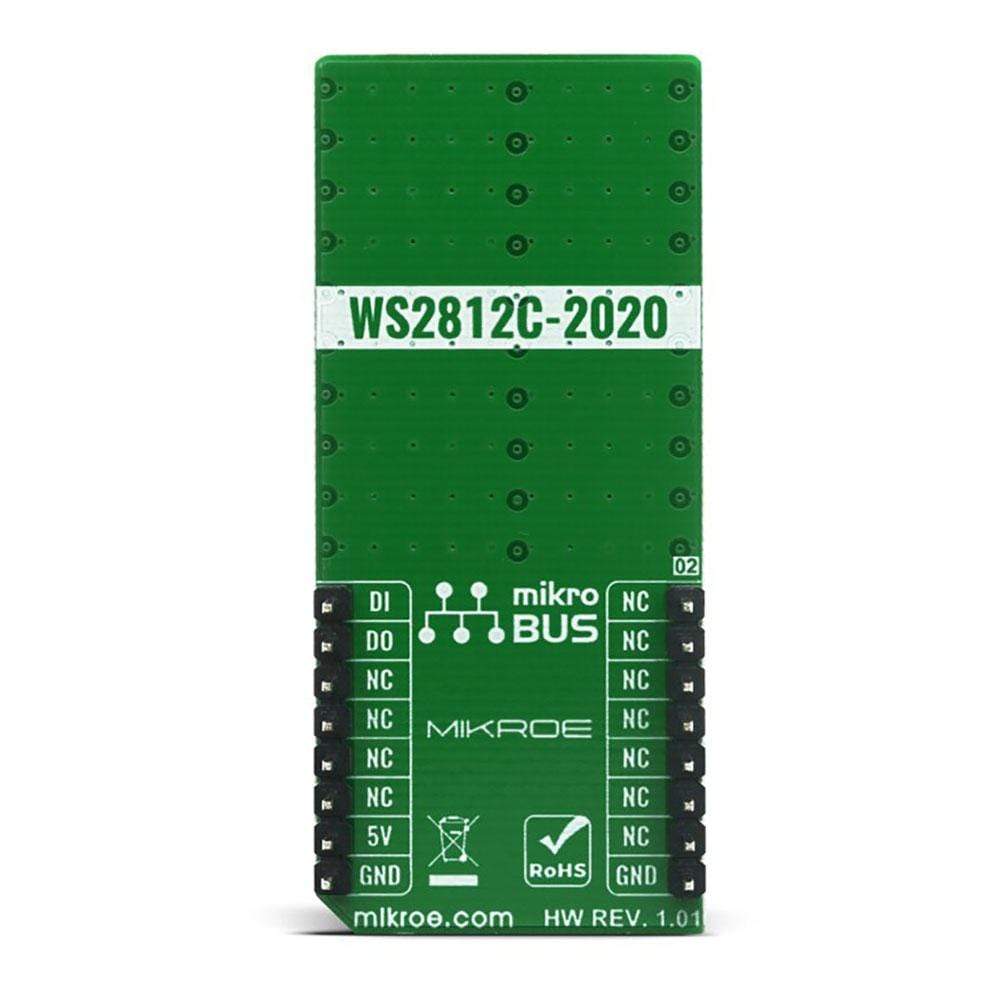
This table shows how the pinout on the 10x10 RGB Click Board™ corresponds to the pinout on the mikroBUS socket (the latter shown in the two middle columns).
| Notes | Pin |  |
Pin | Notes | |||
|---|---|---|---|---|---|---|---|
| NC | 1 | AN | PWM | 16 | DI | Data Input | |
| NC | 2 | RST | INT | 15 | DO | Data Output | |
| NC | 3 | CS | RX | 14 | NC | ||
| NC | 4 | SCK | TX | 13 | NC | ||
| NC | 5 | MISO | SCL | 12 | NC | ||
| NC | 6 | MOSI | SDA | 11 | NC | ||
| NC | 7 | 3.3V | 5V | 10 | 5V | Power Supply | |
| Ground | GND | 8 | GND | GND | 9 | GND | Ground |
ONBOARD SETTINGS AND INDICATORS
| Label | Name | Default | Description |
|---|---|---|---|
| LD1 | PWR | - | Power LED Indicator |
| JP1-JP4 | COM SEL | Right |
| General Information | |
|---|---|
Part Number (SKU) |
MIKROE-4115
|
Manufacturer |
|
| Physical and Mechanical | |
Weight |
0.02 kg
|
| Other | |
Country of Origin |
|
HS Code Customs Tariff code
|
|
EAN |
8606018717460
|
Warranty |
|
Frequently Asked Questions
Have a Question?
Be the first to ask a question about this.

