Key Features
Overview
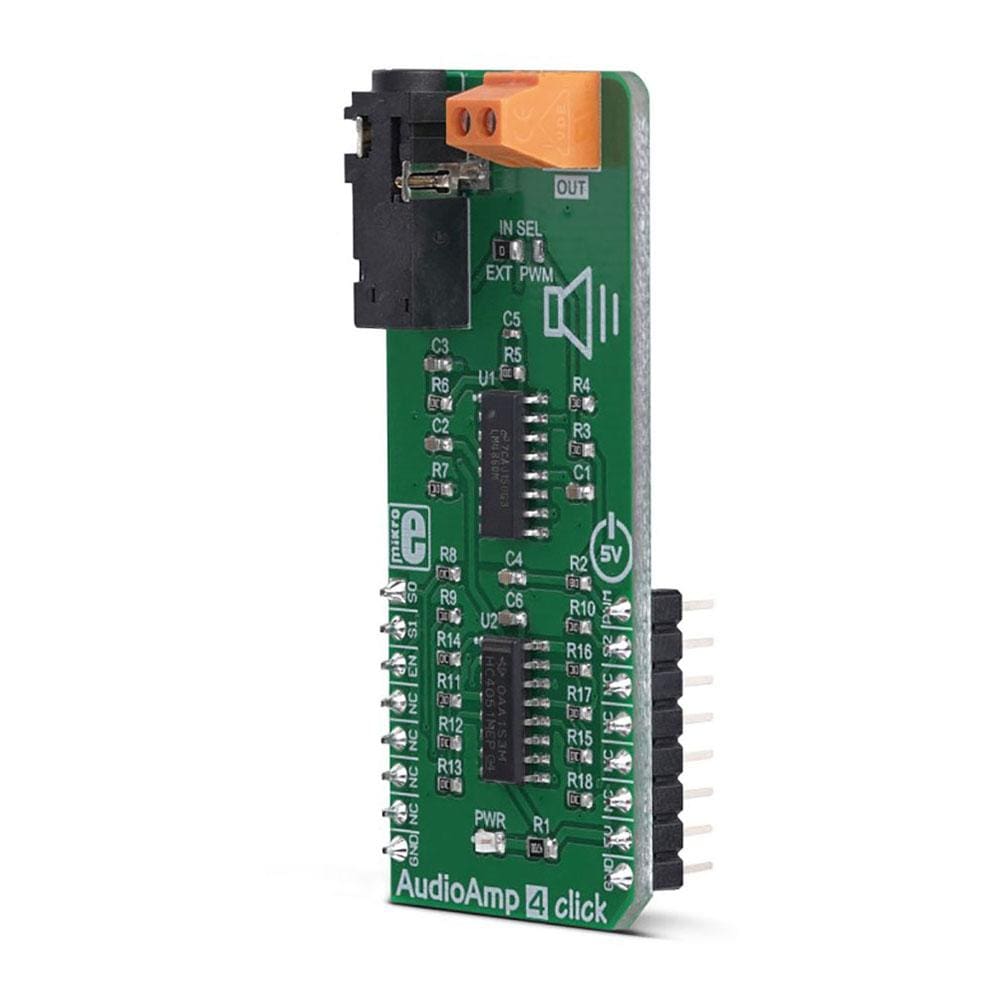
The AudioAmp 4 Click Board™ is a low-power audio amplifier with a digital volume control. It is equipped with the LM4860, an audio amplifier IC capable of delivering up to 1W of continuous power to an 8Ω load. It has a very low total harmonic distortion (THD) of less than 1% over the entire audio spectrum, which makes it perfectly suited for small boom-boxes, PC speakers, and similar low-power sound reinforcing devices that can be powered by batteries. A high integration level of the LM4860 IC allows an additional circuit for digital signal attenuation to be used, offering 8 different volume levels, selectable over 3 GPIO pins of the mikroBUS.
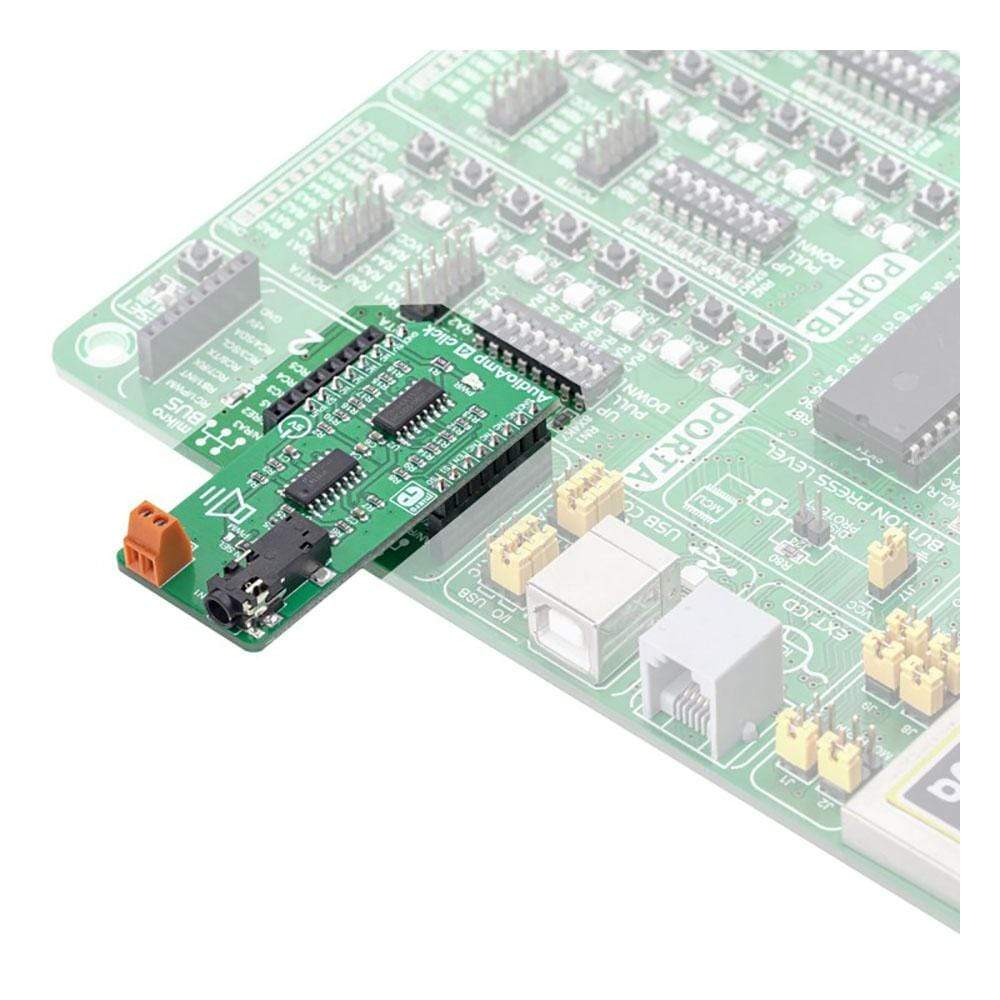
The AudioAmp 4 Click Board™ is supported by the mikroSDK compliant library, which includes functions that simplify software development. The Click Board™ comes as a fully tested product, ready to be used on a system equipped with the mikroBUS slot.
Downloads
In addition to the possibility to attenuate the input signal from the included 3.5mm JACK connector, the AudioAMP 4 Click Board™ can use analog voltage as the amplifier input, derived from the PWM signal at the mikroBUS™ PWM pin. This allows the MCU software to generate custom waveforms, by simply changing the duty cycle of the PWM signal. Features such as the flat audio characteristic, low THD and noise levels over the entire range of the audio spectrum, digital volume control, power supply from the mikroBUS™ 5V rail, make this Click board™ a perfect solution for rapid development of applications, when a quick and simple low-power audio signal reinforcement is required.
How Does The AudioAMP 4 Click Board™ Work?
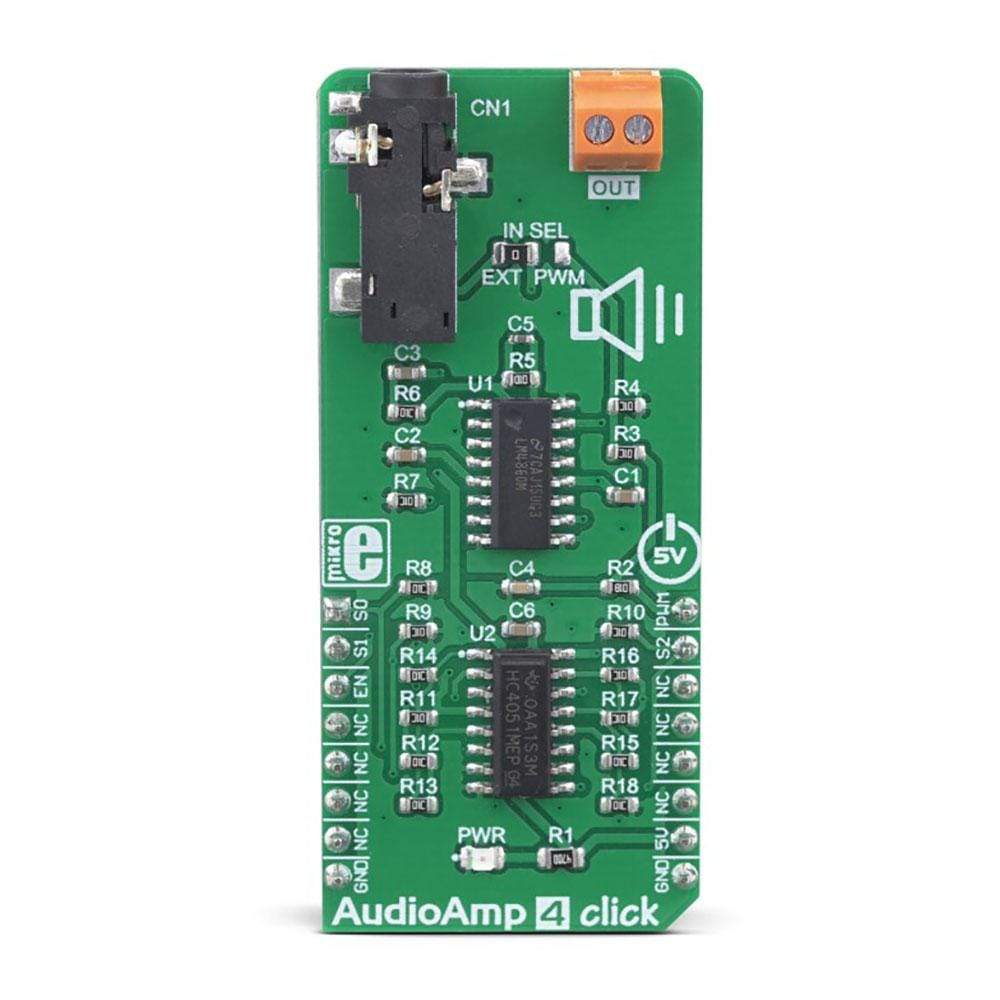
There are two integrated circuits on the AudioAMP 4 Click Board™: the LM4860, a Boomer® series 1W audio power amplifier with shutdown mode; CD74HC4051, a high-speed CMOS logic analog mux/demux IC, both from Texas Instruments. The LM4860 is used as the main audio amplifier component. This IC features a high level of integration, reducing the number of external components to a minimum. It does not require any output capacitors, bootstrap capacitors, or snubber circuits, which makes the design very simple and straightforward.
.jpg)
Besides other functions, the IC features the Shutdown mode, activated by a HIGH logic level on a dedicated SHUTDOWN pin. Therefore, to enable the amplifier, this pin must be set to a LOW logic level. However, AudioAmp 4 click already has a pull-down resistor, so the audio amplifier IC is enabled by default. The SHUTDOWN pin is routed to the CS pin of the mikroBUS™ and it is labeled as EN. While in Shutdown mode, the power consumption is minimized, which is very useful for applications that rely on a battery power supply. The Shutdown mode pin is also routed to the #E pin of the CD74HC4051, simultaneously disabling this IC as well.
The audio signal can be connected via the 3.5mm JACK connector. By default, this signal is connected to one side of the voltage divider, composed of eight resistors. The other end of the voltage divider is tied to the GND, while the middle tap of the voltage divider can be selected by activating any of the 8 available positions of the CD74HC4051 IC. The CD74HC4051 IC uses three control pins, allowing its internal analog SP8T switch to be closed between any of the eight I/O pins (A0 to A7), and one common I/O pin. The audio signal goes through this divider, gets divided by the ratio selected with the control pins, and into the audio input of the LM4860 audio amp IC. This results in having eight discrete volume levels, which can be digitally selected by S0 to S3 control pins routed to the mikroBUS™.
The AudioAMP 4 Click Board™ is equipped with the SMD jumper, labeled as IN SEL. This jumper allows to select the output from the RC filter, which filters out the PWM signal from the mikroBUS™ PWM pin, creating a DC signal of constant voltage. By changing the pulse width of the PWM signal, the voltage output of the RC filter will change. If the IN SEL switch is moved to the PWM position, this signal will be introduced into the voltage divider, instead of the audio signal from the 3.5mm JACK connector. It can be used to generate custom waveforms by the software running on the host MCU.
Three control pins of the CD74HC4051 labeled as S0, S1, and S2, are routed to the mikroBUS™ pins AN, RST, and INT, respectively, labeled according to the names of the control pins. These pins accept logic HIGH and LOW levels from the host MCU, so the CD74HC4051 can be controlled using a binary format on the control pins.
The AudioAMP 4 Click Board™ uses only 5V rail from the mikroBUS™ and as such it should not be interfaced with MCUs that have only 3.3V tolerant pins. The complete control of the IC is done exclusively by GPIO pins of the MCU, so the software development complexity is reduced to a minimum. However, the click comes with the mikroSDK compliant library, offering a simple usage example and functions for the rapid development of applications.
SPECIFICATIONS
| Type | Amplifier |
| Applications | It can be used in various low power audio systems, home stereo components, computer speakers, and many other similar audio applications that require an audio amplification with the digitally controlled volume level |
| On-board modules | LM4860M, a Boomer® series 1W audio power amplifier with shutdown mode; CD74HC4051, a high-speed CMOS logic analog mux/demux IC, both from Texas Instruments |
| Key Features | High quality audio output up to 1W of continuous power, good frequency response, low THD and SNR, it can be directly implemented into the existing stereo system, digital volume control. |
| Interface | GPIO,PWM |
| Compatibility | mikroBUS |
| Click board size | L (57.15 x 25.4 mm) |
| Input Voltage | 5V |
PINOUT DIAGRAM
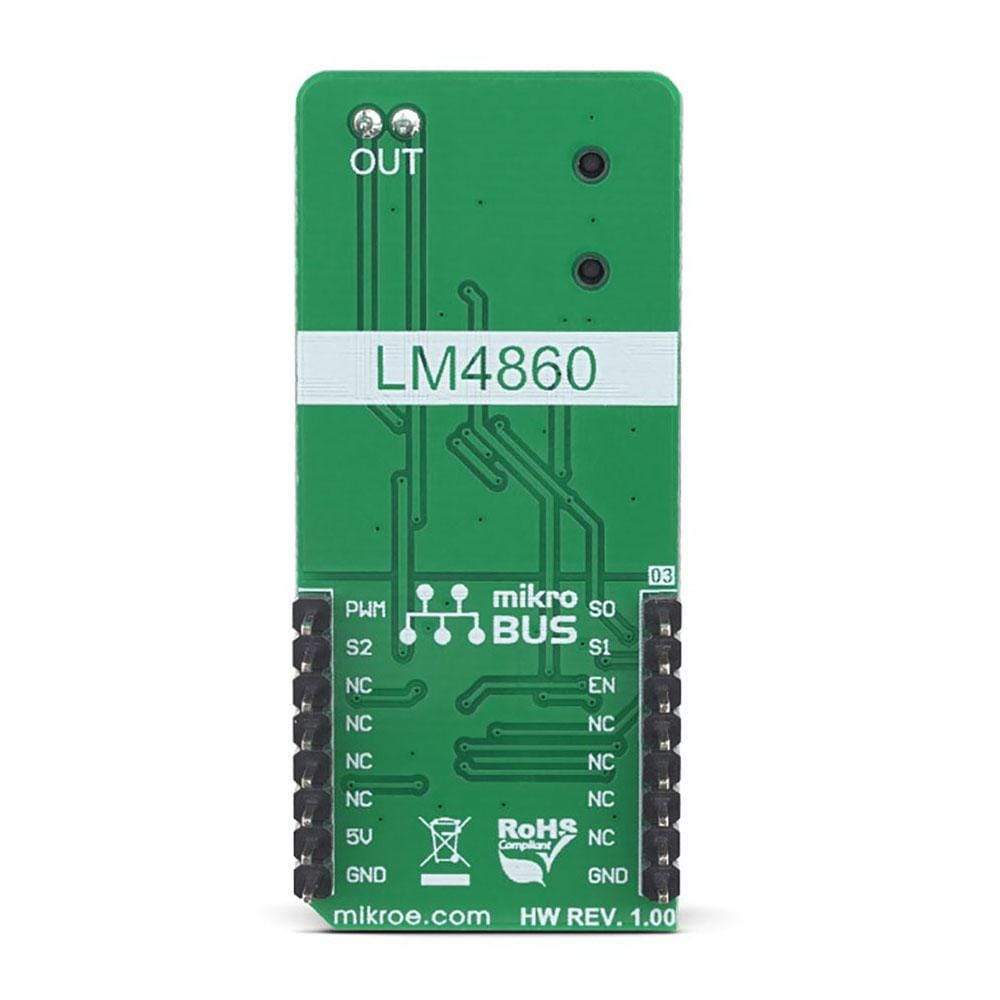
This table shows how the pinout on AudioAMP 4 Click Board™ corresponds to the pinout on the mikroBUS™ socket (the latter shown in the two middle columns).
| Notes | Pin |  |
Pin | Notes | |||
|---|---|---|---|---|---|---|---|
| Control pin 0 | S0 | 1 | AN | PWM | 16 | PWM | PWM signal Input |
| Control pin 1 | S1 | 2 | RST | INT | 15 | S2 | Control pin 2 |
| Shutdown mode enable | EN | 3 | CS | RX | 14 | NC | |
| NC | 4 | SCK | TX | 13 | NC | ||
| NC | 5 | MISO | SCL | 12 | NC | ||
| NC | 6 | MOSI | SDA | 11 | NC | ||
| NC | 7 | 3.3V | 5V | 10 | 5V | Power Supply | |
| Ground | GND | 8 | GND | GND | 9 | GND | Ground |
ONBOARD SETTINGS AND INDICATORS
| Label | Name | Default | Description |
|---|---|---|---|
| LD1 | PWR | - | Power LED indicator |
| JP1 | IN SEL | Left | Input signal source selection: left position 3.5mm JACK, right position PWM pin of the mikroBUS™ |
| General Information | |
|---|---|
Part Number (SKU) |
MIKROE-3271
|
Manufacturer |
|
| Physical and Mechanical | |
Weight |
0.022 kg
|
| Other | |
Country of Origin |
|
HS Code Customs Tariff code
|
|
EAN |
8606018713981
|
Warranty |
|
Frequently Asked Questions
Have a Question?
Be the first to ask a question about this.

