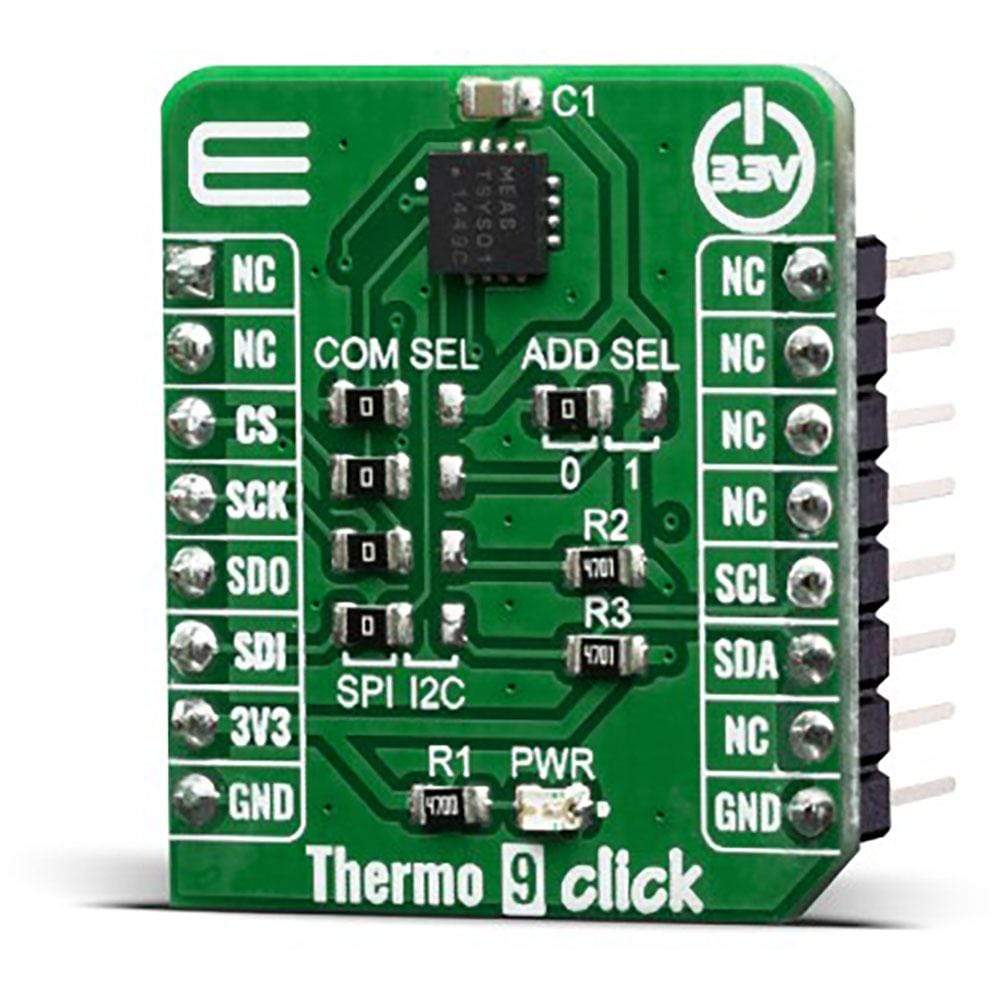
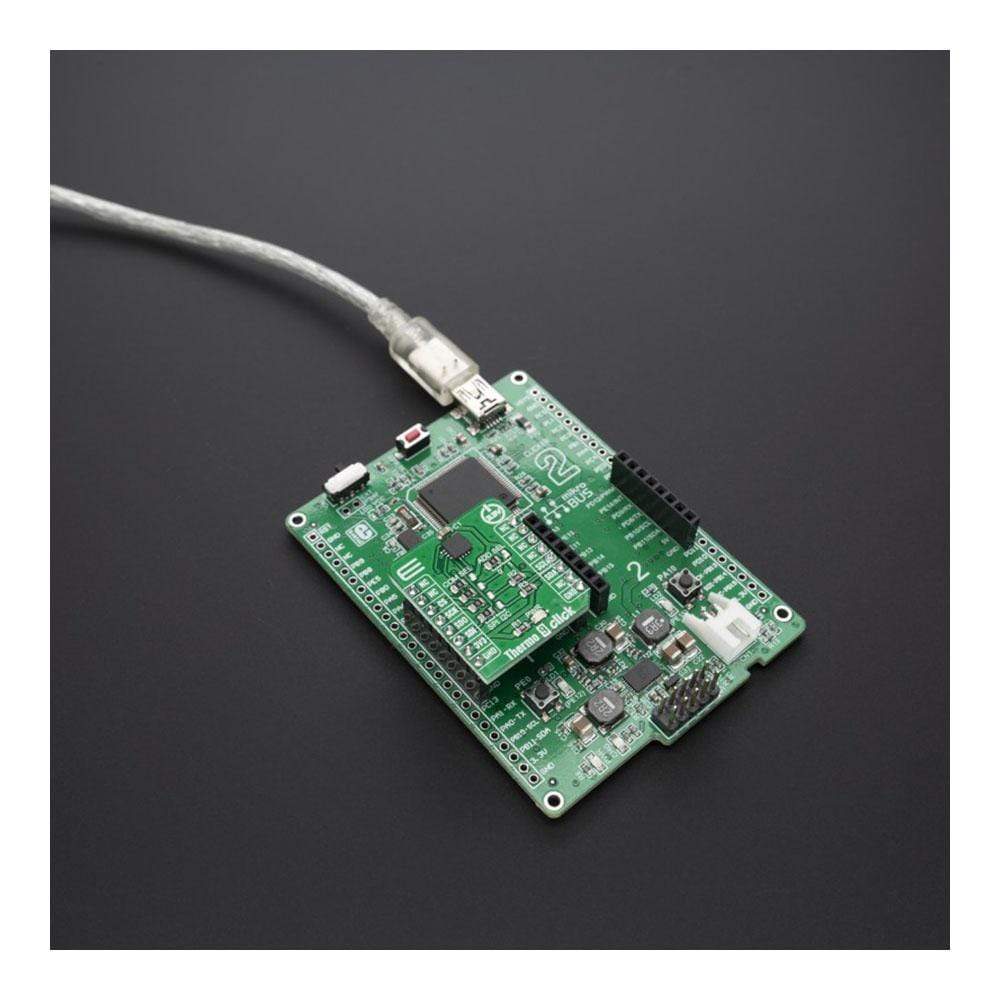
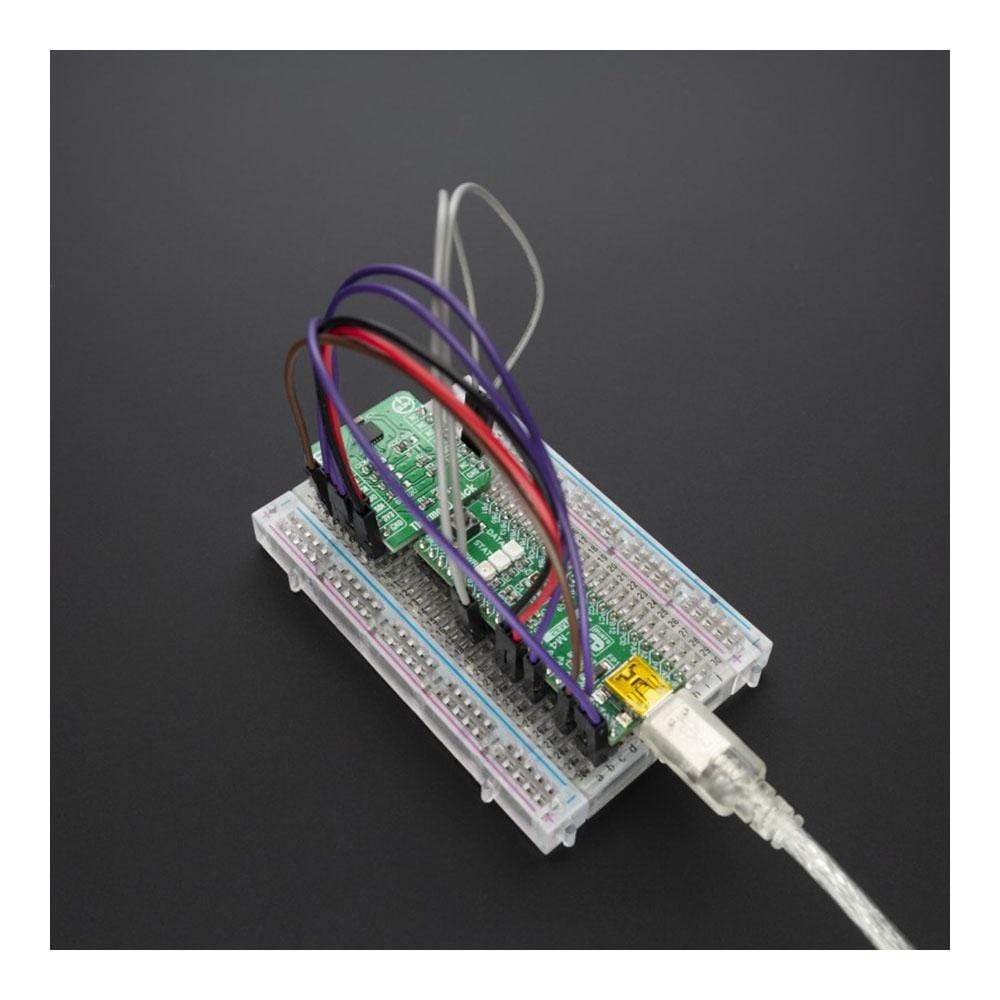
Thermo 9 Click Board
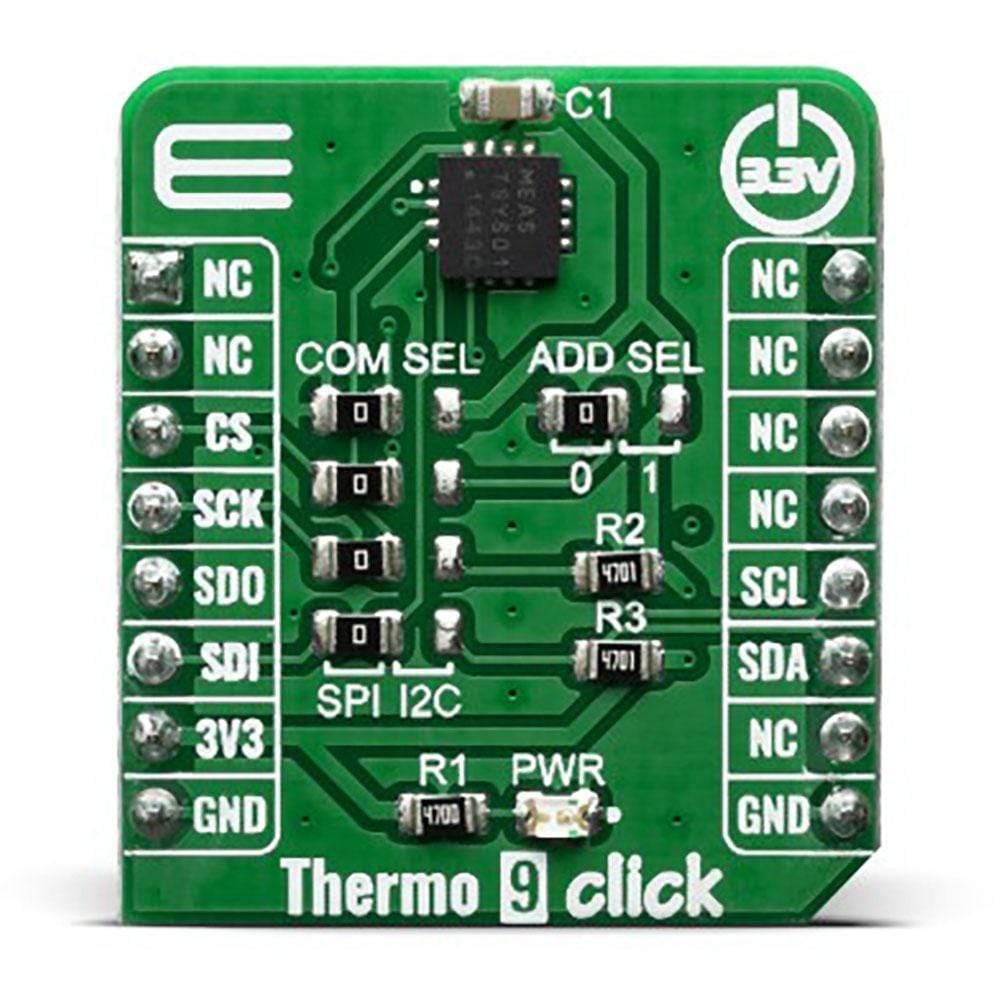
The Thermo 9 Click Board™ is equipped with the TSYS01, a digital temperature sensor from TE Connectivity. Given its main features, the Thermo 9 Click, can be used for industrial control, replacement of thermistors and NTCs, heating/cooling systems, and HVAC.
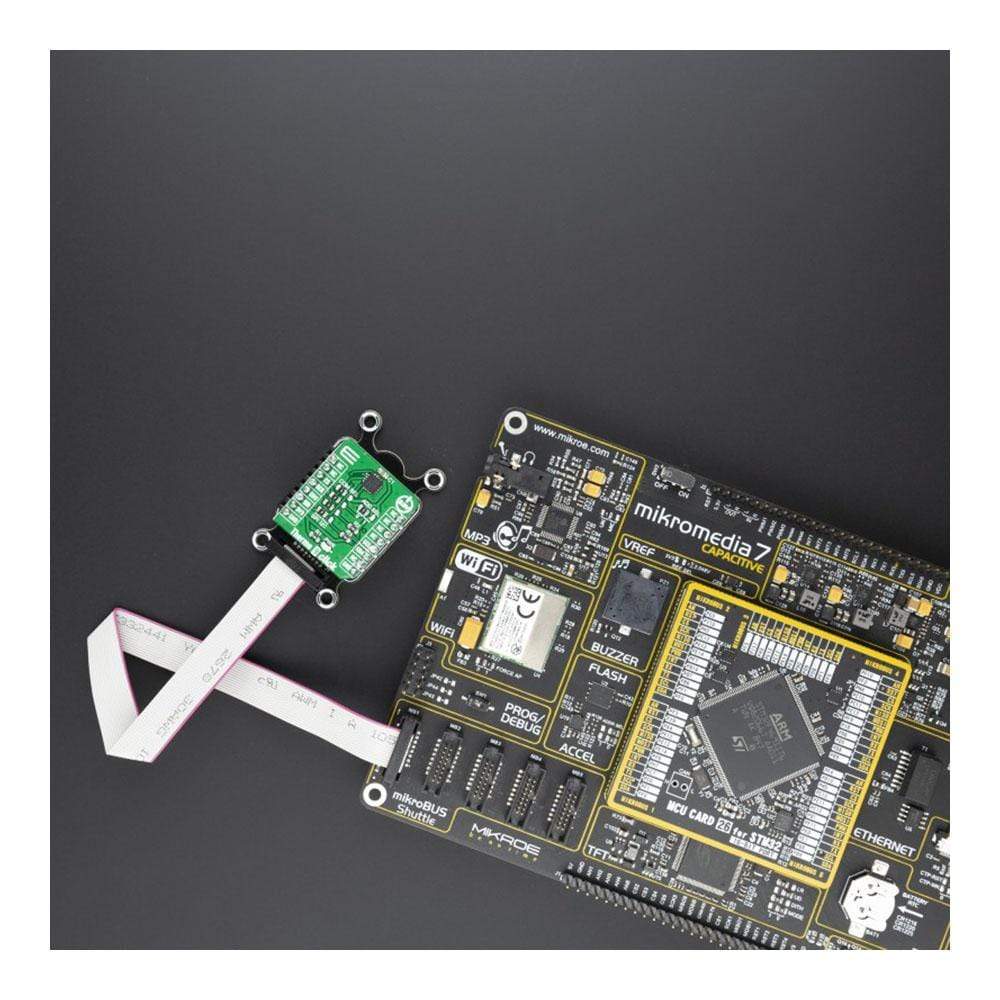
The Thermo 9 Click Board™ is supported by a mikroSDK compliant library, which includes functions that simplify software development. The Click Board™ comes as a fully tested product, ready to be used on a system equipped with a mikroBUS™ socket.
How Does The Thermo 9 Click Board™ Work?
The main feature of the Thermo 9 Click Board™ is the TSYS01. This is a single device, versatile, new technology temperature sensor. The TSYS01 provides factory calibrated temperature information and it includes a temperature sensing chip and a 24-bit ΔΣ-ADC. The essence of the digital 24-bit temperature value and the internal calibration values lead to highly accurate temperature information accompanied by high measurement resolution. The TSYS01 can be interfaced to any microcontroller by an I2C or SPI interface. This microcontroller has to calculate the temperature result based on the ADC values and the calibration parameters.
The TSYS01 has the SPI and the I2C Interface. When it comes to the I2C communication, it starts with a start condition and it is ended by a stop condition. Each command consists of two bytes: the address byte and command byte. The SPI communication is a 4-wire SPI bus, operating as a slave. CS (chip select), SCLK (serial clock), SDI (serial data in), and SDO (serial data out) are used to interact with the SPI master. Communication with the chip starts when CS is pulled to low and ends when CS is pulled to high. SCLK is controlled by the SPI master and idles low (SCLK low on CS transitions, mode 0). A mode where the clock alternatively idles high is also supported (mode 3).
The basic operating principles of the TSYS01 include several important features. Basically, converting temperature into digital 16/24 bit ADC value and providing calibration coefficients while also providing ADC value and calibration coefficients by SPI or I2C interface.
Given the most notable features of the Thermo 9 Click Board™, it can be used for industrial control, replacement of thermistors and NTCs, heating/cooling systems, and HVAC. The design of the Click board™ itself is such that the thermal radiation from other components, which might affect the environmental temperature readings of the sensor, is reduced. The onboard SMD jumper labeled as VCC SEL allows voltage selection for interfacing with both 3.3V and 5V MCUs.
SPECIFICATIONS
Type | Temperature & humidity |
Applications | Industrial control, replacement of thermistors and NTCs, heating/cooling systems, and HVAC |
On-board modules | TSYS01, a digital temperature sensor from TE Connectivity |
Key Features | High accuracy, Operating temperature range:-40°C to +125°C |
Interface | I2C,SPI |
Compatibility | mikroBUS |
Click board size | S (28.6 x 25.4 mm) |
Input Voltage | 3.3V |
PINOUT DIAGRAM
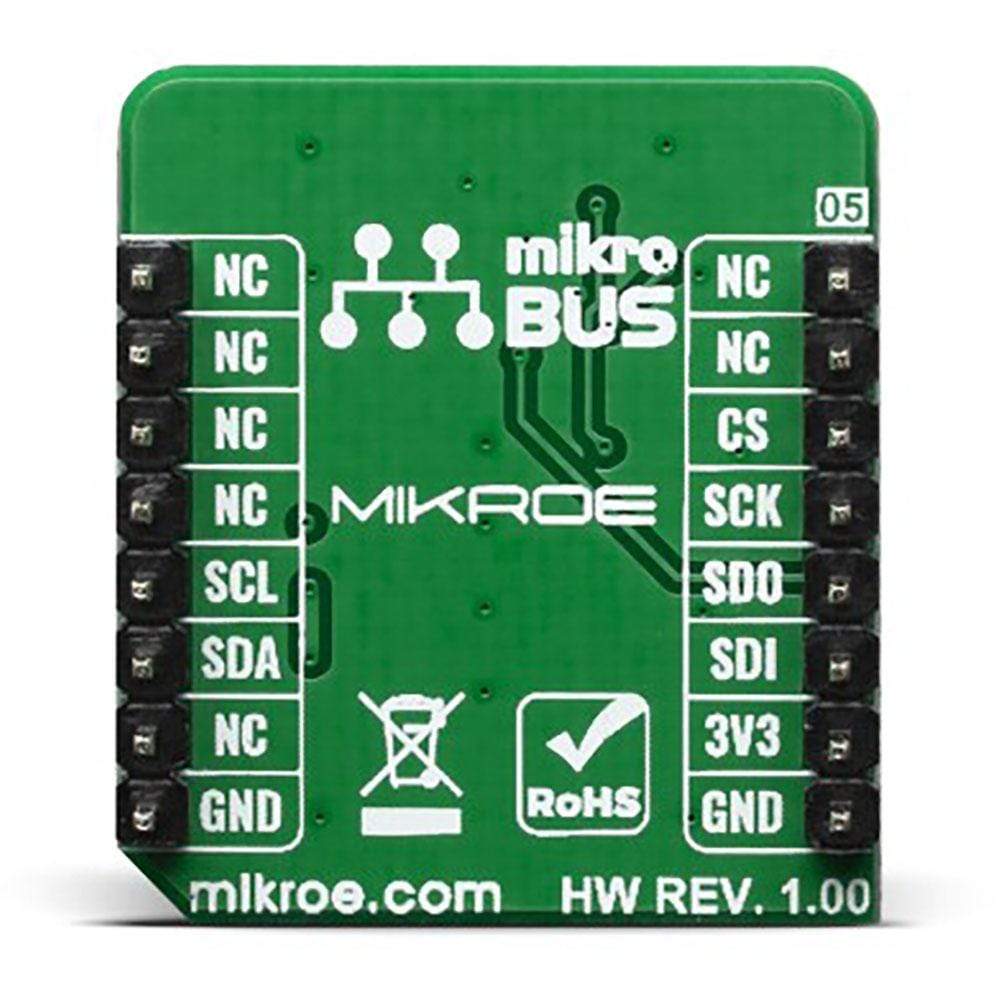
This table shows how the pinout on the Thermo 9 Click Board™ corresponds to the pinout on the mikroBUS™ socket (the latter shown in the two middle columns).
Notes | Pin | Pin | Notes | ||||
---|---|---|---|---|---|---|---|
NC | 1 | AN | PWM | 16 | NC | ||
NC | 2 | RST | INT | 15 | NC | ||
SPI Chip Select | CS | 3 | CS | RX | 14 | NC | |
SPI Clock | SCK | 4 | SCK | TX | 13 | NC | |
SPI Data OUT | SDO | 5 | MISO | SCL | 12 | SCL | I2C Clock |
SPI Data IN | SDI | 6 | MOSI | SDA | 11 | SDA | I2C Data |
Power Supply | 3.3V | 7 | 3.3V | 5V | 10 | NC | |
Ground | GND | 8 | GND | GND | 9 | GND | Ground |
ONBOARD SETTINGS AND INDICATORS
Label | Name | Default | Description |
---|---|---|---|
LD1-4 | COM SEL | Right | Communication interface selection: left position SPI, right position I2C |
JP5 | ADD SEL | Left | Select I2C address bit |
Software Support
We provide a library for the Thermo 9 Click Board™ on our LibStock page, as well as a demo application (example), developed using MikroElektronika compilers. The demo can run on all the main MikroElektronika development boards.
Library Description
The library covers all the necessary functions that enables the usage of the Thermo 9 Click Board™. It holds functions that allow full control of the device to the user. User can calibrate the device, read temperature or read raw values if necessary.
Key Functions
void thermo9_calibation ( );
- Function resets and calibrates the device in order for it to work properly.float thermo9_read_temp ( );
- Function is used to read temperature in degree centigrade.uint32_t thermo9_read_adc ( );
- Function is used to read ADC data.
Example Description
The application is composed of three sections :
- System Initialization - Initializes GPIO, SPI and LOG structures.
- Application Initialization - Initalizes SPI driver, calibrates the device and makes an initial log. Calibration function must be used once in order for it to work properly!
- Application Task - (code snippet) This example shows capabilities of Thermo 9 click by measuring temperature every 3 seconds and displaying temperature in degrres Celsius via USART terminal.
temp_val = thermo9_read_temp( ); mikrobus_logWrite( " Temperature: ", _LOG_TEXT ); log_display( temp_val ); mikrobus_logWrite( deg_cel, _LOG_LINE ); mikrobus_logWrite( "---------------------", _LOG_LINE ); Delay_ms( 3000 );
Additional Functions :
- void log_display( float value ) - Function displays readings as floating point value with two decimal places.
The full application code, and ready to use projects can be found on our LibStock page.
Other mikroE Libraries used in the example:
- SPI
- I2C
- UART
- Conversins
Additional Notes and Information
Depending on the development board you are using, you may need USB UART click, USB UART 2 click or RS232 click to connect to your PC, for development systems with no UART to USB interface available on the board. The terminal available in all MikroElektronika compilers, or any other terminal application of your choice, can be used to read the message.
MIKROSDK
The Thermo 9 Click Board™ is supported with mikroSDK - MikroElektronika Software Development Kit. To ensure proper operation of mikroSDK compliant Click board™ demo applications, mikroSDK should be downloaded from the LibStock and installed for the compiler you are using.
Thermo 9 Click Board
Frequently Asked Questions
Have a Question?
Be the first to ask a question about this.