Key Features
Overview
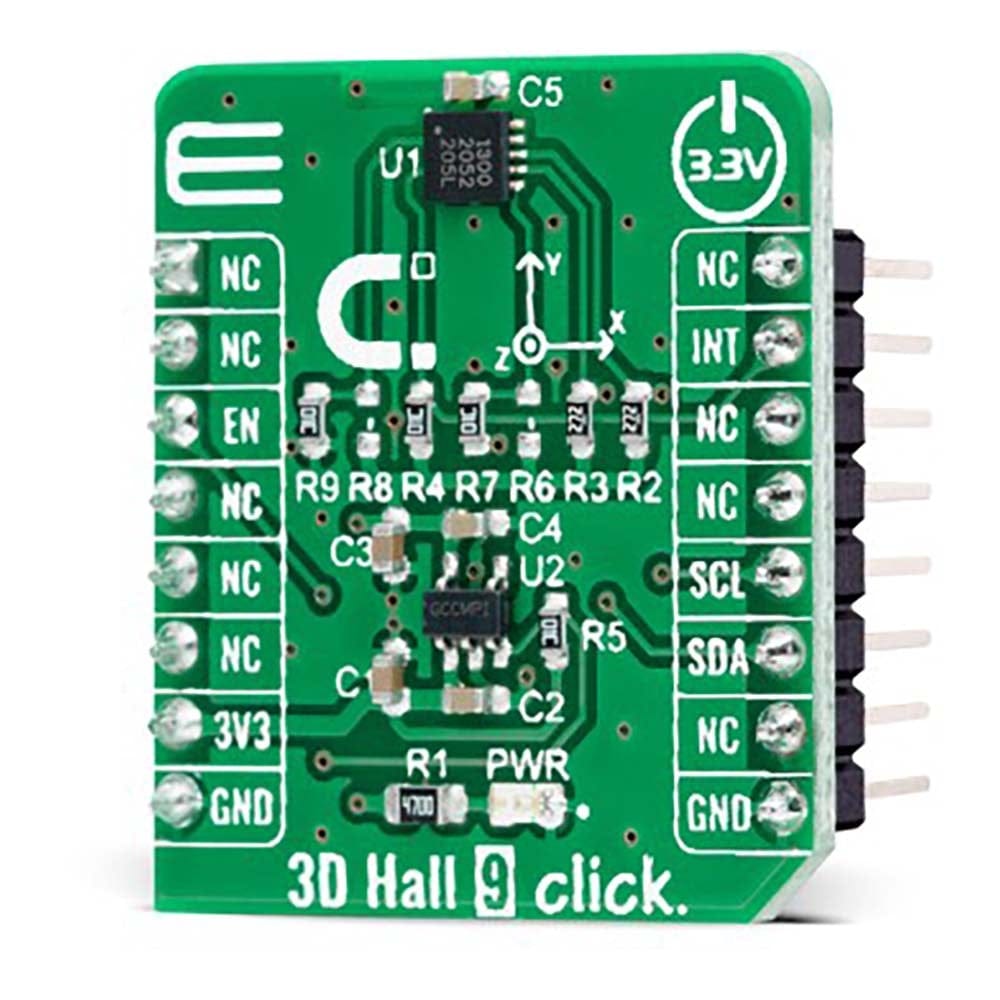
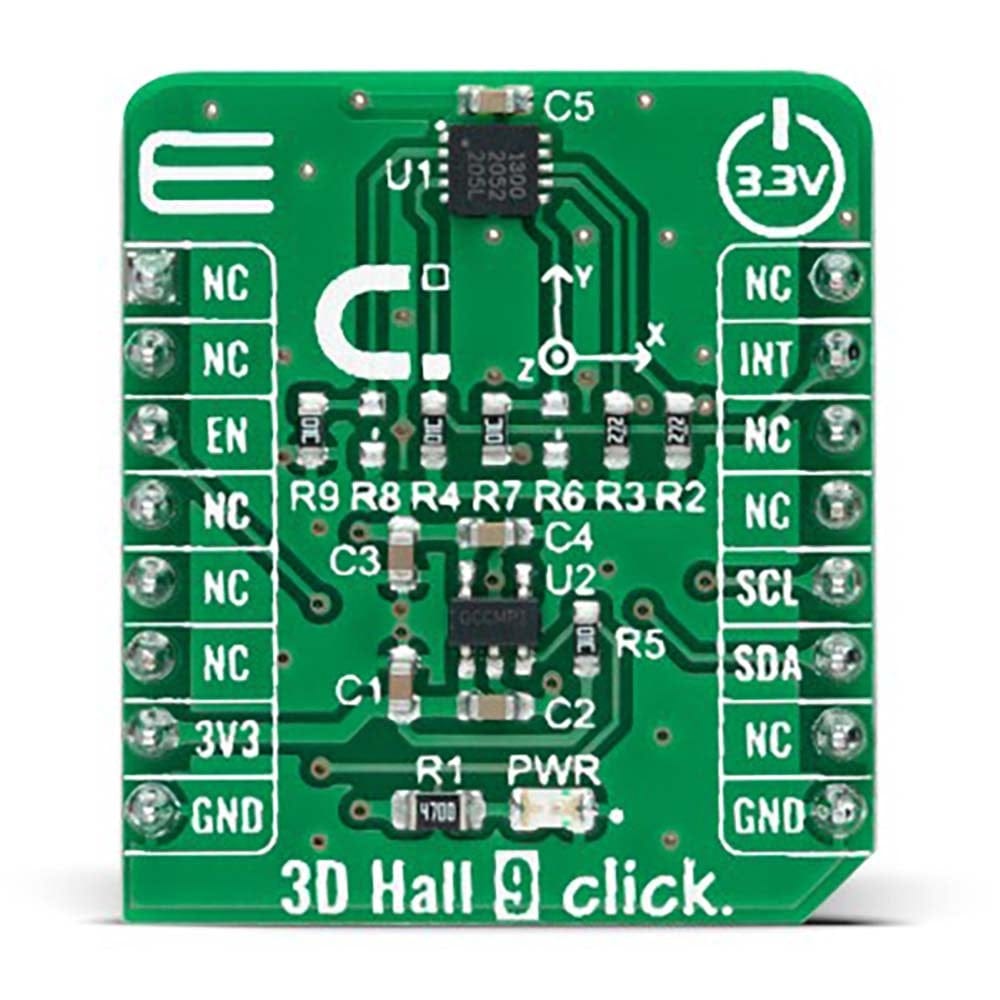
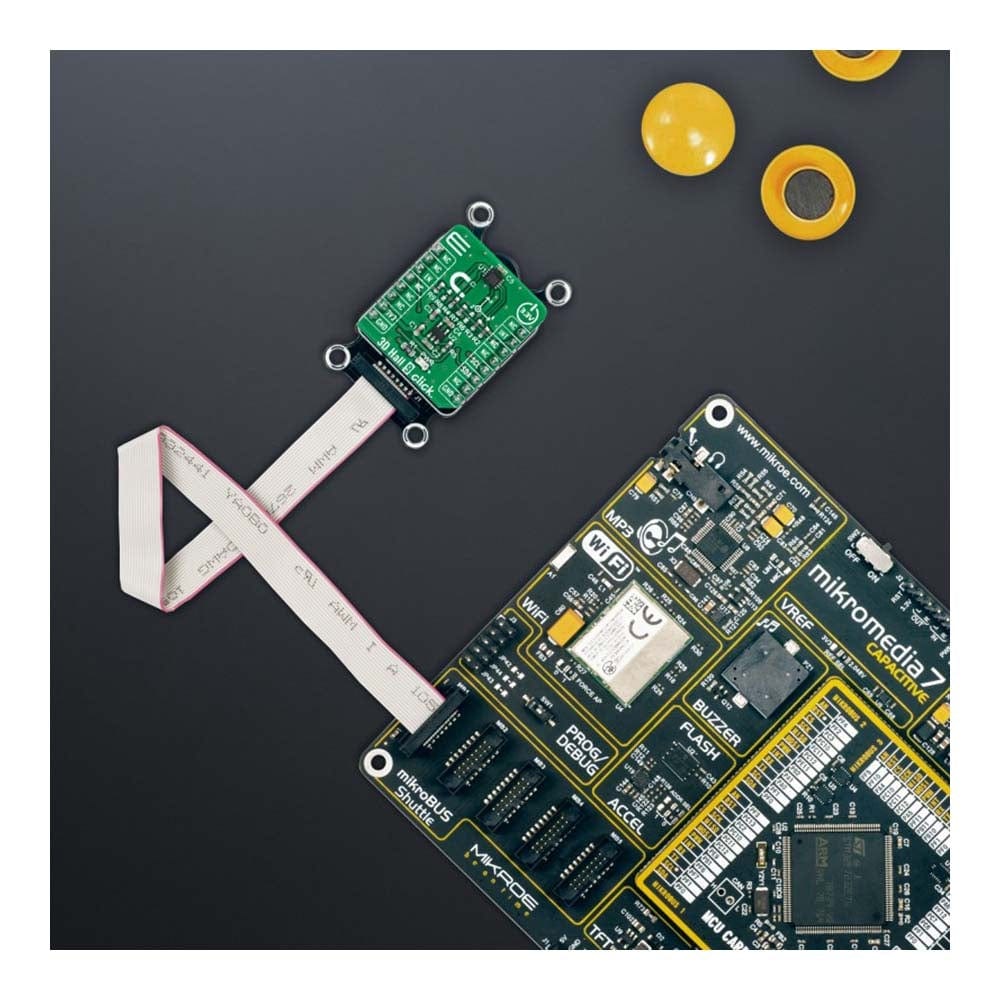
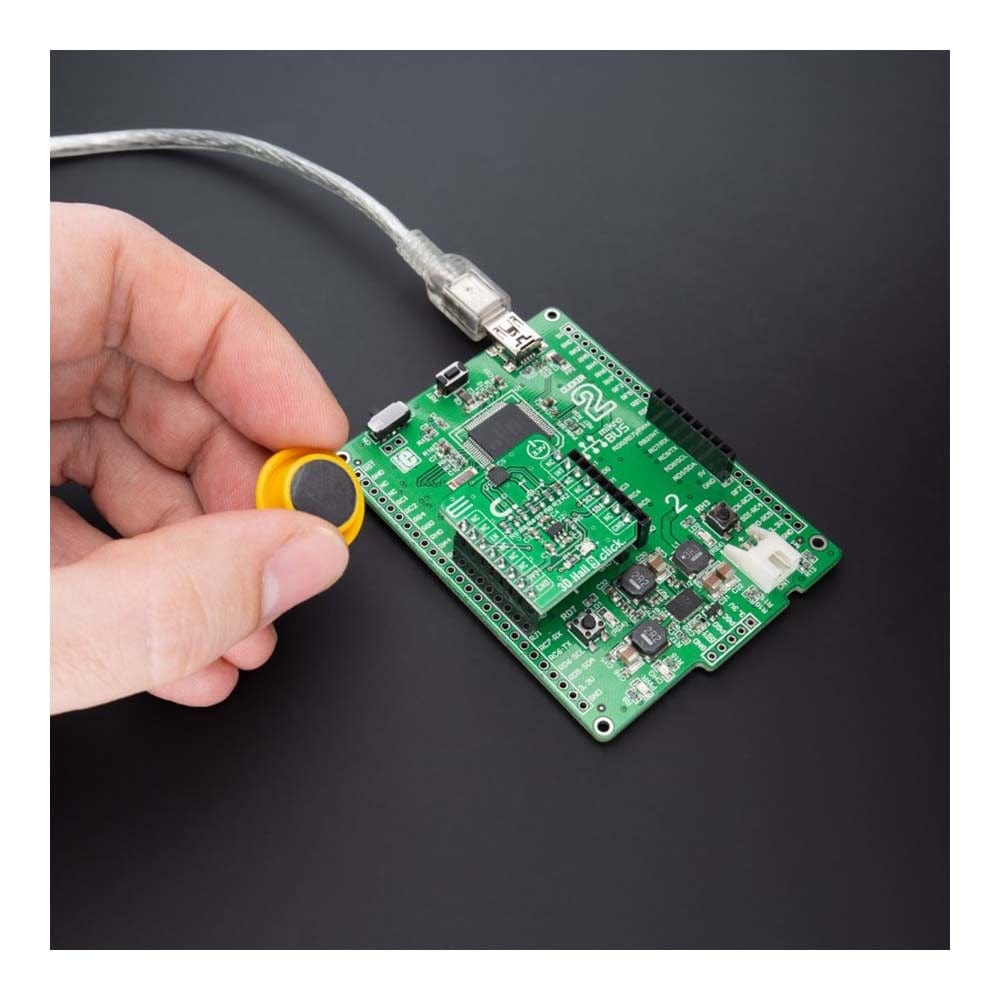
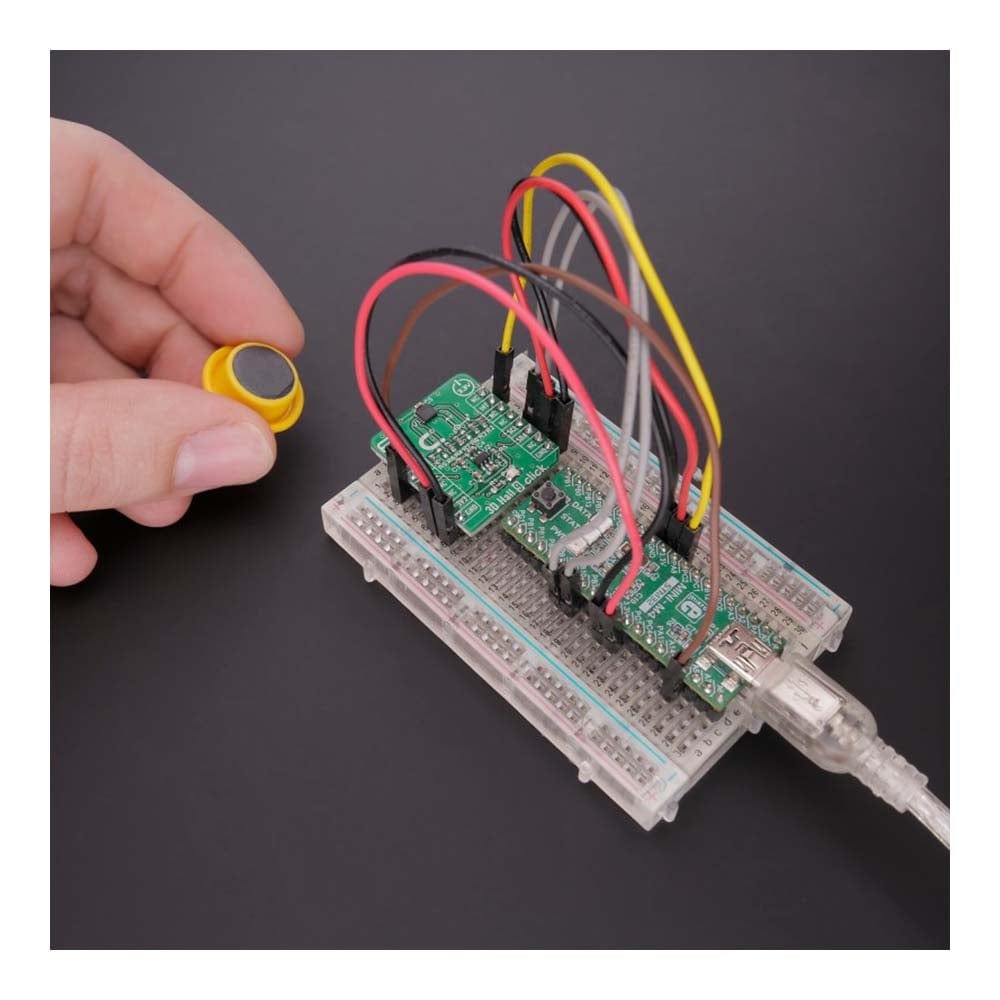
The 3D Hall 9 Click Board™ is a compact add-on board used to detect the strength of a magnetic field in all three dimensions. This board features the ALS31300, a 3D linear Hall-effect sensor with digital output and advanced low power management from Allegro Microsystems. The ALS31300 features an I2C interface, enabling it to be easily configured by MCU with the measurement data provided in digital format of 12-bits corresponding to the magnetic field measured in each X, Y, and Z axes. It also provides the ability to set different I2C slave addresses (16 unique addresses) by populating the appropriate resistors desired by the user. Power management of the ALS31300 is highly configurable, allowing for system-level optimization of supply current and performance.
The 3D Hall 9 Click Board™ is suitable for various applications, such as 3D sensing for head-on linear motion, slide-by position sensing, and rotation angle measurements.
Downloads
How Does The 3D Hall 9 Click Board™ Work?
The 3D Hall 9 Click Board™ as its foundation uses the ALS31300, a 3D linear Hall-effect sensor used to detect the strength of a magnetic field in all three dimensions (X, Y, and Z axes) from Allegro Microsystems. The ALS31300 provides a 12-bit digital output value proportional to the magnetic field generally applied to any of the Hall elements, alongside a 12-bit temperature output representing the junction temperature of the IC. The quiescent output value (zero magnetic fields used) is at mid-scale. The ALS31300 comes with the factory-programmed sensitivity range of ±500G, suitable for 3D linear sensing or 2D angle sensing applications.
Power management on the ALS31300 is user-selectable and highly configurable, allowing for system-level optimization of current consumption and performance. It supports three different power modes: Active Mode, Sleep Mode, and Low-Power Duty Cycle Mode (LPDCM). The operating mode of the ALS31300 will be determined by the selected proper value of the 0x27 register. More information on the operational modes can be found in the attached datasheet.
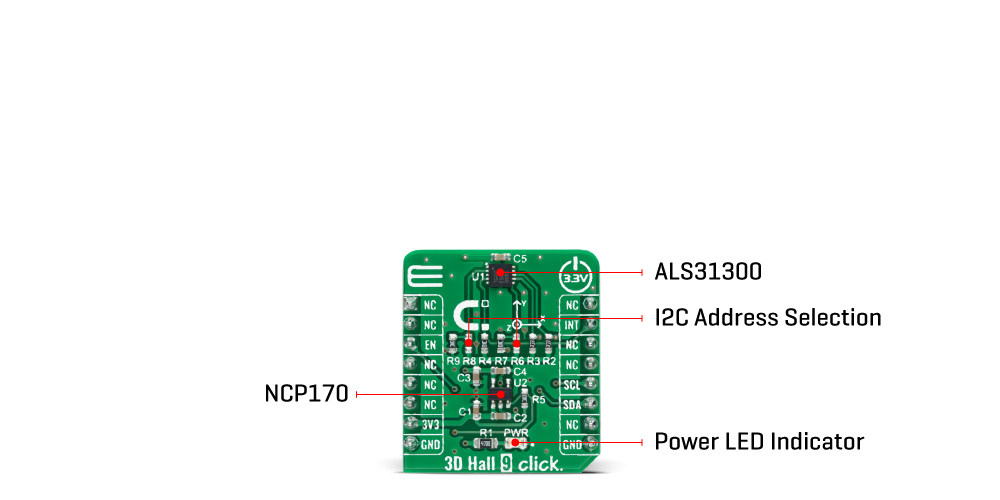
The 3D Hall 9 Click Board™ communicates with MCU using the standard I2C 2-Wire interface to read data and configure settings, supporting Standard Mode operation with a clock frequency of 100kHz and Fast Mode up to 400kHz. It provides data in digital format of 12-bits corresponding to the magnetic field measured in each X, Y, and Z axes. The ALS31300 also requires a supply voltage of 3V to work regularly. Therefore, a small LDO regulator, NCP170 from ON Semiconductor, provides 3V out of mikroBUS™ 3V3 power rail. This Click board™ also uses the Enable pin labelled as EN and routed to the CS pin of the mikroBUS™ socket to optimize power consumption, used for its power ON/OFF purposes.
The ALS31300 provides the ability to set different I2C slave addresses (16 unique addresses) by populating the appropriate resistors (R8 and R6), thus forming a voltage divider with a voltage value that corresponds to the desired I2C address. It also possesses an additional interrupt signal, routed on the INT pin of the mikroBUS™ socket labelled as INT, which integrates detection and reporting of significant changes in an applied magnetic field (independently enabled or disabled for each of the three axes). An interrupt event is initiated when the applied magnetic field forces the ADC output to a value greater than or equal to the user-programmed threshold.
The 3D Hall 9 Click Board™ can be operated only with a 3.3V logic voltage level. The board must perform appropriate logic voltage level conversion before using MCUs with different logic levels. However, the Click board™ comes equipped with a library containing functions and an example code that can be used, as a reference, for further development.
SPECIFICATIONS
| Type | Magnetic |
| Applications | The 3D Hall 9 Click Board™ be used for various applications, such as 3D sensing for head-on linear motion, slide-by position sensing, and rotation angle measurements |
| On-board modules | ALS31300 - 3D linear Hall-effect sensor used to detect the strength of a magnetic field in all three dimensions (X, Y, and Z axes) from Allegro Microsystems |
| Key Features | Low power consumption, 1% accurate factory-trimmed sensitivity ±500 G, integrated temperature sensor, I2C interface with selectable slave addresses, and more |
| Interface | I2C |
| Compatibility | mikroBUS |
| Click board size | S (28.6 x 25.4 mm) |
| Input Voltage | 3.3V |
PINOUT DIAGRAM
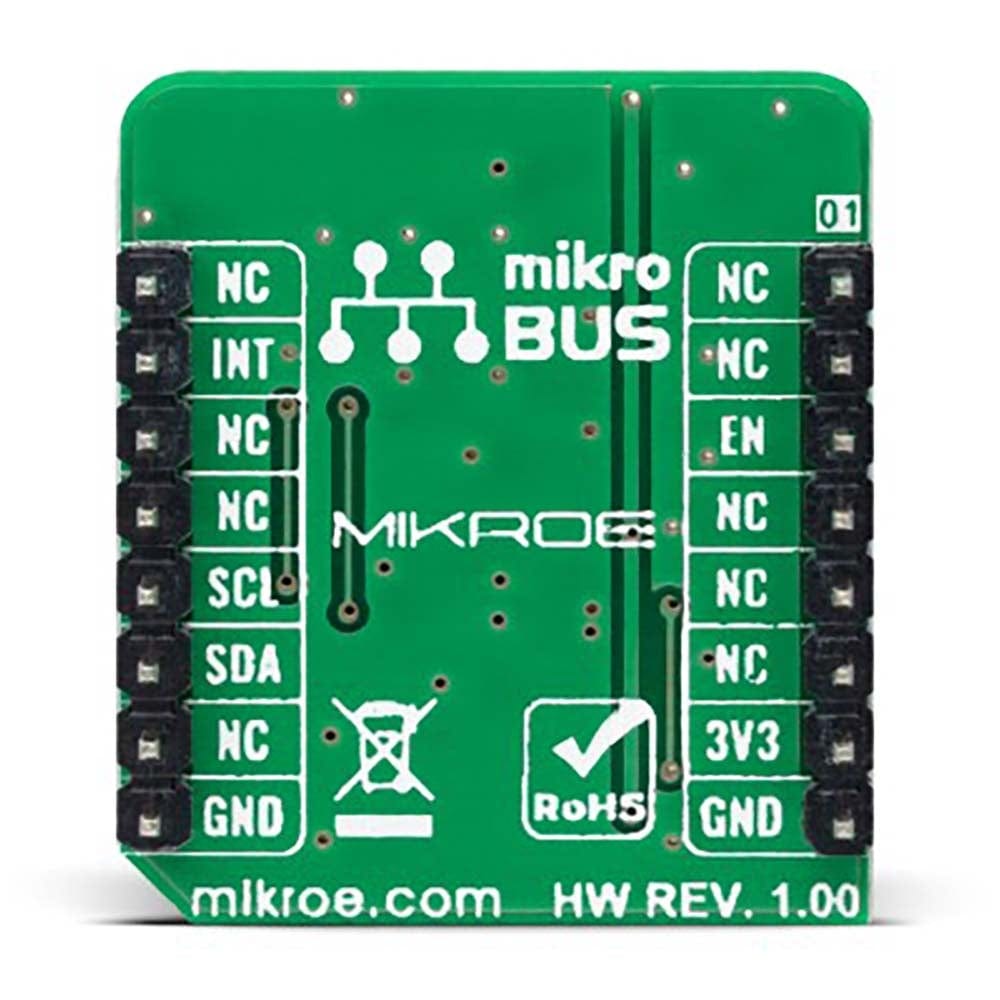
This table shows how the pinout of the 3D Hall 9 Click Board™ corresponds to the pinout on the mikroBUS™ socket (the latter shown in the two middle columns).
| Notes | Pin |  |
Pin | Notes | |||
|---|---|---|---|---|---|---|---|
| NC | 1 | AN | PWM | 16 | NC | ||
| NC | 2 | RST | INT | 15 | INT | Interrupt | |
| Enable | EN | 3 | CS | RX | 14 | NC | |
| NC | 4 | SCK | TX | 13 | NC | ||
| NC | 5 | MISO | SCL | 12 | SCL | I2C Clock | |
| NC | 6 | MOSI | SDA | 11 | SDA | I2C Data | |
| Power Supply | 3.3V | 7 | 3.3V | 5V | 10 | NC | |
| Ground | GND | 8 | GND | GND | 9 | GND | Ground |
ONBOARD SETTINGS AND INDICATORS
| Label | Name | Default | Description |
|---|---|---|---|
| LD1 | PWR | - | Power LED Indicator |
| R6, R8 | R6, R8 | Unpopulated | I2C Address Selection Jumpers |
3D HALL 9 CLICK ELECTRICAL SPECIFICATIONS
| Description | Min | Typ | Max | Unit |
|---|---|---|---|---|
| Supply Voltage | - | 3.3 | - | V |
| Sensing Range | -500 | - | +500 | G |
| Sensitivity | - | 4 | - | V |
| Resolution | - | 12 | - | bit |
| Operating Temperature Range | -40 | +25 | +85 | °:C |
| General Information | |
|---|---|
Part Number (SKU) |
MIKROE-4948
|
Manufacturer |
|
| Physical and Mechanical | |
Weight |
0.02 kg
|
| Other | |
Country of Origin |
|
HS Code Customs Tariff code
|
|
EAN |
8606027389757
|
Warranty |
|
Frequently Asked Questions
Have a Question?
Be the first to ask a question about this.

