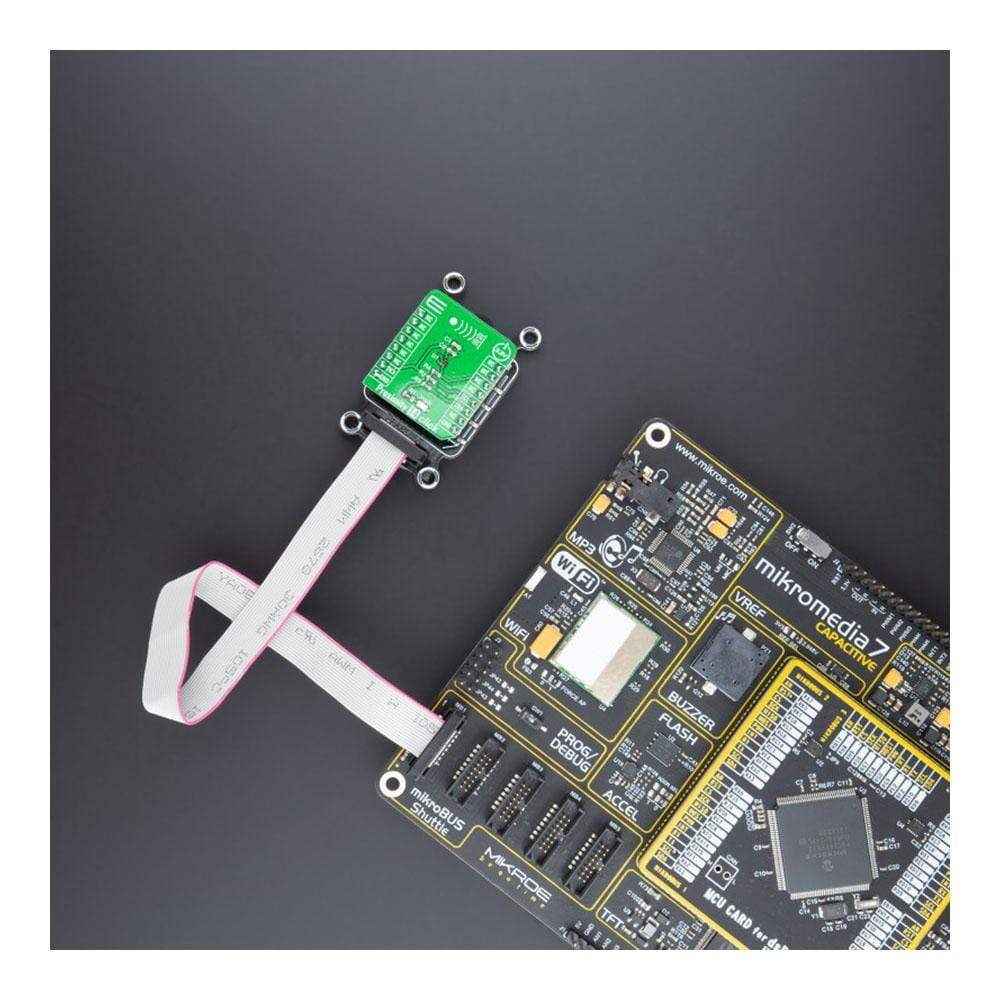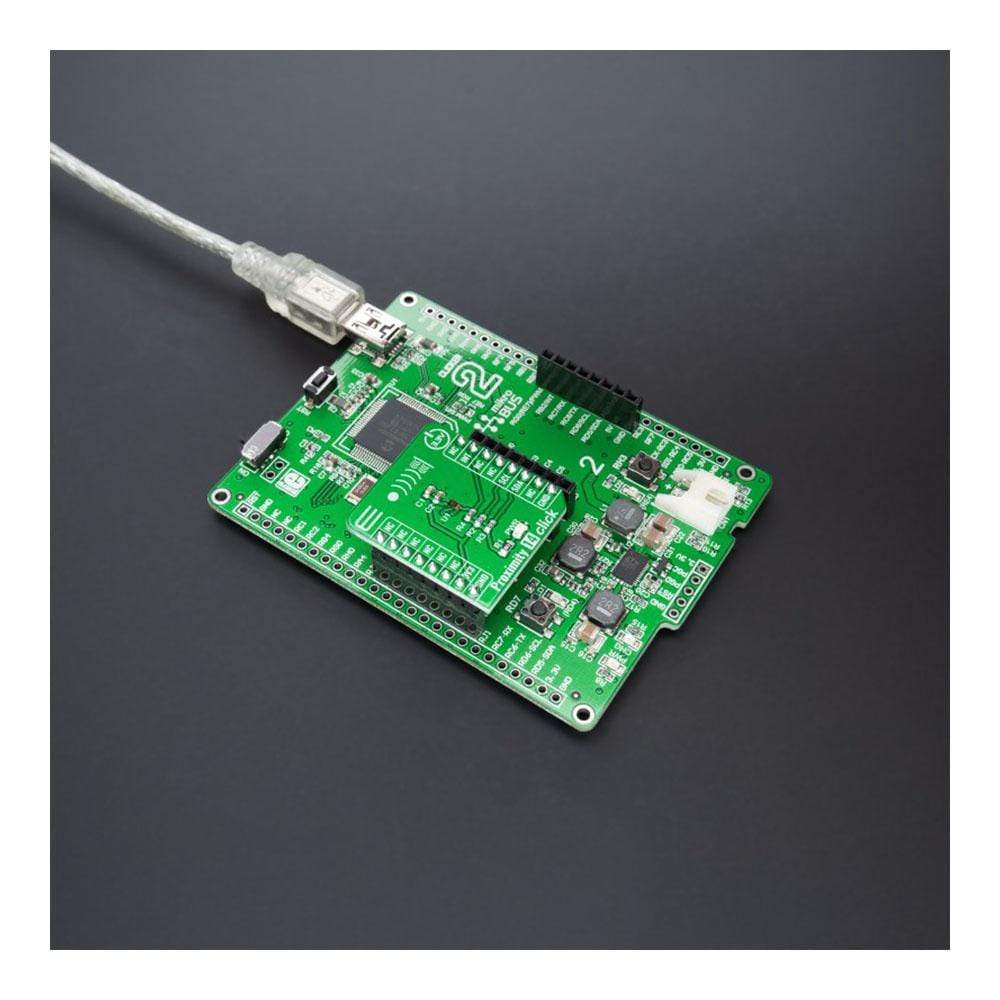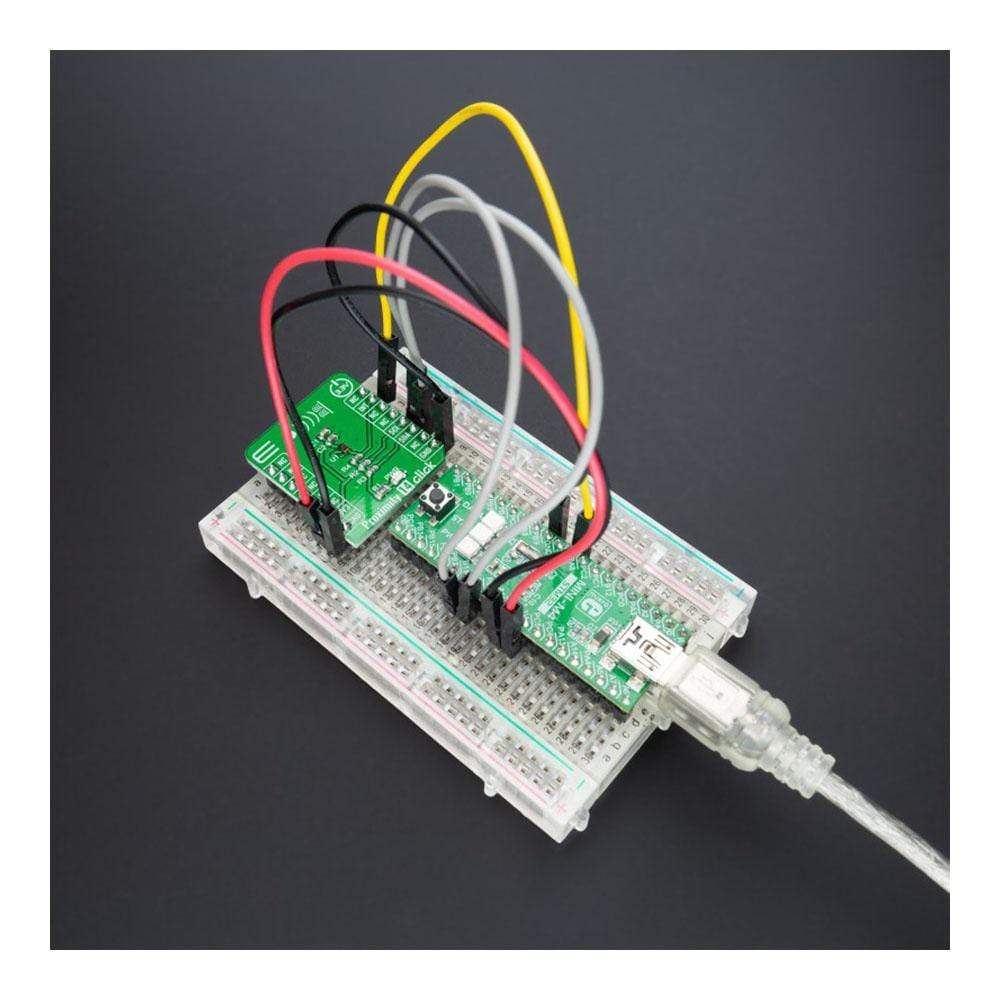
Overview
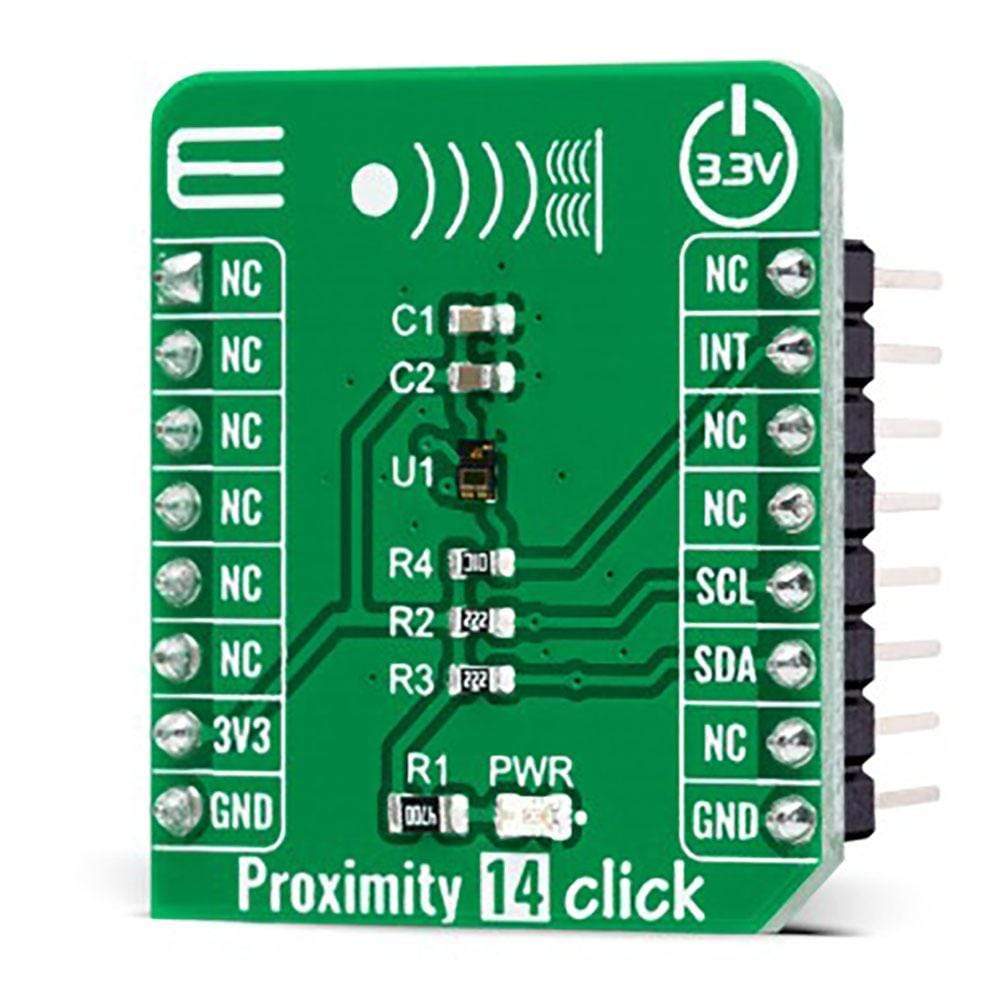
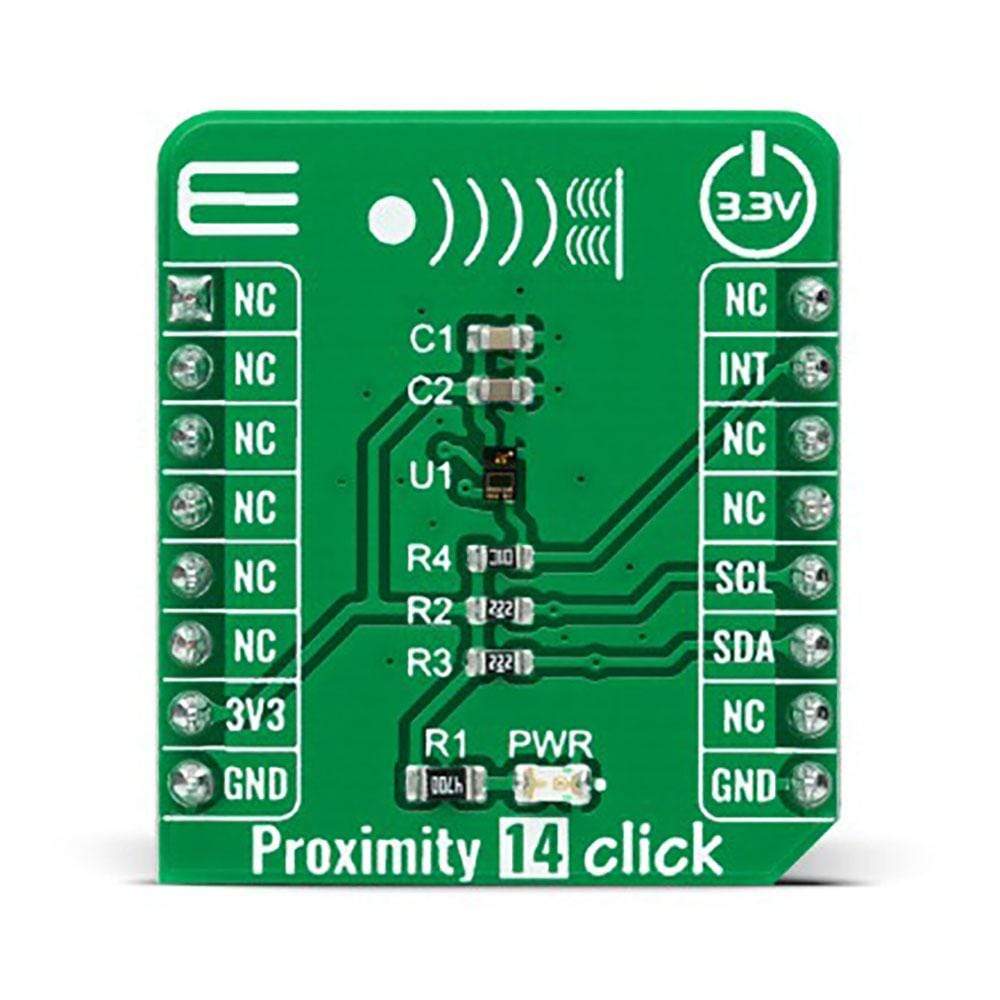
The Proximity 14 Click Board™ is a compact add-on board that contains a close-range proximity sensing solution. This board features the VCNL36825T, a fully integrated proximity sensor from Vishay Semiconductors. It combines a high-power VCSEL (vertical-cavity surface-emitting laser) and a photodiode for proximity measurement and signal processing IC in a single package with a 12-bit ADC. It provides proximity detection in applications with highly tight space requirements through its standard I2C bus serial digital interface and comes with a programmable interrupt function.
With a range of up to 20cm (7.9"), the VCNL36825T greatly simplifies its usage in consumer and industrial applications because no mechanical barriers are required to isolate the emitter from the detector optically.
Downloads
How The Proximity 14 Click Board™ Work?
The Proximity 14 Click Board™ as its foundation uses the VCNL36825T, a new fully integrated proximity sensor designed to increase efficiency and performance in consumer and industrial applications from Vishay Semiconductors. Featuring a vertical-cavity surface-emitting laser (VCSEL), the VCNL36825T combines a photodiode, signal processing IC, and 12-bit ADC in a compact SMD package, with a small 1.6mm light hole. With a range of 20cm, it also provides collision detection and features low power consumption down to 6.63µA to increase efficiency in these applications.

The VCNL36825T simplifies the use and design-in of a proximity sensor as no mechanical barriers are required to isolate the emitter from the detector optically. The proximity sensor uses intelligent cancellation to eliminate cross-talk, while a smart-persistence scheme ensures accurate sensing and faster response time. The VCSEL wavelength peaks at 940nm and has no visible "red-tail".
The Proximity 14 Click Board™ communicates with MCU using the standard I2C 2-Wire interface to read data and configure settings, supporting Standard Mode operation with a clock frequency up to 100kHz and Fast Mode up to 400kHz. It also features an intelligent interrupt function that enables the sensor to work independently until a predefined proximity event or threshold occurs. It then sets an interrupt that requires the MCU to awaken, which reduces power consumption by eliminating polling communication traffic between the sensor and MCU.
The Proximity 14 Click Board™ can be operated only with a 3.3V logic voltage level. The board must perform appropriate logic voltage level conversion before use with MCUs with different logic levels. However, the Click board™ comes equipped with a library containing functions and an example code that can be used, as a reference, for further development.
Specifications
| Type | Proximity |
| Applications | Can be used for consumer and industrial applications because no mechanical barriers are required to isolate the emitter from the detector optically |
| On-board modules | VCNL36825T - fully integrated proximity sensor from Vishay Semiconductors |
| Key Features | Low power consumption, high precision, integrated proximity sensor with vertical-cavity surface-emitting laser, I2C configurable, interrupt feature, and more |
| Interface | I2C |
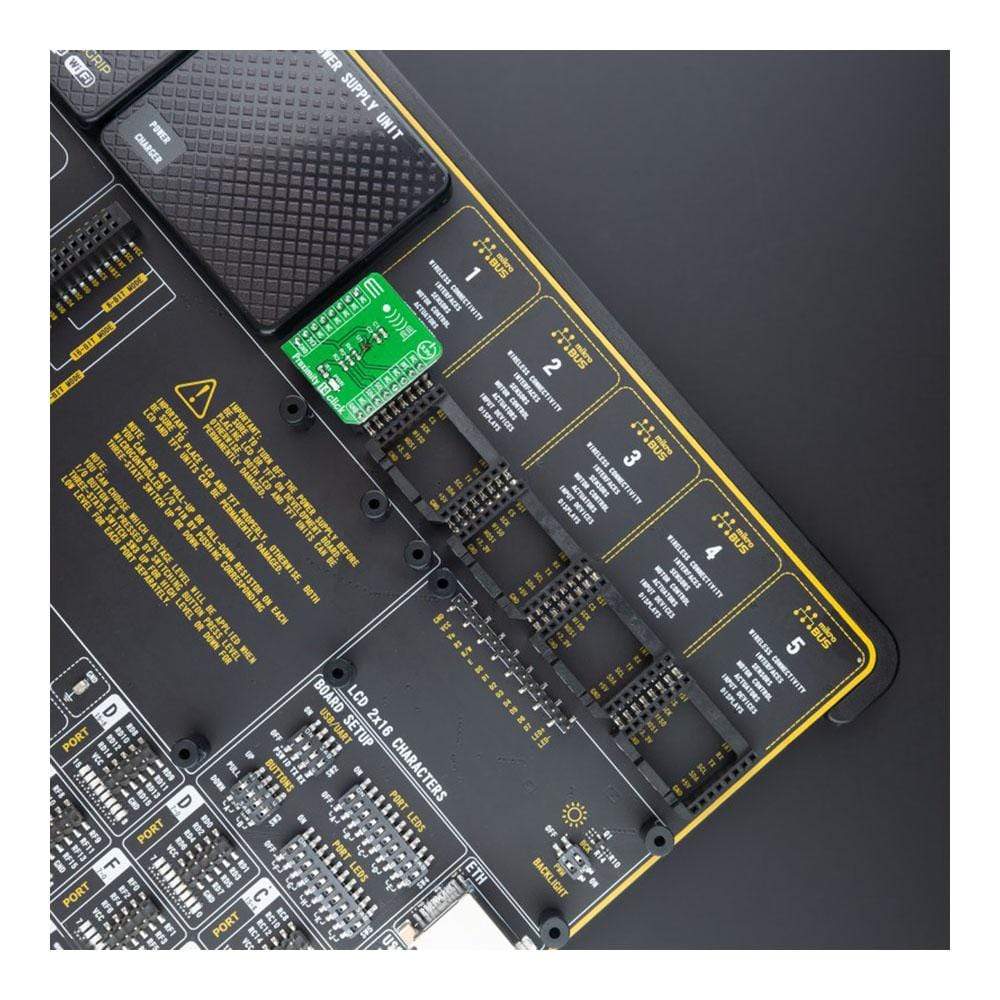
| Compatibility | mikroBUS |
| Click board size | S (28.6 x 25.4 mm) |
| Input Voltage | 3.3V |
Pinout diagram
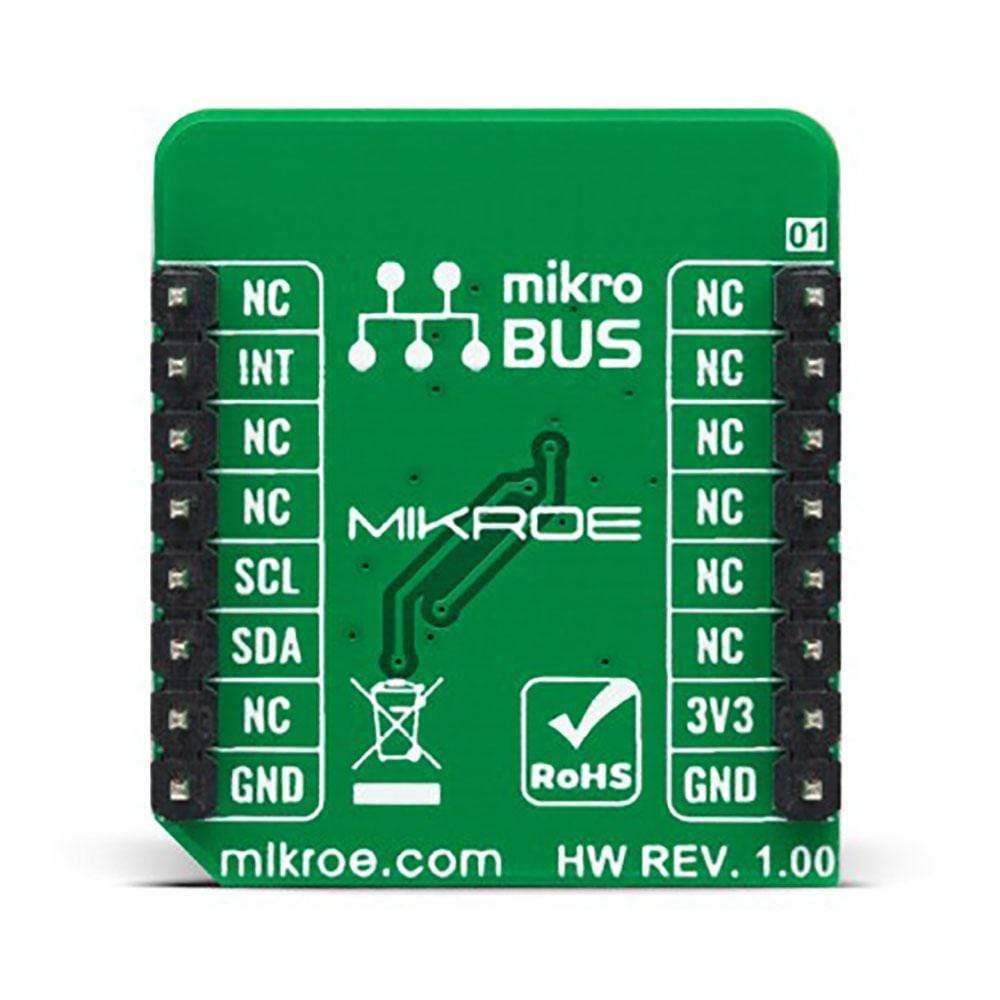
This table shows how the pinout on the Proximity 14 Click Board™ corresponds to the pinout on the mikroBUS™ socket (the latter shown in the two middle columns).
| Notes | Pin |
 |
Pin | Notes | |||
|---|---|---|---|---|---|---|---|
| NC | 1 | AN | PWM | 16 | NC | ||
| NC | 2 | RST | INT | 15 | INT | Interrupt | |
| NC | 3 | CS | RX | 14 | NC | ||
| NC | 4 | SCK | TX | 13 | NC | ||
| NC | 5 | MISO | SCL | 12 | SCL | I2C Clock | |
| NC | 6 | MOSI | SDA | 11 | SDA | I2C Data | |
| Power Supply | 3.3V | 7 | 3.3V | 5V | 10 | NC | |
| Ground | GND | 8 | GND | GND | 9 | GND | Ground |
Onboard settings and indicators
| Label | Name | Default | Description |
|---|---|---|---|
| LD1 | PWR | - | Power LED Indicator |
Proximity 14 Click electrical specifications
| Description | Min | Typ | Max | Unit |
|---|---|---|---|---|
| Supply Voltage | - | 3.3 | - | V |
| Operating Range | - | - | 200 | mm |
| Proximity Resolution | - | 12 | - | bits |
| Operating Temperature Range | -40 | +25 | +85 | °C |
| General Information | |
|---|---|
Part Number (SKU) |
MIKROE-4744
|
Manufacturer |
|
| Physical and Mechanical | |
Weight |
0.02 kg
|
| Other | |
Country of Origin |
|
HS Code Customs Tariff code
|
|
EAN |
8606027383304
|
Warranty |
|
Frequently Asked Questions
Have a Question?
Be the first to ask a question about this.

