Overview
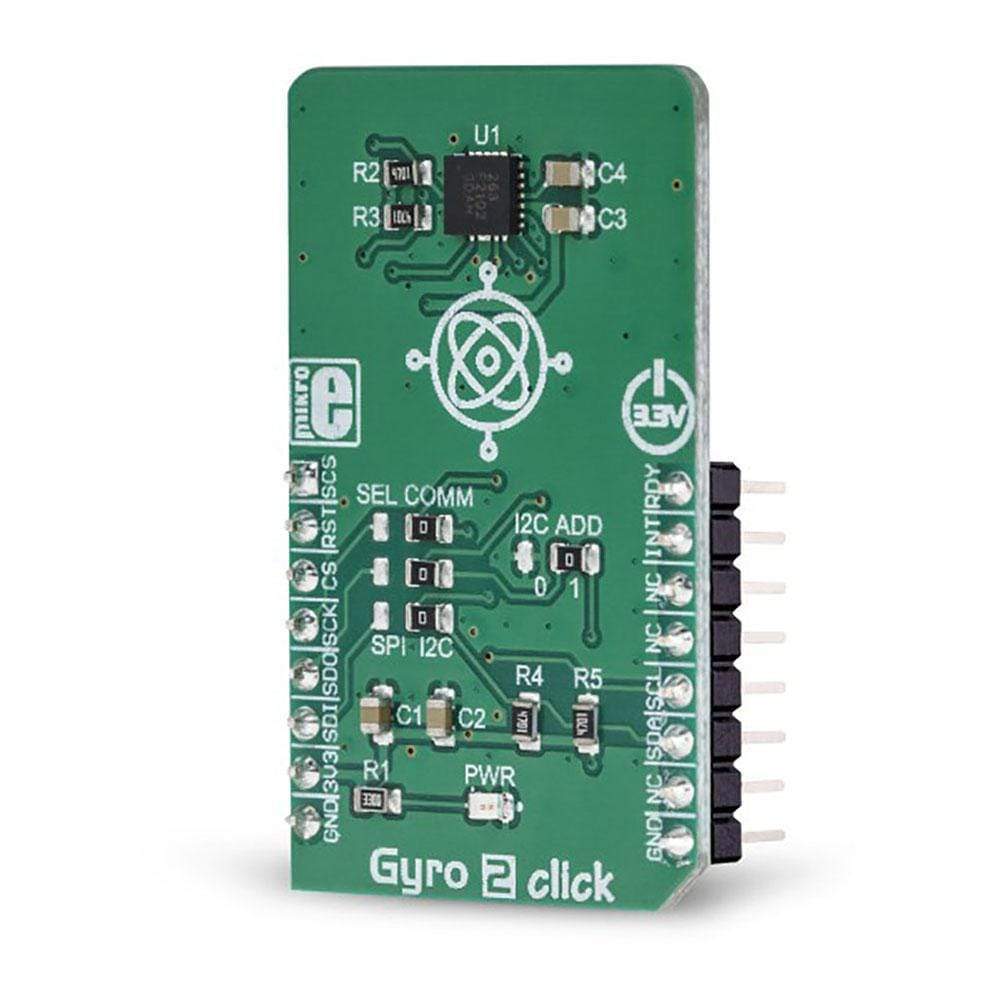
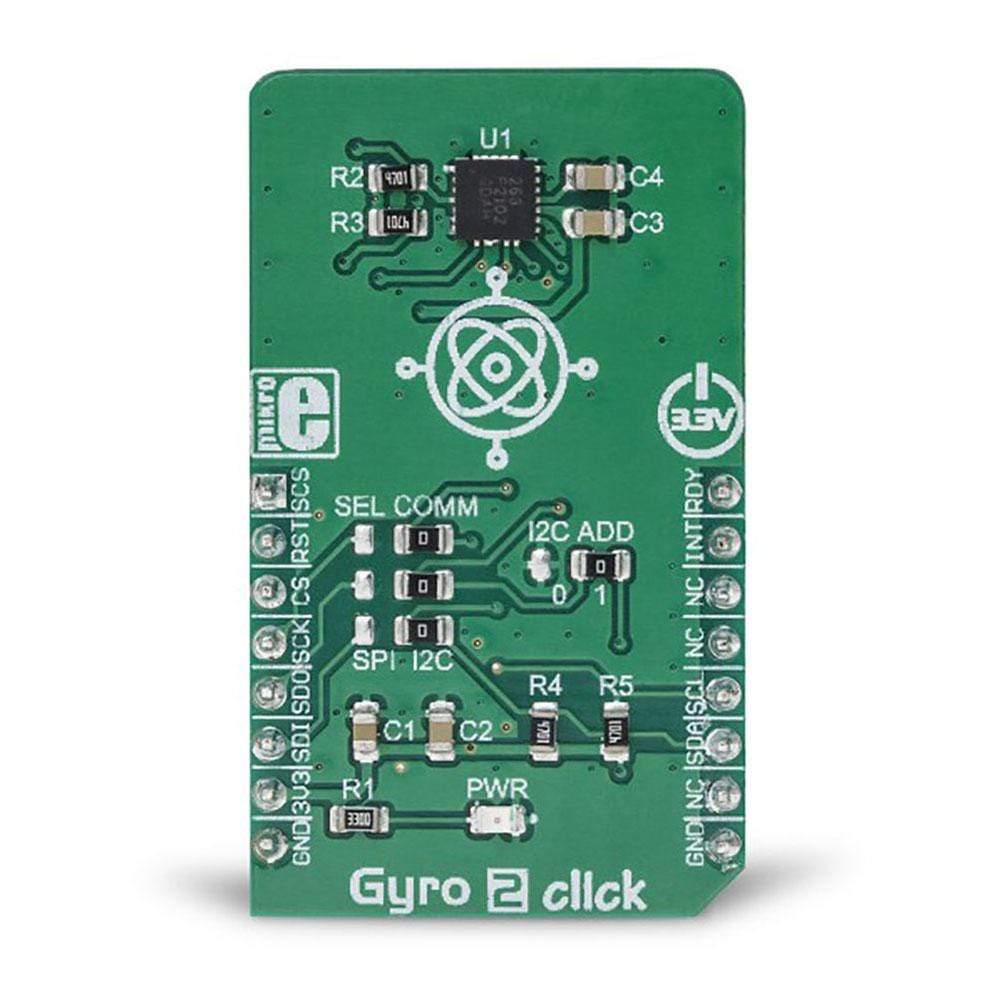
The Gyro 2 Click Board™ is a three-axis digital angular rate sensor that can sense the angular movement and velocity in three perpendicular axes. The Click Board™ is equipped with the FXAS21002C, a three-axis integrated angular rate gyroscope. This gyroscope IC features a very good sensitivity-to-range ratio, allowing it to achieve the resolution of 0.0625 °/s while operating in the ±2000 °/s Full-Scale Range (FSR) mode.
The full-scale range can be dynamically changed in several discrete steps, providing optimal performance for the application-specific conditions: lower FSR results in enhanced sensitivity
Downloads
An extensive interrupt engine with two output pins, along with the 192 bytes long FIFO buffer allows software optimization and reduced microcontroller unit (MCU) workload. An integrated 8-bit thermal sensor allows temperature compensation, although the device already has very low sensitivity temperature coefficients. The Gyro 2 Click Board™ is ready to be used right out of the box for a wide range of applications which rely on an accurate angular rate sensor. This includes gyro-stabilization for various types of robots, drones, UAVs and RC vehicles, game controllers, orientation sensing, gesture-based HMI applications, VR glasses, and similar types of applications.
How Does The Gyro 2 Click Board™ Work?
The Gyro 2 Click Board™ features the FXAS21002C, a three-axis integrated angular rate gyroscope, by NXP. This device offers many advantages, compared to similar devices on the market. The key feature of this integrated gyroscope is its very good sensitivity-to-range ratio, which allows fairly high sensitivity, even when used with fast angle rates, up to 2000 °/s (degrees per second). Typically, increased range means lower sensitivity. Therefore, the FXAS21002C allows to dynamically select the full-scale range (FSR) value in several discrete steps: ±250, ±500, ±1000, and ±2000 °/s. This allows to optimize the performance for a given usage scenario. For example, if used in applications with faster angle rates such as sports equipment monitoring (golf club or tennis racket), a higher FSR might be required. An additional FSR boost function allows doubling of the selected FSR at the expense of somewhat alleviated noise and nonlinearity, when used in applications with even higher angular rates, allowing angle rate detection up to ±4000 °/s.
The FXAS21002C employs advanced MEMS sensors for XY and Z axes, sampled by a low-noise 16-bit A/D converter. The ADC input signal is conditioned by the lowpass filter, reducing the input noise. The angle rate is reported in 2's complement format, as 16-bit value for each axis, over the I2C or SPI interface, selectable by the user. An integrated temperature sensor provides 8-bit ambient temperature data in 2's complement format, allowing the thermal compensation. However, the device already has very low sensitivity temperature coefficients ranging from 0.01% to 0.08% per °C.
This device has an extensive programmable interrupt engine. There are two dedicated pins (INT1 and INT2/PWR_CTRL) which can output the selected logic state when the chosen interrupt event is detected. An interrupt event can be selected among sevral different sources: data ready, rate threshold, and a FIFO buffer event. The data ready event can be used to alert the host MCU that there's data to be read on the output data buffer. The angle rate threshold can be set by the user, and if this threshold is exceeded on any of the axes after a debouncing period, the interrupt event will be triggered. Interrupt pins INT1 and INT2/PWR_CTRL are routed to the mikroBUS™ PWM and INT pins, labelled as RDY and INT.
The FXAS21002C offers several power modes, allowing reduced power consumption in power sensitive applications. It can operate in the Standby, Ready, and Active mode. The power mode of the device can be either programmed over the communication interface, or by utilizing the INT2/PWR CTRL pin. For the detailed information about selecting the operating mode, please consult the FXAS21002C datasheet.
The RST pin is used to apply a hardware reset of the FXAS21002C. This pin is active LOW. It is pulled to a HIGH logic level by the onboard resistor, ensuring that there is a HIGH logic state on the pin while the Gyro 2 Click Board™ is operated.
The FIFO buffer can also trigger an interrupt event, allowing the host MCU to enter the sleep mode, waking it up only when there's enoug data accumulated. It can also be used to reduce the traffic on the communication lines. The FIFO buffer is 192 bytes long, which translates to 32 X/Y/Z samples. The FIFO buffer can operate in either CIRCULAR mode or in the STOP mode, allowing the data to either be continously collected, discarding the oldest values, or to stop the data collection once the buffer is full. A so-called watermark interrupt can be triggered when the FIFO buffer is filled with a certain number of samples. This threshold is also programmable by the user.
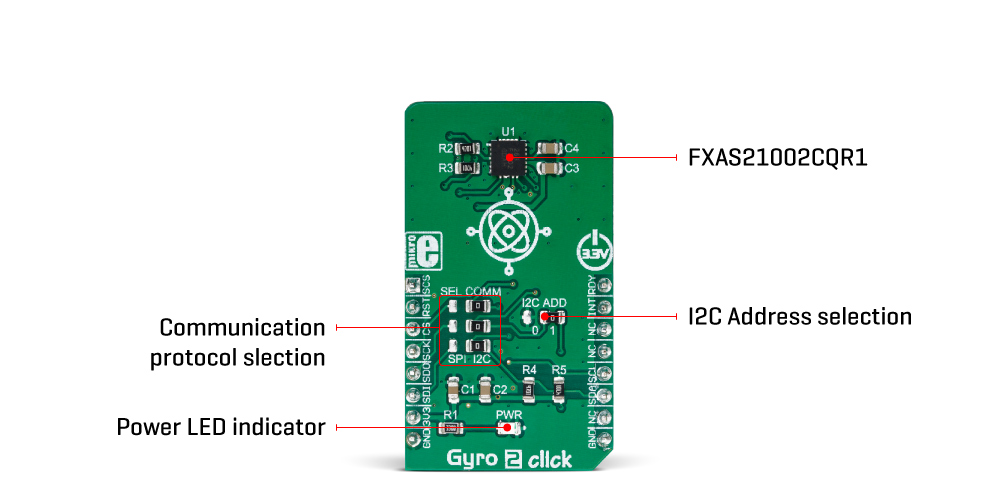
This digital gyroscope IC offers both I2C and SPI communication interfaces. As mentioned above, the user is free to select the desired communication protocol by moving SMD jumpers on the Click board™ grouped under the SEL COMM label. Please note that all jumpers need to be moved to the same position: either SPI or I2C. When using the I2C interface, the slave address can be changed by moving the I2C ADD jumper. This jumper selects the LSB of the 7-bit I2C address. In addition to this, the I2C_B/SPI pin routed to the mikroBUS™ CS pin should be pulled HIGH in order to select the SPI interface, or LOW to select the I2C interface. This is the pin that actually commands the FXAS21002C to use the specified communication interface, while SMD jumpers only provide required hardware connections. Also note that when using the SPI interface, the usual SPI Chip Select (SPI_CS_B) pin is routed to the AN pin of the mikroBUS™, and when the FXAS21002C is operated in I2C mode, this pin should be held to a HIGH logic level for a proper operation. However, the Gyro 2 Click Board™ is shipped with the mikroSDK compatible library which contains functions that take care of the proper pin assignment, as well as for the angle rate data reading, mode selection, initialization, and other chip-specific functions. There is also an example, where these functions are demonstrated in practical use.
SPECIFICATIONS
| Type | Gyroscope,Motion |
| Applications | The Gyro 2 Click Board™ can be used to develop applications for gyro-stabilization of diferent types of robots, drones, UAVs and RC vehicles, game controllers, orientation sensing, gesture-based HMI applications, VR glasses, and similar types of applications. |
| On-board modules | FXAS21002C, a three-axis integrated angular rate gyroscope, by NXP |
| Key Features | Advanced interrupt engine allows simplified firmware development and better system-wide power consumption, a very good sensitivity-to-range ratio, allowing it to achieve the resolution of 0.0625 °/s, while operating in the ±2000 °/s FSR mode, FIFO buffer for reduced communications traffic and improved power saving, and more |
| Interface | I2C,SPI |
| Compatibility | mikroBUS |
| Click board size | M (42.9 x 25.4 mm) |
| Input Voltage | 3.3V |
PINOUT DIAGRAM
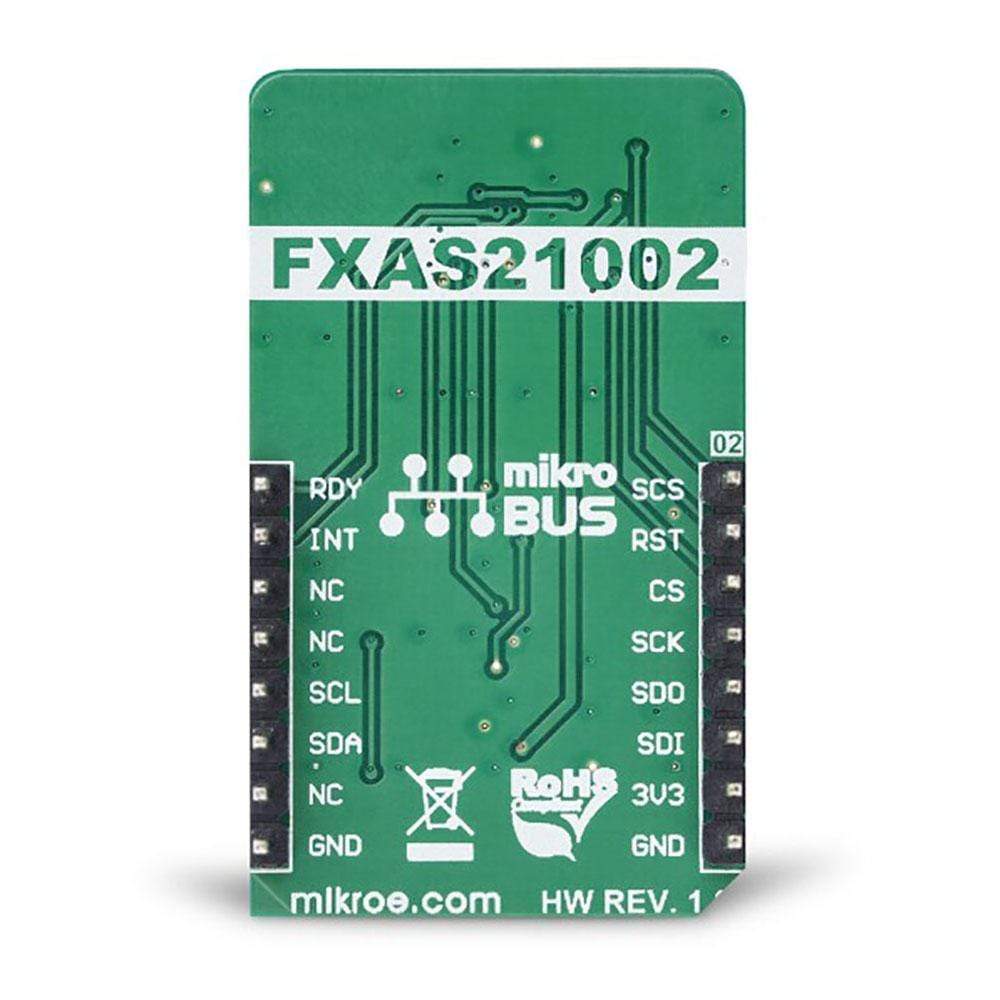
This table shows how the pinout of the Gyro 2 Click Board™ corresponds to the pinout on the mikroBUS™ socket (the latter shown in the two middle columns).
| Notes | Pin |  |
Pin | Notes | |||
|---|---|---|---|---|---|---|---|
| SPI Chip Select | SCS | 1 | AN | PWM | 16 | RDY | INT OUT 2 |
| Chip Reset | RST | 2 | RST | INT | 15 | INT | INT OUT 1 |
| Comm Select | CS | 3 | CS | RX | 14 | NC | |
| SPI Clock | SCK | 4 | SCK | TX | 13 | NC | |
| SPI Data OUT | SDO | 5 | MISO | SCL | 12 | SCL | I2C Clock |
| SPI Data IN | SDI | 6 | MOSI | SDA | 11 | SDA | I2C Data |
| Power supply | 3.3V | 7 | 3.3V | 5V | 10 | NC | |
| Ground | GND | 8 | GND | GND | 9 | GND | Ground |
ONBOARD SETTINGS AND INDICATORS
| Label | Name | Default | Description |
|---|---|---|---|
| LD1 | PWR | - | Power LED indicator |
| JP1-JP3 | SEL COMM | Right | Communication interface selection:left position SPI, right position I2C |
| JP4 | I2C ADD | Right | I2C address LSB selection: left position 0, right position 1 |
| General Information | |
|---|---|
Part Number (SKU) |
MIKROE-3300
|
Manufacturer |
|
| Physical and Mechanical | |
Weight |
0.019 kg
|
| Other | |
Country of Origin |
|
HS Code Customs Tariff code
|
|
EAN |
8606018714155
|
Warranty |
|
Frequently Asked Questions
Have a Question?
Be the first to ask a question about this.

