

Overview
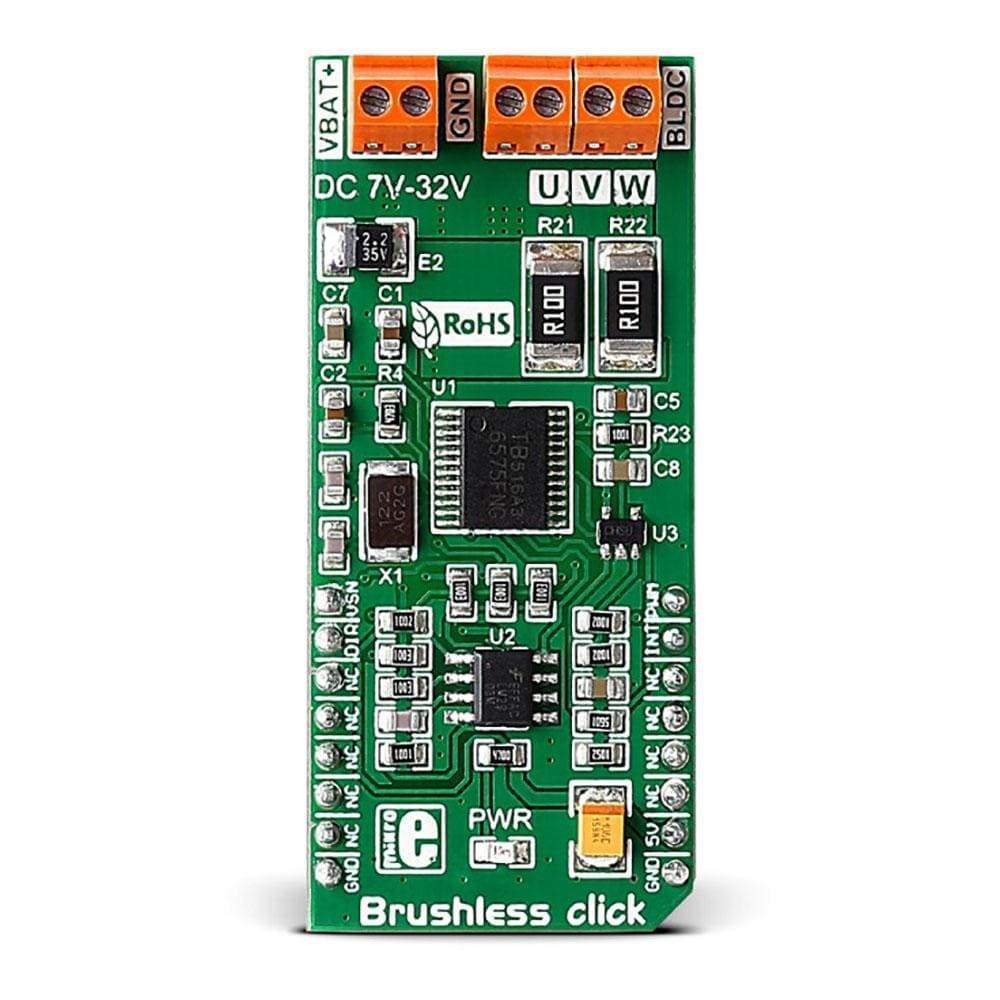
The Brushless Click Board™ carries Toshiba's TB6575FNG IC for driving 3-phase full-wave Brushless DC motors ' which are ideal for powering flying drones.
Downloads
The Brushless Click Board™ carries Toshiba's TB6575FNG IC for driving 3-phase full-wave Brushless DC motors — which are ideal for powering flying drones. The click is able to safely drive external motors with up to 32V/2A.
The board features three pairs of onboard screw terminals. VBAT is for connecting an external 7-32V DC power supply. The other two are for connecting an external motor.
PRECISION CONTROL
Brushless motors have a very long operating life and can be precisely controlled – the speed is adjusted by the amount of input voltage (higher voltage equals more speed).
The TB6575FNG IC controls the rotation speed by changing the PWM duty cycle.
MOSFET CHIPS
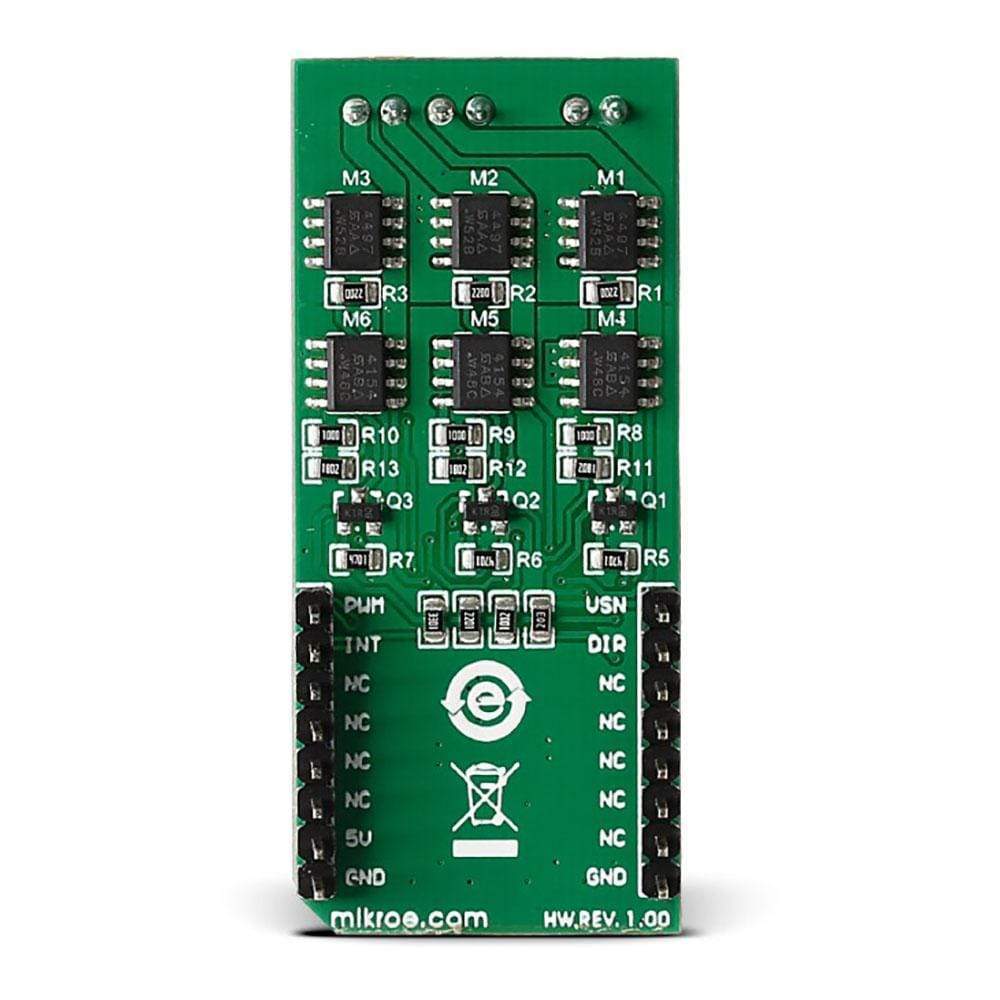
Two types of MOSFET chips on board switch the output on and off. This controls the voltage levels applied to the motor which in turn determines the speed and rotation of the motor shaft.
The Brushless Click Board™ communicates with the target board MCU over the PWM pin, as well as INT, AN and RST pins. The board is designed to use a 5V power supply only. See the documentation page for more details.
The Brushless Click Board™ is theoretically capable of outputting higher currents, however, in such a case the MOSFET chips have to be cooled down with an external cooler.
APPLICATIONS
Automotive industry, drones (because of the good power-to weight ratio of brushless motors), computers, medical equipment, HVAC systems, small home appliances, robotics, battery powered systems, small cooling fans in computers, toys, etc.
SPECIFICATIONS
| Type | Brushless |
| Applications | Automotive industry, drones (because of the good power-to weight ratio of brushless motors), computers, medical equipment, HVAC systems, small home appliances, robotics, battery powered systems, small cooling fans in computers, toys, etc. |
| On-board modules | Toshiba's TB6575FNG IC |
| Key Features | MOSFET chips toggle the output on and off, MCP6281 prevents phase reversal |
| Interface | GPIO,PWM |
| Compatibility | mikroBUS |
| Click board size | L (57.15 x 25.4 mm) |
| Input Voltage | 5V |
MOTOR POSITION DETECTION ERROR
Position detection is synchronized with the PWM signal generated in the IC. When the IC is used in a high speed motor a position detection error relative to the PWM frequency may occur. The detection is performed on the falling edge of the PWM signal. An error is recognized when the pin voltage exceeds the reference voltage.
PINOUT DIAGRAM
This table shows how the pinout on the Brushless Click Board™ corresponds to the pinout on the mikroBUS™ socket (the latter shown in the two middle columns).
| Notes | Pin |  |
Pin | Notes | |||
|---|---|---|---|---|---|---|---|
| Measures the voltage of the DC power supply | VSENSE | 1 | AN | PWM | 16 | PWM | Duty cycle control |
| Motor direction | DIR | 2 | RST | INT | 15 | INT | Rotation speed sensing output |
| NC | 3 | CS | RX | 14 | NC | ||
| NC | 4 | SCK | TX | 13 | NC | ||
| NC | 5 | MISO | SCL | 12 | NC | ||
| NC | 6 | MOSI | SDA | 11 | NC | ||
| This click works on 5V only | NC | 7 | +3.3V | +5V | 10 | +5V | +5V power input |
| Ground | GND | 8 | GND | GND | 9 | GND | Ground |
| General Information | |
|---|---|
Part Number (SKU) |
MIKROE-2441
|
Manufacturer |
|
| Physical and Mechanical | |
Weight |
0.019 kg
|
| Other | |
Country of Origin |
|
HS Code Customs Tariff code
|
|
EAN |
8606015079271
|
Warranty |
|
Frequently Asked Questions
Have a Question?
Be the first to ask a question about this.


