Overview
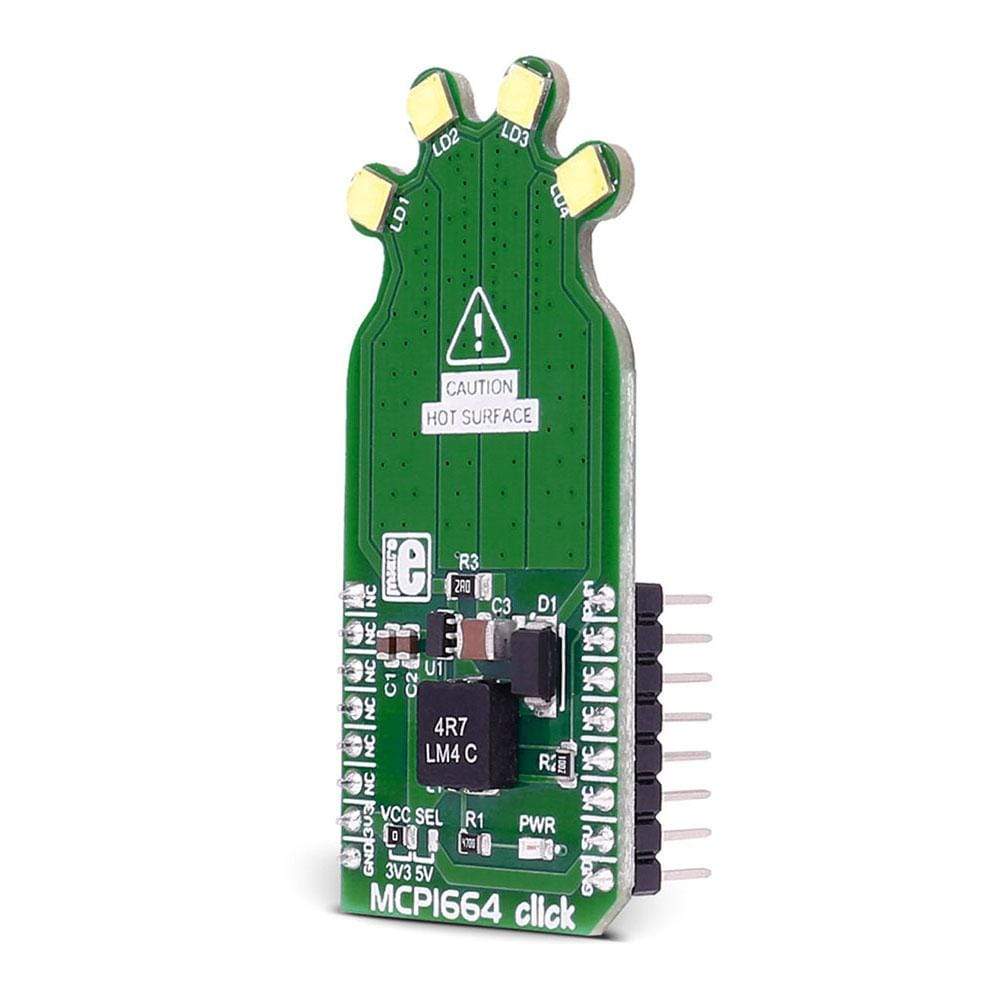
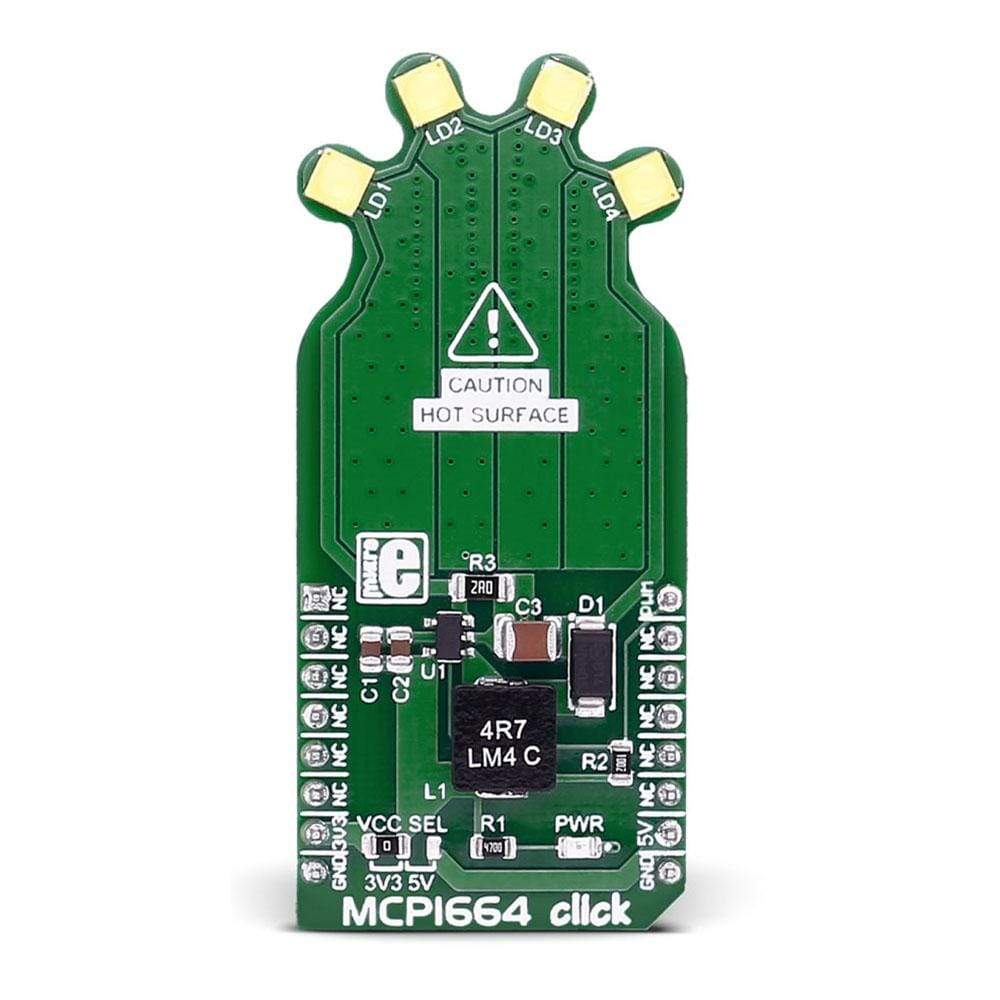
The MCP1664 Click Board™ contains 4 high-power white LEDs. It carries the MCP1664, a high-voltage step-up LED driver from Microchip.
The MCP1664 Click Board™ is designed to run on either 3.3V or 5V power supply. It communicates with the target board microcontroller over the PWM pin on the MikroBUS lines.
Downloads
The MCP1664 Click Board™ contains 4 high-power white LEDs. It carries the MCP1664, a high-voltage step-up LED driver from Microchip. MCP1664 click is designed to run on either 3.3V or 5V power supply. It communicates with the target board microcontroller over the PWM pin on the mikroBUS™ line.
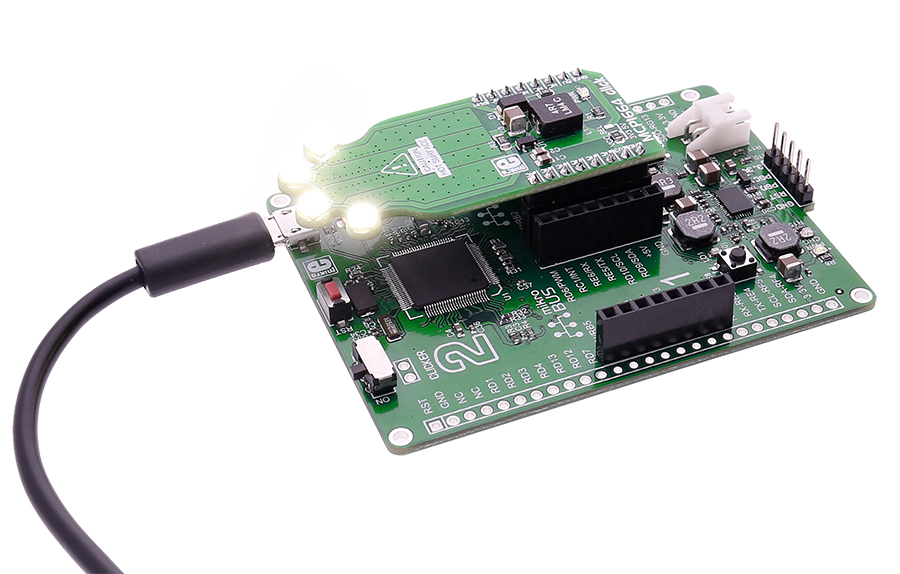
How Does The MCP1664 Click Board Work?
The click has a power input and a PWM input, so you can set the light intensity at the level you want.
MCP1664 IC FEATURES
The MCP1664 is a compact, space-efficient, fixed-frequency, non-synchronous step-up converter optimized to drive multiple strings of LEDs with constant current powered from two and three-cell alkaline or NiMH/NiCd as well as from one-cell Li-Ion or Li-Polymer batteries.
The MCP1664 features an open load protection (OLP) which turns off the operation in situations when the LED string is accidentally disconnected or the feedback pin is short-circuited to GND.
While in Shutdown mode (EN = GND), the device stops switching and consumes 40 nA typical of input current.
SPECIFICATIONS
| Type | LED Drivers |
| Applications | White LED Driver for Backlighting Products, Li-IonBattery LED Lightning Application, etc. |
| On-board modules | MCP1664 module from Microchip |
| Key Features | You can set the light intensity |
| Interface | PWM |
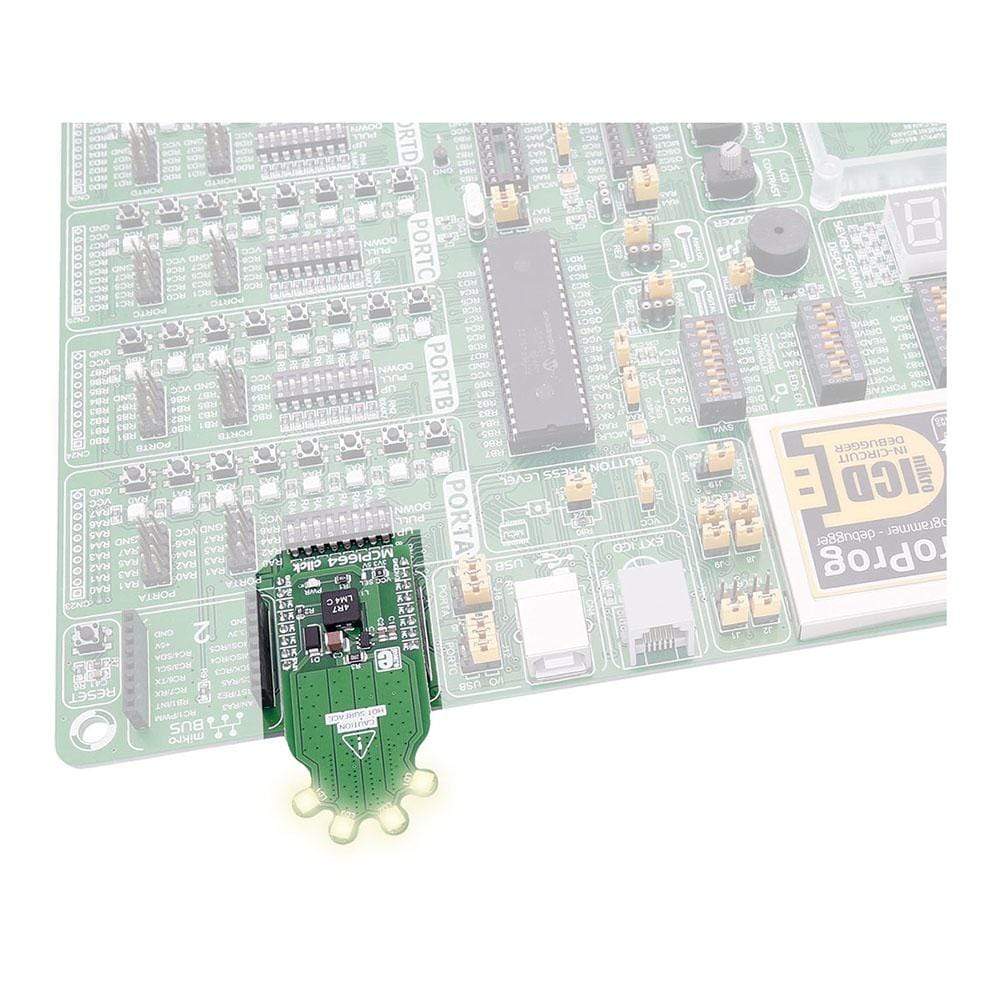
| Compatibility | mikroBUS |
| Click board size | L (57.15 x 25.4 mm) |
| Input Voltage | 3.3V or 5V |
PINOUT DIAGRAM
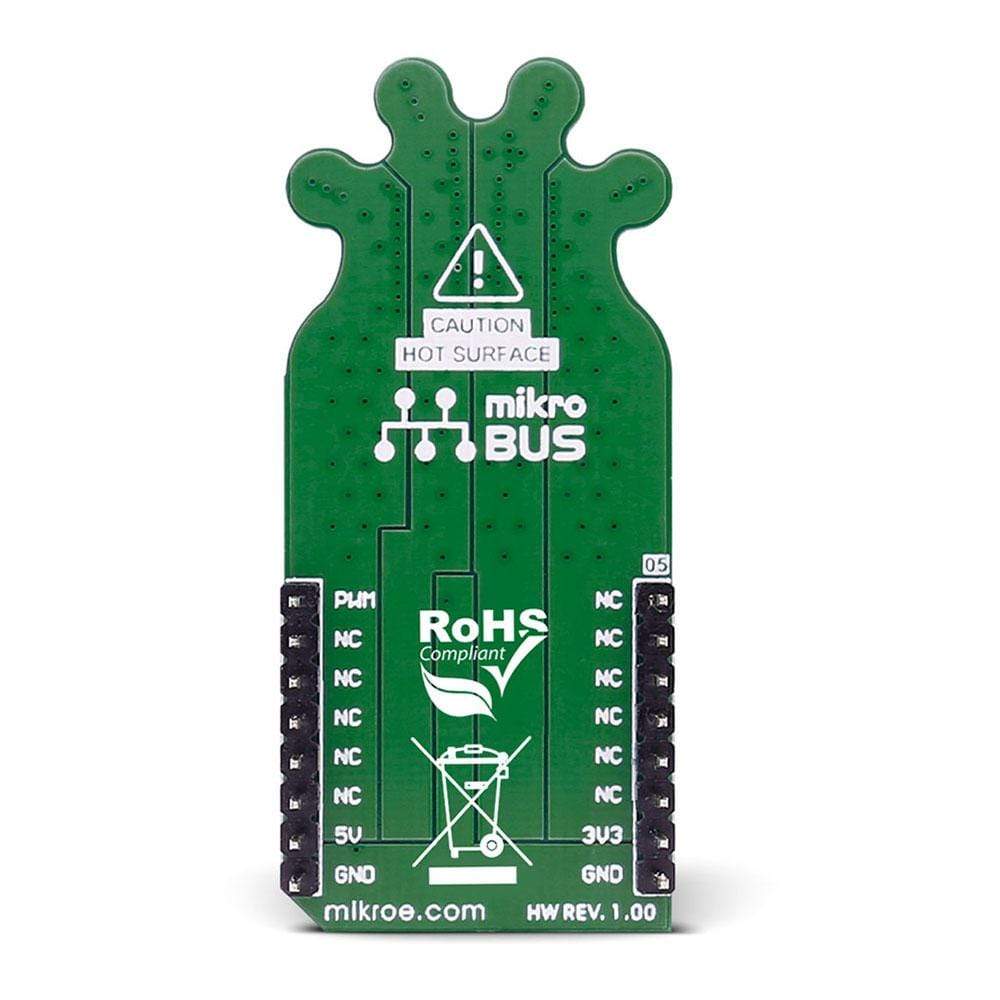
This table shows how the pinout of the MCP1664 Click Board™ corresponds to the pinout on the mikroBUS™ socket (the latter shown in the two middle columns).
| Notes | Pin |  |
Pin | Notes | |||
|---|---|---|---|---|---|---|---|
| NC | 1 | AN | PWM | 16 | PWM | PWM input | |
| NC | 2 | RST | INT | 15 | NC | ||
| NC | 3 | CS | TX | 14 | NC | ||
| NC | 4 | SCK | RX | 13 | NC | ||
| NC | 5 | MISO | SCL | 12 | NC | ||
| NC | 6 | MOSI | SDA | 11 | NC | ||
| Power supply | +3.3V | 7 | 3.3V | 5V | 10 | +5V | Power supply |
| Ground | GND | 8 | GND | GND | 9 | GND | Ground |
MAXIMUM RATINGS
| Description | Min | Typ | Max | Unit |
|---|---|---|---|---|
| Supply Voltage | 2.4 | 5.5 | V | |
| Max Out Voltage | 32 | V | ||
| Max Out Current 4.2V Vin 8 LEDs | 150 | mA | ||
| Max Out Current 3.3V Vin 4 LEDs | 200 | mA | ||
| Max Out Current 5.0V Vin 4 LEDs | 300 | mA |
| General Information | |
|---|---|
Part Number (SKU) |
MIKROE-2548
|
Manufacturer |
|
| Physical and Mechanical | |
Weight |
0.021 kg
|
| Other | |
Country of Origin |
|
HS Code Customs Tariff code
|
|
EAN |
8606018710546
|
Warranty |
|
Frequently Asked Questions
Have a Question?
Be the first to ask a question about this.

