Plug&Trust Click-Platine
Overview
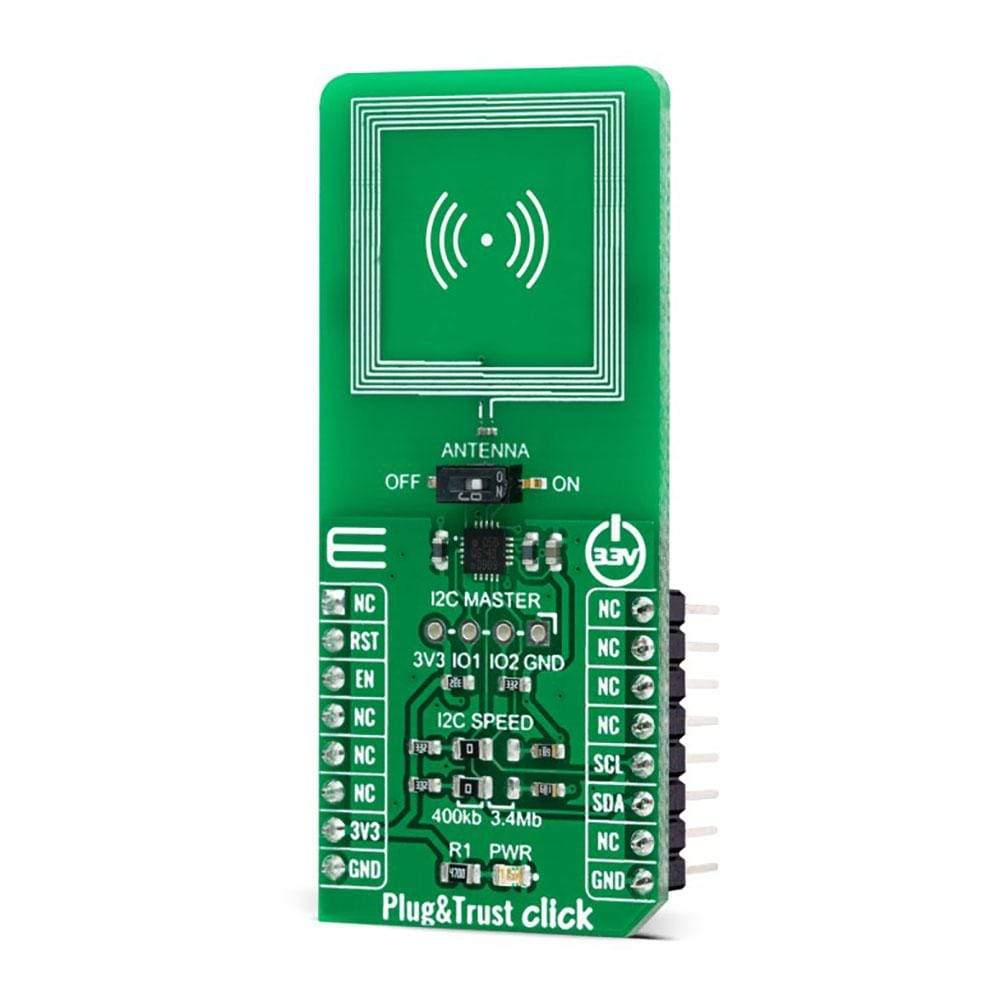
Das Plug&Trust Click Board™ ist eine kompakte Zusatzplatine, die eine gebrauchsfertige IoT-Secure-Element-Lösung enthält. Diese Platine verfügt über das SE050C Secure Element IC NXP, das eine Vertrauensbasis auf IC-Ebene bietet und einem IoT-System modernste Edge-to-Cloud-Sicherheitsfunktionen verleiht. Das SE050C ermöglicht die sichere Speicherung und Bereitstellung von Anmeldeinformationen und die Durchführung kryptografischer Vorgänge für sicherheitskritische Kommunikations- und Steuerungsfunktionen. Es verfügt über eine unabhängige Common Criteria EAL 6+-Sicherheitszertifizierung bis auf Betriebssystemebene und unterstützt sowohl RSA- als auch ECC-asymmetrische kryptografische Algorithmen mit hoher Schlüssellänge und zukunftssicheren ECC-Kurven, wodurch das SE050C sogar vor anspruchsvollen nichtinvasiven und invasiven Angriffsszenarien geschützt ist. Dieses Click Board™ eignet sich für IoT-Sicherheitsanwendungsfälle wie sichere Verbindungen zu öffentlichen/privaten Clouds, Gerät-zu-Gerät-Authentifizierung, Sensordatenschutz und mehr.
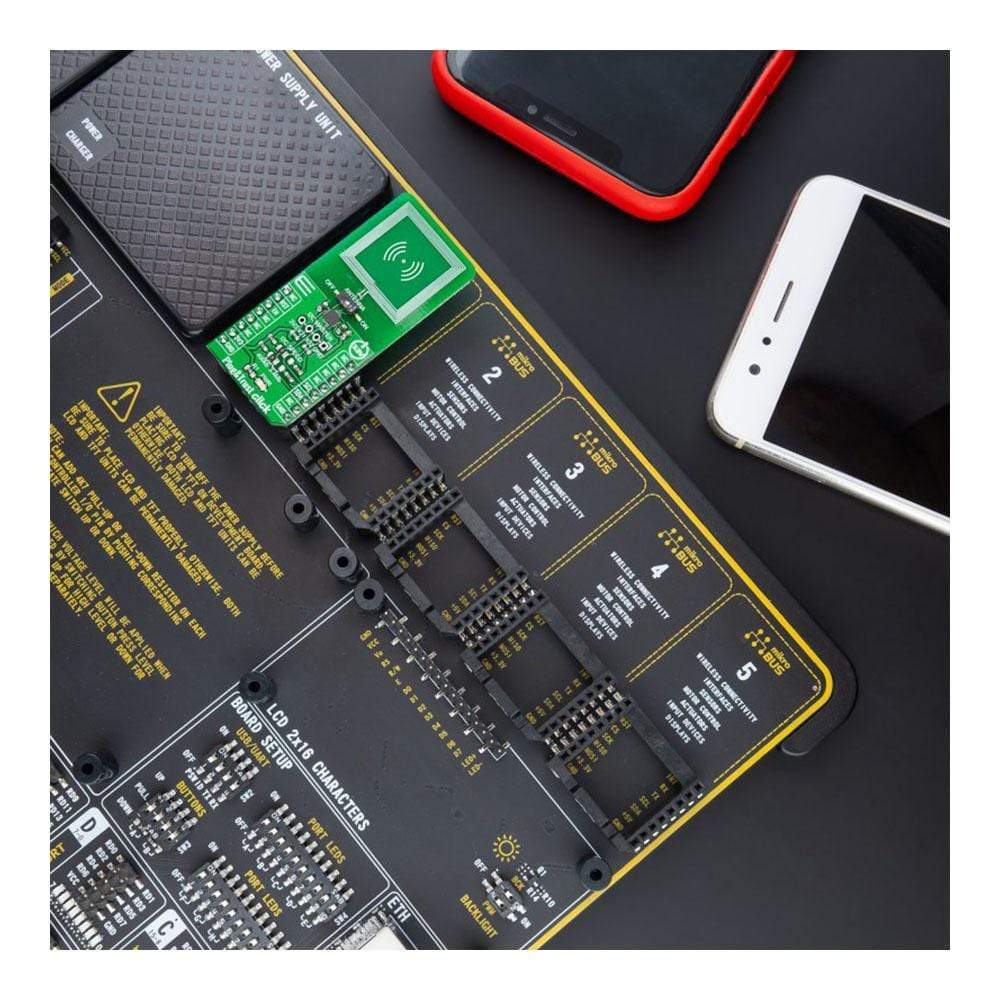
Plug&Trust Klick wird durch eine mikroSDK-kompatible Bibliothek unterstützt, die Funktionen enthält, die die Softwareentwicklung vereinfachen. Dieses Click Board™ wird als vollständig getestetes Produkt geliefert und ist bereit für den Einsatz auf einem System, das mit der mikroBUS™-Buchse ausgestattet ist.
How Does the Plug&Trust Click Board™ work?
The Plug&Trust Click Board™, as its foundation, uses the SE050C, a ready-to-use IoT secure element solution that provides a root of trust at the IC level, and it gives an IoT system state-of-the-art, edge-to-cloud security capability from NXP Semiconductors. It is designed to be used as a part of an IoT system; works as an auxiliary security device attached to a host MCU. It offers enhanced Common Criteria EAL 6+ security certification up to the OS level and supports both RSA and ECC asymmetric cryptographic algorithms with high key length and future proof ECC curves. The latest security measures protect the IC against sophisticated non-invasive and invasive attack scenarios.
The SE050C is a turnkey solution that comes with JavaCard operating system and an applet optimized for IoT security use cases, pre-installed. To support scalability while servicing the broadest range of use cases in IoT applications, the SE050C is available in different pin-to-pin compatible configurations, including versions with support for sensors directly attached to the device, the I2C Controller, or contactless interface.
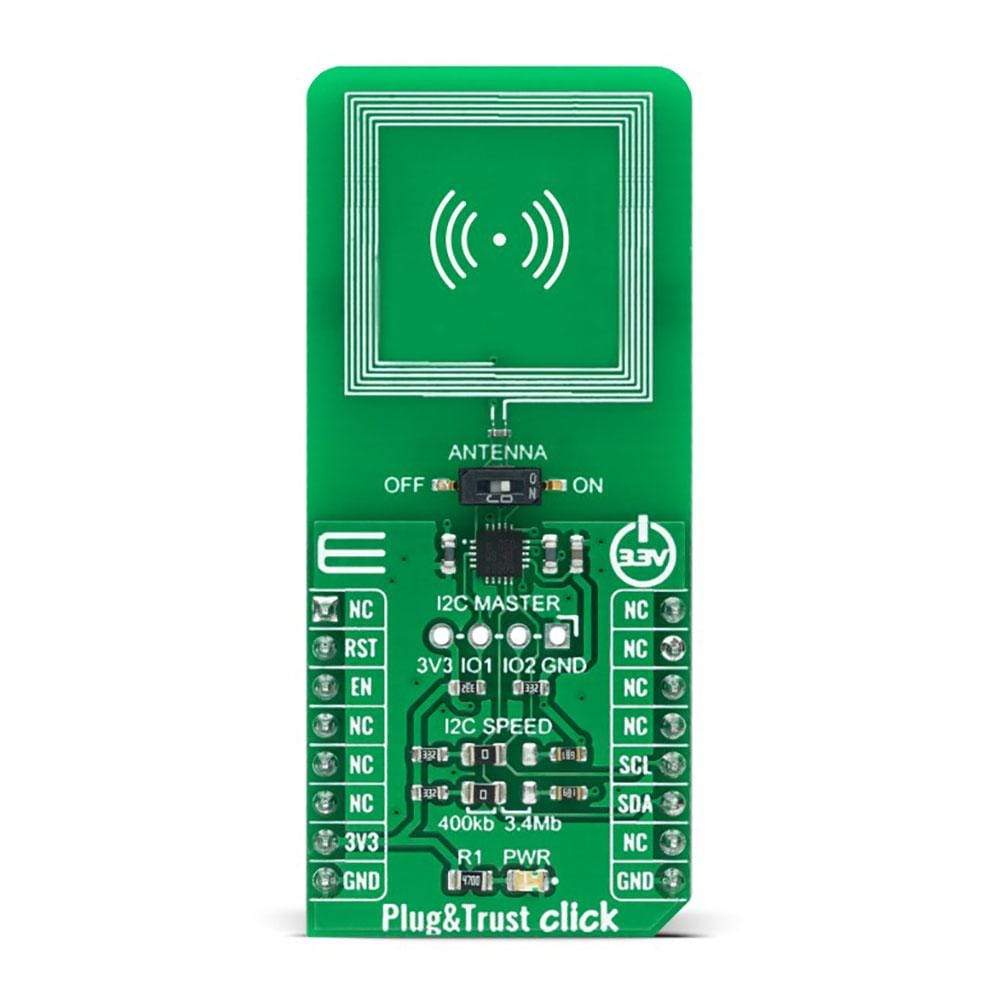
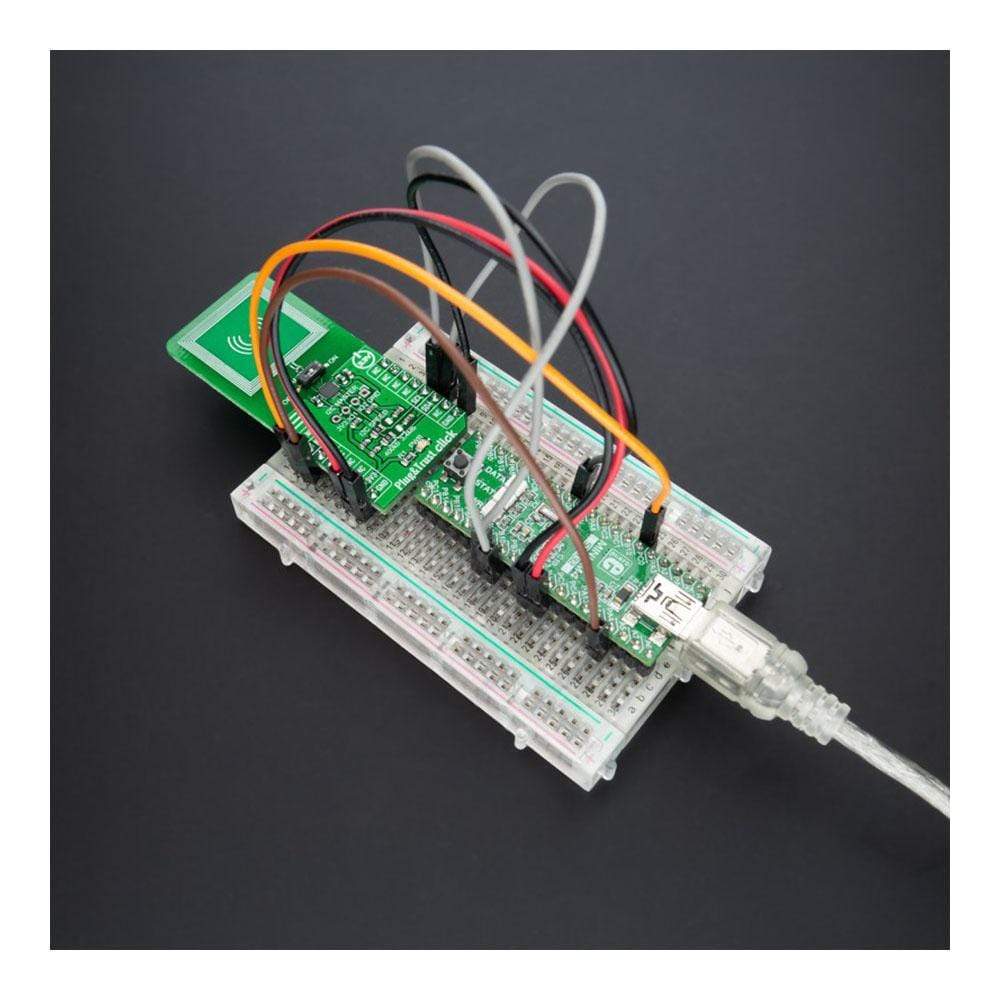
The Plug&Trust Click Board™ communicates with MCU using the standard I2C 2-Wire interface, where the host controller represents the Controller and the Click board being the Target. Besides the mandatory connection to the host controller, this Click board™ can optionally be connected to a sensor node or similar element through separate I2C interface pins located on the 1x4 male header labelled as I2C Master. In this case, the SE050C device is the Controller device, and the sensor node represents the Target.
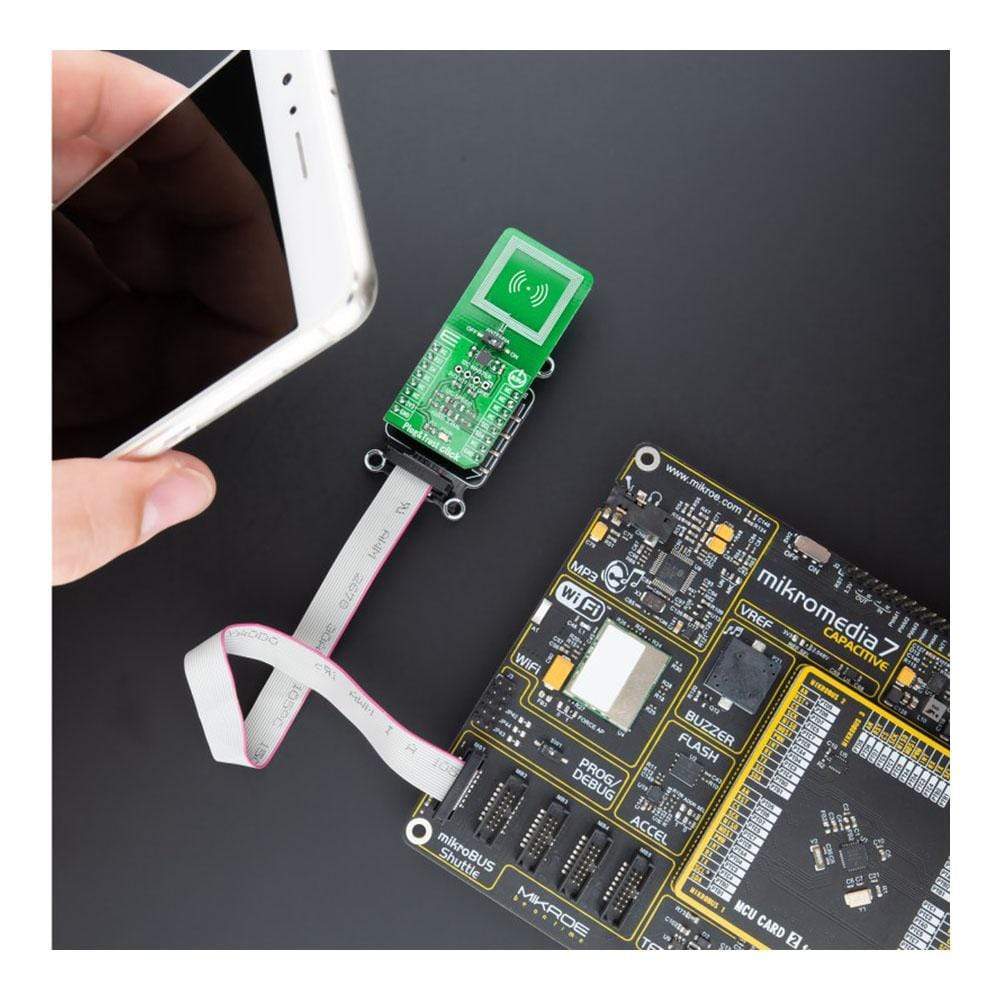
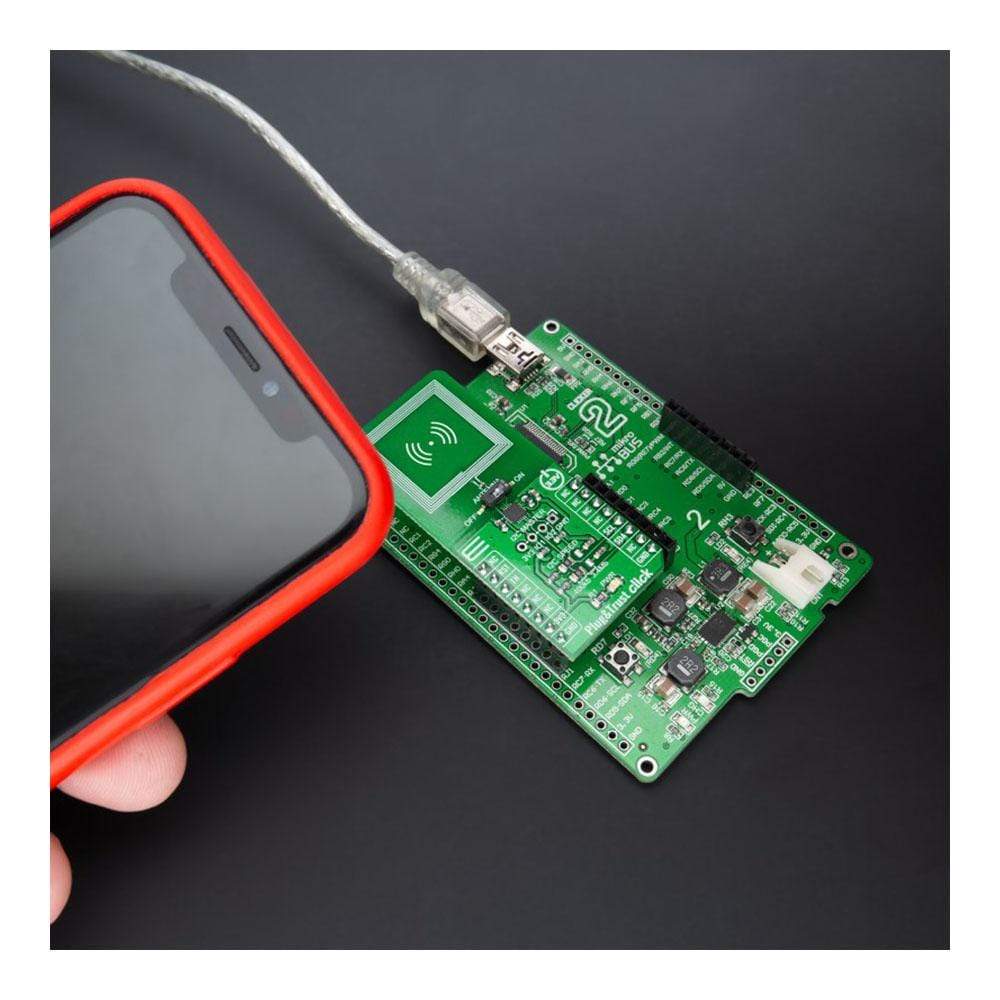
This Click board™ also offers a choice for the user to select the appropriate I2C communication speed, selected by onboard SMD jumpers labelled as I2C SPEED to a proper position marked as 400Kb and 3.4Mb. Note that all the jumpers must be lined to the same side, or else the Click board™ may become unresponsive. On the other side, the Shutdown pin, labelled as EN and routed to the CS pin of the mikroBUS™ socket, optimizes power consumption and is used for power on/off purposes, while the RST pin has no functionality in I2C Mode. Also, this Click board has an onboard antenna, providing a wireless interface to an external device like a smartphone, connected via a switch labelled as ANTENNA with SE050C allowing the activation of the antenna itself by setting it to the appropriate ON or OFF position.
The Plug&Trust Click Board™ can be operated only with a 3.3V logic voltage level. The board must perform appropriate logic voltage level conversion before use with MCUs with different logic levels. However, the Click board™ comes equipped with a library containing functions and an example code that can be used, as a reference, for further development.
SPECIFICATIONS
Type | Encryption,IoT security |
Applications | Can be used in IoT security use cases such as secure connection to public/private clouds, device-to-device authentication, sensor data protection, and more. ISO14443 CL, I2C Target and Controller mode |
On-board modules | SE050C - ready-to-use IoT secure element solution that provides a root of trust at the IC level, and it gives an IoT system state-of-the-art, edge-to-cloud security capability from NXP Semiconductors |
Key Features | Ready-to-use IoT secure element solution, Common Criteria EAL 6+ security certification, supports both RSA & ECC asymmetric cryptographic algorithms with high key length and future proof ECC curves, protect against attack scenarios, comes with JavaCard operating system, and more. |
Interface | I2C |
Compatibility | mikroBUS |
Click board size | L (57.15 x 25.4 mm) |
Input Voltage | 3.3V |
PINOUT DIAGRAM
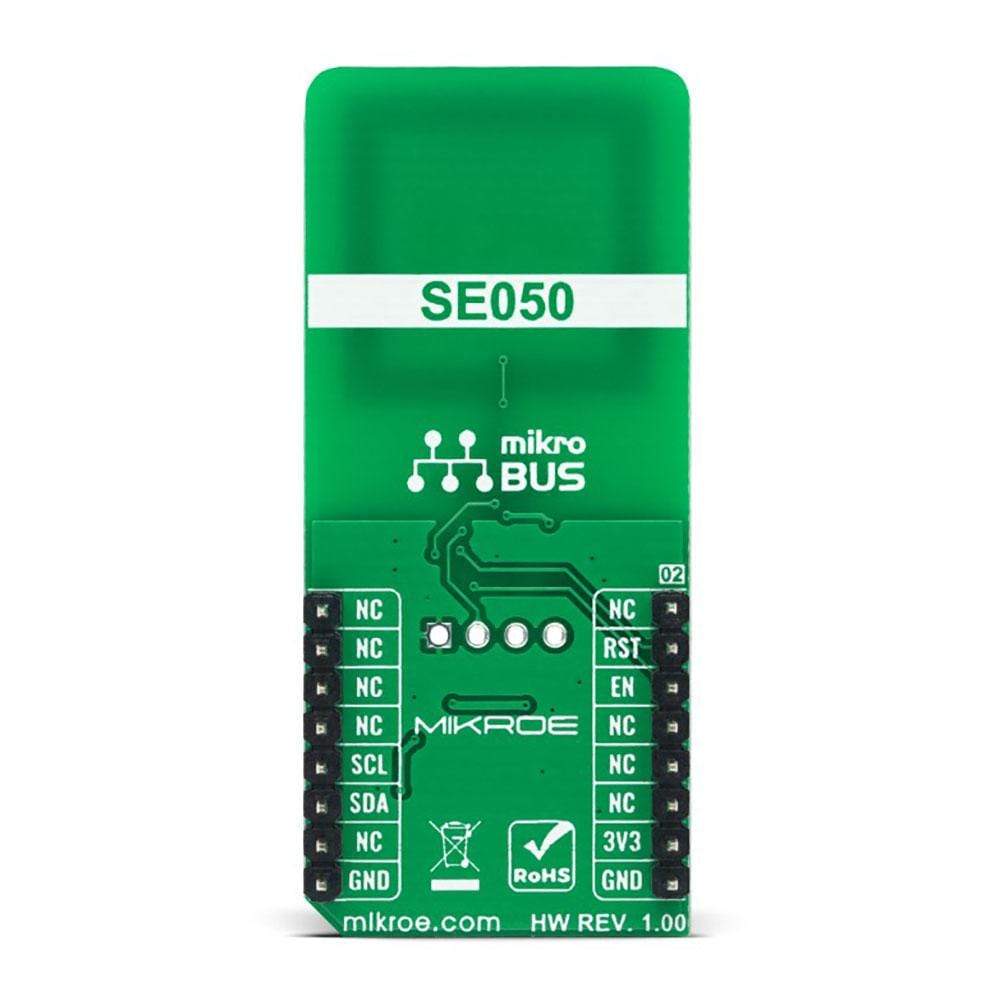
This table shows how the pinout on the Plug&Trust Click Board™ corresponds to the pinout on the mikroBUS™ socket (the latter shown in the two middle columns).
Notes | Pin | Pin | Notes | ||||
---|---|---|---|---|---|---|---|
NC | 1 | AN | PWM | 16 | NC | ||
Reset | RST | 2 | RST | INT | 15 | NC | |
Enable | EN | 3 | CS | RX | 14 | NC | |
NC | 4 | SCK | TX | 13 | NC | ||
NC | 5 | MISO | SCL | 12 | SCL | I2C Clock | |
NC | 6 | MOSI | SDA | 11 | SDA | I2C Data | |
Power Supply | 3.3V | 7 | 3.3V | 5V | 10 | NC | |
Ground | GND | 8 | GND | GND | 9 | GND | Ground |
ONBOARD SETTINGS AND INDICATORS
Label | Name | Default | Description |
---|---|---|---|
LD1 | PWR | - | Power LED Indicator |
JP1-JP2 | I2C SPEED | Left | I2C Speed Selection 400Kb/3.4Mb: Left position 400Kb, Right position 3.4Mb |
J1 | I2C Controller | Unpopulated | I2C Controller Connection Header |
SW1 | ANTENNA | Right | Antenna Activation Switch OFF/ON: Left position OFF, Right position ON |
PLUG&TRUST CLICK ELECTRICAL SPECIFICATIONS
Description | Min | Typ | Max | Unit |
---|---|---|---|---|
Supply Voltage | 1.62 | - | 3.6 | V |
Antenna Operating Frequency | - | 13.56 | - | MHz |
Operating Temperature Range | -40 | +25 | +105 | °C |
Software Support
We provide a library for the Plug&Trust Click Board™ as well as a demo application (example), developed using MikroElektronika compilers. The demo can run on all the main MikroElektronika development boards.
The package can be downloaded/installed directly from NECTO Studio Package Manager(recommended way), downloaded from our LibStock™ or found on the mikroE Github account.
Also, the user is allowed to use SW support by NXP (Plug & Trust Middleware Mini Package), which can be found on the attached NXP Github account. For all additional SW support questions, the customers can submit a ticket to the official NXP Support page.
Library Description
This library contains an API for the Plug&Trust Click driver.
Key Functions
plugntrust_cfg_setup
- Config Object Initialization function.plugntrust_init
- Initialization function.plugntrust_default_cfg
- Click the Default Configuration function.
Example Description
This application is showcasing the basic functionality of the Plug&Trust Click Board™. It gets identify data from the device, selects card manager and applet. Then checks free memory reads all objects and deletes not reserved ones. After that showcases a few of the functionality: Generating random data, Creating, reading and deleting binary objects, Creating AES symmetrical key and cypher with it; In the end, it is showcasing functionality in the endless loop.
The demo application is composed of two sections :
void application_task ( void ) { const uint8_t DATA_LEN = 16; static uint8_t aes_value[ DATA_LEN ] = { 0x40, 0x41, 0x42, 0x43,0x44, 0x45, 0x46, 0x47, 0x48, 0x49, 0x4A, 0x4B,0x4C, 0x4D, 0x4E, 0x4F }; static uint32_t binary_id = 0xBBBBBBBB; static uint32_t aes_id = 0xCCCCCCCC; uint8_t random_data[ DATA_LEN ] = { 0 }; uint8_t read_data[ DATA_LEN ] = { 0 }; uint8_t encrypted_data[ DATA_LEN ] = { 0 }; uint32_t read_len = DATA_LEN; if ( PLUGNTRUST_OK == plugntrust_get_random_numbers( &plugntrust, random_data, DATA_LEN ) ) { log_printf( &logger, " > Generated random data: 0x" ); log_buf_hex( random_data, DATA_LEN ); log_printf( &logger, "rn" ); } else { log_error( &logger, " Random" ); } Delay_ms( 2000 ); if ( PLUGNTRUST_OBJECT_DOESNT_EXIST == plugntrust_check_object_exist( &plugntrust, binary_id ) ) { log_printf( &logger, " Write random data to binary object...rn" ); if ( PLUGNTRUST_OK != plugntrust_write_binary_object( &plugntrust, binary_id, 0, DATA_LEN, random_data ) ) { log_error( &logger, " Write Binary" ); } else { log_info( &logger, " Status OK" ); } } else { log_error( &logger, " Binary object already exist" ); } Delay_ms( 2000 ); if ( PLUGNTRUST_OBJECT_DOES_EXISTS == plugntrust_check_object_exist( &plugntrust, binary_id ) ) { if ( PLUGNTRUST_OK == plugntrust_read_object( &plugntrust, binary_id, 0, 0, read_data, &read_len ) ) { log_printf( &logger, " > Read data from binary object: 0x" ); log_buf_hex( read_data, read_len ); log_printf( &logger, "rn" ); } else { log_error( &logger, " Read binray object" ); } } else { log_error( &logger, " Binary object doesn't exist" ); } Delay_ms( 2000 ); log_printf( &logger, " Create AES key...rn" ); create_128_aes_key( aes_id, aes_value ); Delay_ms( 2000 ); if ( PLUGNTRUST_OK == cipher_data_with_aes_key( aes_id, PLUGNTRUST_P2_ENCRYPT_ONESHOT, read_data, encrypted_data ) ) { log_printf( &logger, " > Encrypted data: 0x" ); log_buf_hex( encrypted_data, DATA_LEN ); log_printf( &logger, "rn" ); } else { log_error( &logger, " Encrypting data" ); } Delay_ms( 2000 ); if ( PLUGNTRUST_OK == cipher_data_with_aes_key( aes_id, PLUGNTRUST_P2_DECRYPT_ONESHOT, encrypted_data, read_data ) ) { log_printf( &logger, " > Decrypted data: 0x" ); log_buf_hex( read_data, DATA_LEN ); log_printf( &logger, "rn" ); } else { log_error( &logger, " Decrypting data" ); } Delay_ms( 2000 ); log_printf( &logger, " Delete Binary and AES object...rn" ); if ( ( PLUGNTRUST_OK != plugntrust_delete_object( &plugntrust, binary_id ) ) || ( PLUGNTRUST_OK != plugntrust_delete_object( &plugntrust, aes_id ) ) ) { log_error( &logger, " Deleting objects" ); } log_printf( &logger, "*****************************************************************************rn" ); Delay_ms( 5000 ); }
The full application code, and ready to use projects can be installed directly from NECTO Studio Package Manager(recommended way), downloaded from our LibStock™ or found on mikroE Github account.
Other mikroE Libraries used in the example:
- MikroSDK.Board
- MikroSDK.Log
- Click.PlugnTrust
Additional Notes and Information
Depending on the development board you are using, you may need a USB UART click, USB UART 2 click or RS232 click to connect to your PC, for development systems with no UART to USB interface available on the board. The terminal available in all MikroElektronika compilers, or any other terminal application of your choice, can be used to read the message.
MIKROSDK
The Plug&Trust Click Board™ is supported with mikroSDK - MikroElektronika Software Development Kit. To ensure proper operation of mikroSDK compliant Click board™ demo applications, mikroSDK should be downloaded from the LibStock and installed for the compiler you are using.
Frequently Asked Questions
Have a Question?
Be the first to ask a question about this.