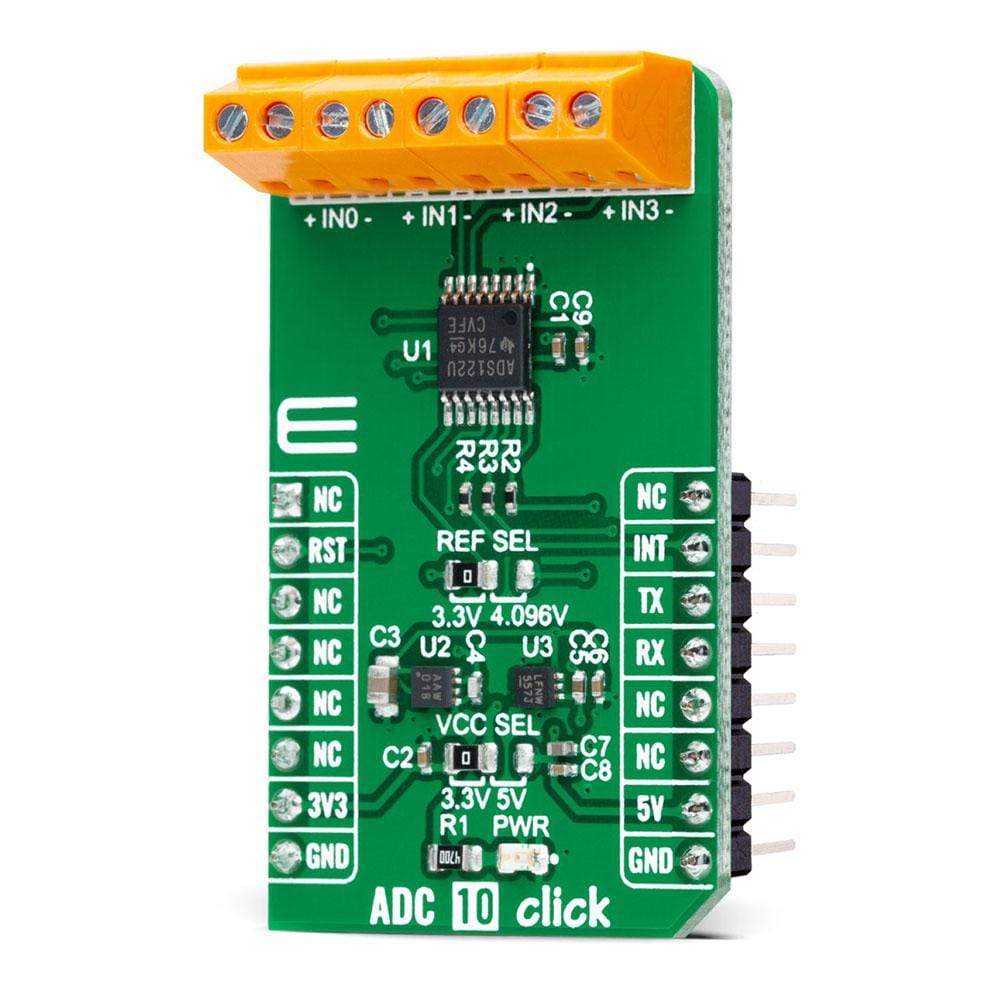
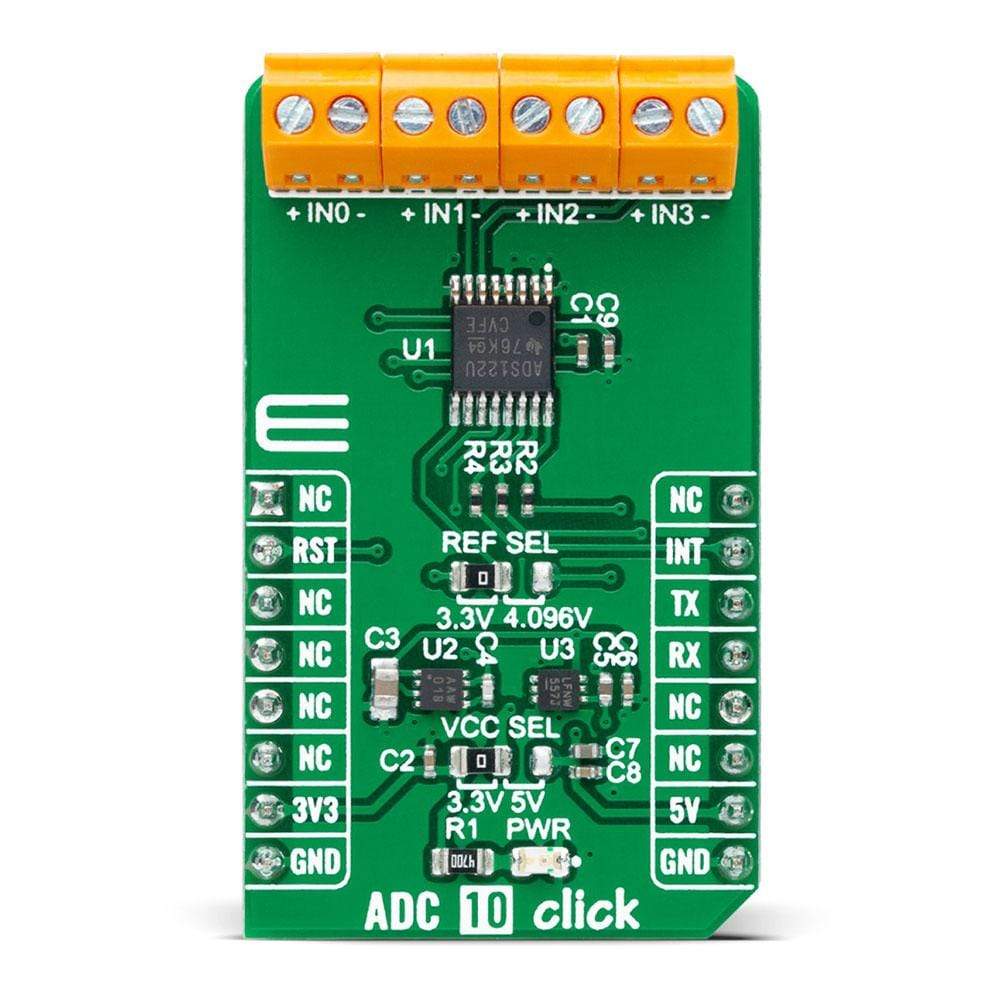
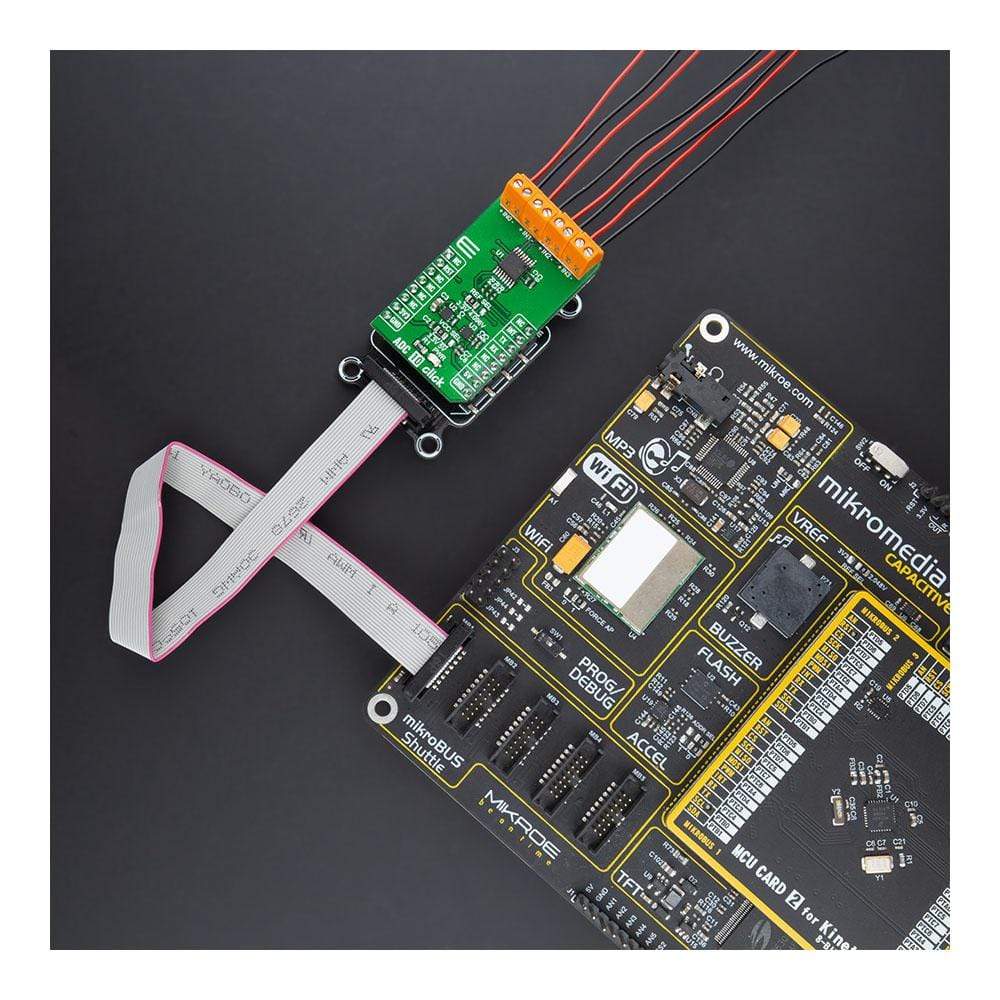
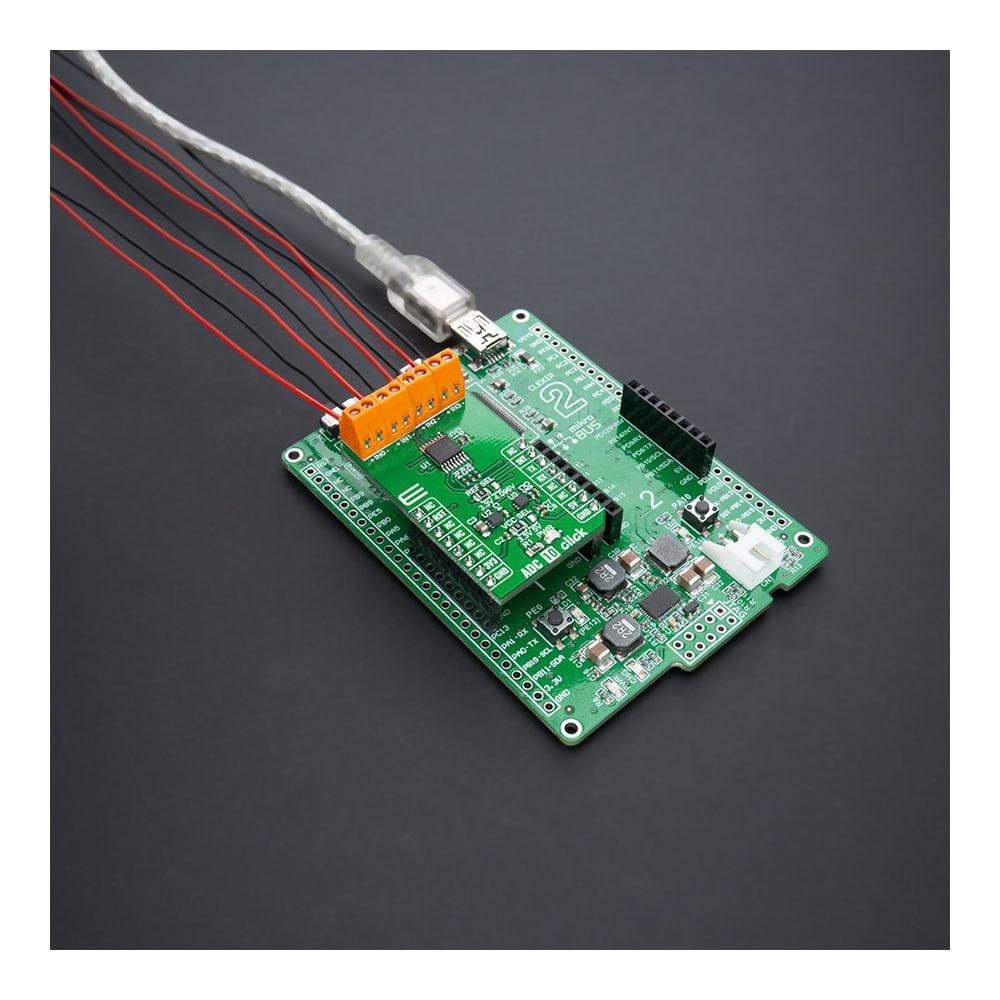
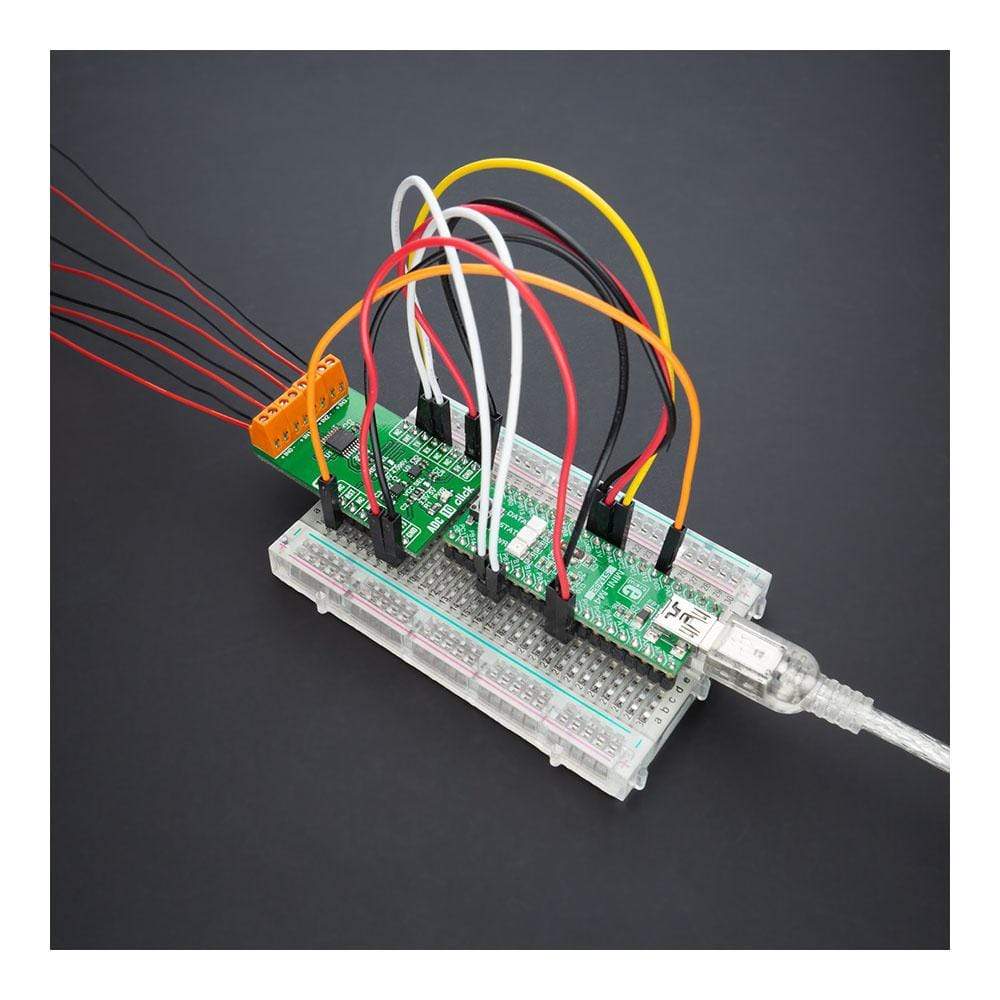
ADC 10 Click-Platine
Key Features
- Niedriger Stromverbrauch, programmierbare Verstärkung und Datenraten, zwei differenzielle oder vier unsymmetrische Eingänge, interne und externe Spannungsreferenzen, interner Temperatursensor und mehr
- Basierend auf dem ADS122U04 – 24-Bit-Präzisions-ΔΣ-Analog-Digital-Wandler mit UART-kompatibler Schnittstelle von Texas Instruments MCP1501 – hochpräzise Spannungsreferenz von Microchip LT6656 – hochpräzise Spannungsreferenz von Analog Devices
- Kann zum Messen kleiner Sensorsignale verwendet werden, wie etwa Widerstandstemperaturfühler (RTDs), Thermoelemente, Thermistoren und Widerstandsbrückensensoren.
- mikroBUS: UART-Schnittstelle
Sie suchen einen leistungsstarken Datenkonverter? Dann sind Sie mit dem ADC 10 Click Board™ genau richtig! Diese kompakte Zusatzplatine verfügt über den ADS122U04, einen 24-Bit-Präzisions-ΔΣ-Analog-Digital-Konverter mit UART-kompatibler Schnittstelle von Texas Instruments. Mit seinem flexiblen Eingangsmultiplexer, einem programmierbaren Verstärkungsverstärker, programmierbaren Erregerstromquellen, einer Spannungsreferenz, einem Oszillator und einem Temperatursensor ist der ADS122U04 in der Lage, Konvertierungen mit Datenraten von bis zu 2000 Abtastungen pro Sekunde mit Einschwingzyklus durchzuführen. Er eignet sich perfekt zum Messen kleiner Sensorsignale wie RTDs, Thermoelemente, Thermistoren und Widerstandsbrückensensoren.
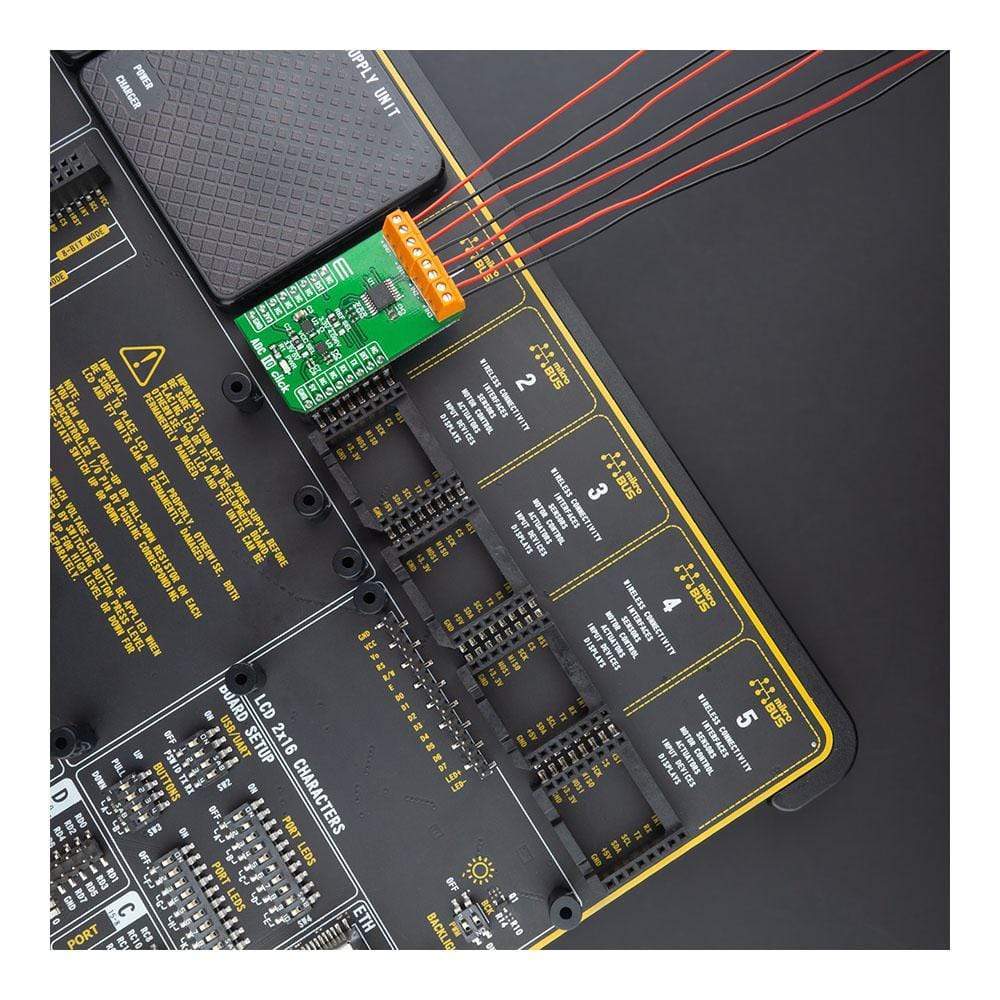
Das ADC 10 Click Board™ ist dank seiner mikroSDK-kompatiblen Bibliothek und seines vollständig getesteten Designs einfach zu verwenden. Es kann auf jedem System verwendet werden, das mit einer mikroBUS™-Buchse ausgestattet ist, und ist somit eine praktische und zuverlässige Wahl für Ihre Datenkonvertierungsanforderungen. Verpassen Sie nicht diese Gelegenheit, Ihre Genauigkeit und Leistung zu verbessern – holen Sie sich noch heute Ihr ADC 10 Click Board™ !
How Does The ADC 10 Click Board™ work?
The ADC 10 Click Board™ is based on the ADS122U04, a 24-bit precision ΔΣ analogue-to-digital converter with UART compatible interface from Texas Instruments. In addition to the ΔΣ ADC and single-cycle settling digital filter, the ADS122U04 offers a low-noise, high input impedance, programmable gain amplifier up to 128, an internal 2.048V voltage reference, and a clock oscillator. It also integrates a highly linear and accurate temperature sensor, and two matched programmable current sources for sensor excitation. The ADS122U04 is fully configured through five registers through the UART interface and can perform conversions at data rates up to 2000 samples-per-second with single-cycle settling.
The A/D converter measures a differential signal brought to its input terminals, which represents the difference in voltage between the + and – nodes of the input terminal. The ADS122U04 has two available conversion modes: Single-Shot conversion and Continuous conversion Mode. In Single-Shot conversion Mode, the ADC performs one conversion of the input signal upon request, stores the value in an internal data buffer, and then enters a low-power state to save power. While in Continuous conversion Mode, the ADC automatically begins the conversion as soon as the previous conversion is completed.
The ADC 10 Click Board™ communicates with MCU using the UART interface at 115200bps with commonly used RX and TX pins for the data transfer. The interrupt pin routed on the INT pin of the mikroBUS™ socket is utilized by ADS122U04 to indicates when a new conversion result is ready for retrieval or can be additionally configured as a GPIO pin. Alongside this feature, this Click board™ also has a Reset function routed on the RST pin of the mikroBUS™ socket that will put the ADS122U04 into the reset state by driving the RST pin HIGH. When a Reset occurs, the configuration registers reset to the default values, and the device enters a low-power state.
Besides its internal 2.048V reference, the ADS122U04 can use additional reference voltage values for applications that require a different reference voltage or a ratiometric measurement approach. The reference voltage level can be selected by positioning the SMD jumper labelled as REF SEL to an appropriate position choosing between 3.3V provided by the MCP1501 or 4.096V provided by LT6656. Those voltages may be used as the reference input that results in accuracy and stability.
The ADC 10 Click Board™ is designed to operate with both 3.3V and 5V logic voltage levels selected via the VCC SEL jumper. It allows for both 3.3V and 5V capable MCUs to use the UART communication lines properly. However, the Click board™ comes equipped with a library that contains functions and an example code that can be used, as a reference, for further development.
SPECIFICATIONS
Type | ADC |
Applications | Can be used for measuring small sensor signals, such as resistance temperature detectors (RTDs), thermocouples, thermistors, and resistive bridge sensors. |
On-board modules | ADS122U04 - 24-bit precision ΔΣ analogue-to-digital converter with UART compatible interface from Texas Instruments MCP1501 - high-precision voltage reference from Microchip LT6656 - high-precision voltage reference from Analog Devices |
Key Features | Low power consumption, programmable gain and data rates, two differential or four single-ended inputs, internal and external voltage references, internal temperature sensor, and more |
Interface | UART |
Compatibility | mikroBUS |
Click board size | M (42.9 x 25.4 mm) |
Input Voltage | 3.3V or 5V |
PINOUT DIAGRAM
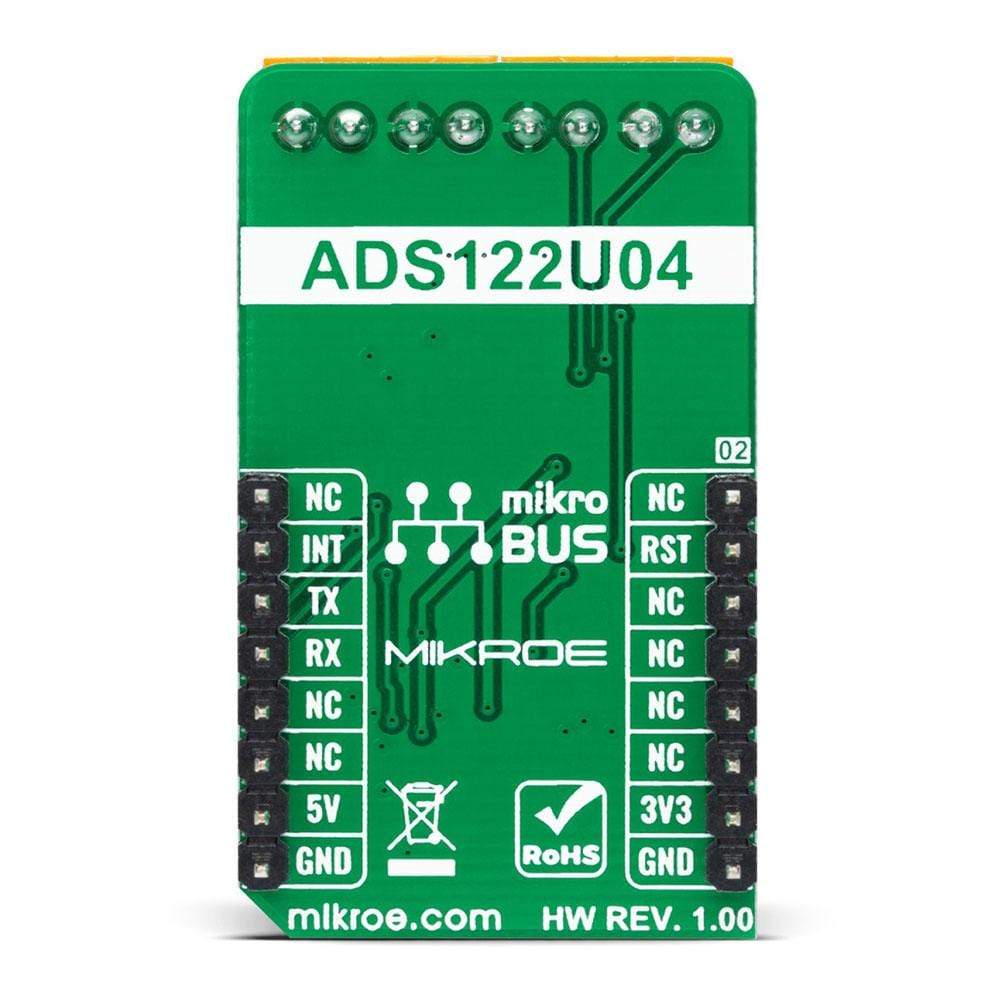
This table shows how the pinout on the ADC 10 Click Board™ corresponds to the pinout on the mikroBUS™ socket (the latter shown in the two middle columns).
Notes | Pin | Pin | Notes | ||||
---|---|---|---|---|---|---|---|
NC | 1 | AN | PWM | 16 | NC | ||
Reset | RST | 2 | RST | INT | 15 | INT | Interrupt |
NC | 3 | CS | RX | 14 | TX | UART TX | |
NC | 4 | SCK | TX | 13 | RX | UART RX | |
NC | 5 | MISO | SCL | 12 | NC | ||
NC | 6 | MOSI | SDA | 11 | NC | ||
Power Supply | 3.3V | 7 | 3.3V | 5V | 10 | 5V | Power Supply |
Ground | GND | 8 | GND | GND | 9 | GND | Ground |
ONBOARD SETTINGS AND INDICATORS
Label | Name | Default | Description |
---|---|---|---|
LD1 | PWR | - | Power LED Indicator |
JP3 | VCC SEL | Left | Logic Level Voltage Selection 3.3V/5V: Left position 3.3V, Right position 5V |
JP1 | REF SEL | Left | Reference Level Voltage Selection 3.3V/4.096V: Left position 3V3, Right position 4.096V |
ADC 10 CLICK ELECTRICAL SPECIFICATIONS
Description | Min | Typ | Max | Unit |
---|---|---|---|---|
Supply Voltage | 3.3 | - | 5 | V |
Analog Input Supply Voltage | 3.3 | - | 5 | V |
Resolution | 24 | - | - | bits |
Gain | 1 | - | 128 | |
Data Rates | - | - | 2000 | SPS |
Operating Temperature Range | -40 | +25 | +125 | °C |
Software Support
We provide a library for the ADC 10 Click Board™ as well as a demo application (example), developed using MikroElektronika compilers. The demo can run on all the main MikroElektronika development boards.
The package can be downloaded/installed directly from NECTO Studio Package Manager(recommended way), downloaded from our LibStock™ or found on mikroE Github account.
Library Description
This library contains API for the ADC 10 Click Board™ driver.
Key Functions
void adc10_cfg_setup ( adc10_cfg_t *cfg );
- Config Object Initialization function.ADC10_RETVAL adc10_init ( adc10_t *ctx, adc10_cfg_t *cfg );
- Initialization function.void adc10_default_cfg ( adc10_t *ctx );
- Click Default Configuration function.
Example Description
This is an example that demonstrates the use of the ADC 10 Click board™.
The demo application is composed of two sections :
void application_task ( void ) { adc10_start_sync( &adc10 ); Delay_ms( 1 ); while ( adc10_check_drdy( &adc10 ) == ADC10_NEW_DATA_NOT_READY ); out_data = adc10_get_ch_output( &adc10, select_ch ); log_printf( &logger, "-------------------------rn" ); log_printf( &logger, " ADC CH-%u : %.0frn", ( uint16_t ) select_ch, ( float ) out_data ); voltage = adc10_calc_voltage( &adc10, out_data, ADC10_VREF_INTERNAL, ADC10_GAIN_1 ); log_printf( &logger, " Voltage : %.2f mVrn", voltage ); Delay_ms( 1000 ); }
The full application code, and ready to use projects can be installed directly from NECTO Studio Package Manager(recommended way), downloaded from our LibStock™ or found on mikroE Github account.
Other mikroE Libraries used in the example:
- MikroSDK.Board
- MikroSDK.Log
- Click.Adc10
Additional Notes and Information
Depending on the development board you are using, you may need a USB UART click, USB UART 2 click or RS232 click to connect to your PC, for development systems with no UART to USB interface available on the board. The terminal available in all MikroElektronika compilers, or any other terminal application of your choice, can be used to read the message.
MIKROSDK
The ADC 10 Click Board™ is supported with mikroSDK - MikroElektronika Software Development Kit. To ensure proper operation of mikroSDK compliant Click board™ demo applications, mikroSDK should be downloaded from the LibStock and installed for the compiler you are using.
ADC 10 Click-Platine
Frequently Asked Questions
Have a Question?
Be the first to ask a question about this.