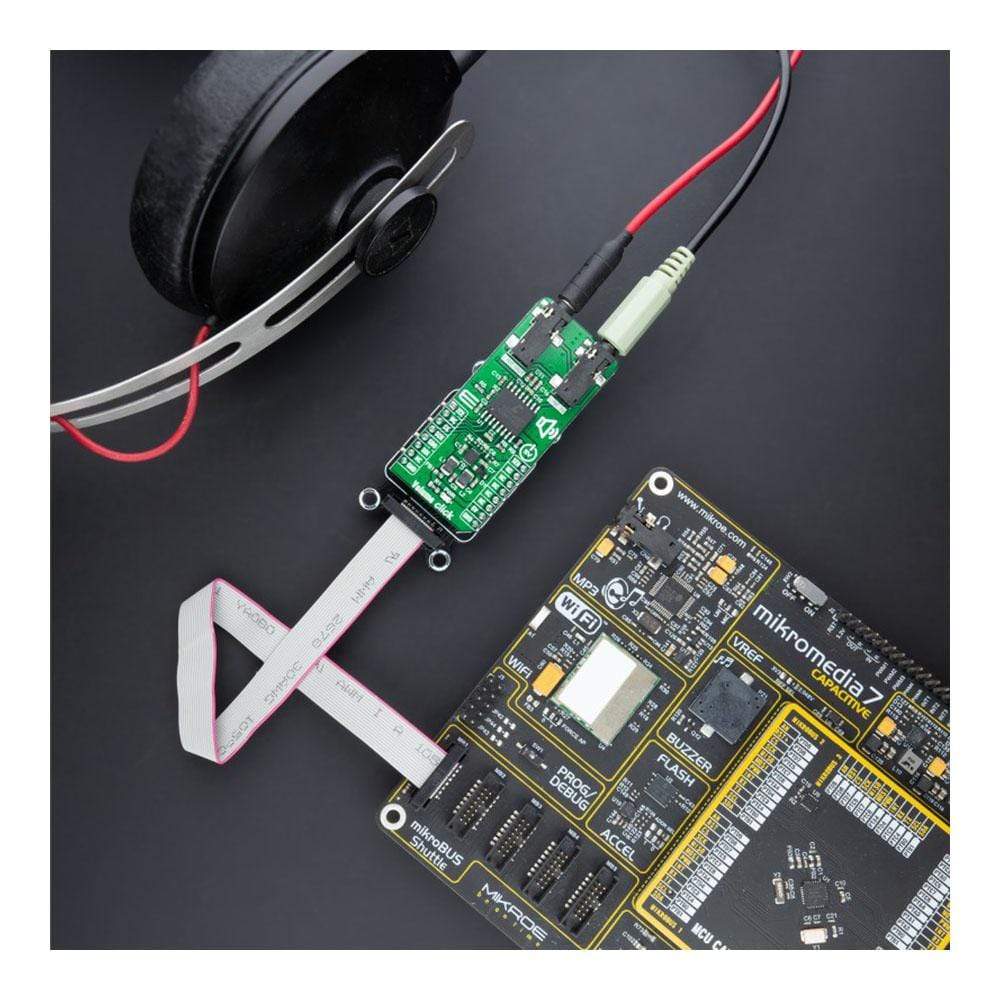
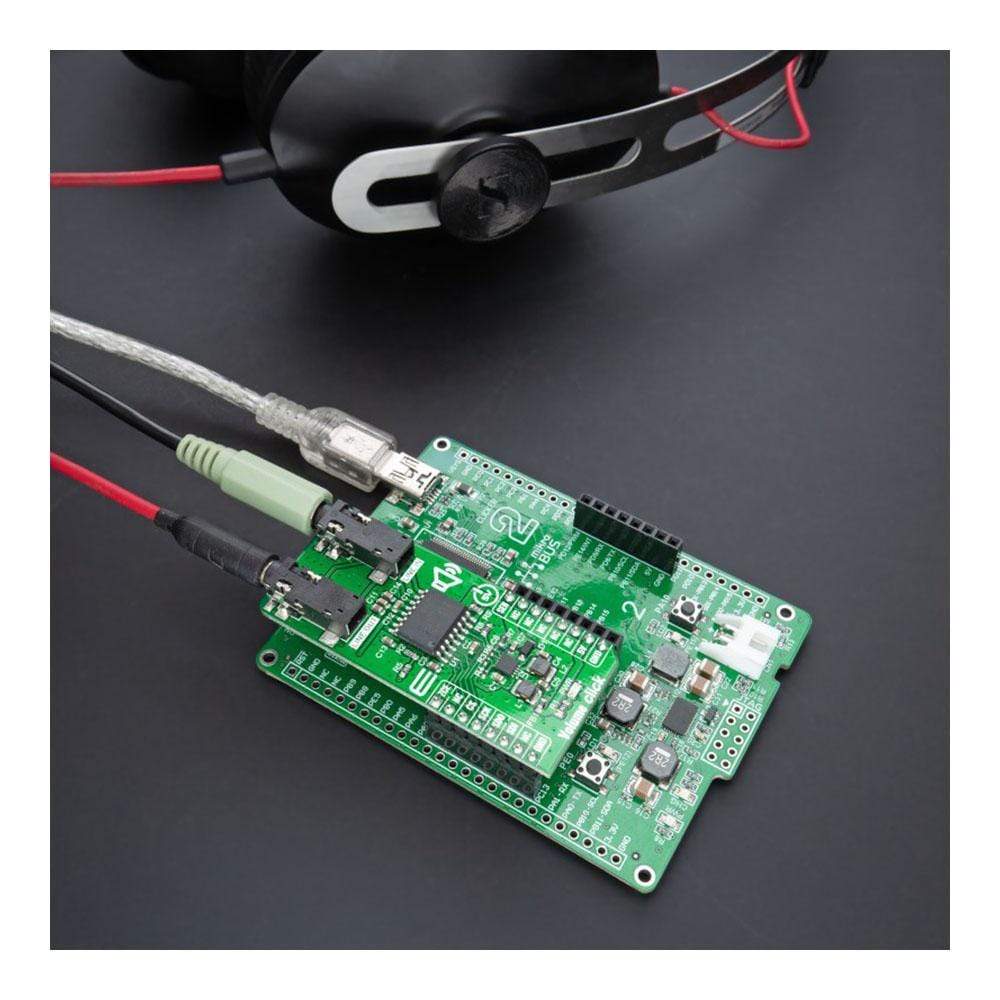
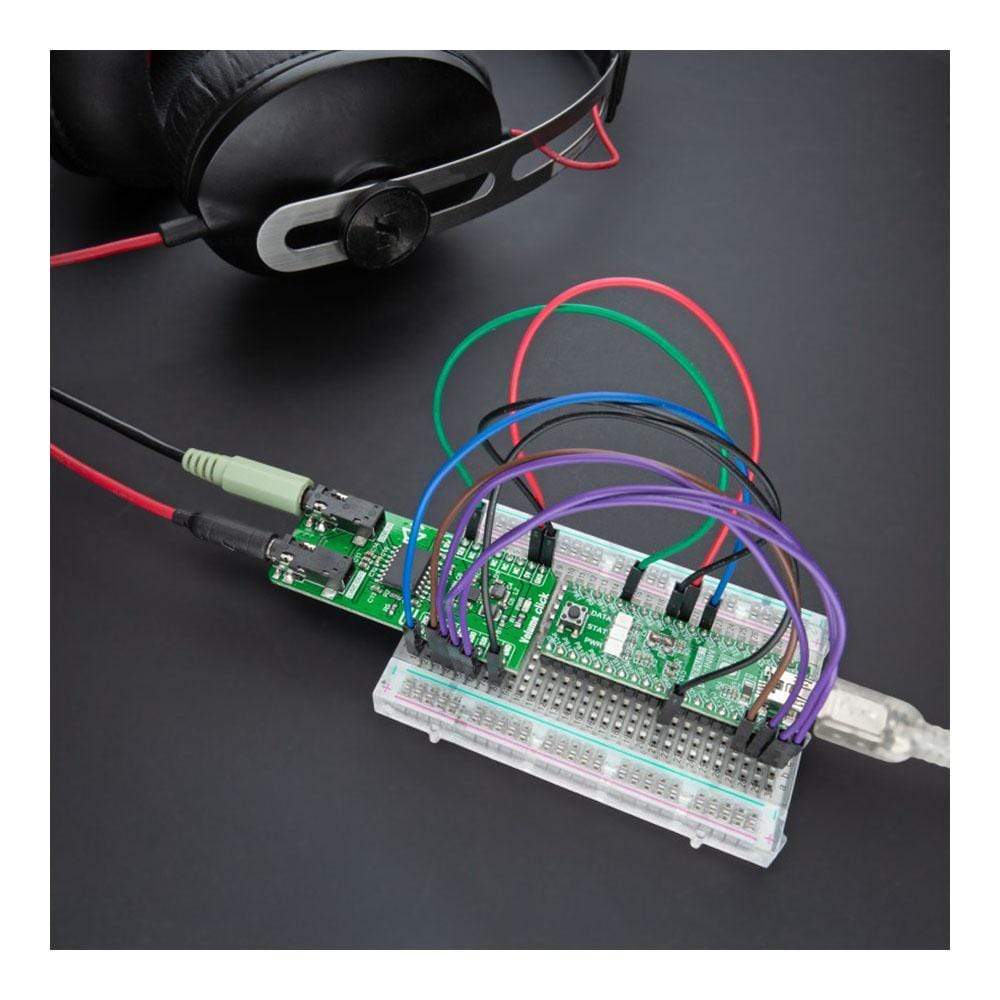
Volumen-Click-Platine
Overview
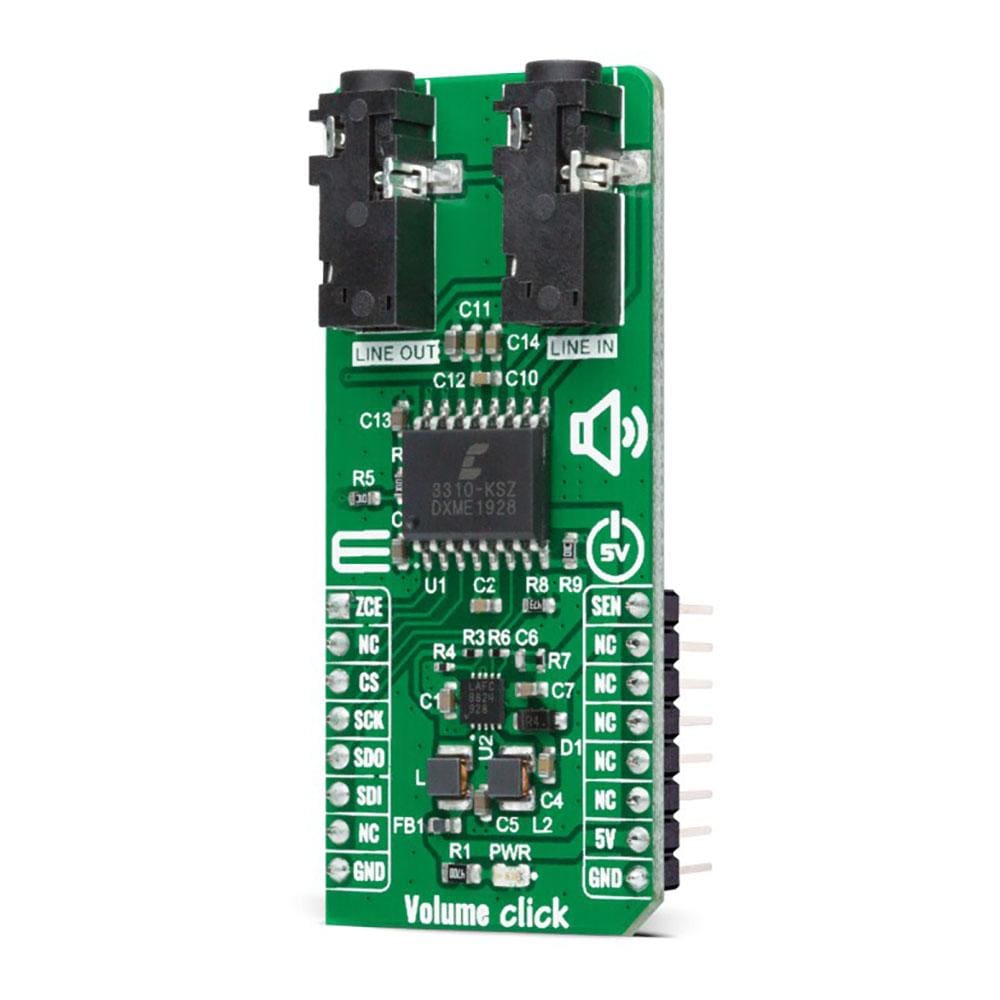
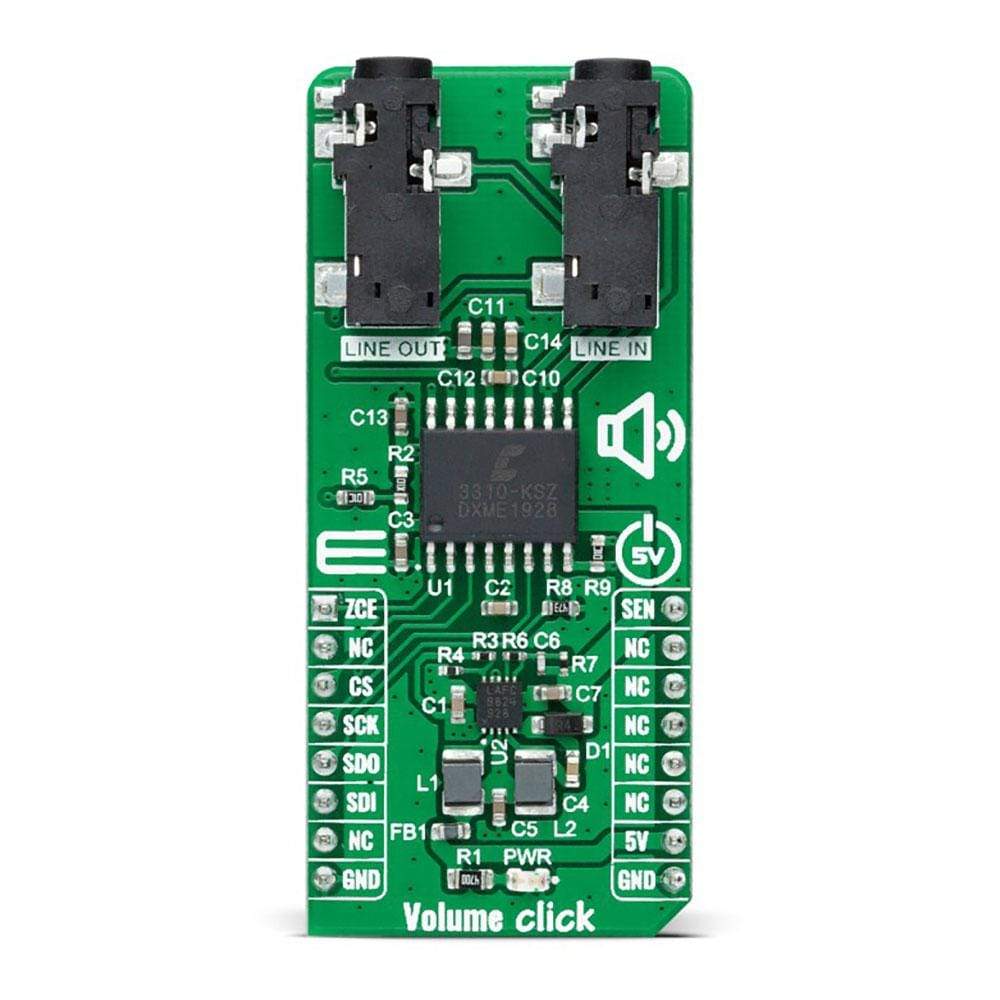
Der Volume Click Board™ ist eine kompakte Zusatzplatine, die dem Benutzer eine vollständige digitale Lautstärkeregelung bietet. Diese Platine verfügt über den CS3310, eine digitale Stereo-Lautstärkeregelung, die speziell für Audiosysteme von Cirrus Logic entwickelt wurde. Sie steuert zwei unabhängige Audiokanäle mit geringer Verzerrung und einem einstellbaren Bereich von 127 dB in 0,5-dB-Schritten, die durch 95,5 dB Dämpfung und 31,5 dB Verstärkung erreicht werden. Sie enthält außerdem eine einfache serielle SPI-Schnittstelle, die 16-Bit-Daten akzeptiert und geringe Verzerrung und Rauschen bietet. Dieses Click Board™ stellt eine perfekte Lösung für Anwendungen zur Remote-Audiolautstärkeregelung dar.
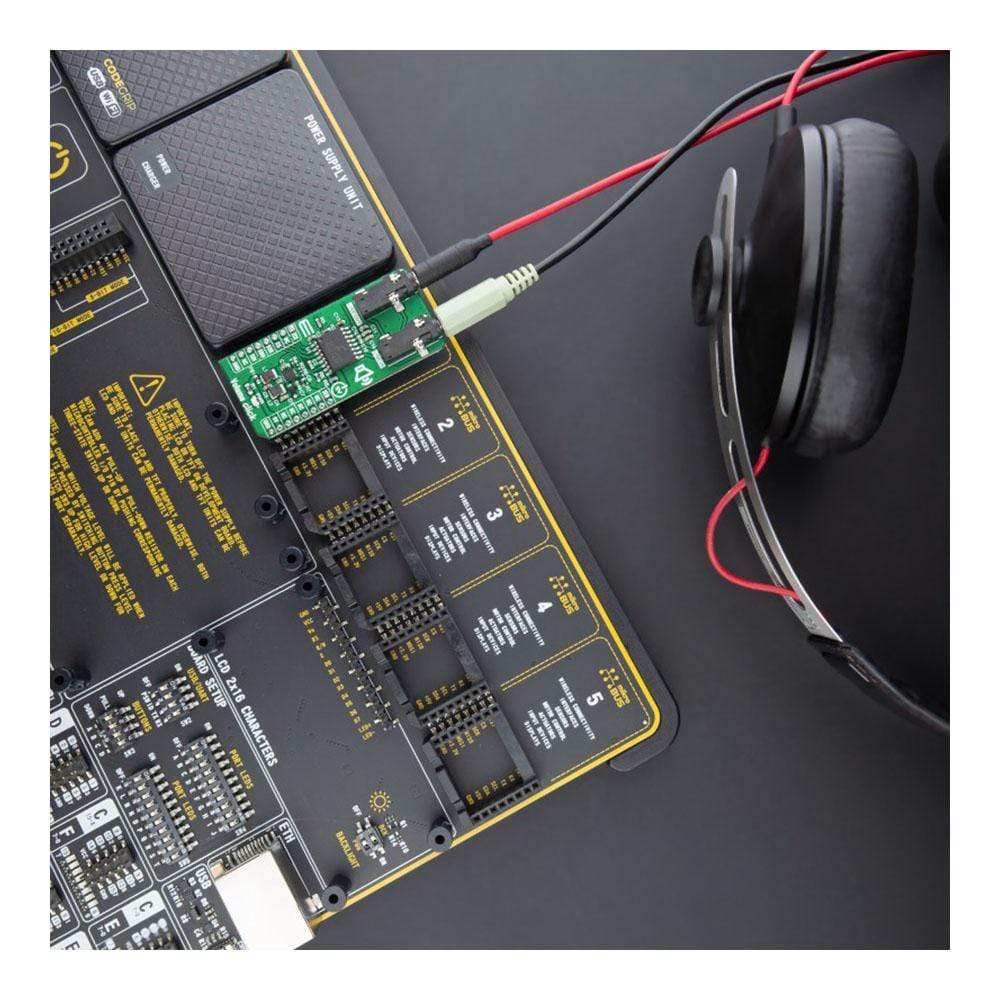
Der Lautstärke-Klick wird durch eine mikroSDK-kompatible Bibliothek unterstützt, die Funktionen enthält, die die Softwareentwicklung vereinfachen. Dieses Click Board™ wird als vollständig getestetes Produkt geliefert und ist bereit für den Einsatz auf einem System, das mit der mikroBUS™-Buchse ausgestattet ist.
How does the Volume Click Board™ work?
The Volume Click Board™ is based on the CS3310, a complete stereo digital volume control designed specifically for audio systems from Cirrus Logic. It features a 16-bit serial interface that controls two independent, low distortion audio channels. The left and right levels of the analogue input channels are set by a 16-bit serial data word (the first 8 bits address the right while the remaining 8 bits address the left channel). The CS3310 includes an array of well-matched resistors and a low noise active output stage capable of driving a 600Ω load. A total adjustable range of 127dB, in 0.5dB steps, is achieved through 95.5dB of attenuation and 31.5dB of gain.
The digital section power supply of the Volume Click is achieved through a 5V pin from mikroBUS™ socket while the device itself is powered by ±5V from the LT3032, a dual 150mA positive and negative low noise low dropout linear regulator with micropower quiescent current from Analog Devices.
Volume Click communicates with MCU using the standard SPI serial interface with two additional GPIO pins that accept 16-bit data and enables the user to read the current volume setting. Those two GPIO pins brought with this Click board™ are used for Zero Crossing Enable and Hardware MUTE functions. Once in operation, the CS3310 can be brought to a muted state with the MUTE pin, labeled as SEN routed on the PWM pin of the mikroBUS™ socket, or by writing zeros to the volume control registers.
A volume control change occurs after the CS pin latches the data in the volume control data register, and two zero crossings are detected. The zero-crossing enable pin, labeled as ZCE routed on the AN pin of the mikroBUS™ socket, enables or disables the zero-crossing detection function as well as the 18ms time-out circuit. If two zero crossings are not detected within 18ms of the change in the CS pin, the new volume setting is implemented.
NOTE: Upon initial application of power, the SEN pin of the CS3310 should be set LOW to initiate a Power-Up sequence. This sequence sets the serial shift register and the volume control register to zero and performs an offset calibration. The device should remain muted until the supply voltages have settled to ensure accurate calibration.
This Click board™ is designed to be operated only with a 5V logic voltage level. A proper logic voltage level conversion should be performed before the Click board™ is used with MCUs with different logic levels.
SPECIFICATIONS
Type | Signal Processing |
Applications | Can be used for remote audio volume control applications. |
On-board modules | - CS3310, a complete stereo digital volume control designed specifically for audio systems from Cirrus Logic - LT3032, a dual 150mA positive and negative low noise low dropout linear regulator with micropower quiescent current from Analog Devices. |
Key Features | Complete digital volume control, wide adjustable range, low distortion, low noise active output stage capable of driving a 600Ω load, and more. |
Interface | SPI |
Compatibility | mikroBUS |
Click board size | L (57.15 x 25.4 mm) |
Input Voltage | 5V |
PINOUT DIAGRAM
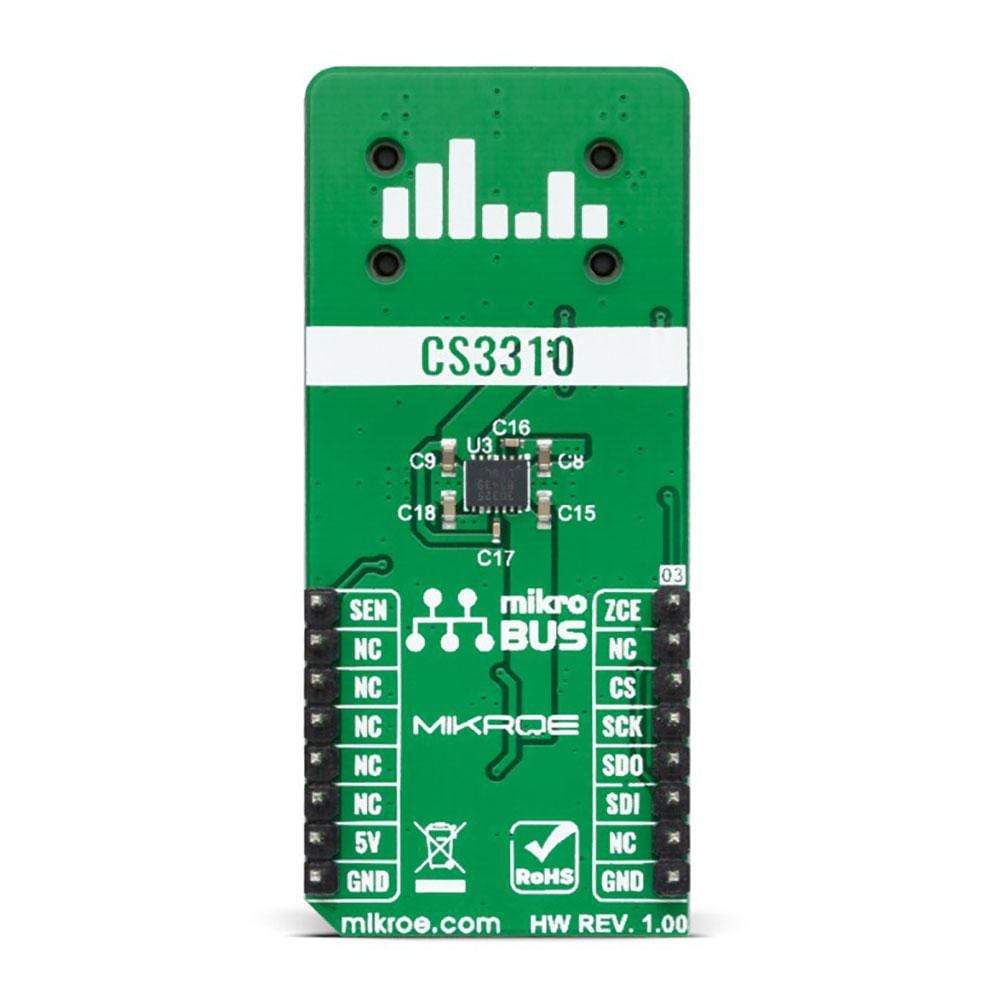
This table shows how the pinout on Volume Click corresponds to the pinout on the mikroBUS™ socket (the latter shown in the two middle columns).
Notes | Pin | Pin | Notes | ||||
---|---|---|---|---|---|---|---|
Zero Crossing Enable | ZCE | 1 | AN | PWM | 16 | SEN | Hardware MUTE |
NC | 2 | RST | INT | 15 | NC | ||
SPI Chip Select | CS | 3 | CS | RX | 14 | NC | |
SPI Clock | SCK | 4 | SCK | TX | 13 | NC | |
SPI Data OUT | SDO | 5 | MISO | SCL | 12 | NC | |
SPI Data IN | SDI | 6 | MOSI | SDA | 11 | NC | |
NC | 7 | 3.3V | 5V | 10 | 5V | Power Supply | |
Ground | GND | 8 | GND | GND | 9 | GND | Ground |
ONBOARD SETTINGS AND INDICATORS
Label | Name | Default | Description |
---|---|---|---|
LD1 | PWR | - | Power LED Indicator |
VOLUME CLICK ELECTRICAL SPECIFICATIONS
Description | Min | Typ | Max | Unit |
---|---|---|---|---|
Logic Level Supply Voltage | - | 5 | - | V |
Operating Supply Voltage | - | ±5 | - | V |
Total Attenuation Range | - | - | -95.5 | dB |
Programmable Gain | - | - | +31.5 | dB |
Step Size | - | 0.5 | - | dB |
Operating Temperature Range | 0 | 25 | 70 | °C |
Software Support
We provide a library for the Volume Click as well as a demo application (example), developed using MikroElektronika compilers. The demo can run on all the main MikroElektronika development boards.
Library Description
The library covers all the necessary functions to control Volume Click board™.
The package can be downloaded/installed directly from NECTO Studio Package Manager(recommended way), downloaded from our LibStock™ or found on the mikroE Github account.
Key Functions
void volume_cfg_setup ( volume_cfg_t *cfg );
- Config Object Initialization function.err_t volume_init ( volume_t *ctx, volume_cfg_t *cfg );
- Initialization function.void volume_default_cfg ( volume_t *ctx );
- Click Default Configuration function.
Example Description
This example sets up the device and performs volume turn up and down.
The demo application is composed of two sections
void application_task ( void ) { left_speaker_gain = -40; right_speaker_gain = -40; one_circle = 0; log_printf( &logger, " Turning volume up.rn" ); while ( one_circle < 2 ) { if ( one_circle == 0 ) { if ( left_speaker_gain <= 10 || right_speaker_gain <= 10 ) { volume_set_vol_gain( &volume, left_speaker_gain, right_speaker_gain ); left_speaker_gain += 0.5; right_speaker_gain += 0.5; Delay_ms( 50 ); } else { one_circle++; log_printf( &logger, " Turning volume down.rn" ); } } else if ( left_speaker_gain >= -40 || right_speaker_gain >= -40 ) { volume_set_vol_gain( &volume, left_speaker_gain, right_speaker_gain ); left_speaker_gain -= 0.5; right_speaker_gain -= 0.5; Delay_ms( 50 ); } else one_circle++; } }
The full application code, and ready to use projects can be installed directly from NECTO Studio Package Manager(recommended way), downloaded from our LibStock™ or found on mikroE Github account.
Other mikroE Libraries used in the example:
- MikroSDK.Board
- MikroSDK.Log
- Click. Volume
Additional Notes and Information
Depending on the development board you are using, you may need a USB UART click, USB UART 2 click or RS232 click to connect to your PC, for development systems with no UART to USB interface available on the board. The terminal available in all MikroElektronika compilers, or any other terminal application of your choice, can be used to read the message.
MIKROSDK
This Click board™ is supported with mikroSDK - MikroElektronika Software Development Kit. To ensure proper operation of mikroSDK compliant Click board™ demo applications, mikroSDK should be downloaded from the LibStock and installed for the compiler you are using.
Frequently Asked Questions
Have a Question?
Be the first to ask a question about this.