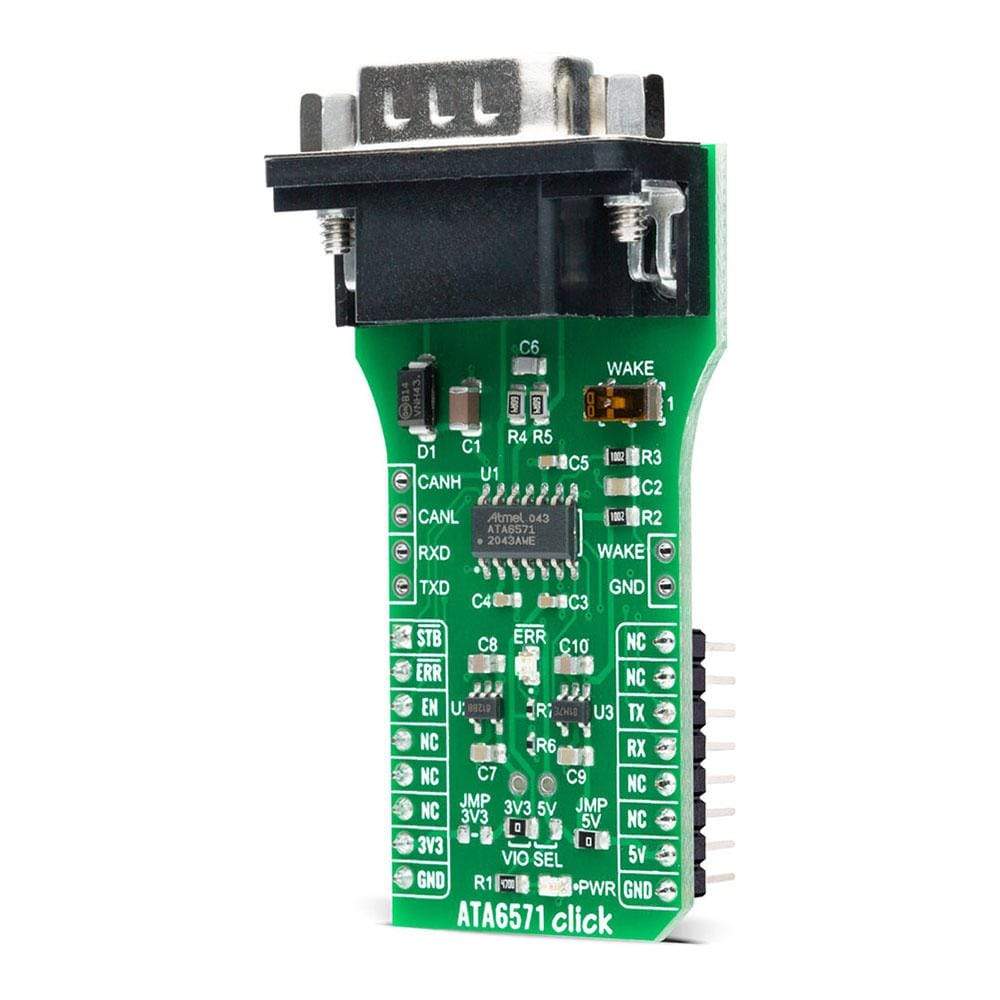
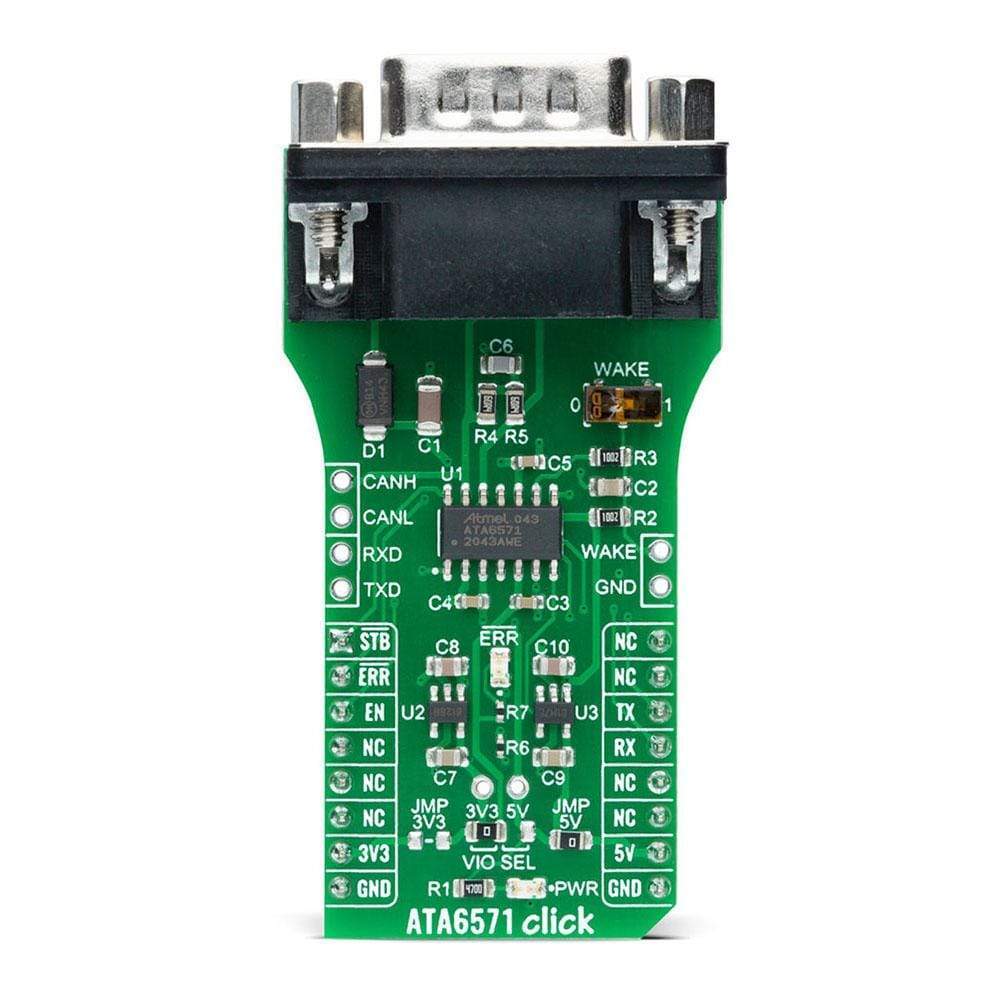
ATA6571 Click-Platine
Key Features
- High-Speed-CAN-Transceiver, verbesserte EMV-Verträglichkeit und ESD-Leistung, sehr geringer Stromverbrauch, Remote-Wake-up-Unterstützung, Schutz- und Diagnosefunktionen und mehr.
- Click basiert auf dem ATA6571, einem eigenständigen Hochgeschwindigkeits-CAN-FD-Transceiver mit bis zu 5 Mbit/s, der einen Controller Area Network (CAN)-Protokoll-Controller und den physischen Zweidraht-CAN-Bus von Microchip verbindet.
- Kann für alle Arten von Hochgeschwindigkeits-CAN-Netzwerken verwendet werden, insbesondere in Knoten, die einen Energiesparmodus mit Weckfunktion über den CAN-Bus erfordern.
- mikroBUS: UART-Schnittstelle
Overview
Das ATA6571 Click Board™ ist eine kompakte Zusatzplatine mit einem Transceiver für Hochgeschwindigkeits-CAN-Anwendungen. Diese Platine verfügt über den ATA6571, einen eigenständigen Hochgeschwindigkeits-CAN-FD-Transceiver, der einen CAN-Protokoll-Controller und den physischen Zweidraht-CAN-Bus von Microchip verbindet. Es bietet mehrere Betriebsmodi mit Diagnose- und Ausfallsicherungsfunktionen, die die Systemzuverlässigkeit verbessern. Seine erweiterte Energiesparverwaltung mit lokaler und Remote-Wake-Up-Unterstützung ermöglicht einen niedrigen Stromverbrauch im Standby- und Ruhemodus. Dieses Click Board™ ist für alle Arten von Hochgeschwindigkeits-CAN-Netzwerken geeignet, insbesondere in Knoten, die einen Energiesparmodus mit Wake-Up-Funktion über den CAN-Bus erfordern.
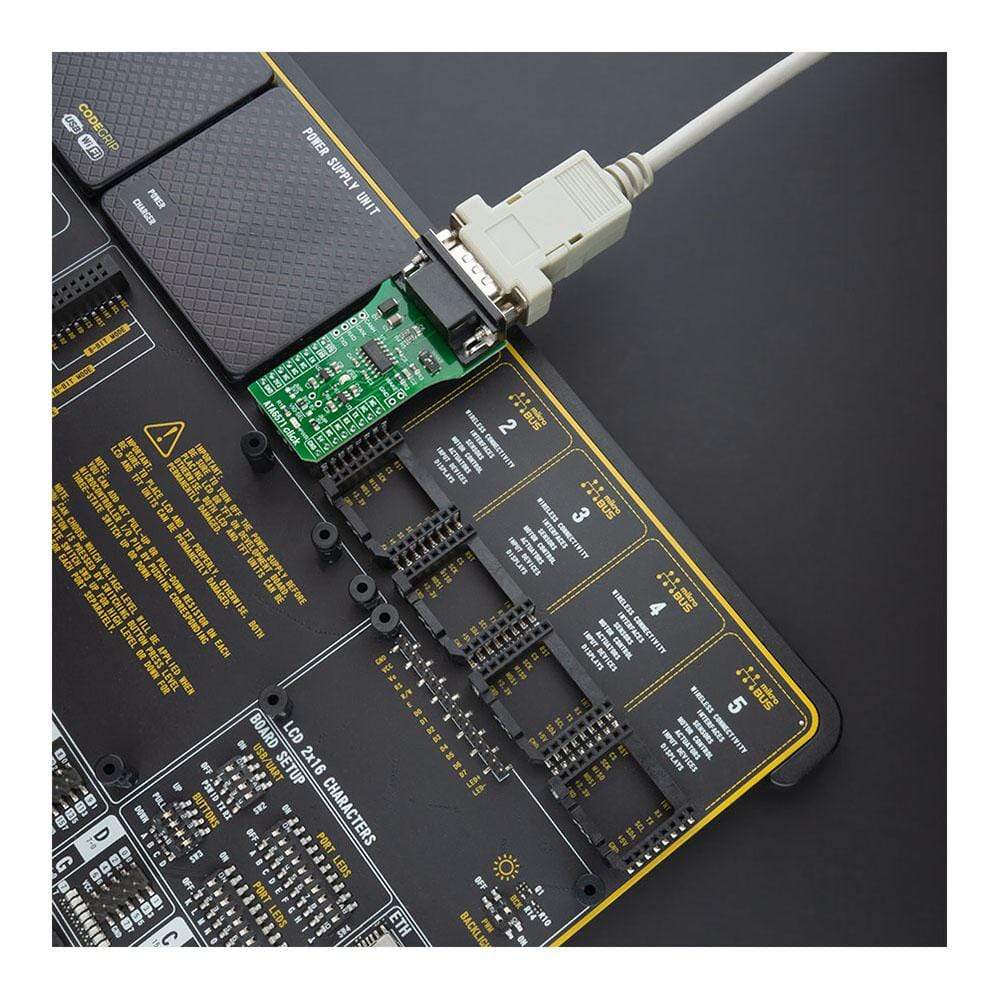
Das ATA6571 Click Board™ wird von einer mikroSDK-kompatiblen Bibliothek unterstützt, die Funktionen enthält, die die Softwareentwicklung vereinfachen. Dieses Click Board™ ist ein gründlich getestetes Produkt und kann auf einem System verwendet werden, das mit der mikroBUS™-Buchse ausgestattet ist.
How Does The ATA6571 Click Board™ Work?
The ATA6571 Click Board™ is based on the ATA6571, a standalone high-speed CAN FD transceiver up to 5 Mbit/s that interfaces a Controller Area Network (CAN) protocol controller and the physical two-wire CAN bus from Microchip. It offers improved Electromagnetic Compatibility (EMC) and ESD performance. Its advanced low-power management with local and remote Wake-Up support makes it possible to achieve low current consumption in Standby and Sleep mode, even when the internal I/O and transceiver supplies are switched off. The ATA6571 supports functional safety-related applications. Internal Safety Mechanisms prevent device malfunction due to under-voltage and overtemperature, detect bus dominant and recessive clamping, and prevent blocking of the CAN bus due to permanent dominant or recessive states of RXD and TXD.
The ATA6571 has one pin used for waking up the device from Sleep mode. This pin is connected to an external switch labelled as WAKE to generate a local Wake-Up function. A Wake-Up event on the CAN bus switches the inhibit output pin INH to the High level. The INH pin provides an internal switch towards the battery supply voltage and control external voltage regulators, the MCP1804 from Microchip. Through SMD jumpers labelled as JMP3V3 and JMP5V, the LDOs output voltages can be used to power up the mikroBUS™ 3.3V and 5V power rails. However, it should be noted that Mikroe does not advise powering up their systems this way. That is why these jumpers are left unpopulated by default.
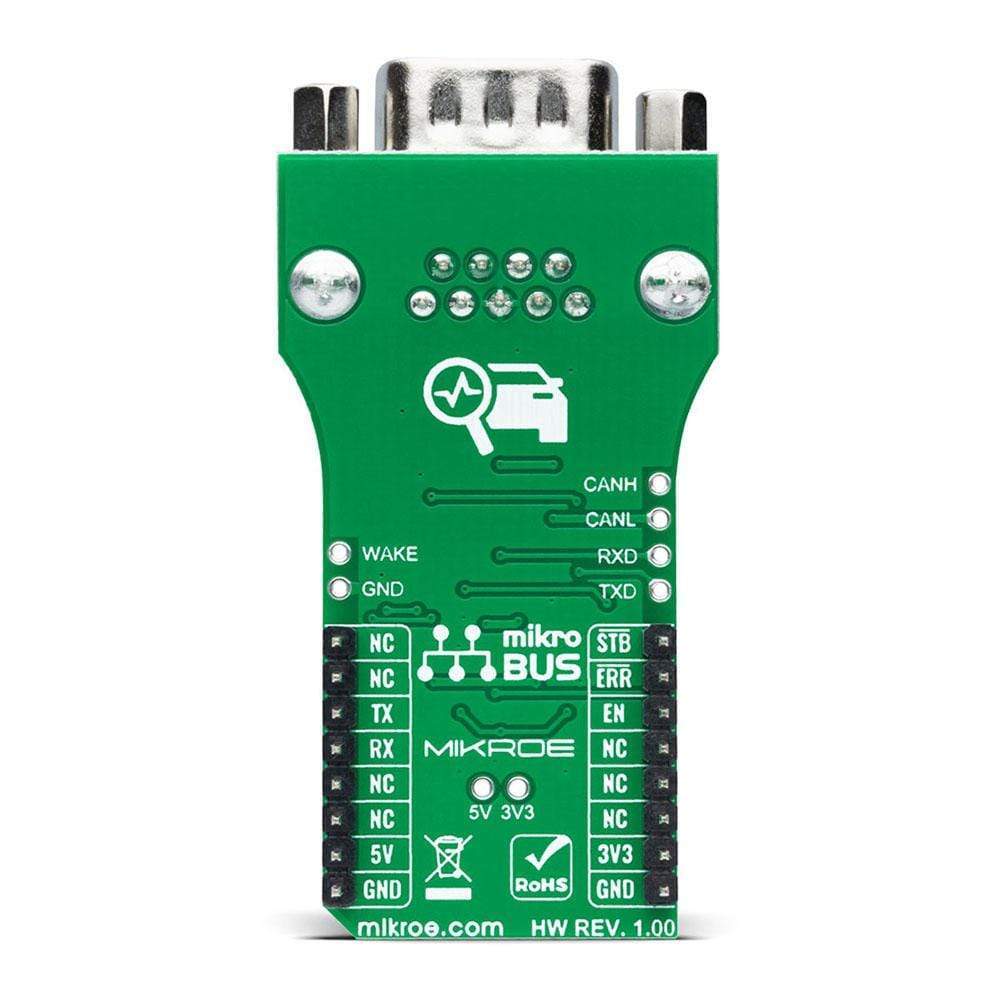
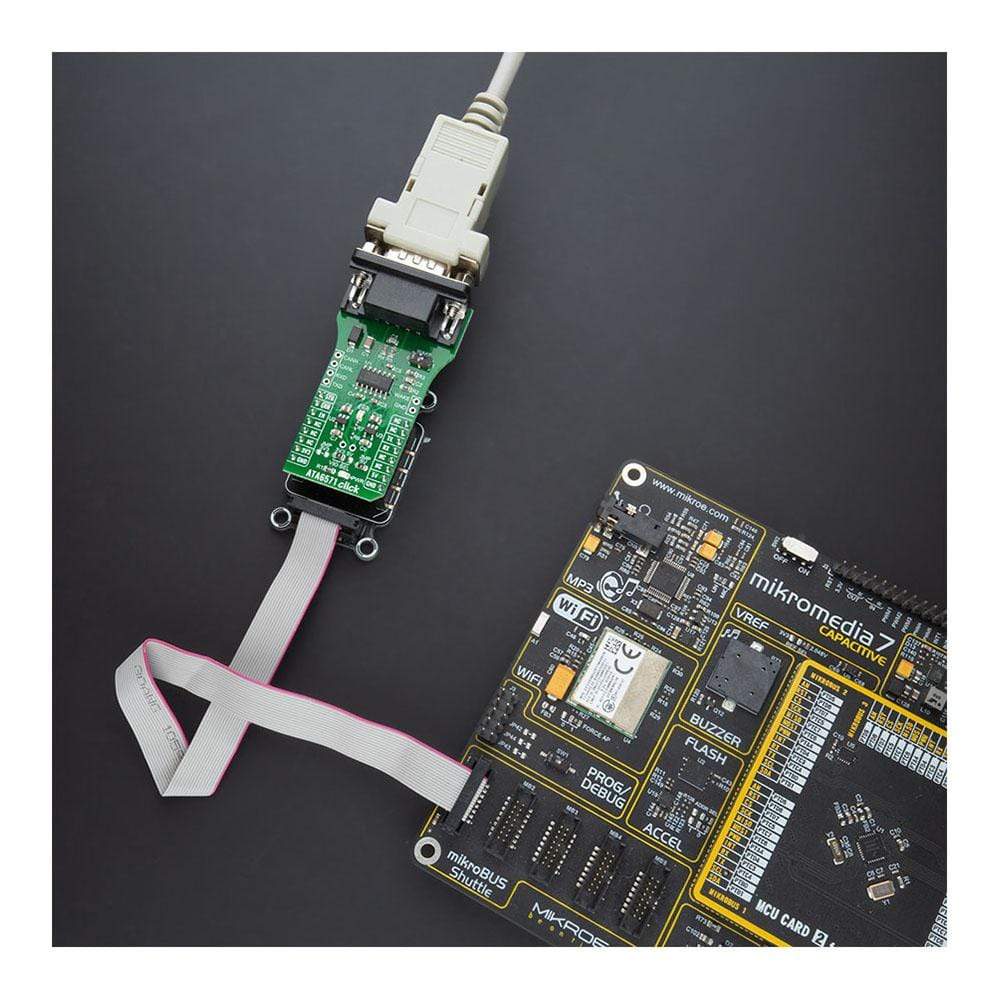
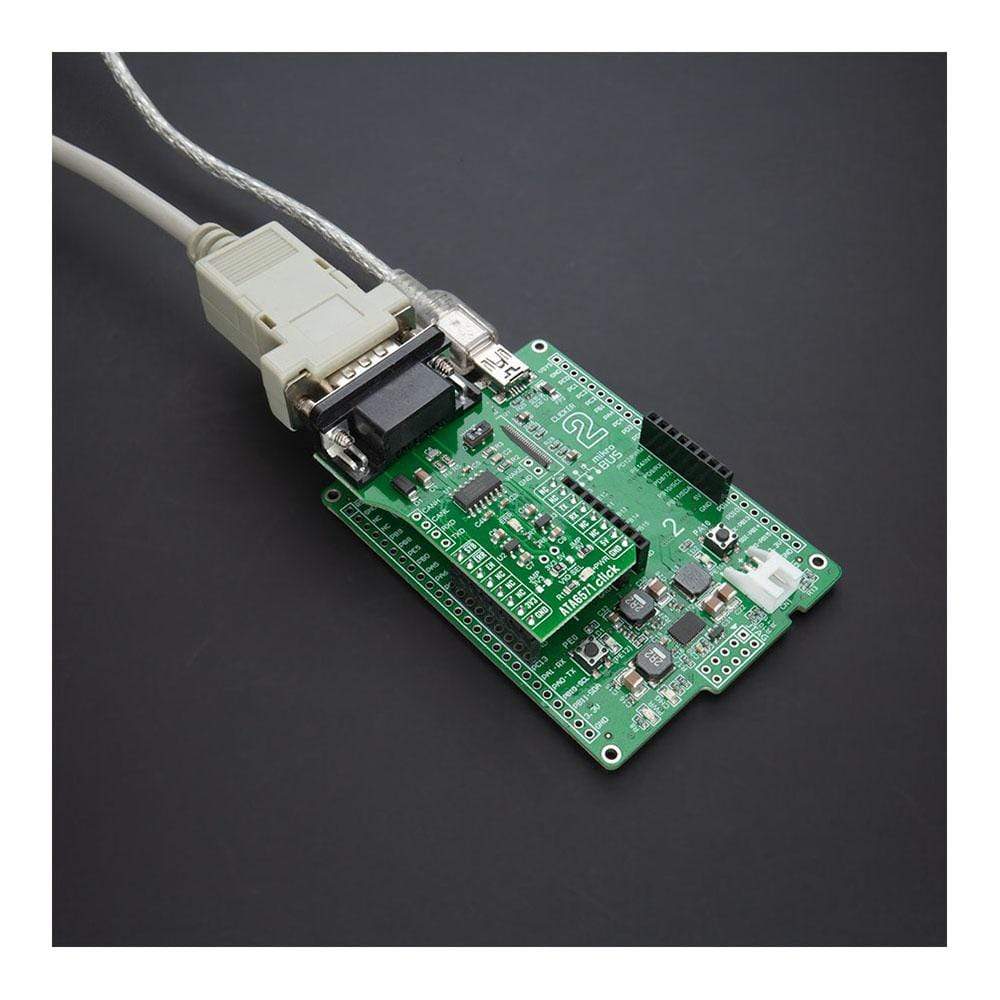
The ATA6571 communicates with MCU using the UART interface with the default baud rate of 9600 bps for the data transfer. In addition to UART communication pins from the mikroBUS™ socket, the user can connect the TX/RX signals directly through the UART External header on the left edge of the board. This Click board™ comes equipped with the standard DB-9 connector, making interfacing with the CAN bus simple and easy. Besides, the user can connect the CAN signals directly through the CAN External header, also on the left edge of the board.
In addition to these features, the ATA6571 also uses several GPIO pins connected to the mikroBUS™ socket. The EN pin routed on the CS pin of the mikroBUS™ is used for Enable Control. Together with the STB pin routed on the AN pin of the mikroBUS™ socket, which represents Standby Mode Control, the EN pin controls the operating mode of the device. It also provides a pull-down to force the transceiver into Recessive mode if EN is disconnected. Next to these pins, the ATA6571 uses another pin labelled as ERR routed on the RST pin of the mikroBUS™ used as Error Indication. This pin reflects the device status and can be visually displayed using the LED indicator labelled as ERR.
The ATA6571 Click Board™ is designed to operate with both 3.3V and 5V logic voltage levels selected via the VIO SEL jumper. It allows for both 3.3V and 5V capable MCUs to use the UART communication lines properly. However, the Click board™ comes equipped with a library that contains easy to use functions and an example code that can be used, as a reference, for further development.
SPECIFICATIONS
Type | CAN |
Applications | Can be used for all types of high-speed CAN networks, especially in nodes requiring low-power mode with wake-up capability via the CAN bus. |
On-board modules | Thew ATA6571 Click Board™ is based on the ATA6571, a standalone high-speed CAN FD transceiver up to 5 Mbit/s that interfaces a Controller Area Network (CAN) protocol controller and the physical two-wire CAN bus from Microchip. |
Key Features | High-Speed CAN Transceiver, improved EMC Compatibility and ESD performance, very low power consumption, remote wake-up support, protection and diagnostic functions, and more. |
Interface | UART |
Compatibility | mikroBUS |
Click board size | L (57.15 x 25.4 mm) |
Input Voltage | 3.3V or 5V,External |
PINOUT DIAGRAM
This table shows how the pinout of the ATA6571 Click Board™ corresponds to the pinout on the mikroBUS™ socket (the latter shown in the two middle columns).
Notes | Pin | Pin | Notes | ||||
---|---|---|---|---|---|---|---|
Standby Mode Control | STB | 1 | AN | PWM | 16 | NC | |
Error Indication | ERR | 2 | RST | INT | 15 | NC | |
Enable Control | EN | 3 | CS | RX | 14 | RX | UART RX |
NC | 4 | SCK | TX | 13 | TX | UART TX | |
NC | 5 | MISO | SCL | 12 | NC | ||
NC | 6 | MOSI | SDA | 11 | NC | ||
Power Supply | 3.3V | 7 | 3.3V | 5V | 10 | 5V | Power Supply |
Ground | GND | 8 | GND | GND | 9 | GND | Ground |
ONBOARD SETTINGS AND INDICATORS
Label | Name | Default | Description |
---|---|---|---|
LD1 | PWR | - | Power LED Indicator |
LD2 | ERR | - | Error LED Indicator |
JP1 | VIO SEL | Left | Power Supply Voltage Selection 3V3/5V: Left position 3V3, Right position 5V |
JMPR1-JMPR2 | JMP3V3-JMP5V | JMP5V Populated | 3V3/5V LDO Jumpers |
SW1 | WAKE | Down | Wake-Up Switch |
ATA6571 CLICK ELECTRICAL SPECIFICATIONS
Description | Min | Typ | Max | Unit |
---|---|---|---|---|
Supply Voltage VIO | -0.3 | - | 5.5 | V |
Battery Supply Voltage | 4.5 | - | 28 | V |
Communication Data Rates | - | - | 5 | Mbit/s |
Voltage between CANH and CANL pins | -27 | - | +42 | V |
Operating Temperature Range | -40 | - | +150 | °C |
We provide a library for the ATA6571 Click Board™ on our LibStock page, as well as a demo application (example), developed using MikroElektronika compilers. The demo can run on all the main MikroElektronika development boards.
Library Description
The library covers all the necessary functions to control ATA6571 Click board™. The library performs a standard UART interface communication.
Key Functions
void ata6571_set_operation_mode ( uint8_t op_mode )
- Set device operation mode function.void ata6571_write_byte ( uint8_t input )
- Write Single Byte.uint8_t ata6571_read_byte( void )
- Read Single Byte.
Example Description
The application is composed of three sections :
- System Initialization - Initializes UART used for communication and another UART bus used for data logging.
- Application Initialization - Initializes UART driver. In addition to this module is placed inside normal working mode capable of transmission and reception of data.
- Application Task - (code snippet) - This is an example which demonstrates the use of ATA6571 Click board™. Transmitter/Receiver task depend on uncommented code Receiver logging each received byte to the UART for data logging, while the transmitter sends a message every 2 seconds.
void application_task ( ) { char tmp; uint8_t drdy_flag; if ( app_mode == APP_MODE_RECEIVER ) { // RECEIVER - UART polling drdy_flag = ata6571_byte_ready( ); if ( 1 == drdy_flag ) { tmp = ata6571_read_byte( ); mikrobus_logWrite( &tmp, _LOG_BYTE ); } } else { // TRANSMITER - TX each 2 sec for ( tmp = 0; tmp < 9; tmp++ ) { ata6571_write_byte( demo_message_data[ tmp ] ); Delay_ms( 100 ); } mikrobus_logWrite( " MESSAGE SENT! ", _LOG_LINE ); mikrobus_logWrite( "-------------------", _LOG_LINE ); Delay_ms( 2000 ); } }
The full application code, and ready to use projects can be found on our LibStock page.
Other mikroE Libraries used in the example:
- UART
Additional Notes and Information
Depending on the development board you are using, you may need a USB UART click, USB UART 2 click or RS232 click to connect to your PC, for development systems with no UART to USB interface available on the board. The terminal available in all MikroElektronika compilers, or any other terminal application of your choice, can be used to read the message.
MIKROSDK
The ATA6571 Click Board™ is supported with mikroSDK - MikroElektronika Software Development Kit. To ensure proper operation of mikroSDK compliant Click board™ demo applications, mikroSDK should be downloaded from the LibStock and installed for the compiler you are using.
Frequently Asked Questions
Have a Question?
Be the first to ask a question about this.