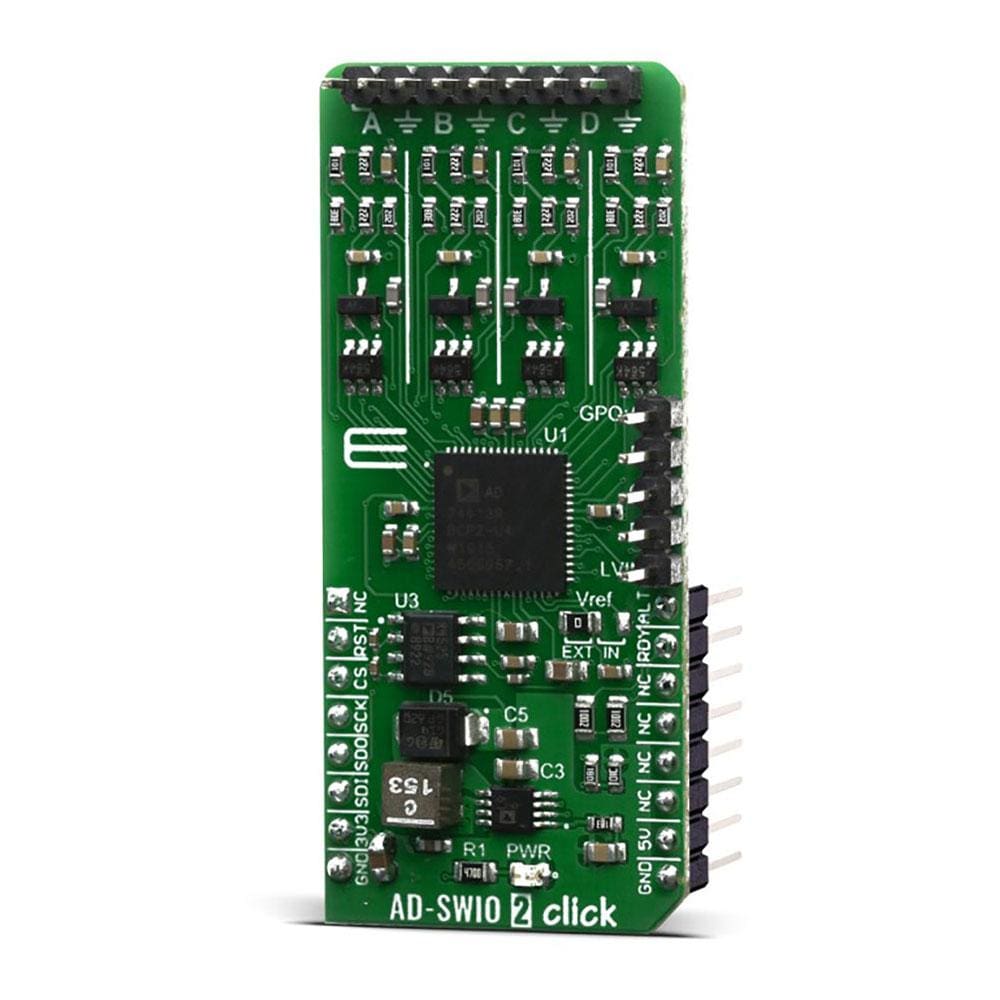
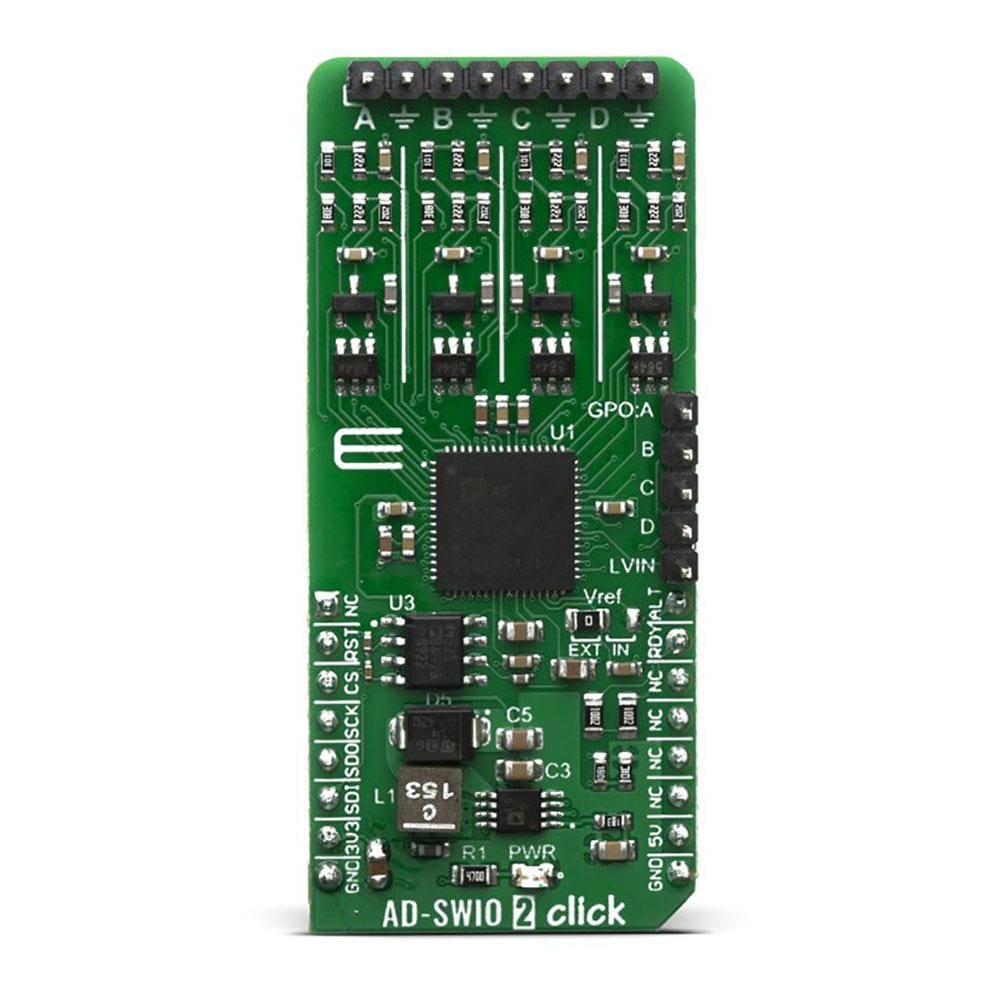
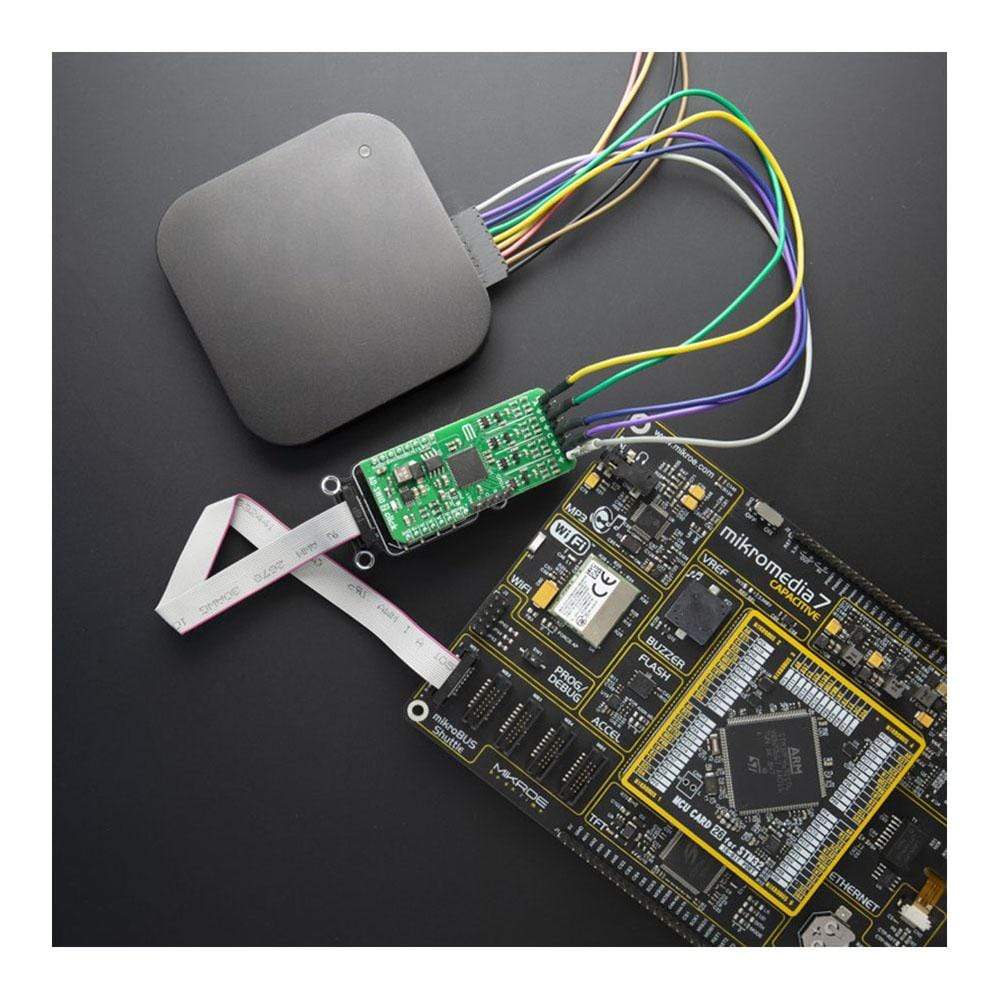
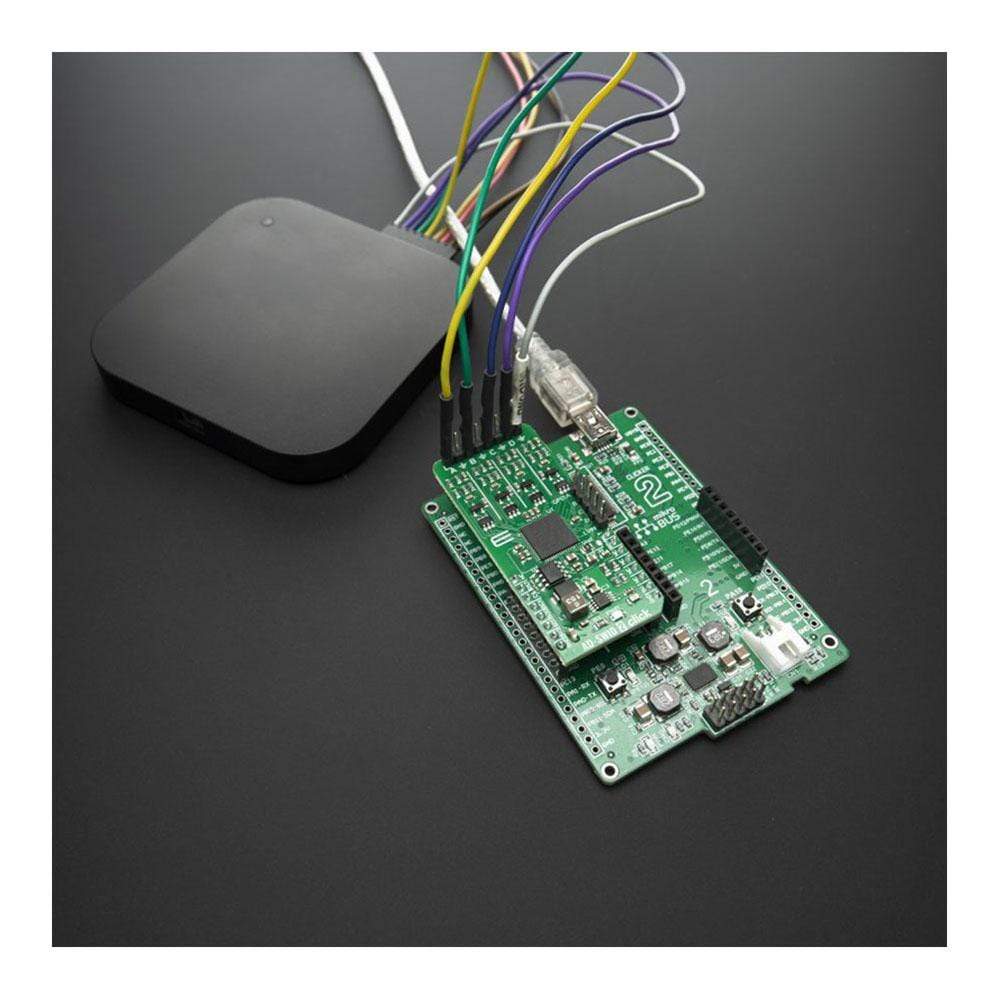
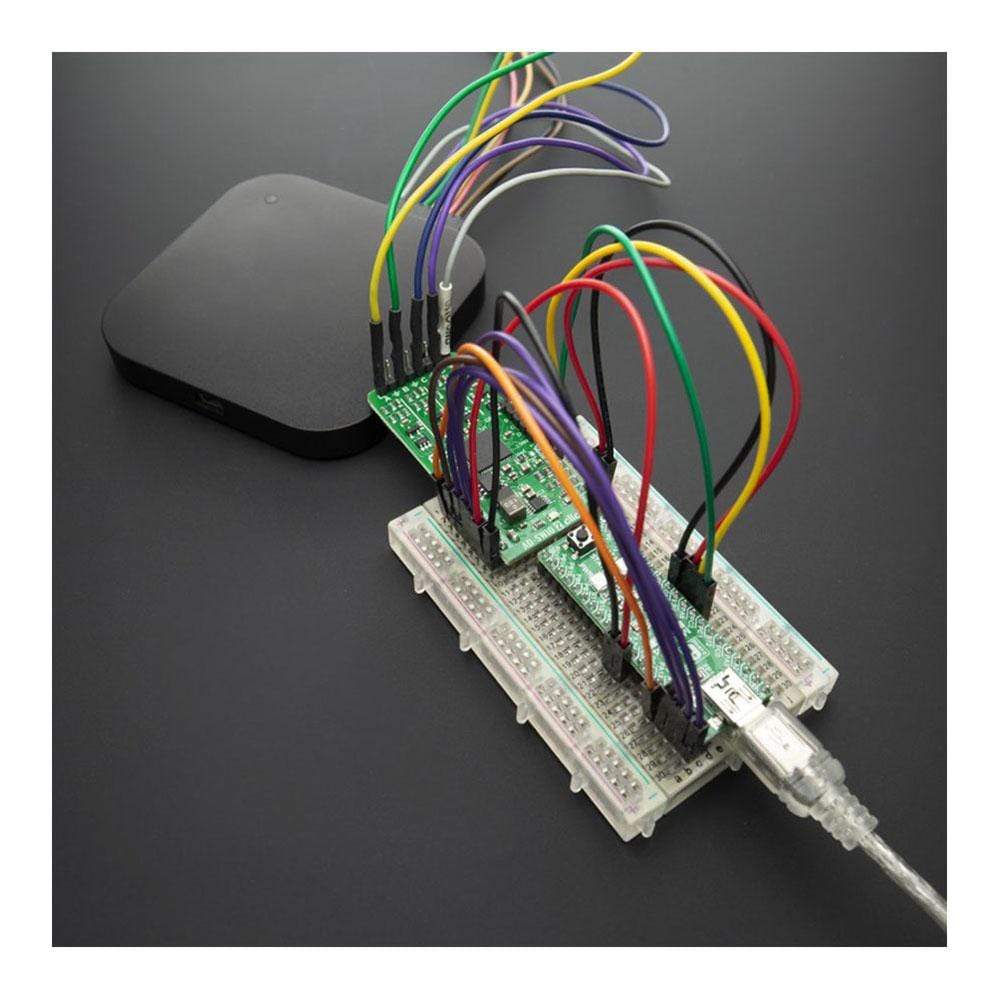
AD-SWIO 2 Click-Platine
Key Features
- Optimiert für 16-Bit-ADC (Analog-Digital-Umsetzer) und 13-Bit-DAC (Digital-Analog-Umsetzer)
- Basierend auf dem AD74413R, einem Vierkanal-ADC-DAC-Wandler; ADR4525BRZ, einer hochpräzisen rauscharmen Spannungsreferenz, und dem ADP1613, einem Aufwärts-DC/DC-Schaltwandler, alle von Analog Devices
- Es ist die perfekte Wahl für Prozesssteuerung, Fabrikautomatisierung, Motorantriebe und Gebäudesteuerungssysteme.
- mikroBUS: SPI- und GPIO-Schnittstellen
Overview
Das AD-SWIO 2 Click Board™ ist eine softwarekonfigurierbare Vierkanal-Ein-/Ausgabelösung auf Basis von AD74413R für Gebäude- und Prozesssteuerungsanwendungen. Das AD74413R ist eine softwarekonfigurierbare Vierkanal-Ein-/Ausgabelösung für Gebäude- und Prozesssteuerungsanwendungen. Das Gerät bietet eine vollständig integrierte Single-Chip-Lösung für den Ein- und Ausgabebetrieb.
Das AD-SWIO 2 Click Board™ enthält vier 13-Bit-DACs, einen pro Kanal, und einen 16-Bit-Σ-∆-ADC. Diese Optionen bieten viel Flexibilität bei der Auswahl der Funktionalität für analogen Ausgang, analogen Eingang, digitalen Eingang, Widerstandstemperaturdetektor (RTD) und Thermoelementmessungen, integriert in eine Einzelchip-Lösung mit einer seriellen Peripherieschnittstelle (SPI).
How Does The AD-SWIO 2 Click Board™ Work?
The AD-SWIO 2 Click Board™ features a 16-bit analog-to-digital converter (ADC), and 13-bit digital-to-analog converter (DAC) embed in AD74413R from Analog Devices. There are several modes related to the AD74413R. These modes are voltage output, current output, voltage input, externally powered current input, loop powered current input, external RTD measurement, digital input logic, and loop powered digital input.
The ADC can measure either the voltage across the 100 Ω RSENSE or the voltage at the I/OP_x screw terminal of each channel. In high impedance mode, the ADC, by default, measures the voltage across the screw terminals (I/OP_x to I/ON_x) in a 0 V to 10 V range. The ADC also provides diagnostic information on user-selectable inputs such as supplies, internal die temperature, reference, and regulators.
The AD74413R can operate with either an external or an internal reference. The reference input requires 2.5 V for the AD74413R to function correctly. The reference voltage is internally buffered before being applied to the DAC and the ADC. The AD-SWIO 2 Click Board™ contains jumper for selection reference voltage, left position (Default) is selection external reference voltage. External reference voltage provide by ADR4525BRZ, from Analog Devices. The ADR4525BRZ is high precision, low noise voltage references featuring ±0.02% maximum initial error. By switching to the right position of the Vref jumper, the AD74413R is using the internal reference voltage. If The AD-SWIO 2 Click Board™ using internal reference voltage, the REFIN pin must be tied to the REFOUT pin.
The AD-SWIO 2 Click Board™ has four GPO-x pins, one per channel ( GPO-A, GPO-B, GPO-C, GPO-D). Each channel GPO-x pin can be configured to the logic outputs of the digital input functions or a logic high or low output. The GPO-x pins can be set via the GPO_SELECT bits within the GPO_CONFIGx registers. The Click Board™ also contains LVIN ( Low Voltage Input) pin, the measurement voltage range on this pin is 0V to 2.5V.
The AD74413R contains four 13-bit DACs, one per channel. Each DAC core is a 13-bit string DAC. The architecture structure consists of a string of resistors, each with a value of R. The digital input code that is loaded to the DAC_CODEx registers determines which node on the string the voltage is tapped off from and fed into the output amplifier. This architecture is inherently monotonic and linear.
The AD74413R have short-circuit limit in voltage output mode is programmable per channel. The circuit minimizes glitching on the I/OP_x screw terminal when the AVDD supply is ramping or when the use case configuration is changed. This short-circuit limit, you can regulate with positive analog supply on AVDD pin, Output voltage on the AD-SWIO 2 Click Board™ is limited to +20V. The AD-SWIO 2 Click Board™ is equipped with the ADP1613 step-up dc-to-dc switching converters with an integrated power switch capable of providing an output voltage as high as 20 V also from Analog Devices.
Specifications
Type | SWIO,ADC-DAC |
Applications | Its a perfect choice for Process control, Factory automation, Motor drives, Building control systems. |
On-board modules | AD74413R a quad-channel ADC-DAC converter; ADR4525BRZ a high precision low noise voltage reference and ADP1613 step-up dc-to-dc switching converter all from Analog Devices |
Key Features | Optimized for 16-bit ADC (Analog-to-Digital Converter) and 13-bit DAC (Digital-to-Analog Converter). |
Interface | GPIO,SPI |
Compatibility | mikroBUS |
Click Board™ size | L (57.15 x 25.4 mm) |
Input Voltage | 3.3V,5V |
PINOUT DIAGRAM
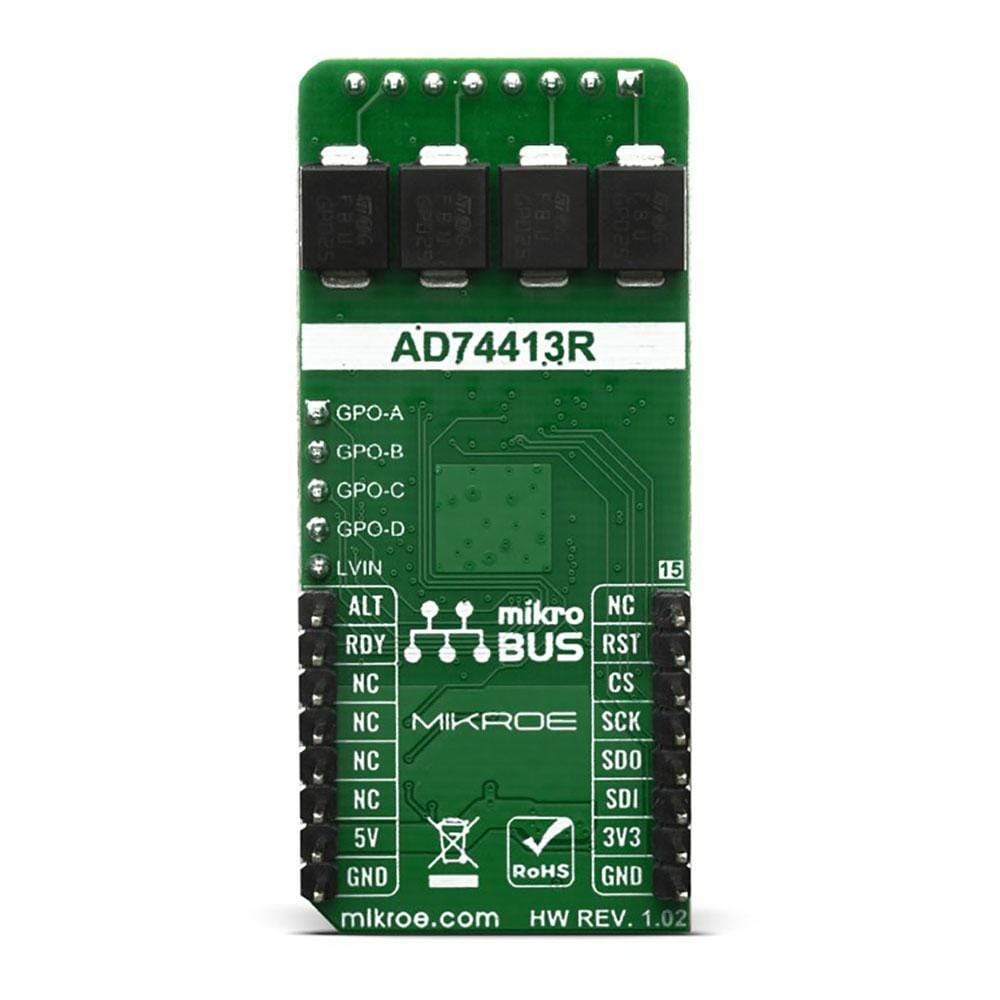
This table shows how the pinout on the AD-SWIO 2 Click Board™ corresponds to the pinout on the mikroBUS socket (the latter shown in the two middle columns).
Notes | Pin | Pin | Notes | ||||
---|---|---|---|---|---|---|---|
NC | 1 | AN | PWM | 16 | ALT | Alert Status | |
Reset | RST | 2 | RST | INT | 15 | RDY | Ready to read |
SPI Chip Select | CS | 3 | CS | RX | 14 | NC | |
SPI Clock | SCK | 4 | SCK | TX | 13 | NC | |
SPI Data OUT | SDO | 5 | MISO | SCL | 12 | NC | |
SPI Data IN | SDI | 6 | MOSI | SDA | 11 | NC | |
Power Supply | 3.3V | 7 | 3.3V | 5V | 10 | 5V | Power Supply |
Ground | GND | 8 | GND | GND | 9 | GND | Ground |
ONBOARD SETTINGS AND INDICATORS
Label | Name | Default | Description |
---|---|---|---|
LD1 | PWR | - | Power LED Indicator |
JP1 | Vref | Left | Select reference voltage: Left is External reference voltage, right internal reference voltage |
Software Support
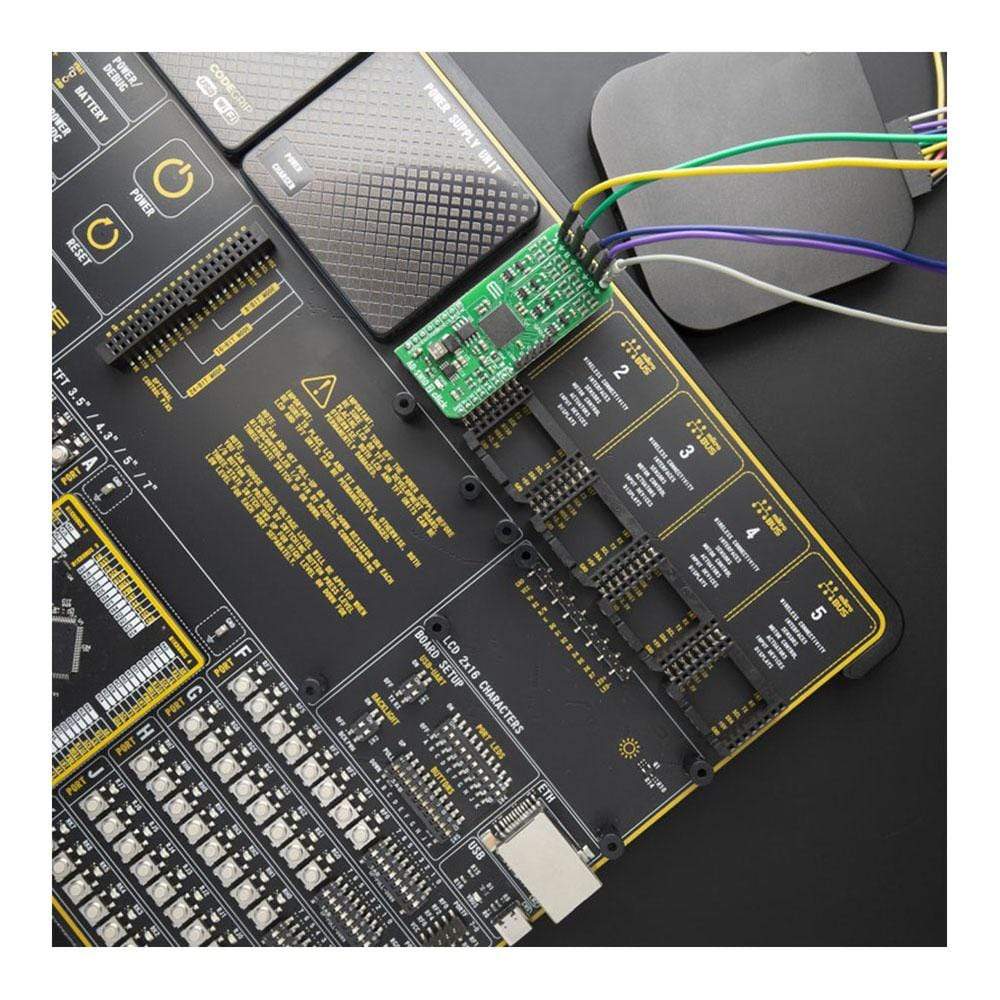
We provide a library for the AD-SWIO 2 Click Board™ on our LibStock page, as well as a demo application (example), developed using MikroElektronika compilers. The demo can run on all the main MikroElektronika development boards.
Library Description
This library has ability to perform a full control of the AD-SWIO 2 Click Board™. This Click Board™ can convert and measure voltage, current and resistance from 4 independent channels and 4 different diagnostics.
Key Functions
adsdio2_err_t adsdio2_generic_write( uint8_t reg_addr, uint16_t data_in )
- This function writes 16-bit data to the selected register.adsdio2_err_t adsdio2_set_ch_func( uint8_t channel, uint8_t ch_func )
- This function allows user to modify the functionality of the selected channel.adsdio2_err_t adsdio2_get_conv_results( uint8_t channel, uint16_t *data_out )
- This function allows user to get the converted results of the selected channel.
Example Description
The application is composed of three sections :
- System Initialization - Initializes all necessary peripherals and pins used for this Click Board™. Also initializes uart console module.
- Application Initialization - Performs a hardware reset of the Click Board™ and executes a default configuration which includes that channel A will be enabled to measure voltage input in the range from 0V to 10V, with 4k8 SPS sample rating. In this function also Silicon Revision ID will be checked.
- Application Task - (code snippet) - Waits until data from the enabled channel is ready and then reads results of conversion for channel A and if response is ok, prints the results on the uart console.
void application_task( ) { adsdio2_rdy = adsdio2_status_pin_ready( ); while ( adsdio2_rdy == 0 ) { adsdio2_rdy = adsdio2_status_pin_ready( ); } adsdio2_err = adsdio2_get_conv_results( _ADSDIO2_SETUP_CONV_EN_CHA, &adsdio2_ch_a ); if ( adsdio2_err == _ADSDIO2_ERR_STATUS_OK ) { adsdio2_res = adsdio2_ch_a; adsdio2_res /= _ADSDIO2_RANGE_RESOLUTION; adsdio2_res *= _ADSDIO2_RANGE_VOLT_MV; adsdio2_ch_a = adsdio2_res; WordToStr( adsdio2_ch_a, adsdio2_log ); Ltrim( adsdio2_log ); mikroBUS_logWrite( "* CH A converted result is ", _LOG_TEXT ); mikroBUS_logWrite( adsdio2_log, _LOG_TEXT ); mikroBUS_logWrite( " mV", _LOG_LINE ); Delay_ms( 100 ); } }
Additional Functions :
- Application Default Handler - Used to send error report messages from Click Board™ driver to initialized console module.
The full application code, and ready to use projects can be found on our LibStock page.
Other mikroE Libraries used in the example:
- Conversions
- C_String
- SPI
- UART
Additional Notes and Information
Depending on the development board you are using, you may need USB UART Click Board™, USB UART 2 Click Board™ or RS232 Click Board™ to connect to your PC, for development systems with no UART to USB interface available on the board. The terminal available in all MikroElektronika compilers, or any other terminal application of your choice, can be used to read the message.
MIKROSDK
The AD-SWIO 2 Click Board™ is supported with mikroSDK - MikroElektronika Software Development Kit. To ensure proper operation of mikroSDK compliant Click Board™ demo applications, mikroSDK should be downloaded from the LibStock and installed for the compiler you are using.
Frequently Asked Questions
Have a Question?
Be the first to ask a question about this.